What is the Mana theme?
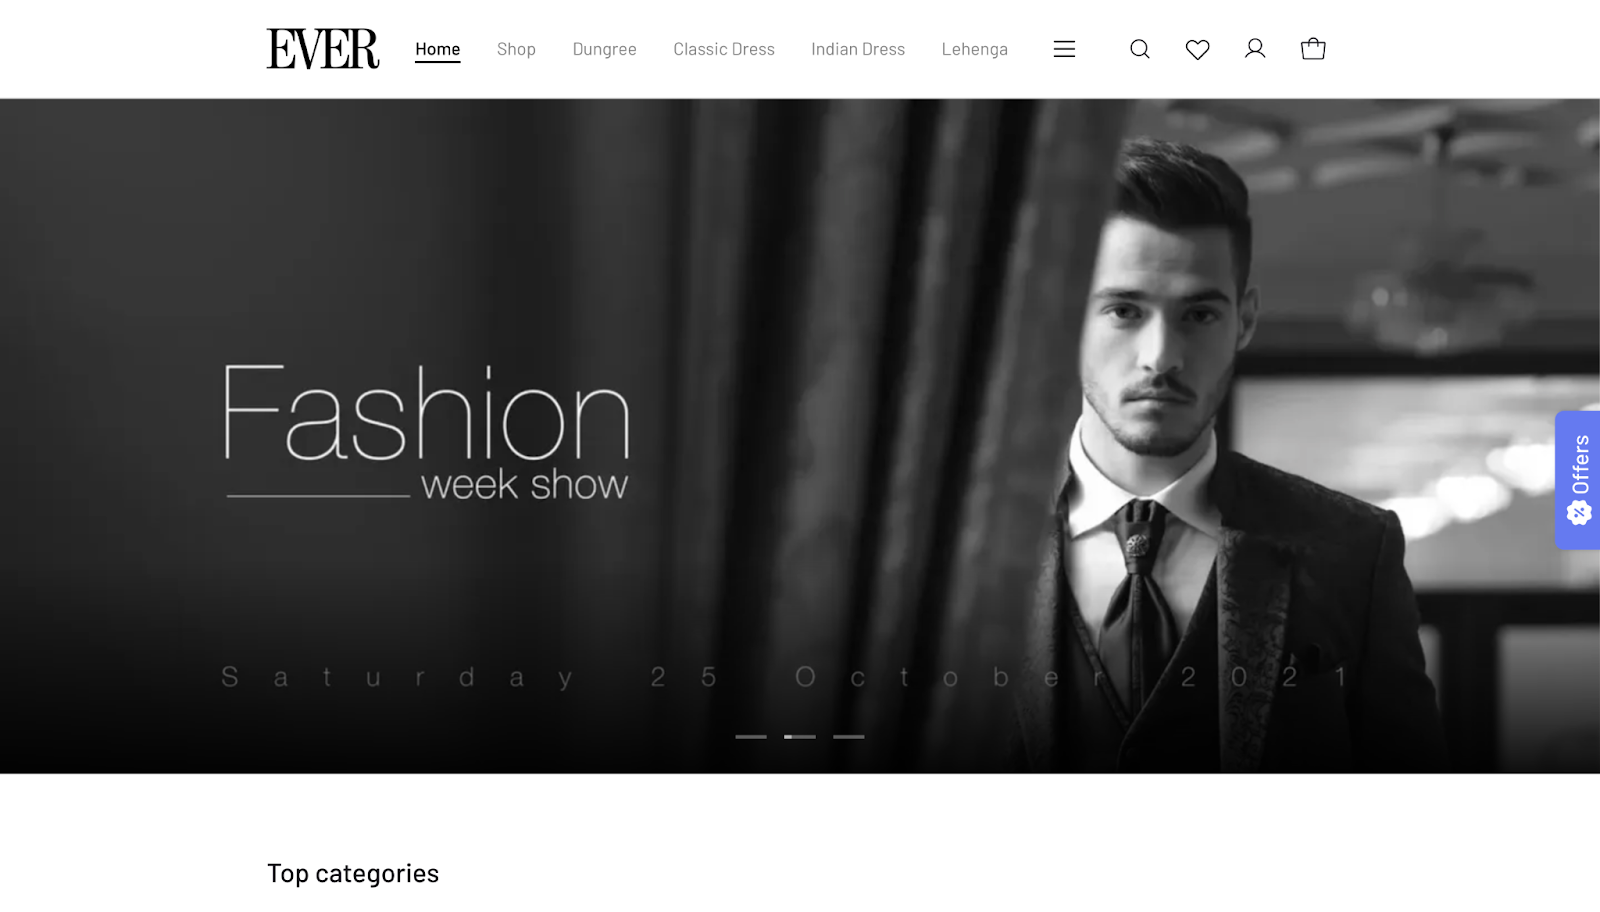
The mana theme is built to be fashion-centric. With large banners and product/category cards, your buyers can view desired products easily.
(Store built using the Mana theme: https://mydukaan.io/nomana)
How to use the Mana theme?
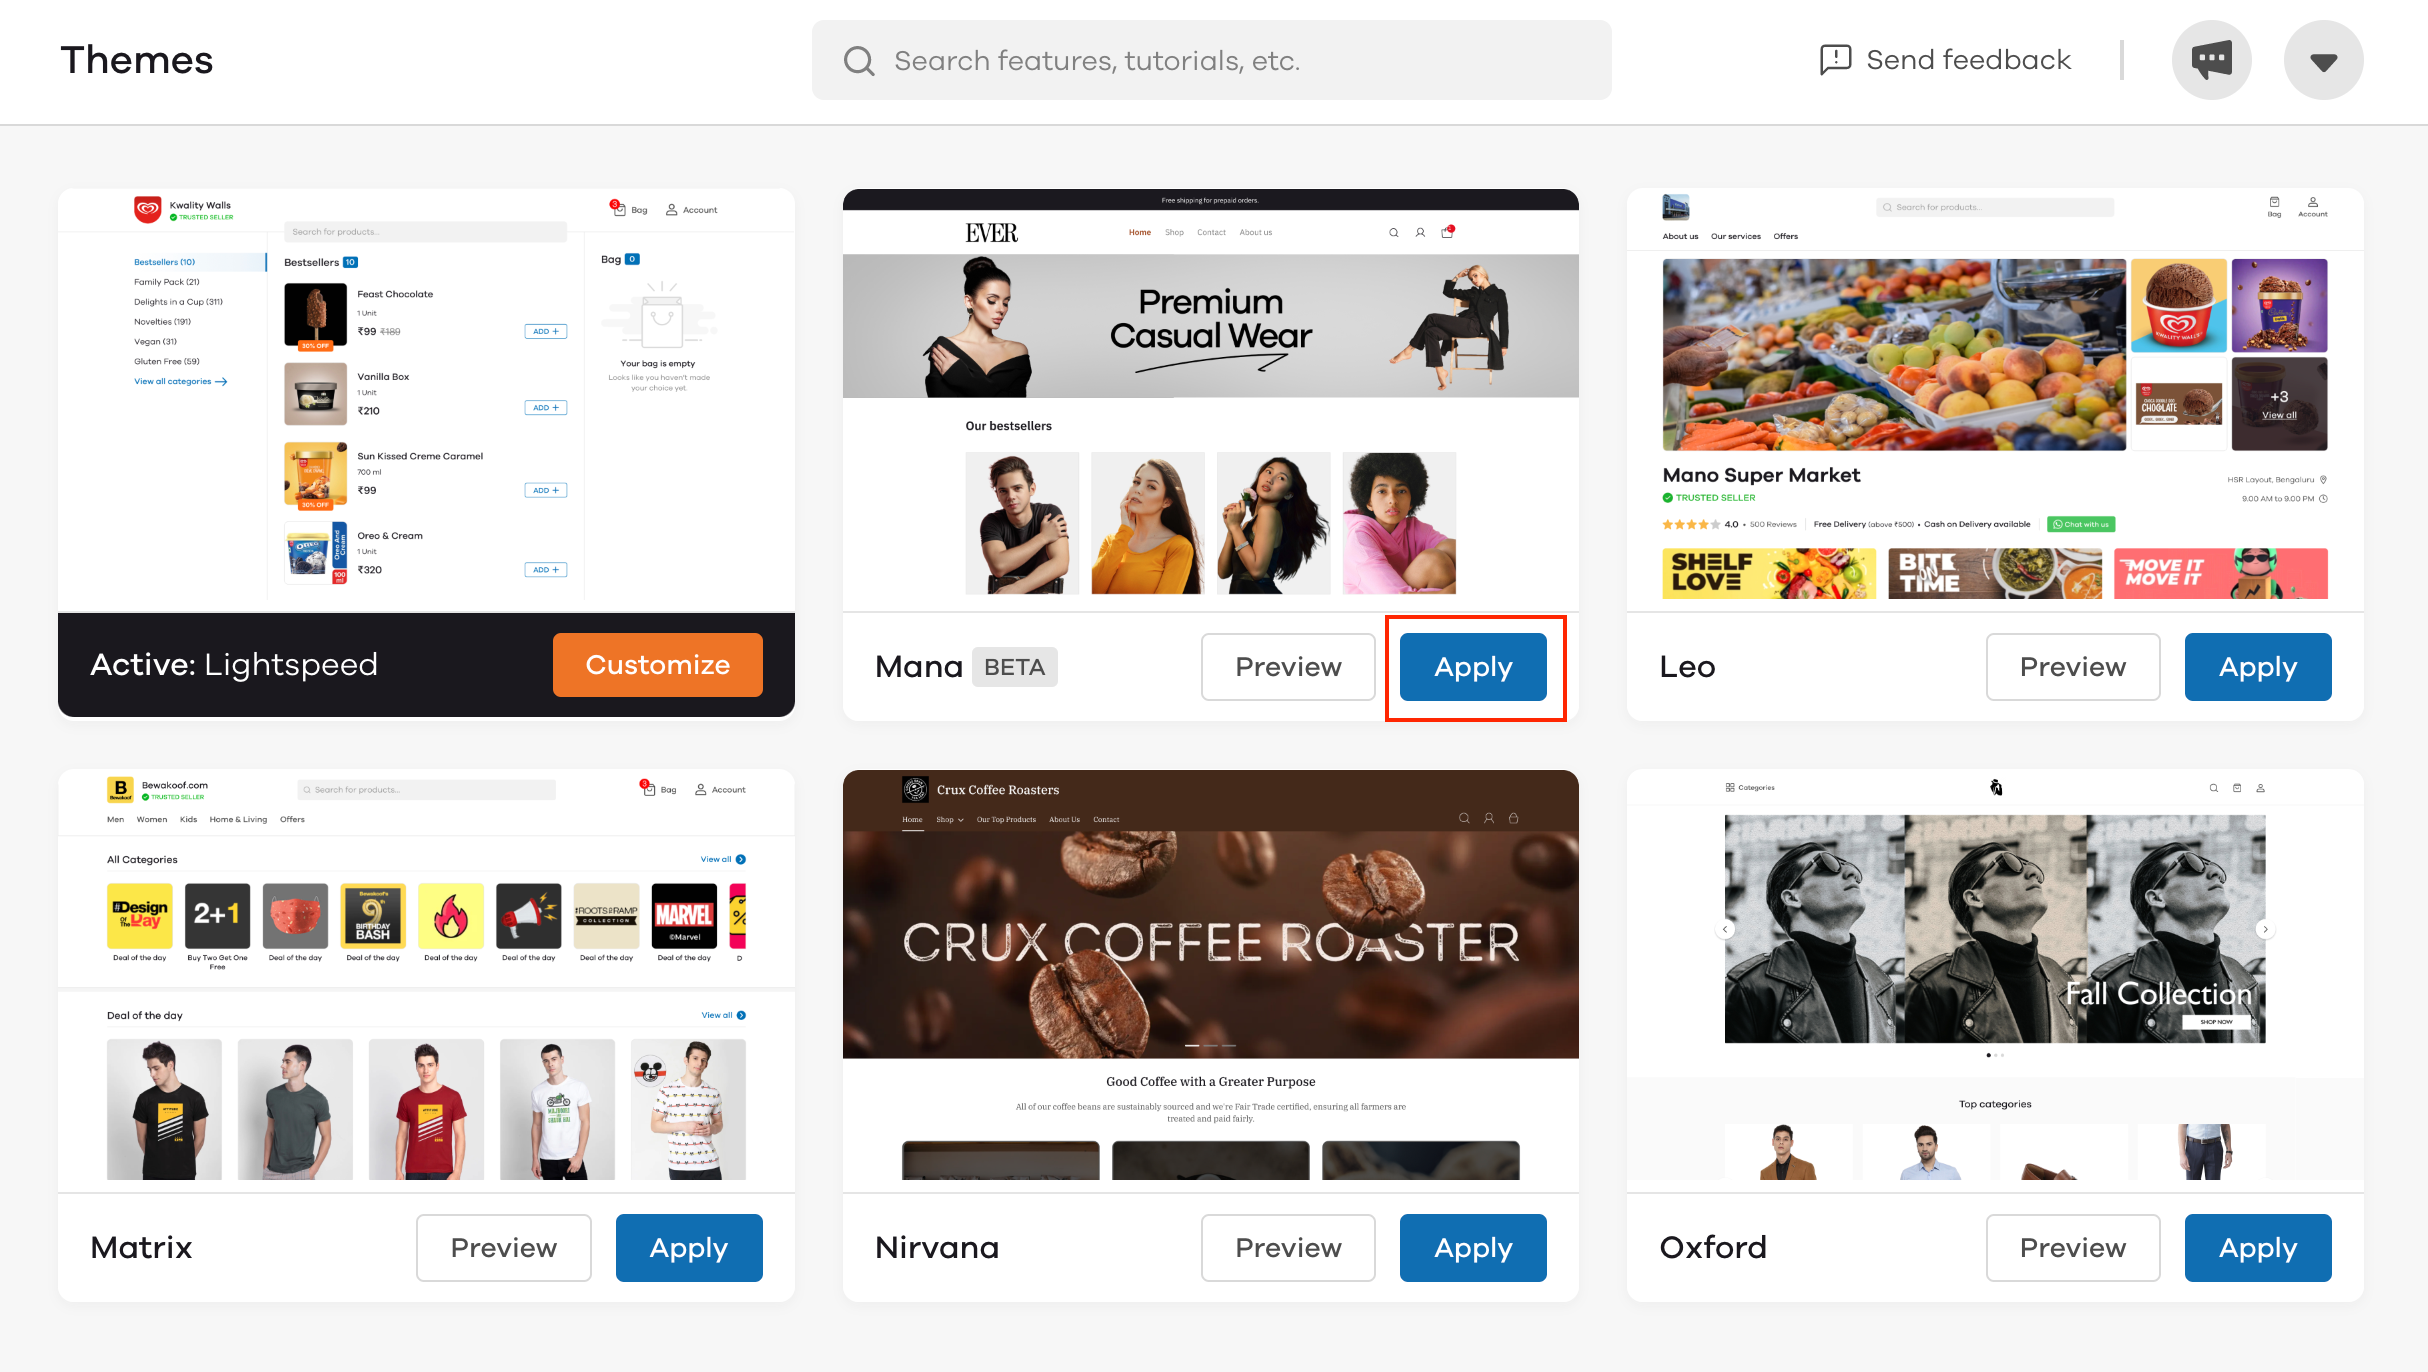
To use the Mana theme; First, click on the Appearance section. Upon clicking on Appearance, click on Apply in the Mana theme.
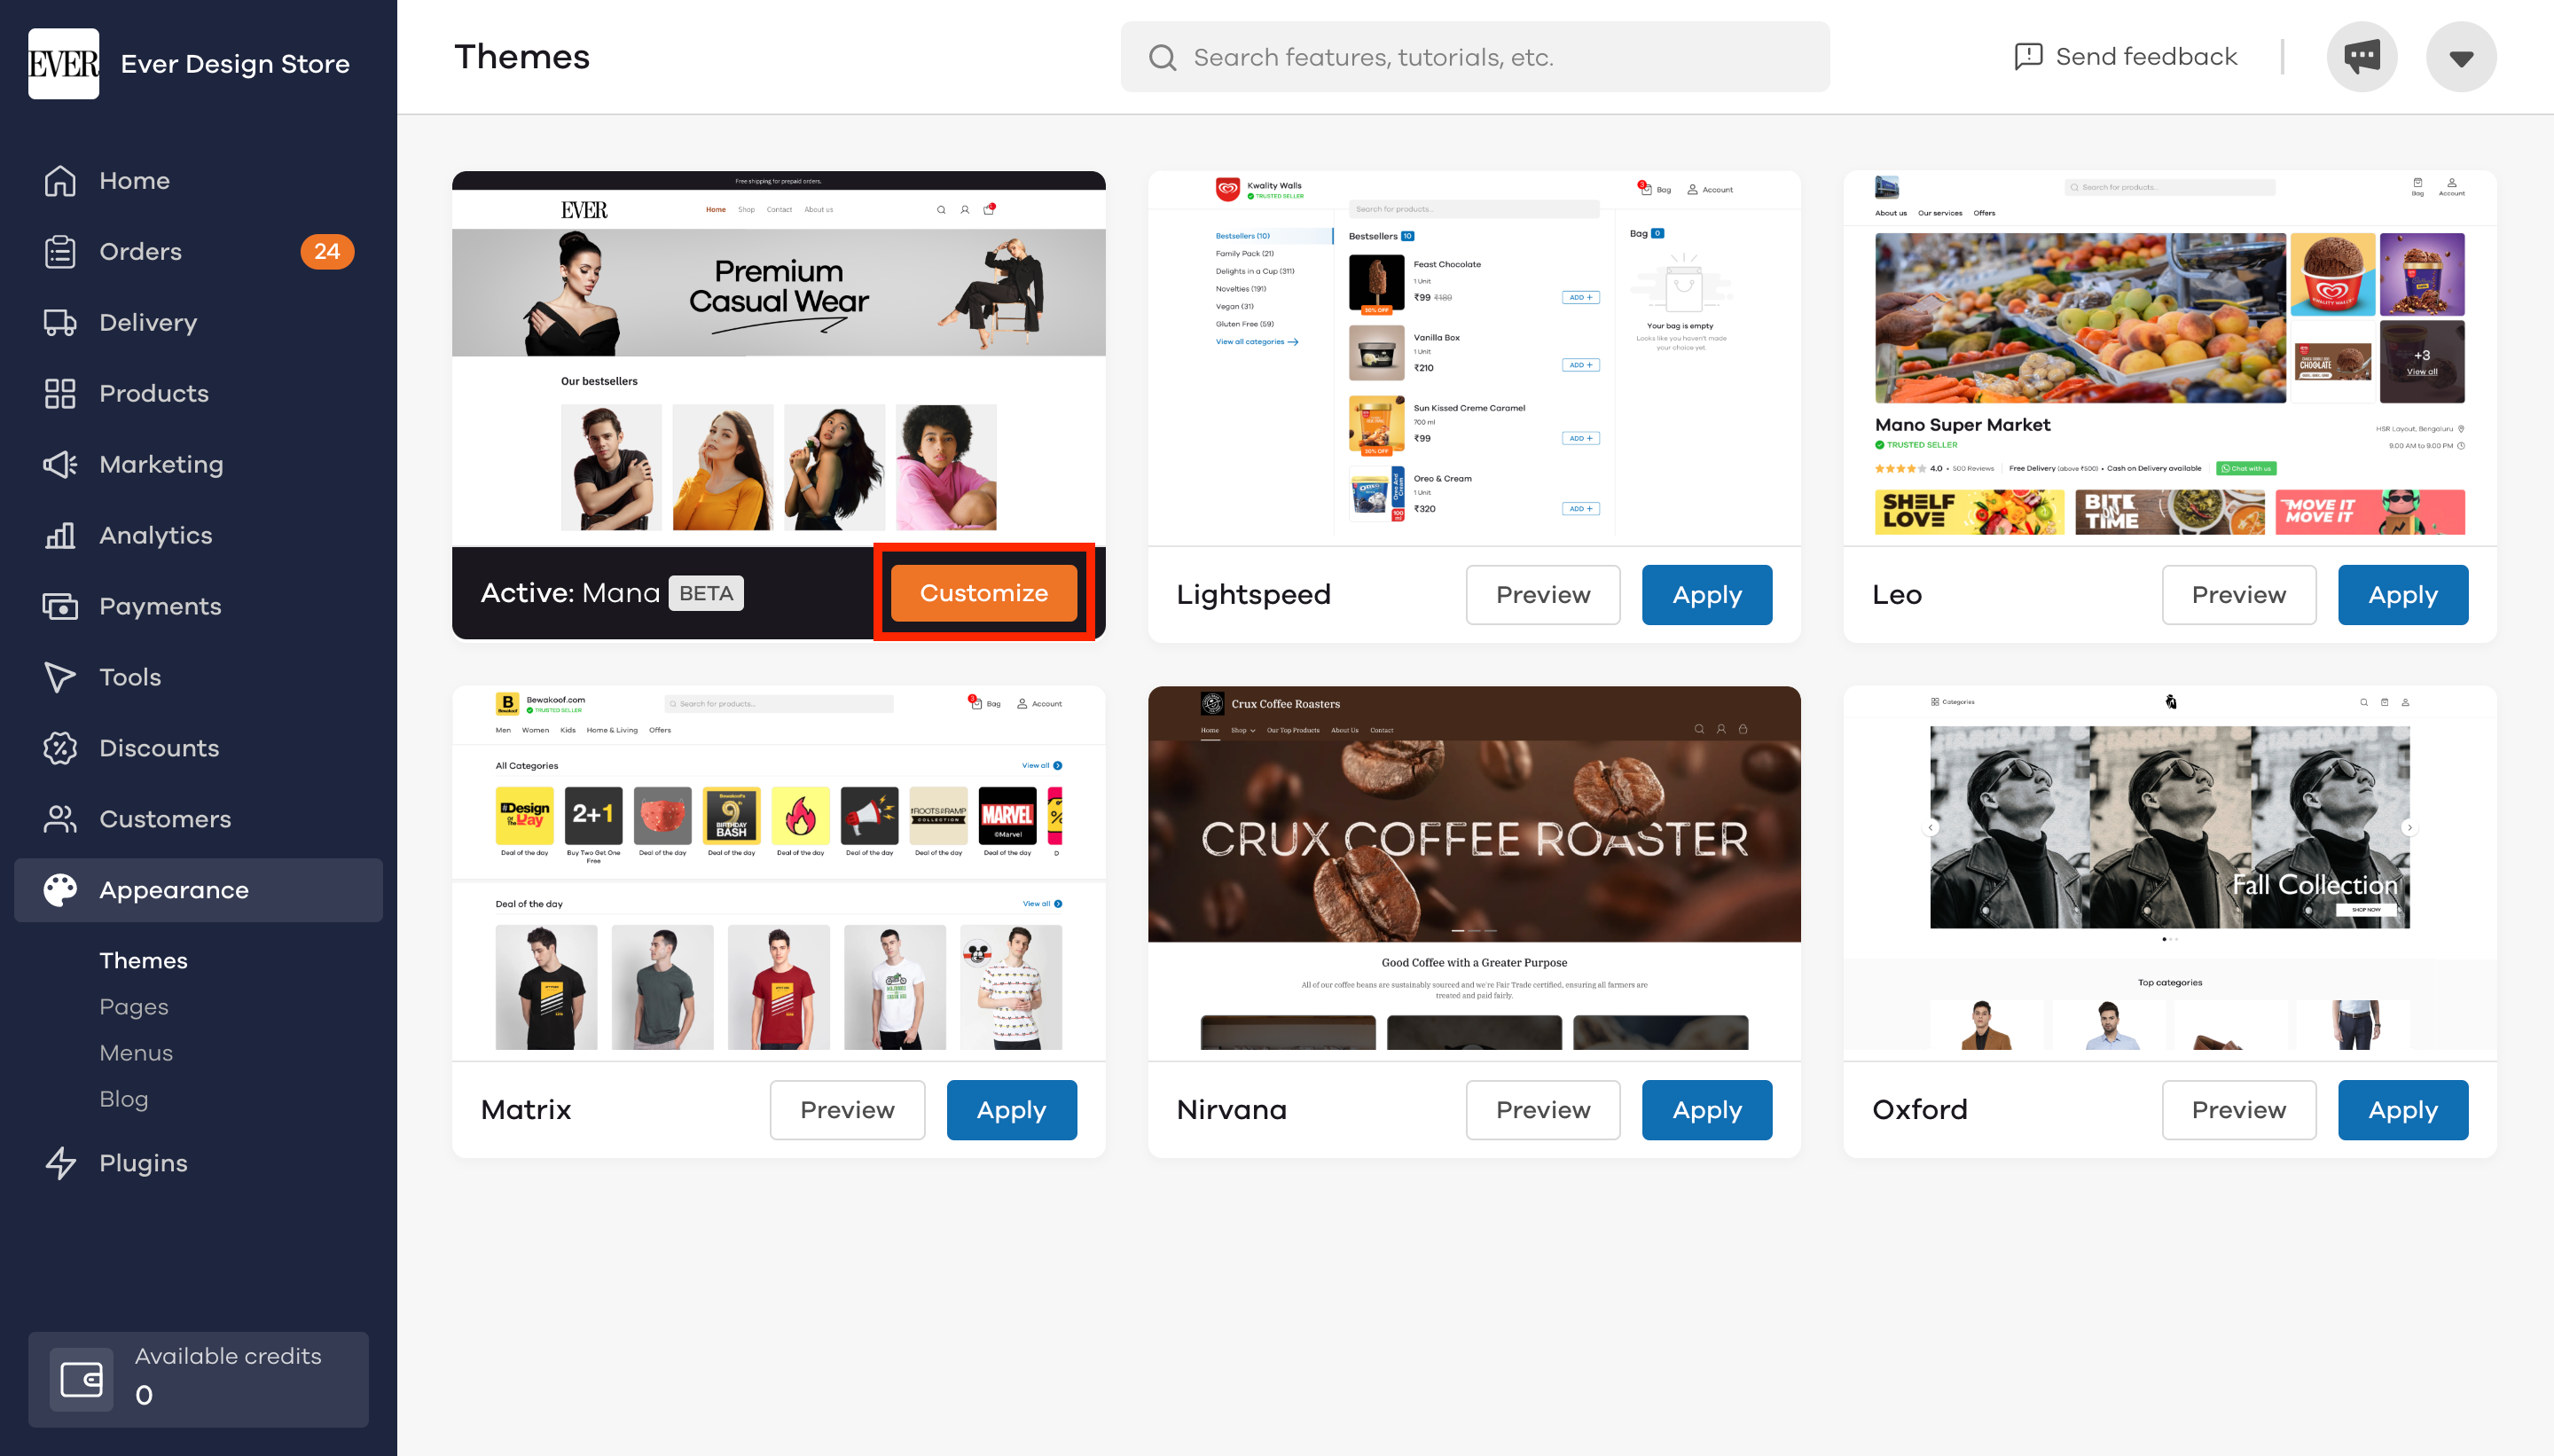
After you’ve applied the theme, click on Customize.
Here you can edit the following:
- Header
- Sections
- Fonts and color
- Favicon
- Advanced section
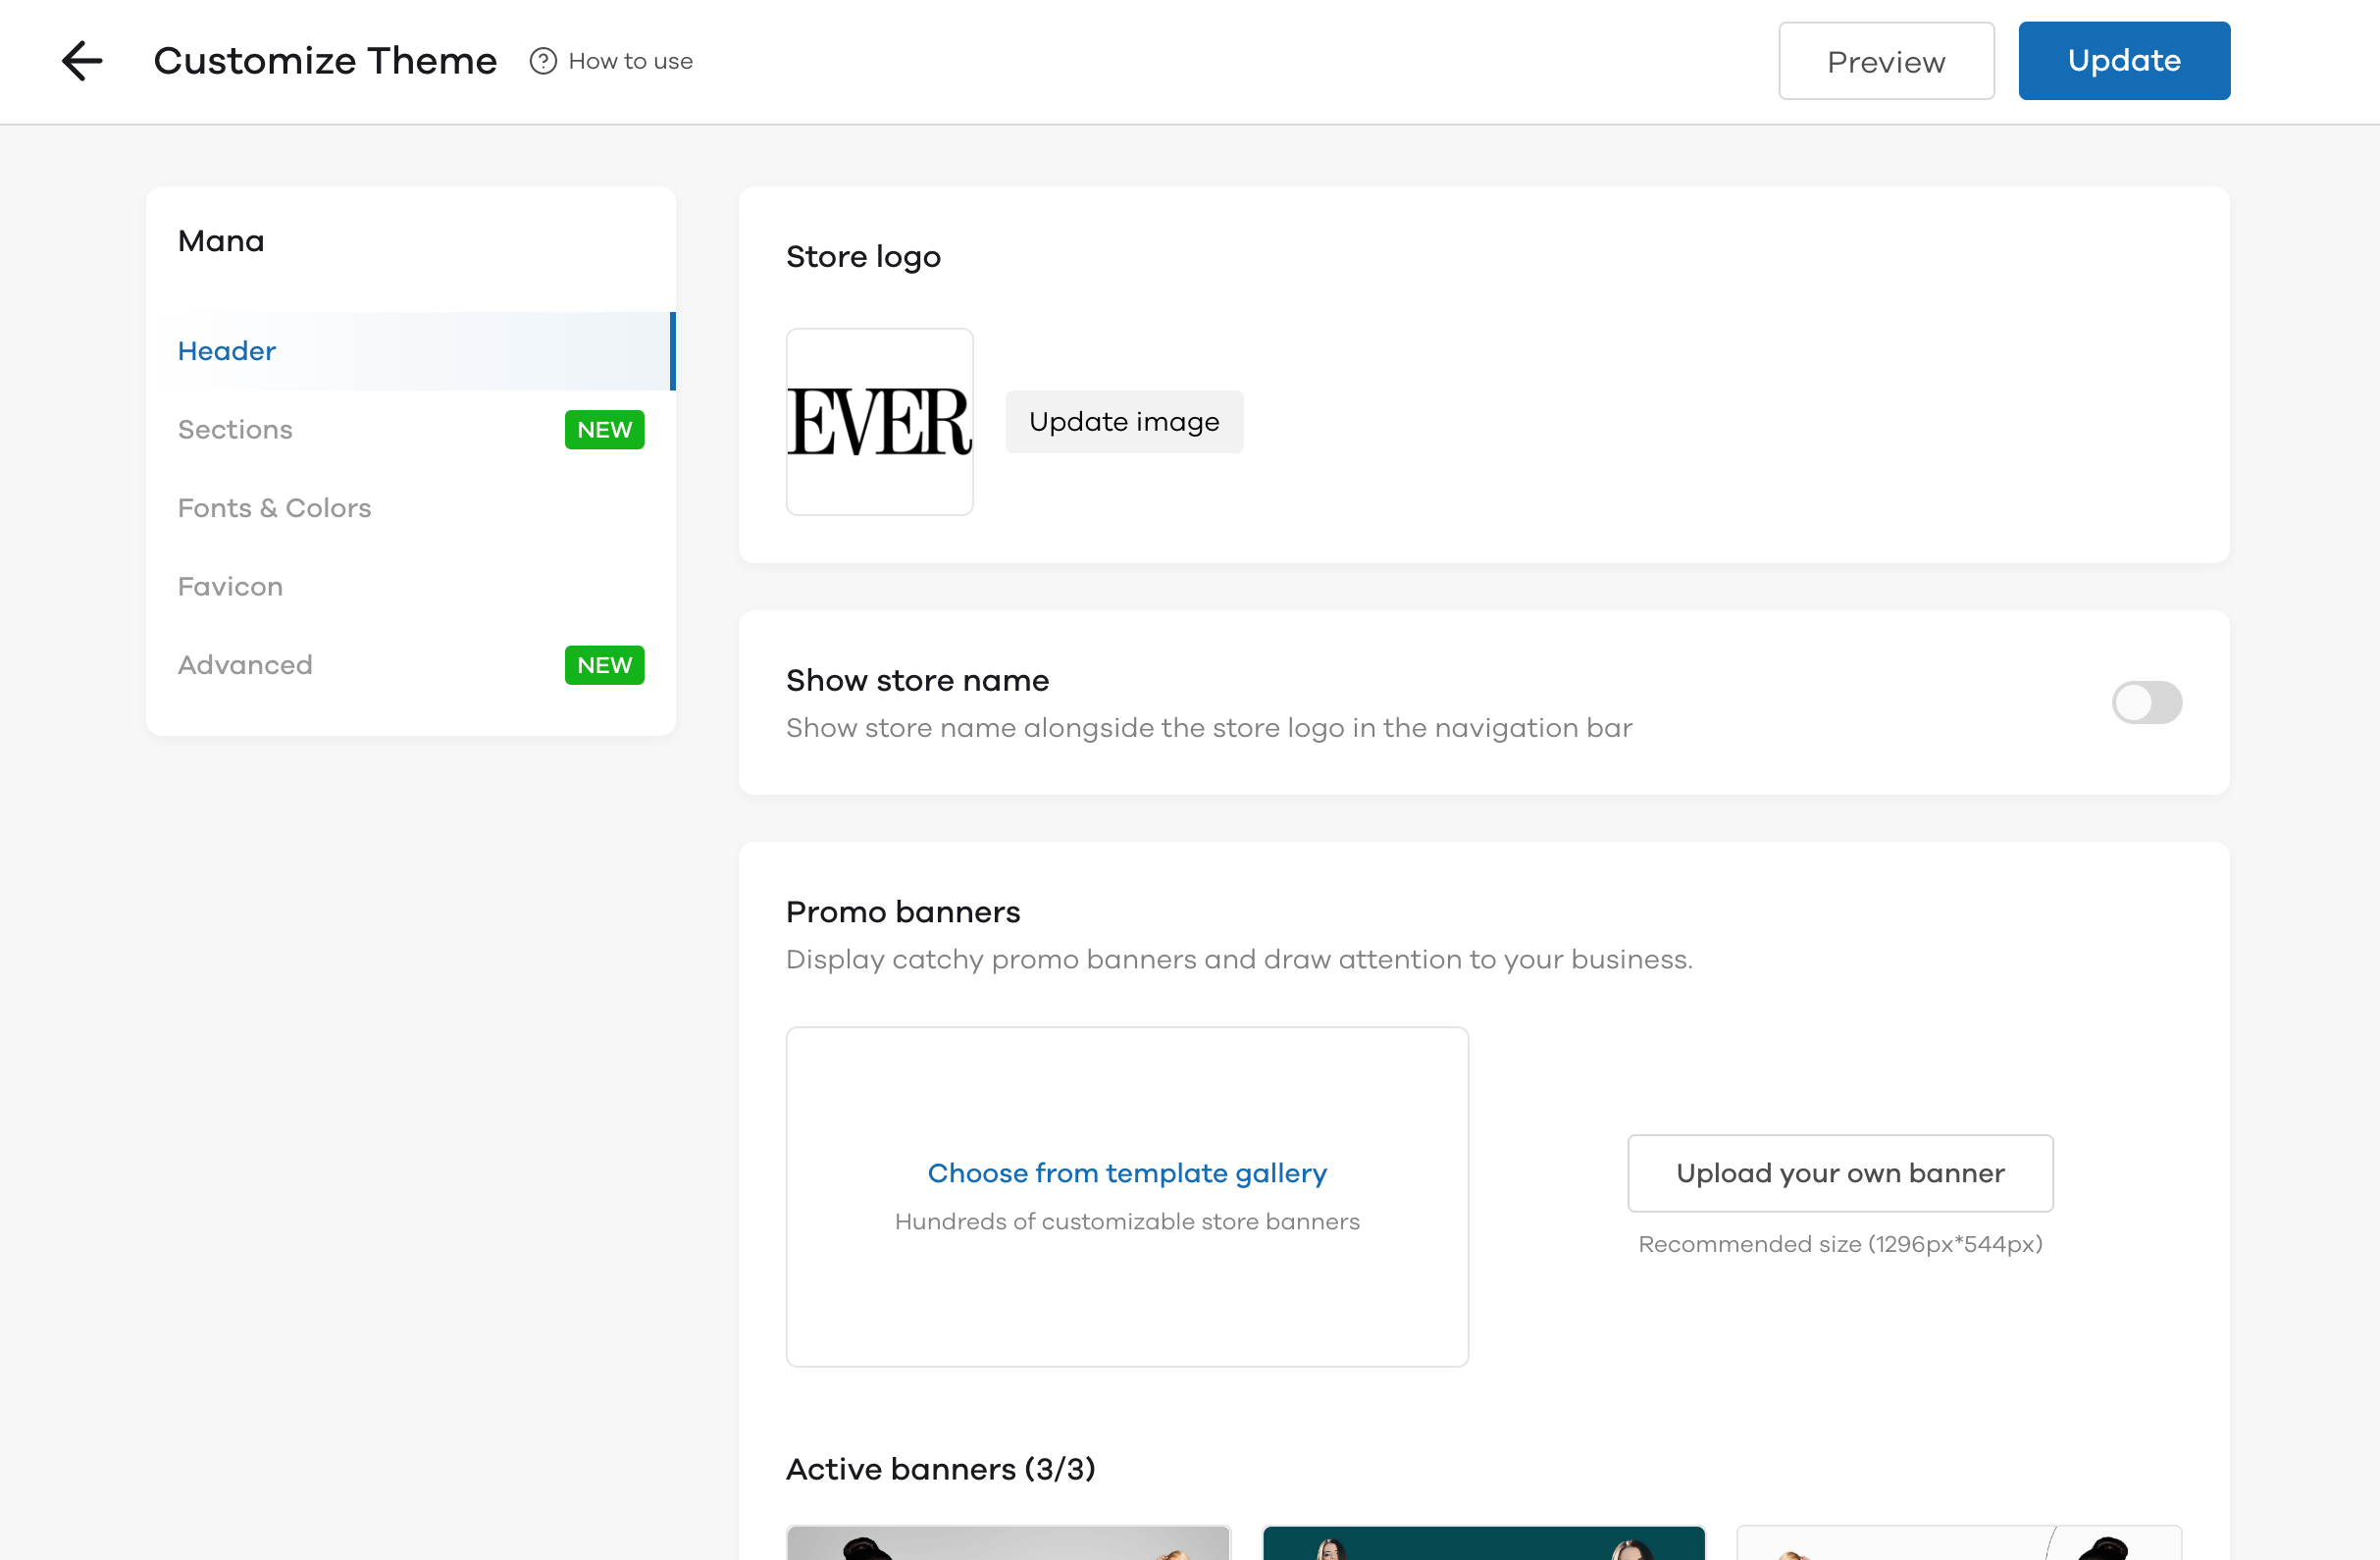
Header:
In the header field, you can edit the following:
- Store logo To edit the store logo, click on Update Image
- Show store name Here you can select whether or not you want to show the Show store name alongside the store logo in the navigation bar by activating or deactivating the toggle.
- Promo banners In this section, you can either add a banner from the template gallery or you can upload your own banner by clicking on Upload your own banner.
After entering the required Header fields, click on Update.
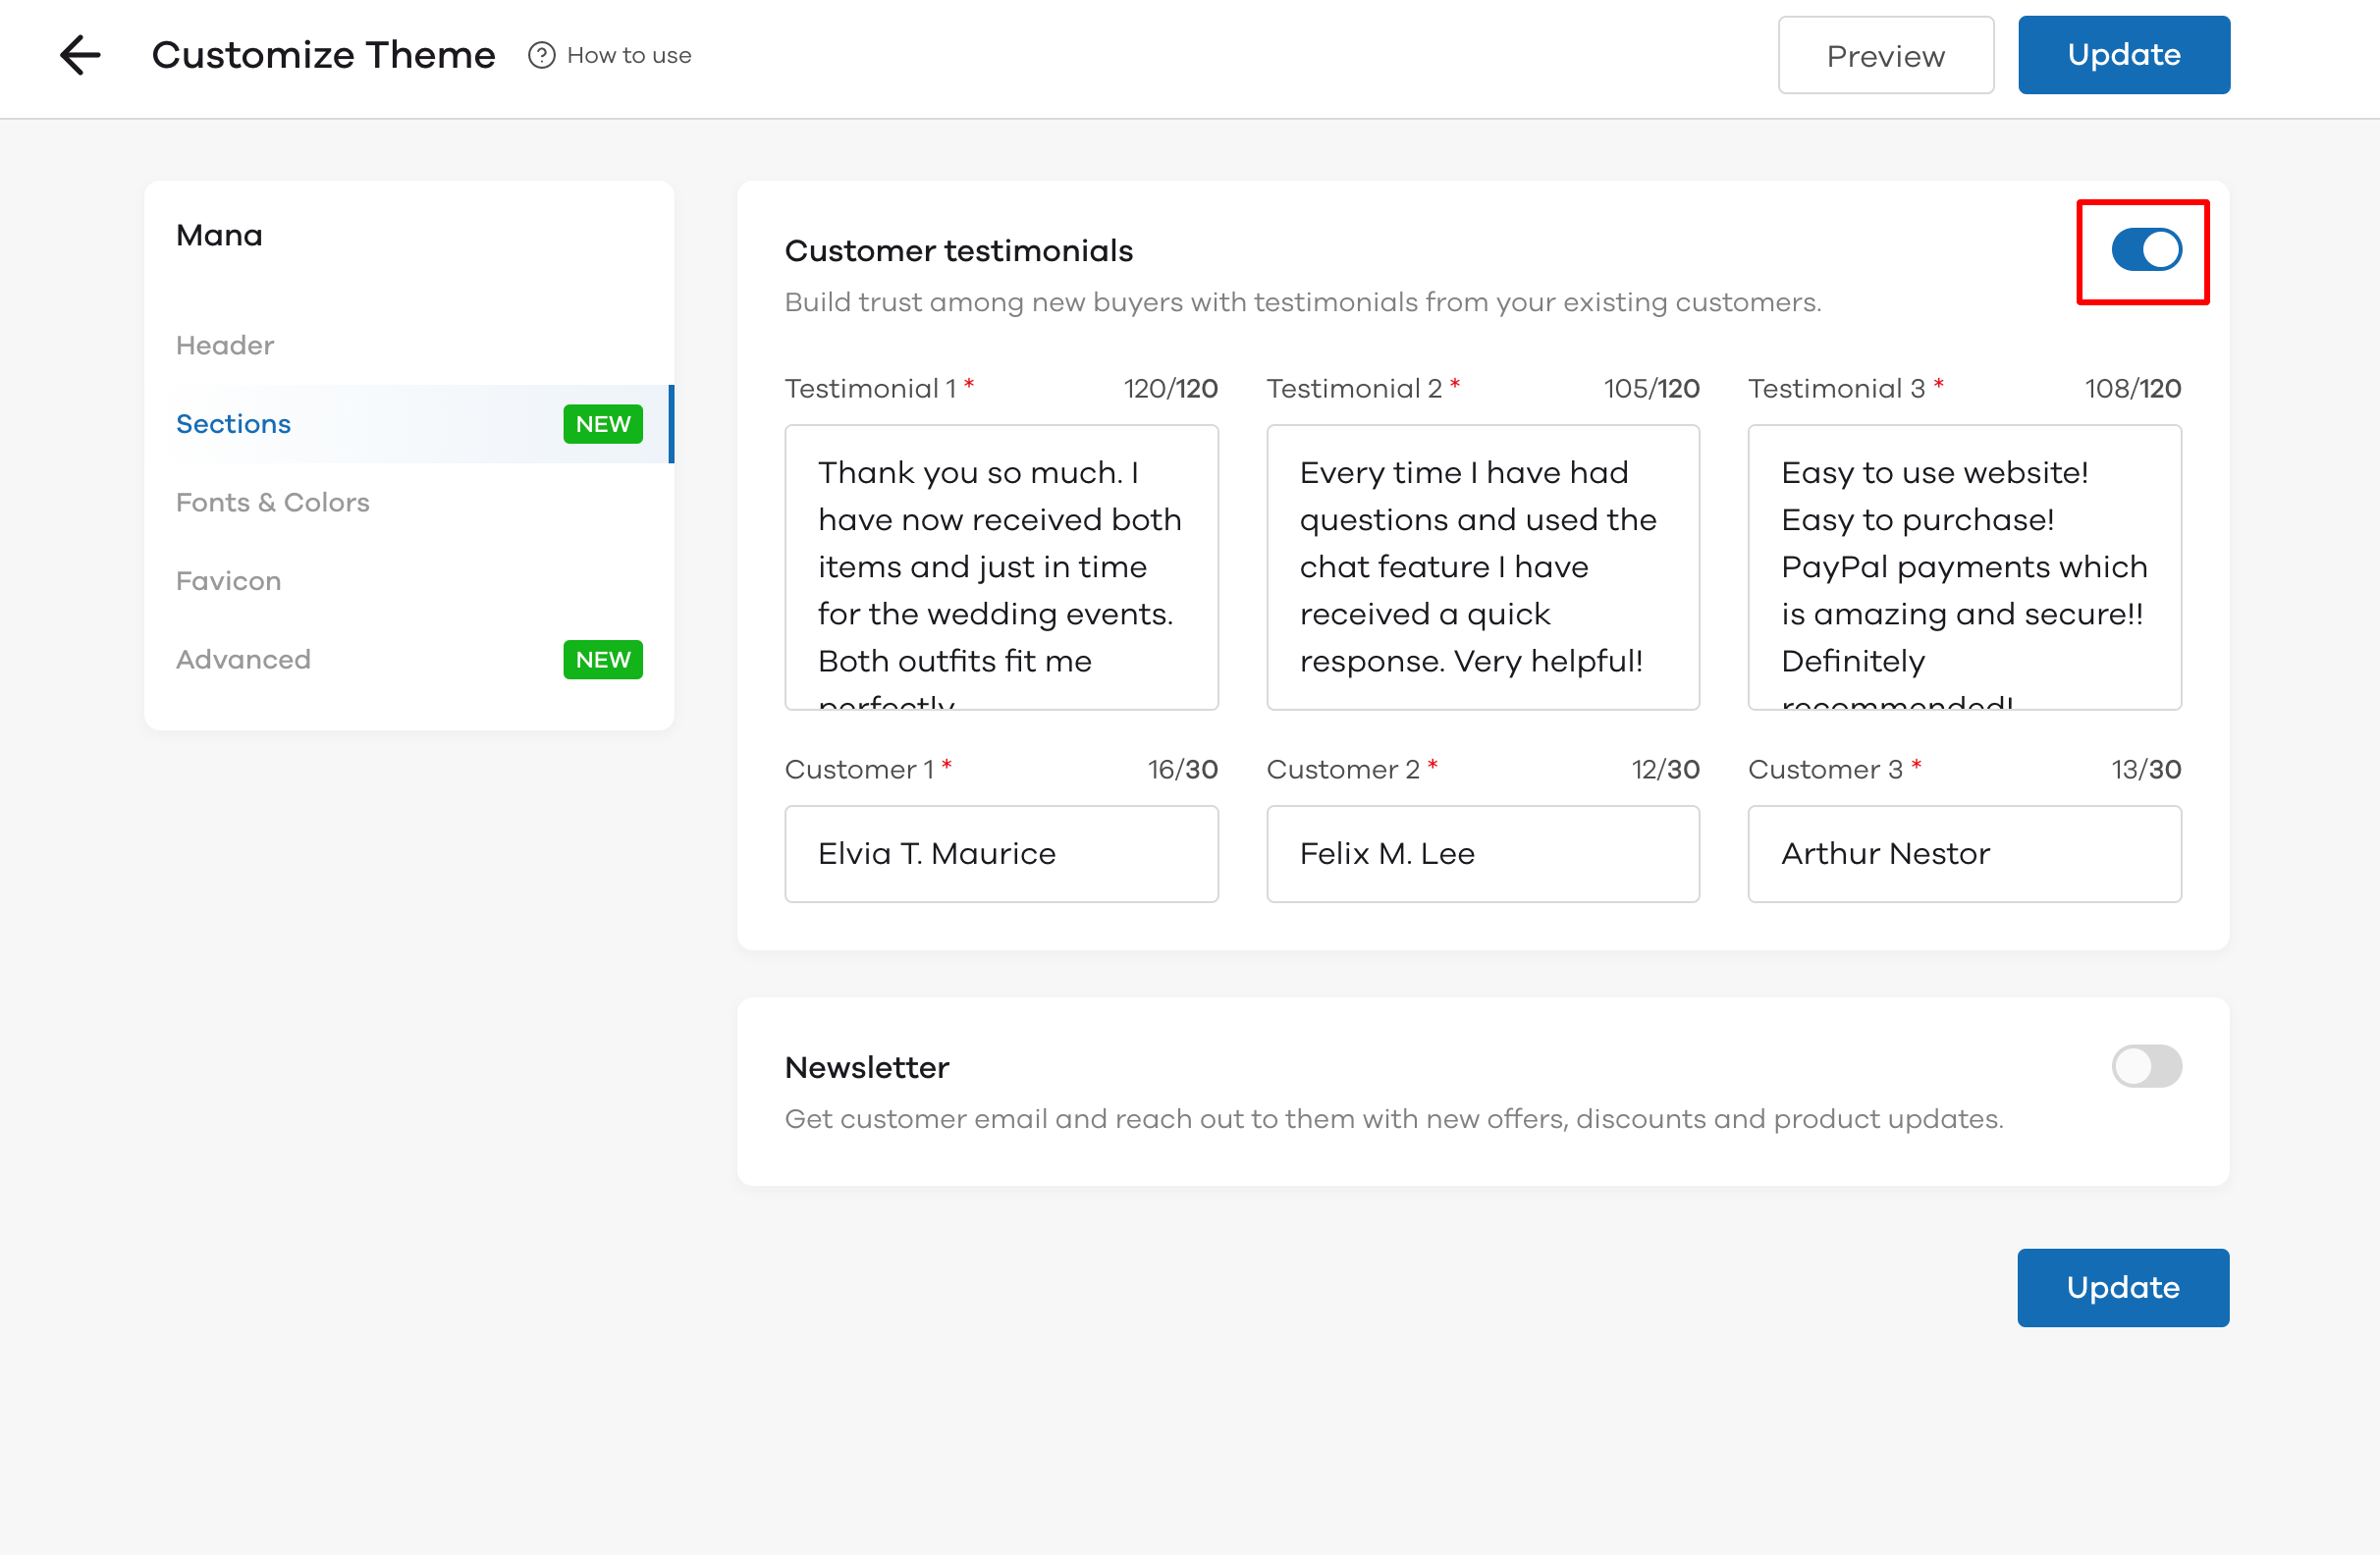
Sections:
- Customer Testimonials With this section, you can showcase top customer reviews on your homepage to build trust among your new customers.
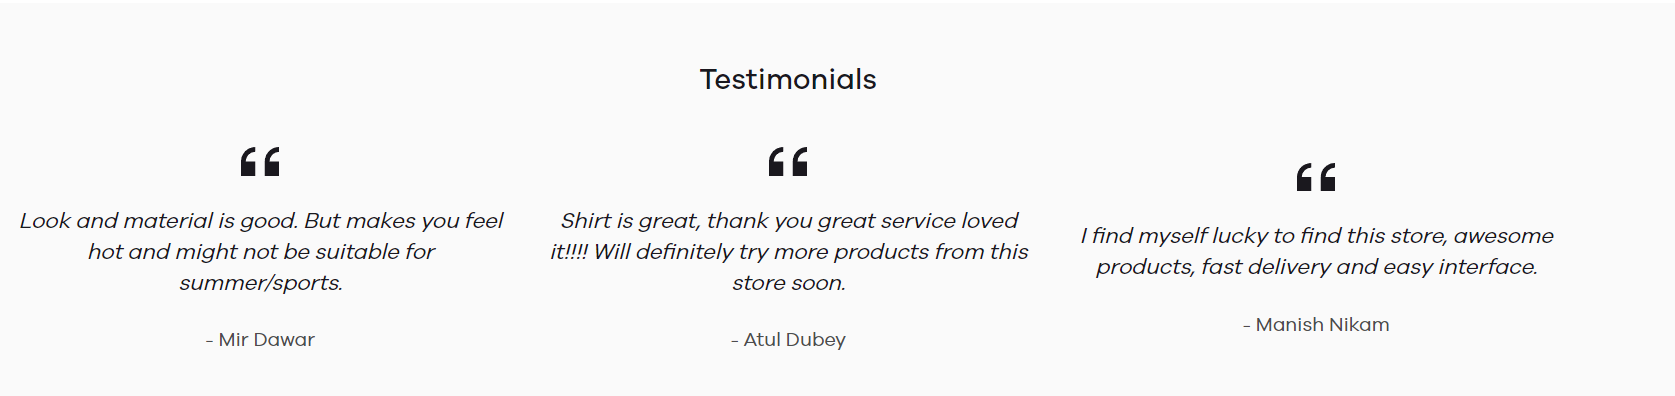
To add this section, enable Customer Testimonials by clicking on the toggle button. Now, you can add up to 3 reviews with testimonial content and the customer's name.
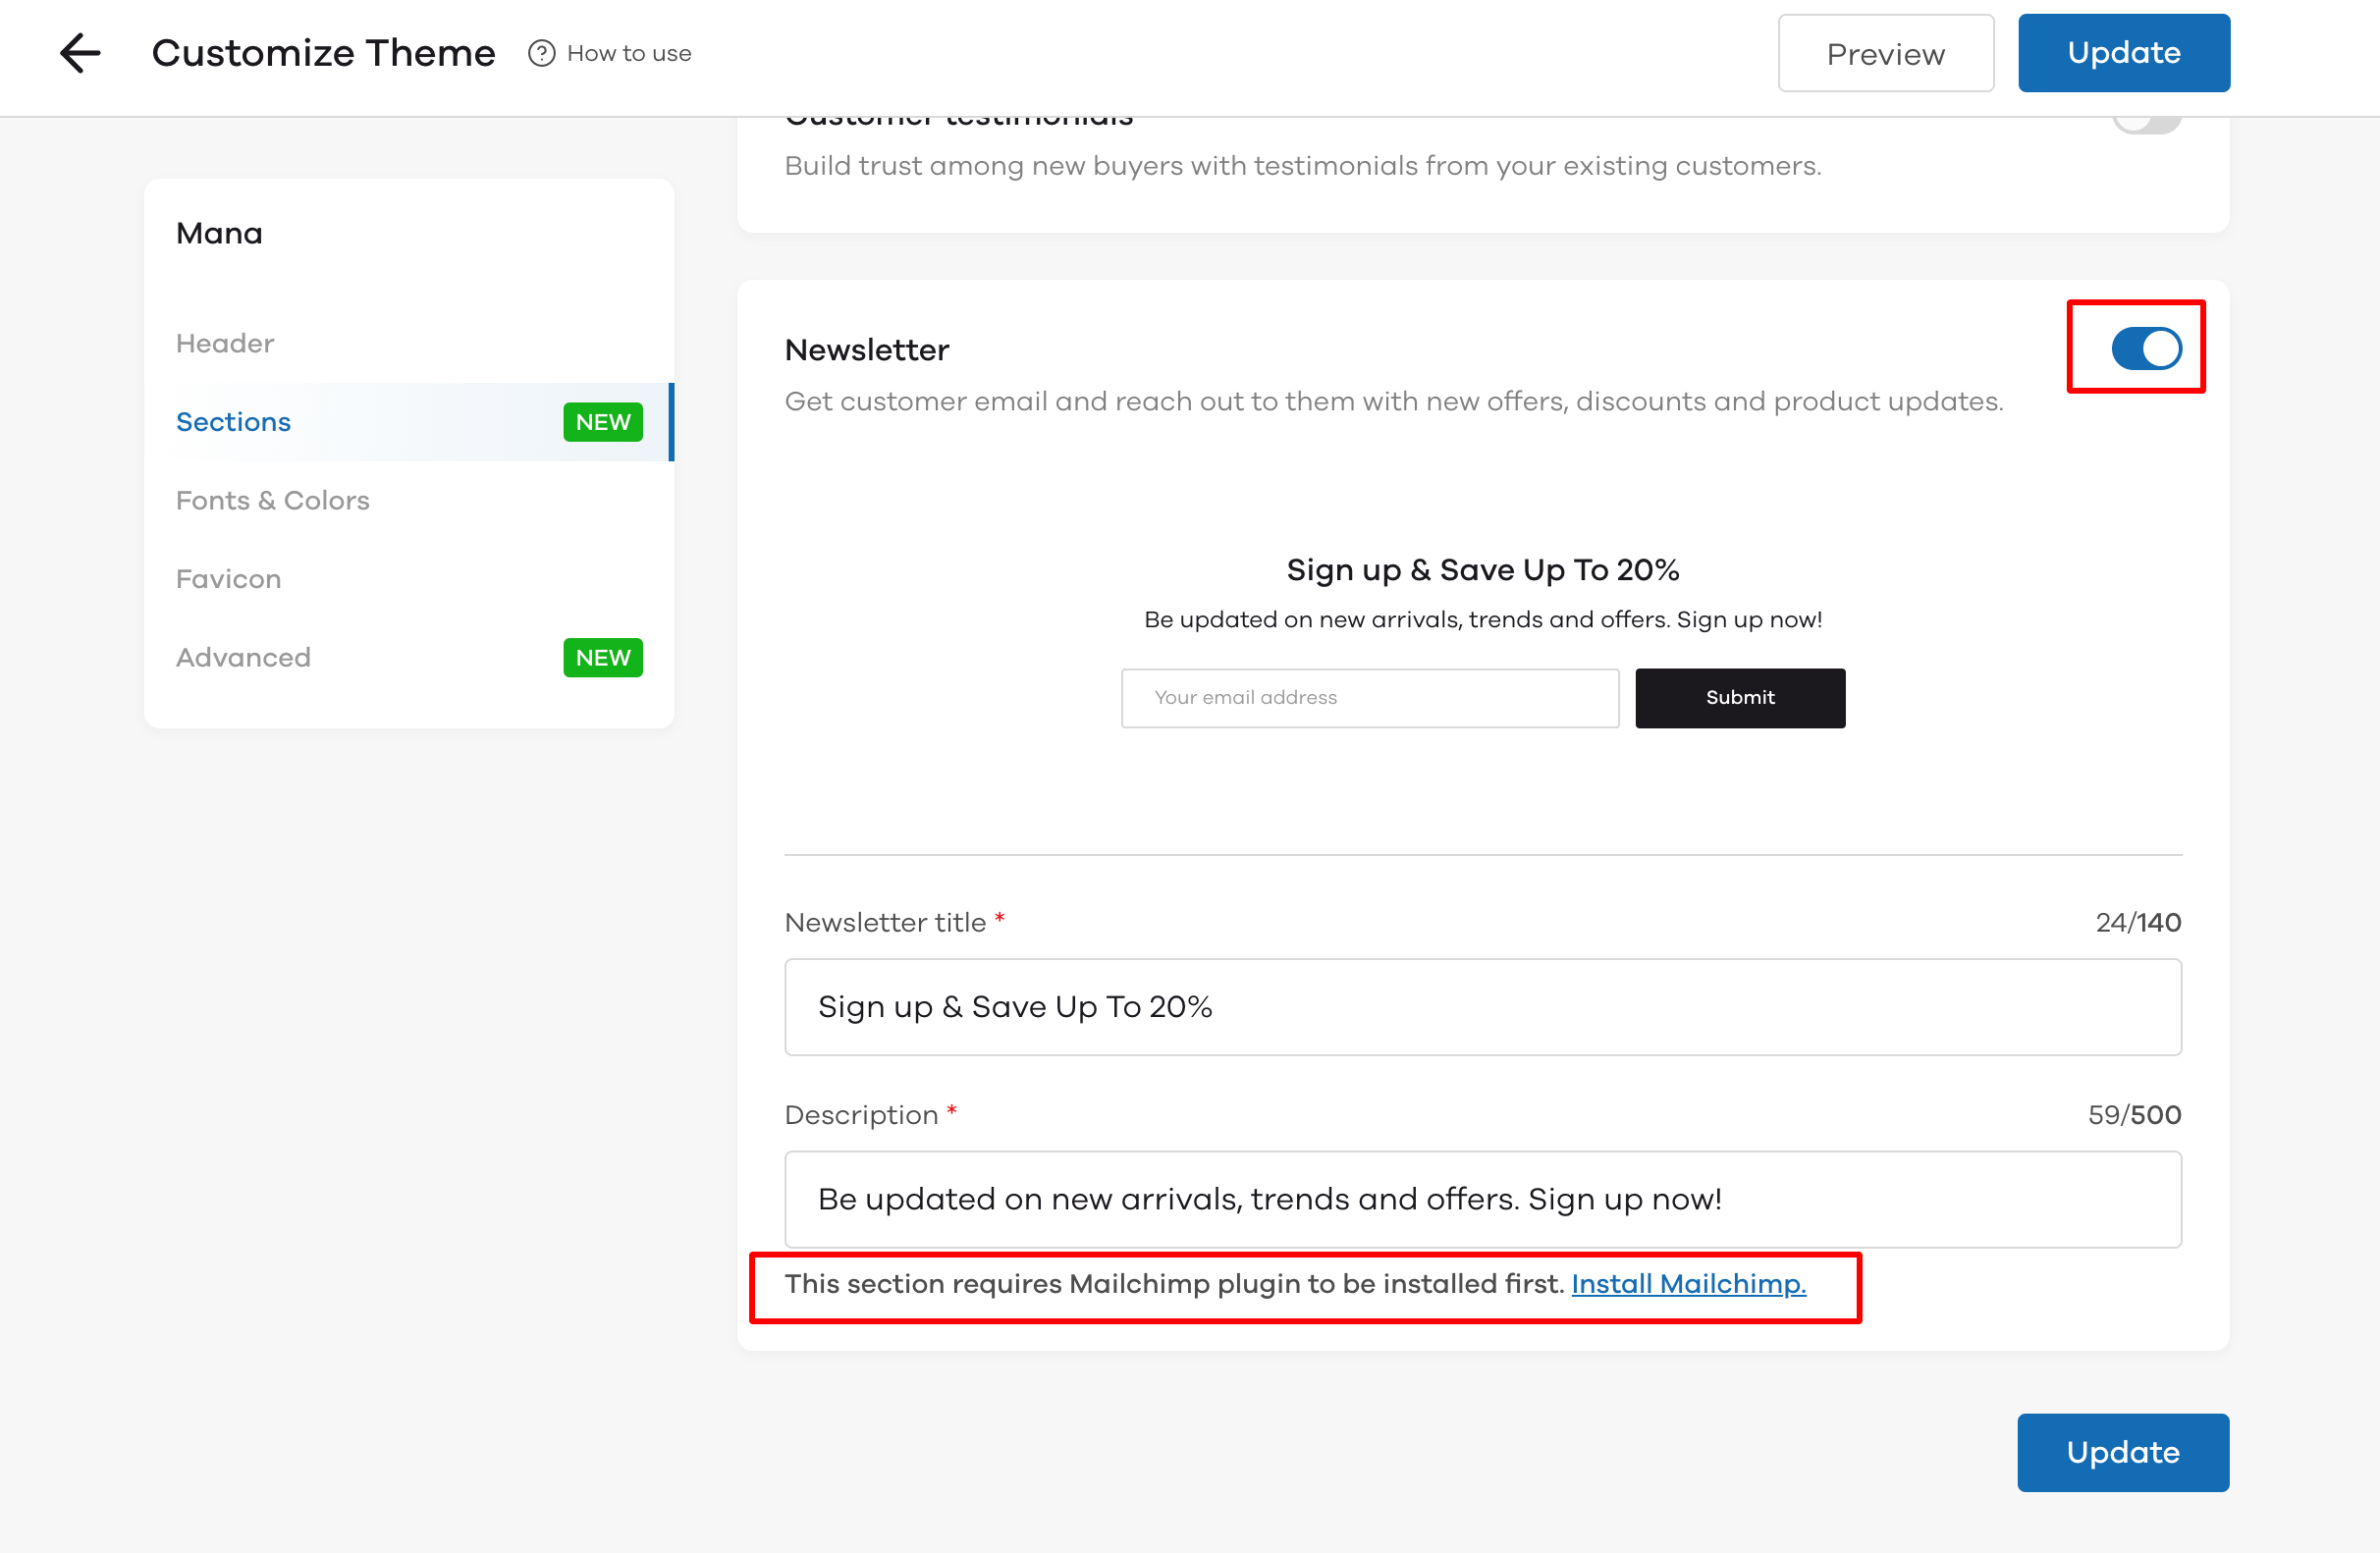
- Newsletter - With this section, you can collect your customers' email address to market them new products, offers, and discounts to get them back to your website.
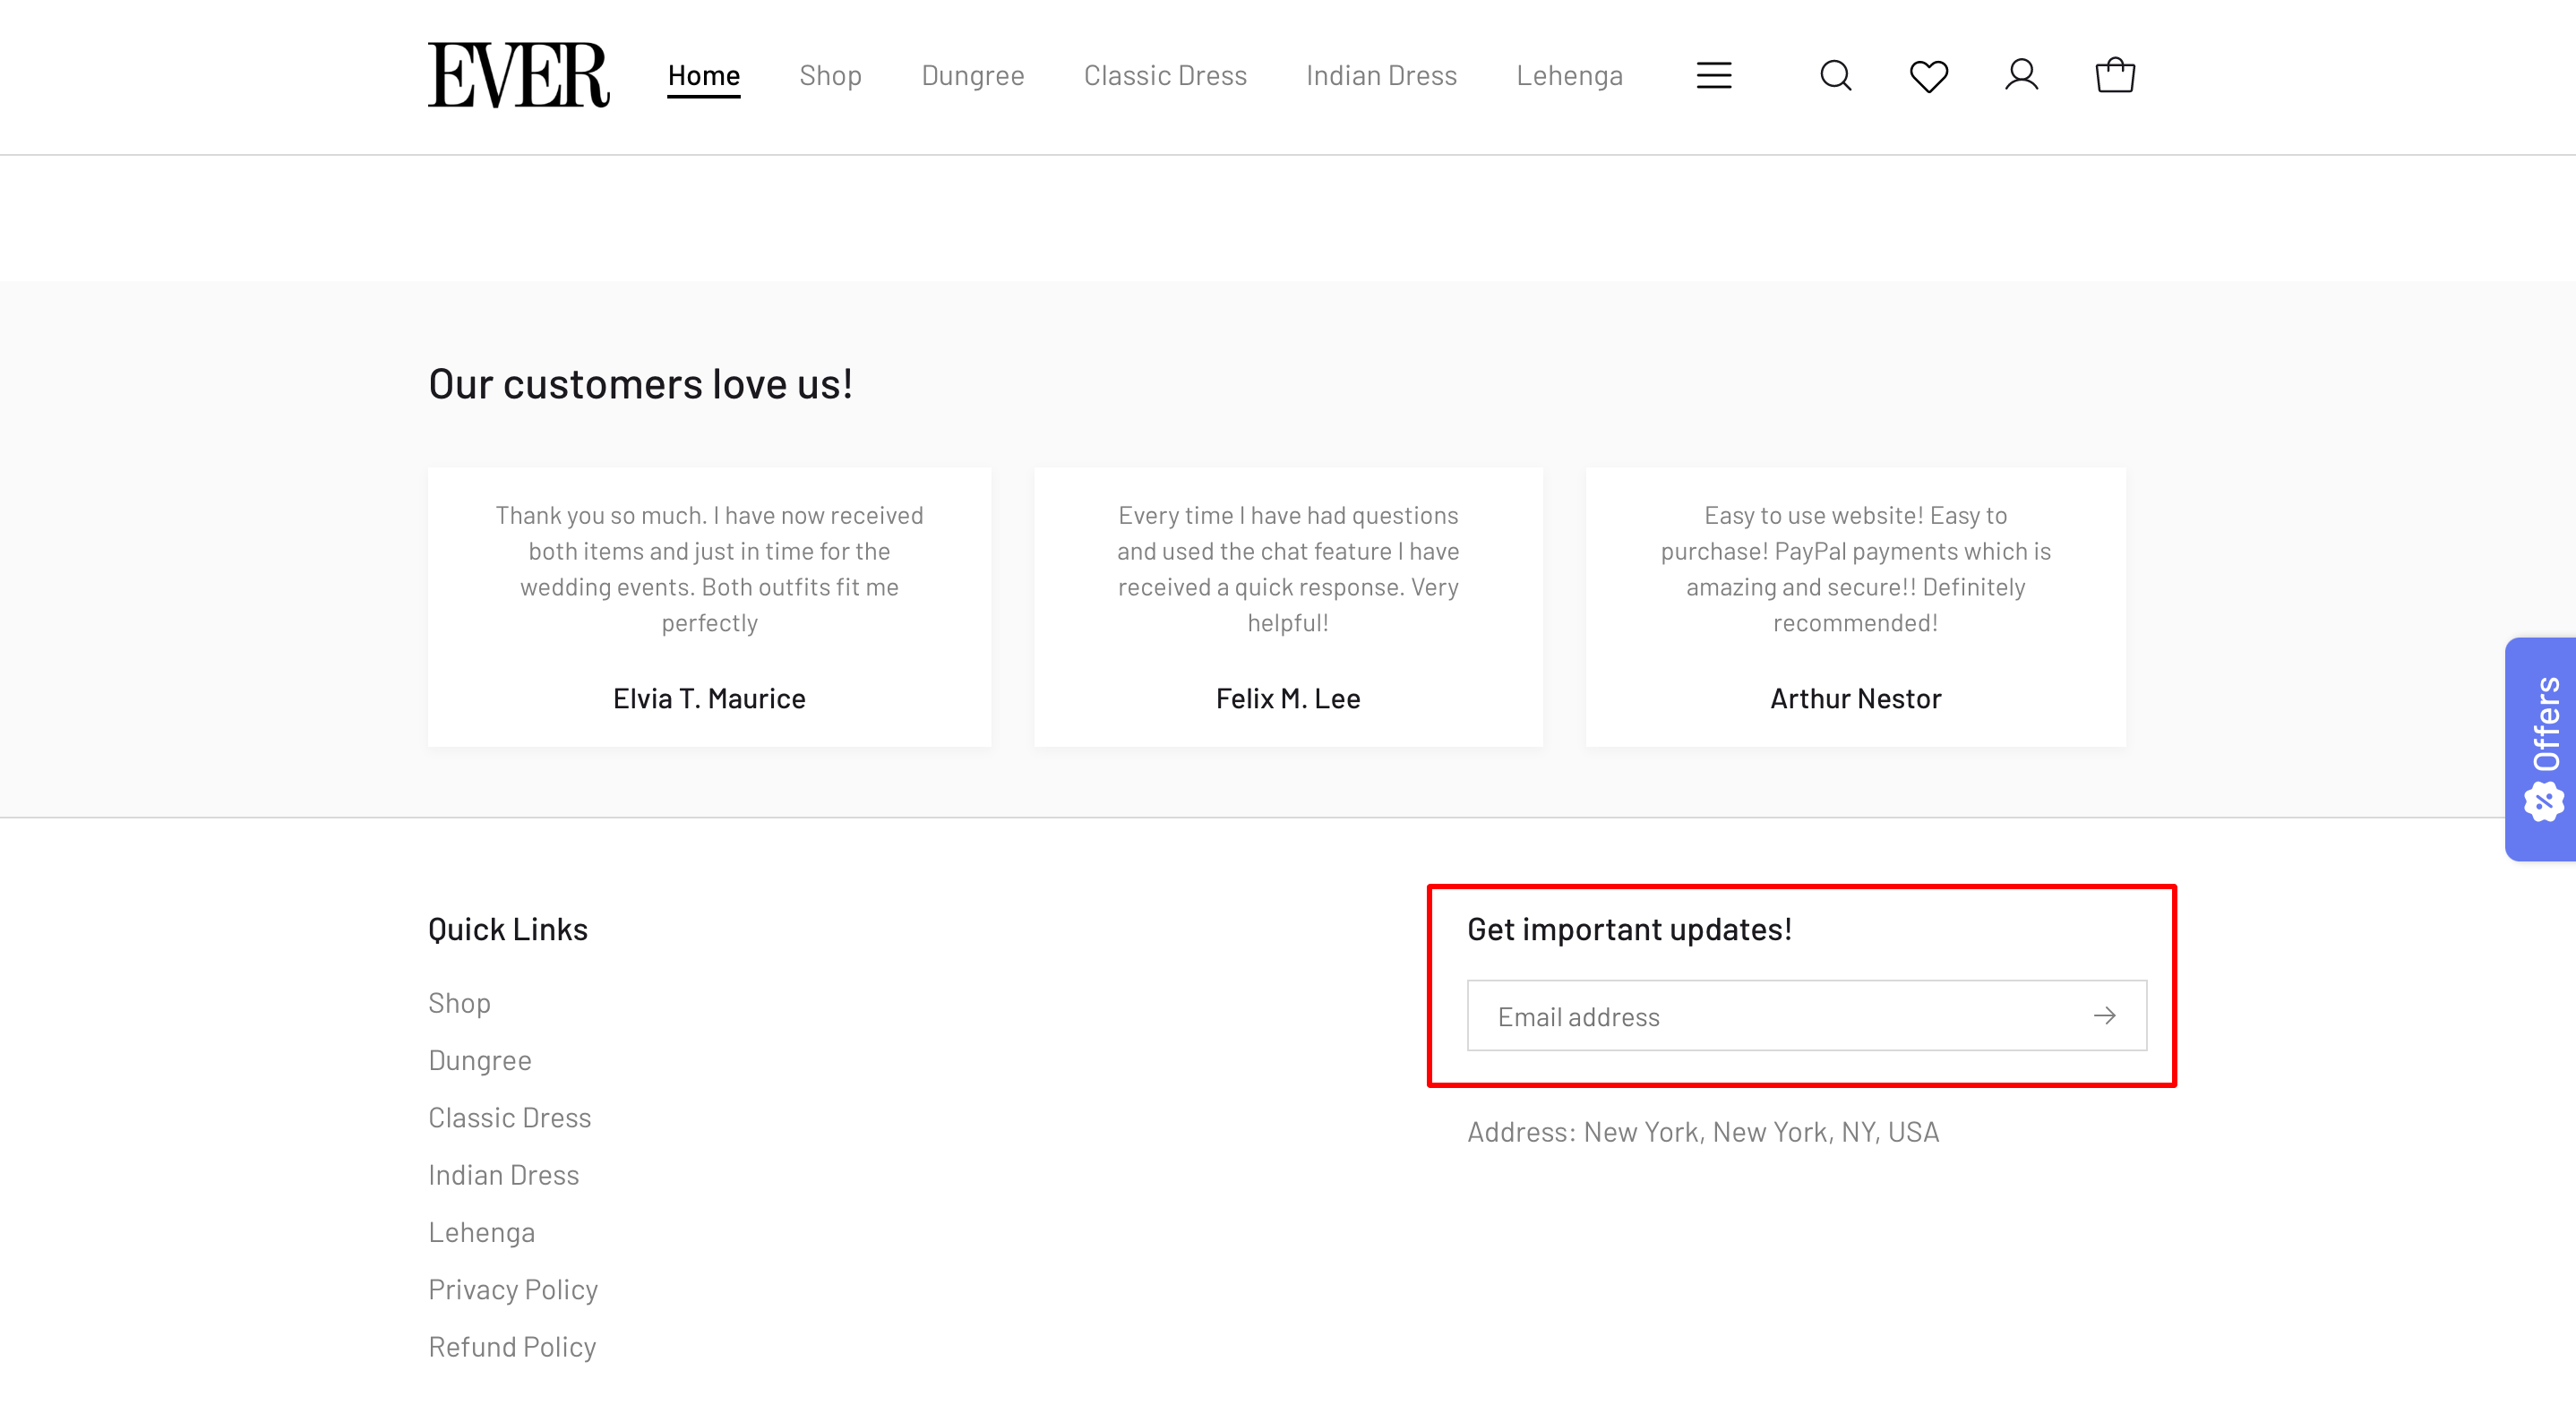
To add this section, enable Newsletter by clicking on the toggle button. Now enter the title and description to make it personalized to your brand.
Note: You need to install the Mailchimp plugin before you can collect emails.
Fonts and Color:
In this section, you can edit the following:
- Font style In this section you can edit the font which will be previewed on your store front.
- Color of the theme Here, you can edit the color palette of your store. To edit the color palette you can either click on the predefined color palettes or you can choose your own colors. To edit your own color palette, click on the color code on Primary/Secondary color. Upon clicking on the color code, an RBG color picker will appear wherein you can either select the desired color or you can enter the RGB code based on your requirements.
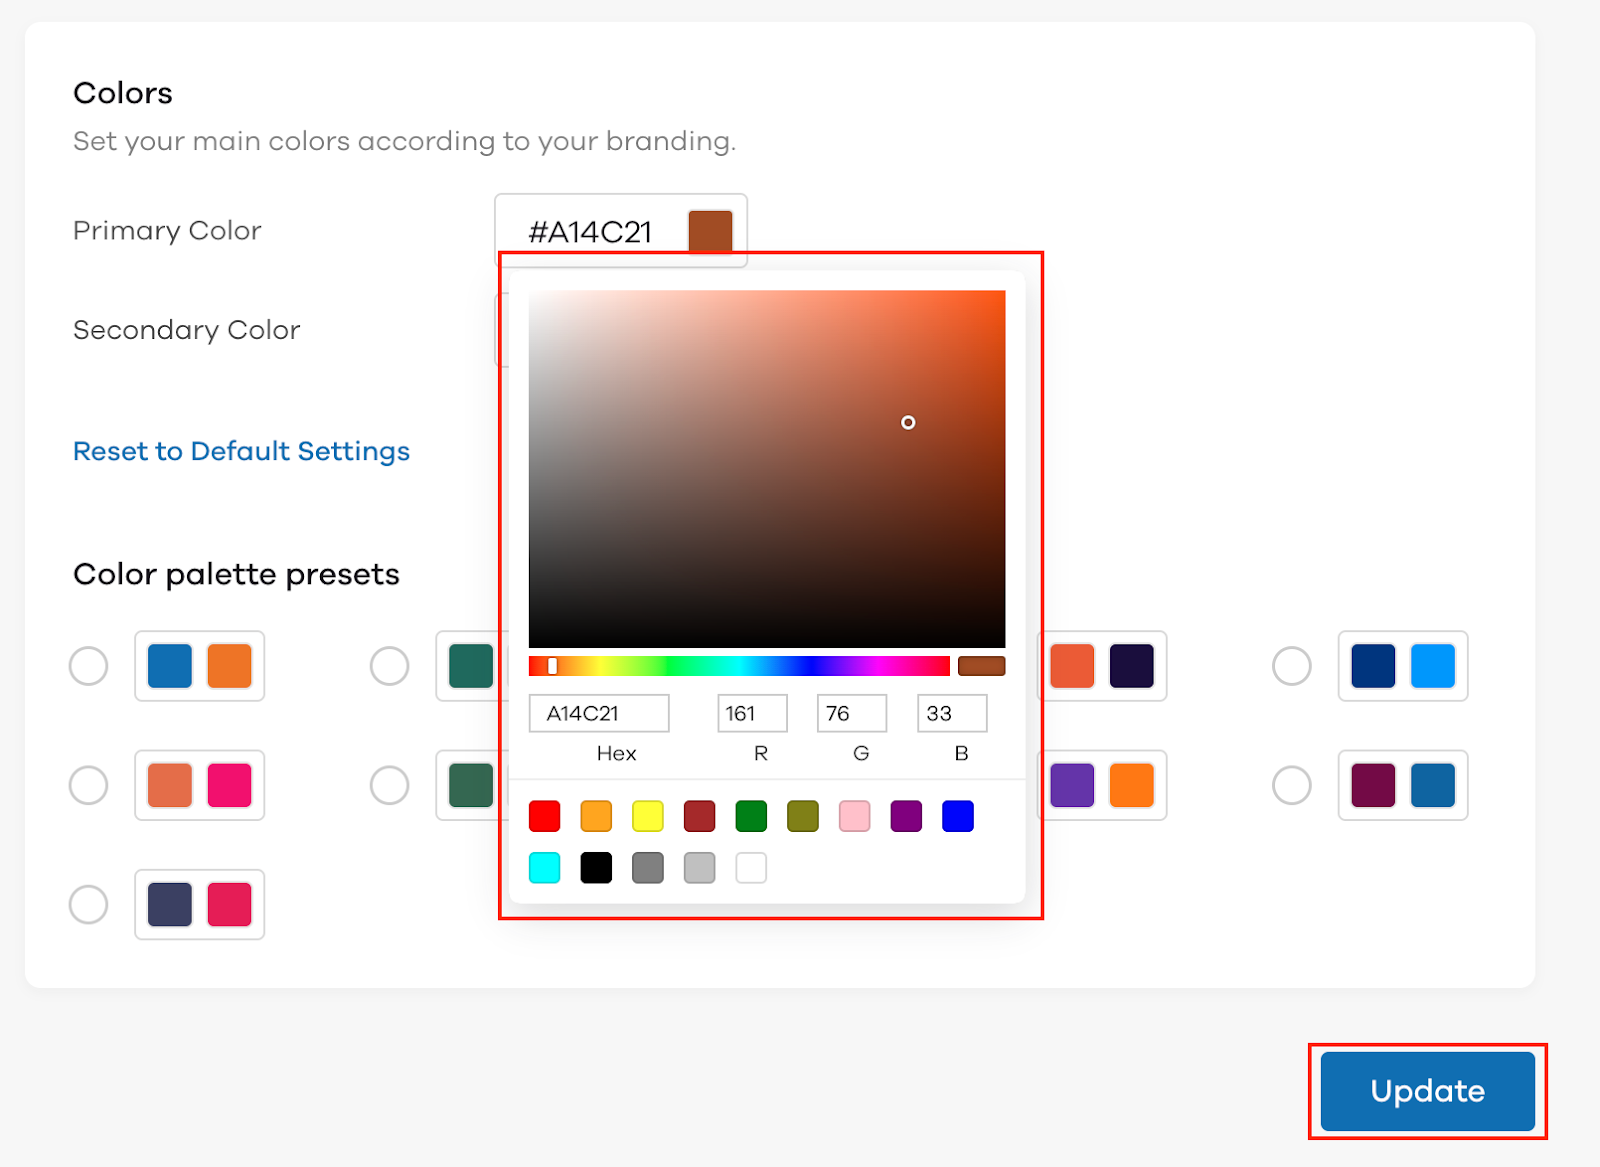
After you’ve chosen your desired color palette, click on Update.
Favicon:
The default favicon on your store will be the Dukaan logo. To edit the Favicon logo: First, click on Favicon. Upon clicking on Favicon, the following will appear.

Click on Change image, to change the favicon of your store. Upon clicking on Change image, you will need to select the desired image from your computer. Once you’ve selected the required image, click on Update.
Advanced
In this section, the seller can choose to display the Add to bag button and also Add custom CSS.
- Add to bag: Click on the toggle beside Add to bag to activate the button
- Custom CSS
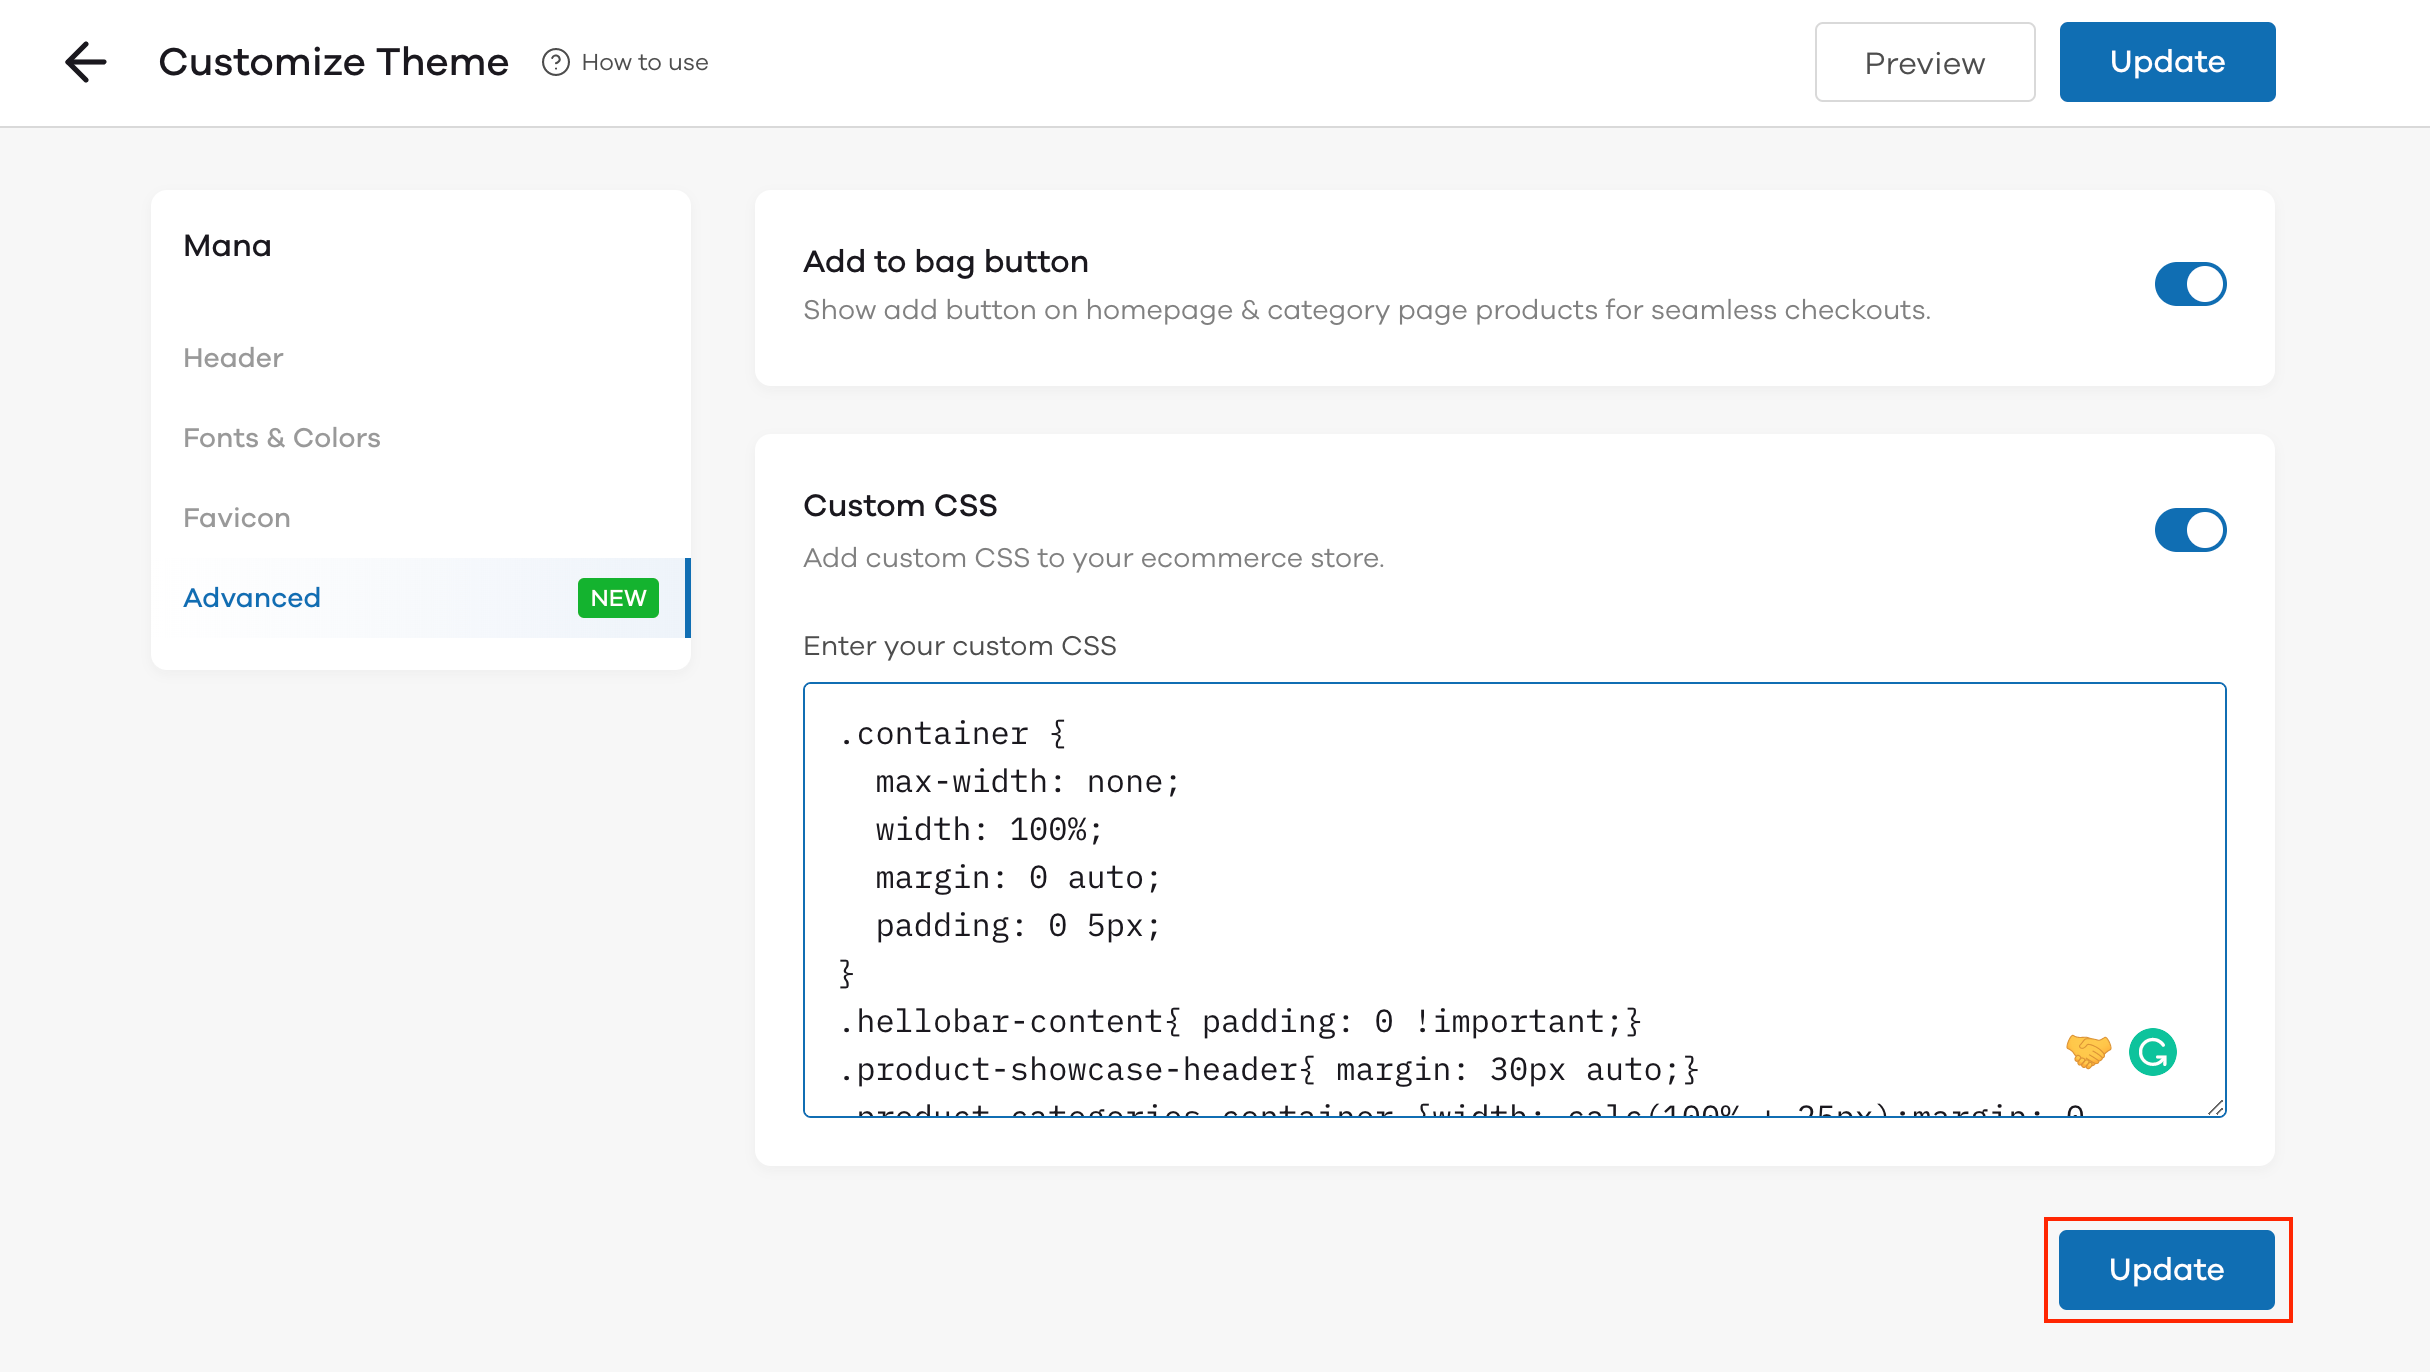
The custom CSS function allows the store owner to edit the theme of his store by adding custom CSS codes to the website. The store owner can edit various functionalities like Product size, font size, visibility, etc.
To add custom CSS to your store, you first need to activate the Custom CSS button. Upon activating the button, you will be able to enter the CSS code in the section provided.
To know more about adding custom CSS, click here.
After you’ve entered the code and made the desired changes, click on Update.
How to edit the pages on the Mana theme?
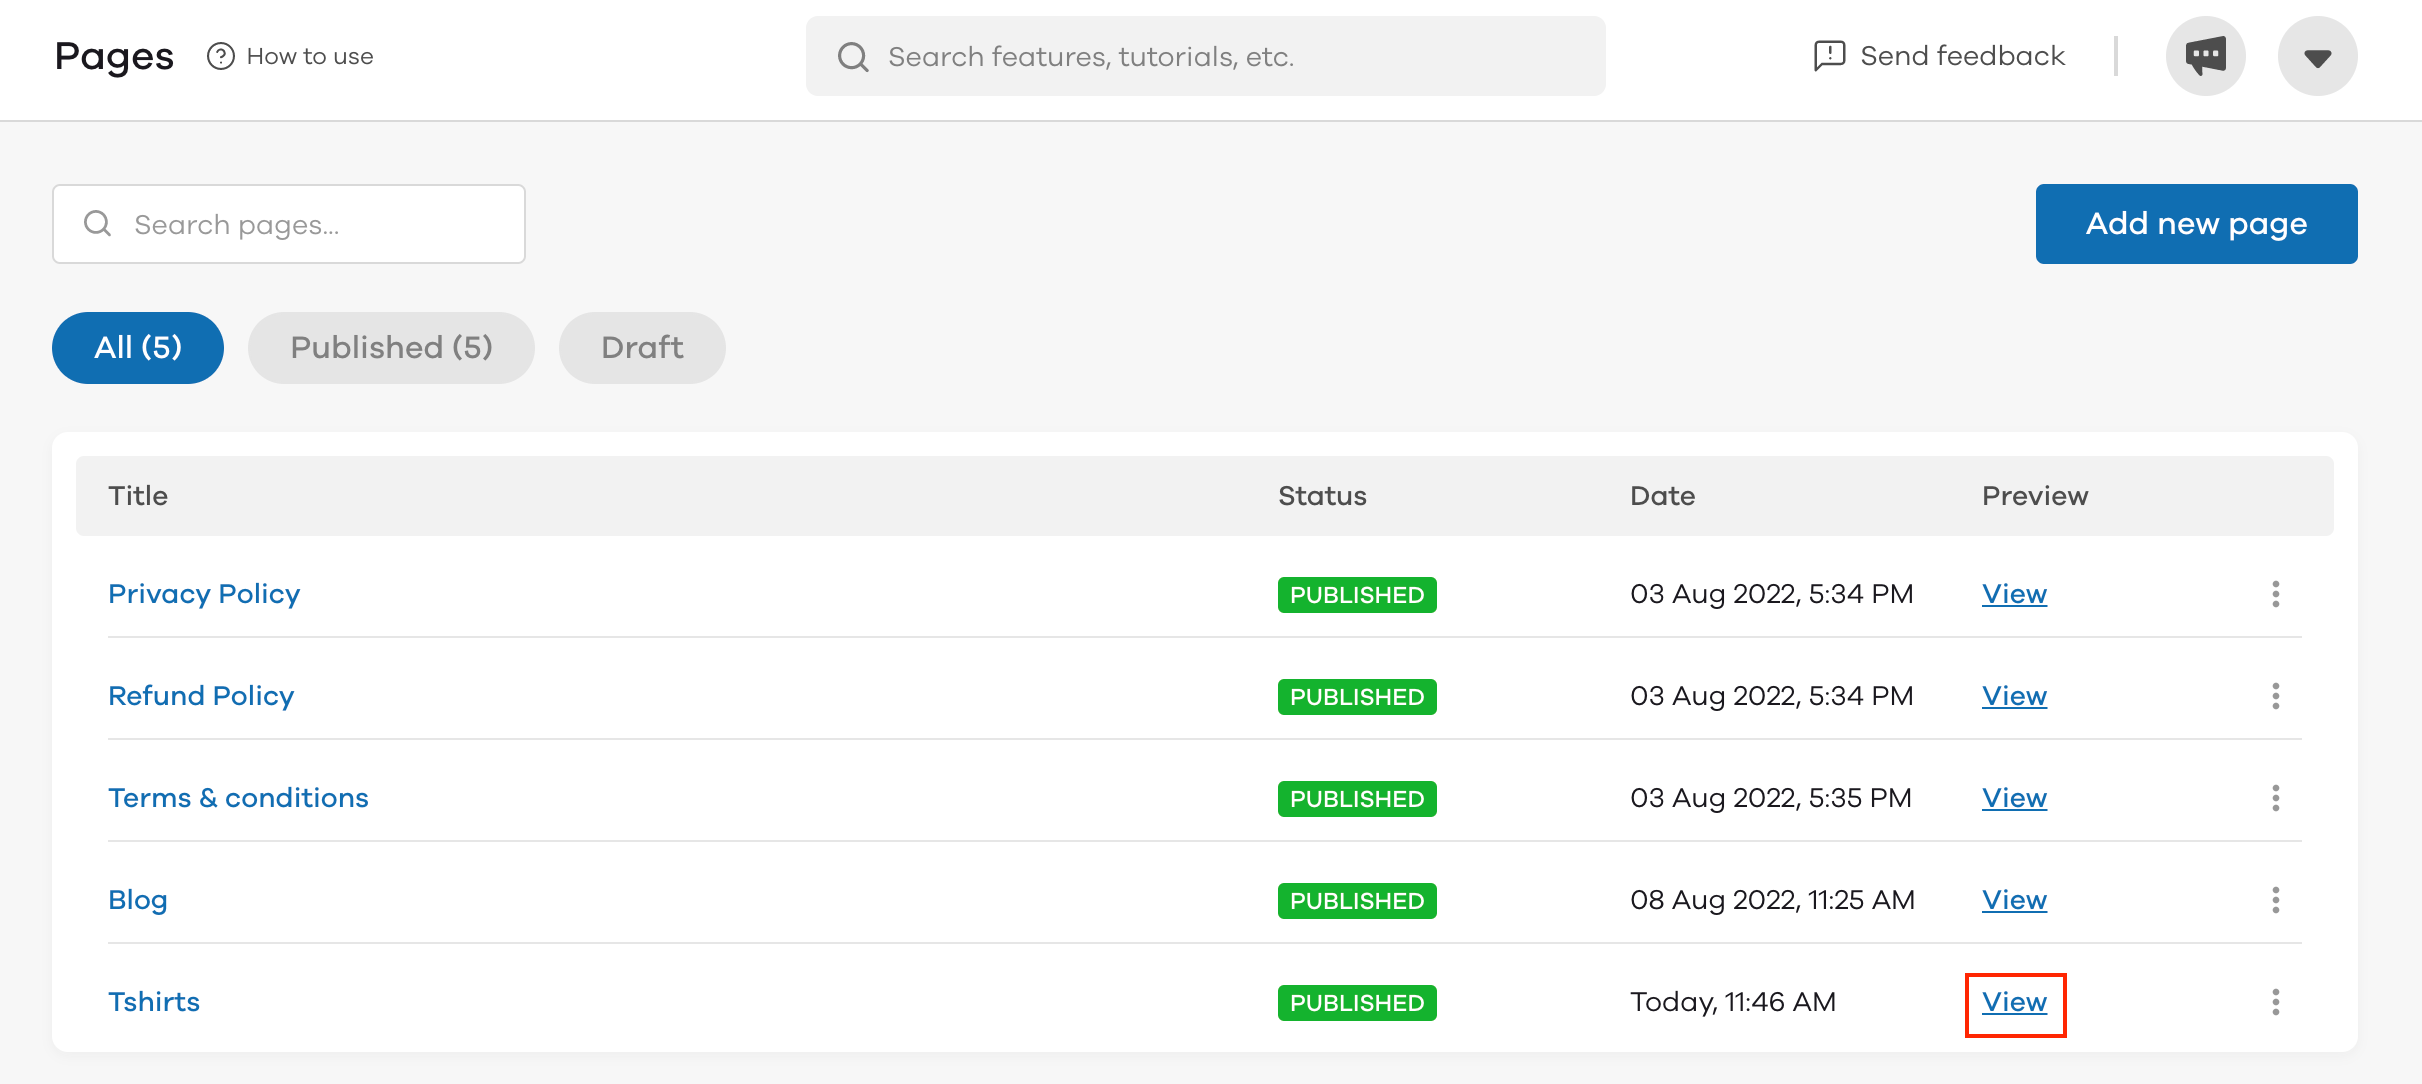
To edit the pages, click on Pages below themes. Upon clicking on Pages, the following screen will appear.

To add a new page, click on Add new page. Here, you will be presented with 3 sections:
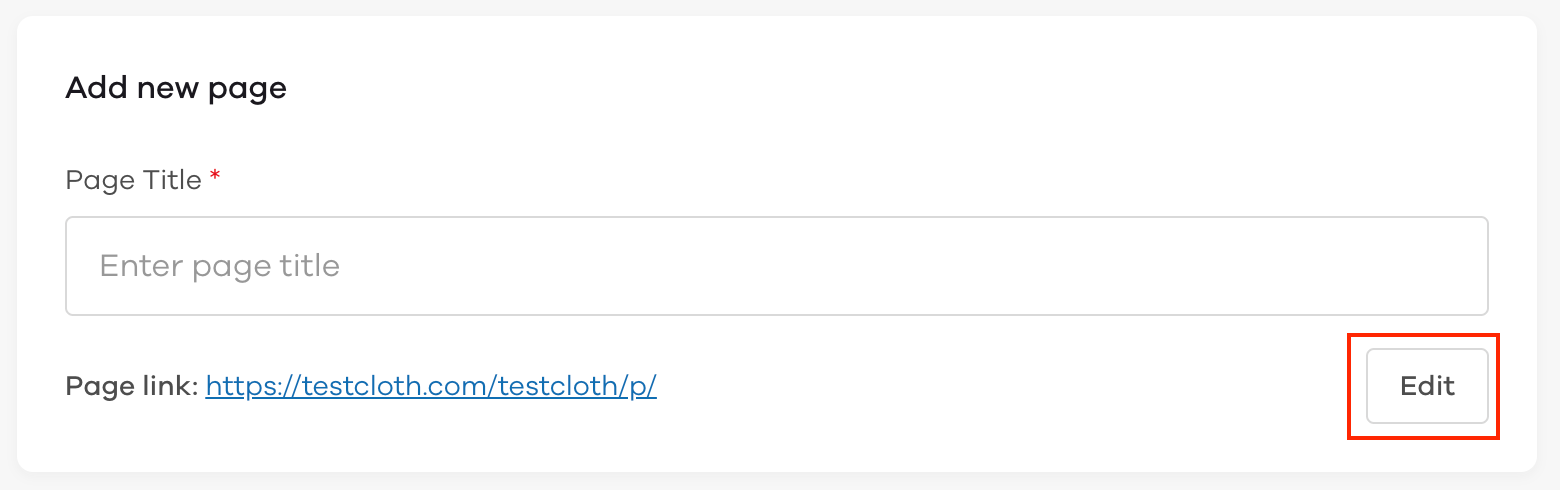
- Add new page In this section, you can enter the title of the page in the textbox below Page title. Upon entering the title of the page, you can also edit the page link by clicking on the Edit button.
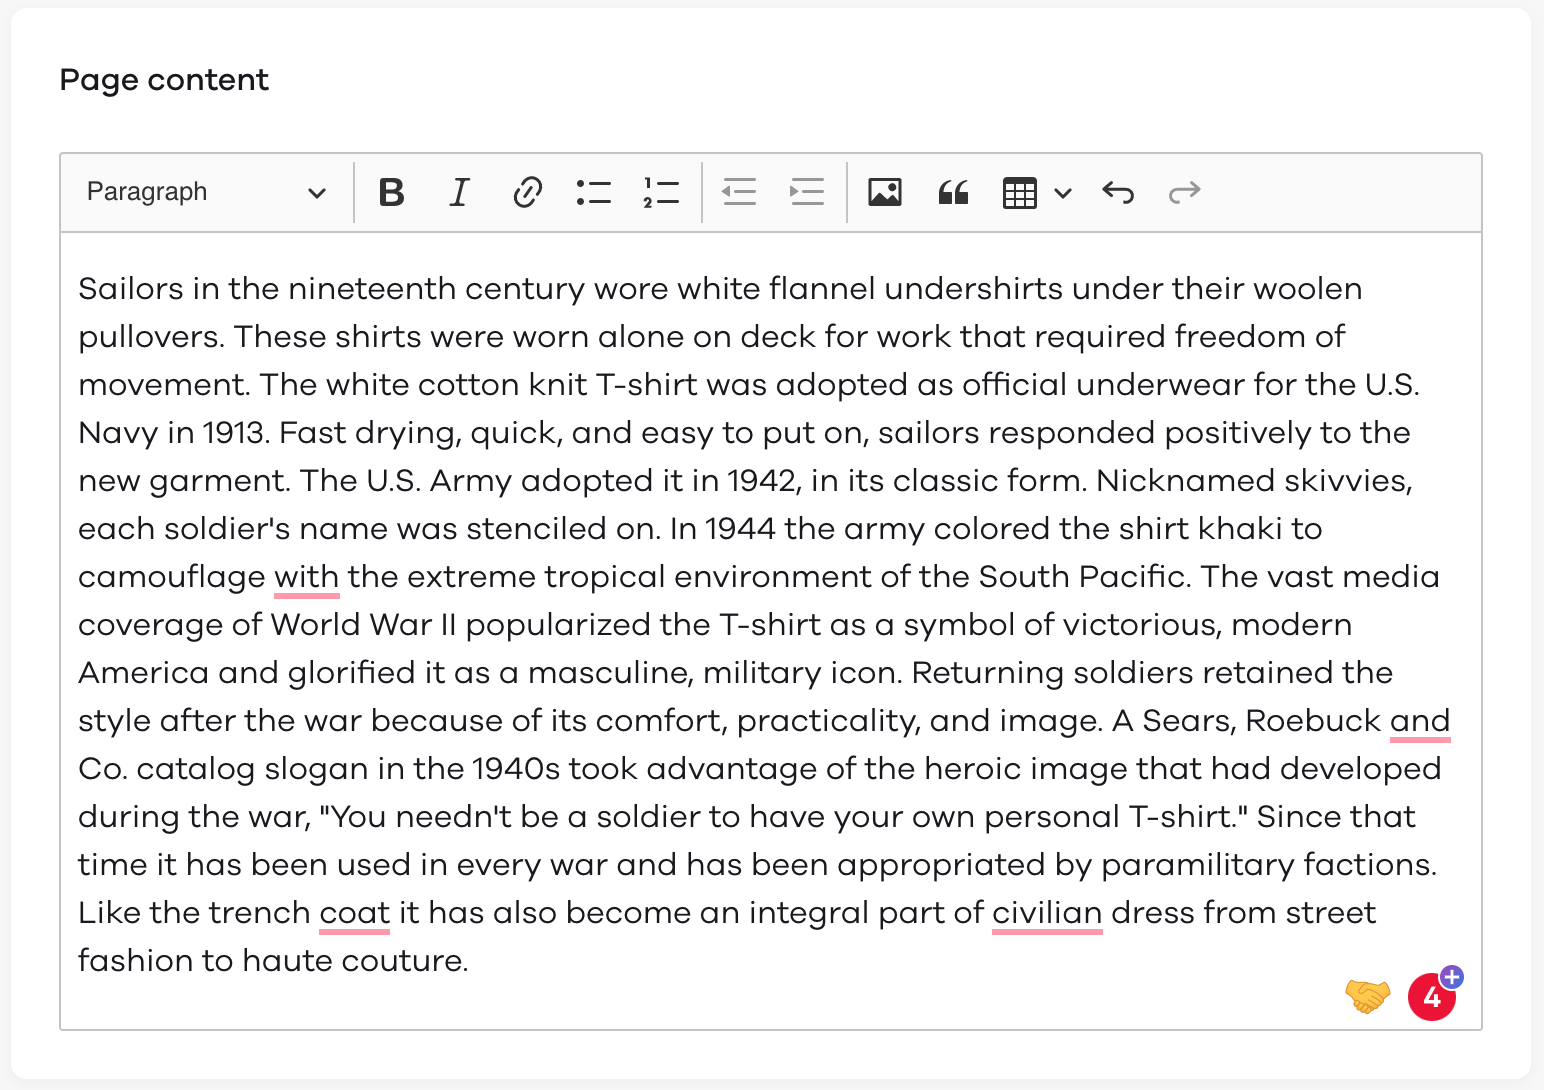
- Page Content Here, you can enter the content you want to display on the page.
- Dukaan SEO (Note: This will be activated only if you have installed the Dukaan All-in-one SEO plugin)In this section you can enter the following: - Title tag The title that will be visible on Google - Meta Description Tag The description that will be present on Google -Social sharing image preview. The image that will be displayed when your page is searched for on Google.
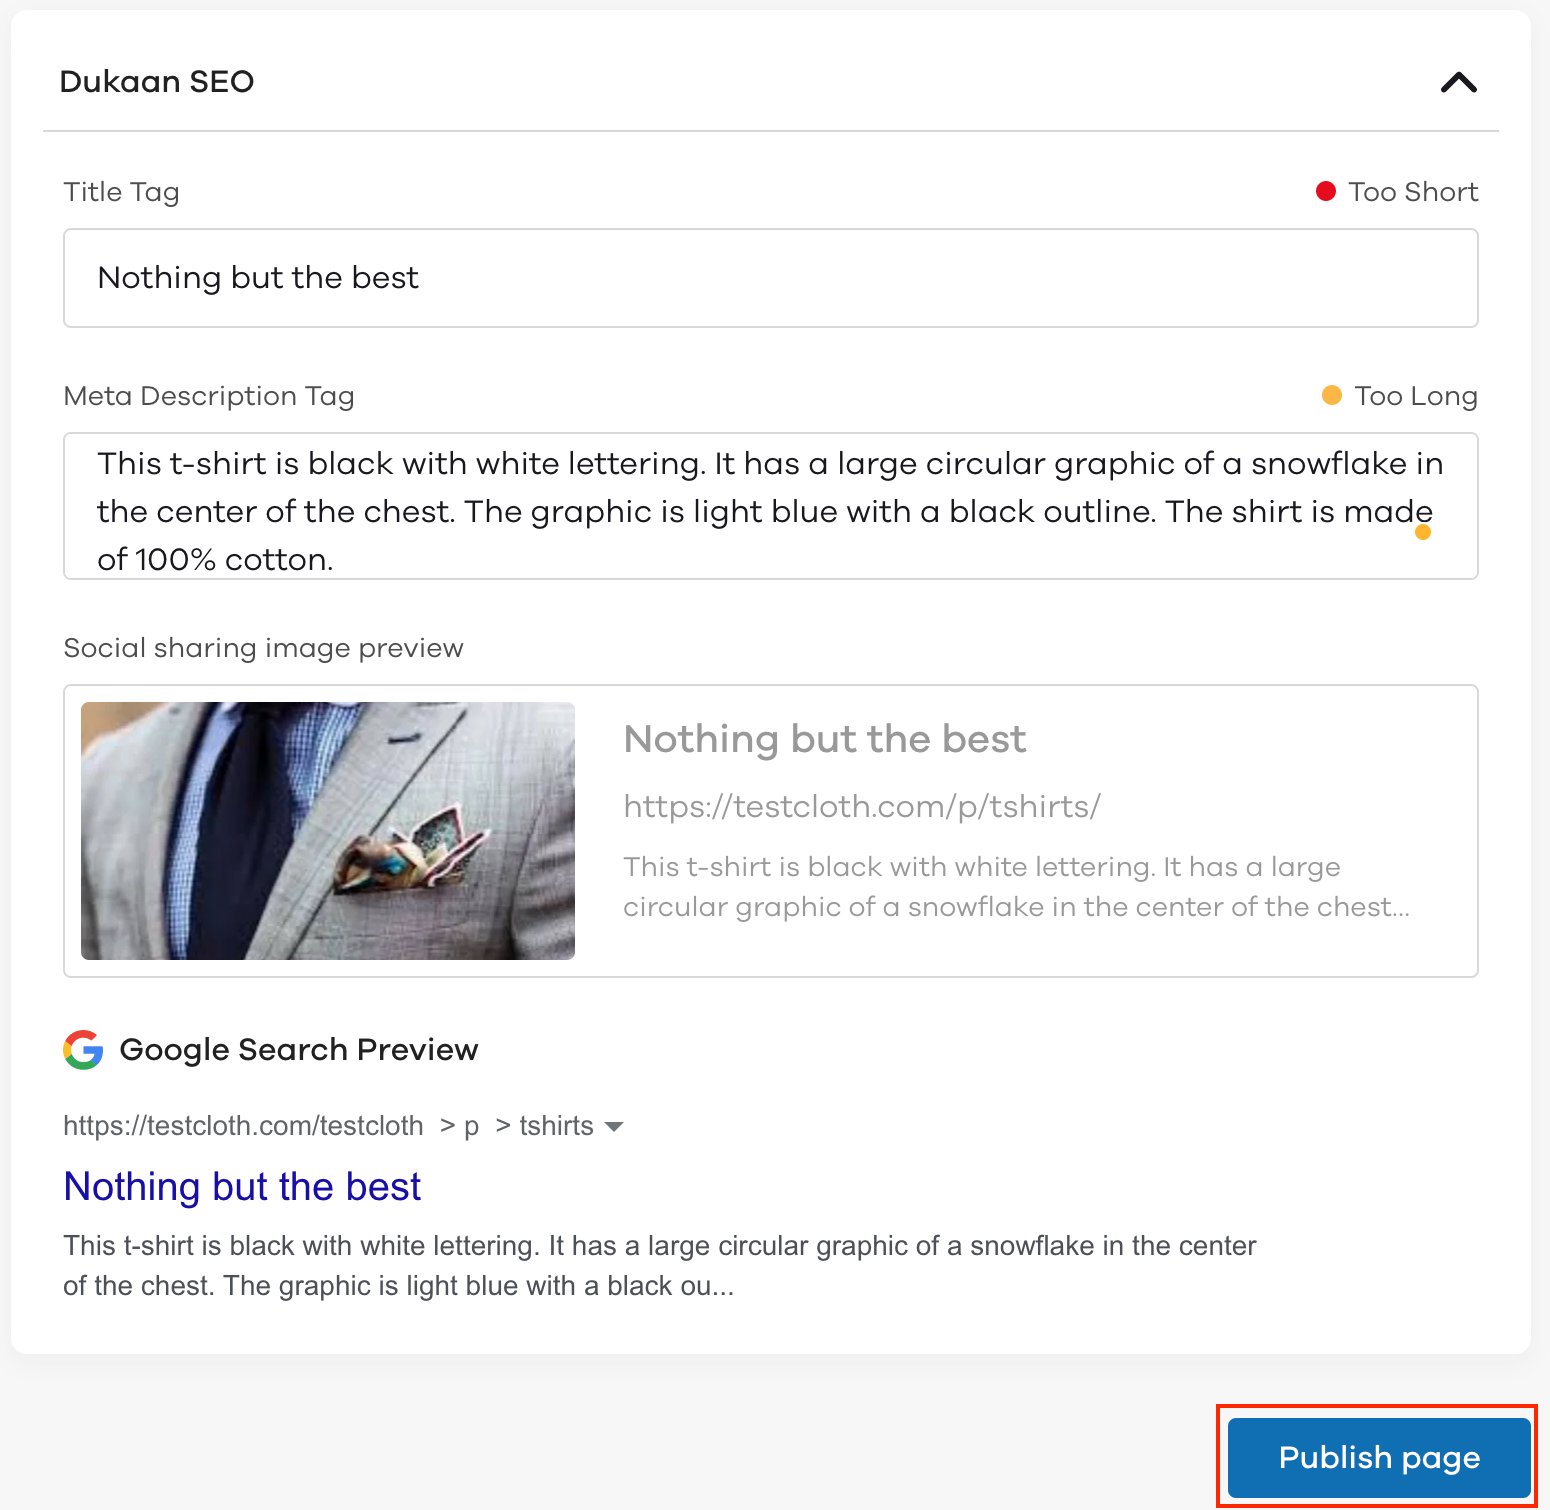
After entering the required details click on Publish page. Upon clicking on Publish page, A page will be added to your Dukaan storefront.
To view the page, click on view as shown below.
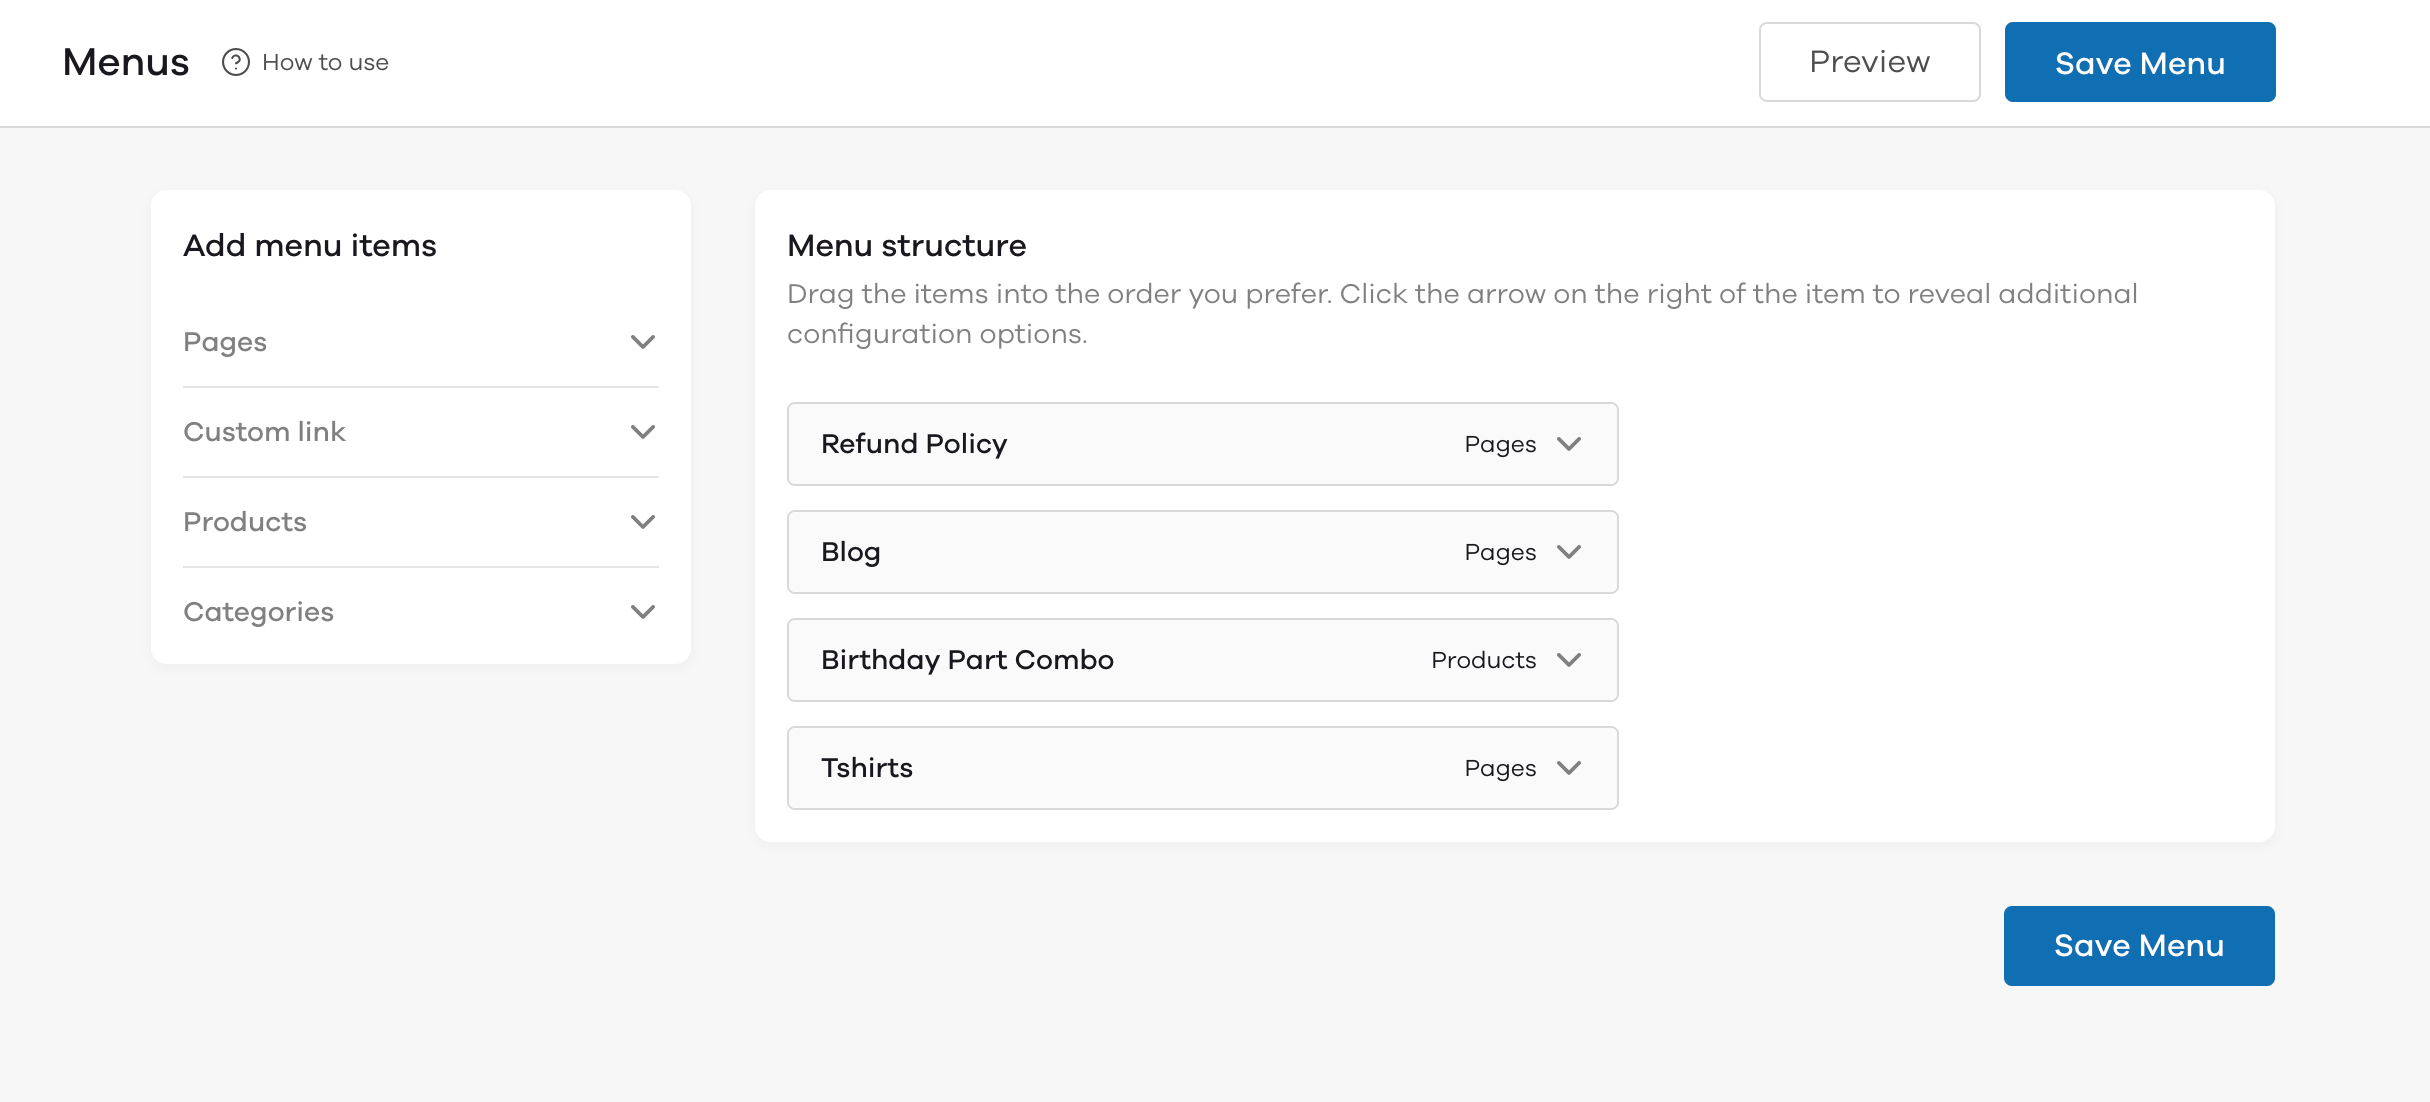
How to edit the store menu?
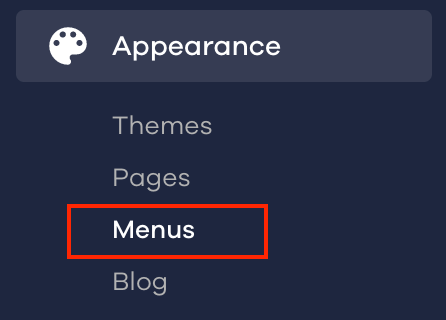
To edit the menu page on your website, click on Menus in the Appearance section.
Upon clicking on Menus, the following screen will appear. Here you can edit the following:
- Pages
- Custom link
- Products
- Categories
To learn how to edit the menu click here.
How to add a blog section to your storefront?
To add a blog to your Dukaan store; First, click on Blog in the Appearance section. Upon clicking on Blog the following screen will appear.
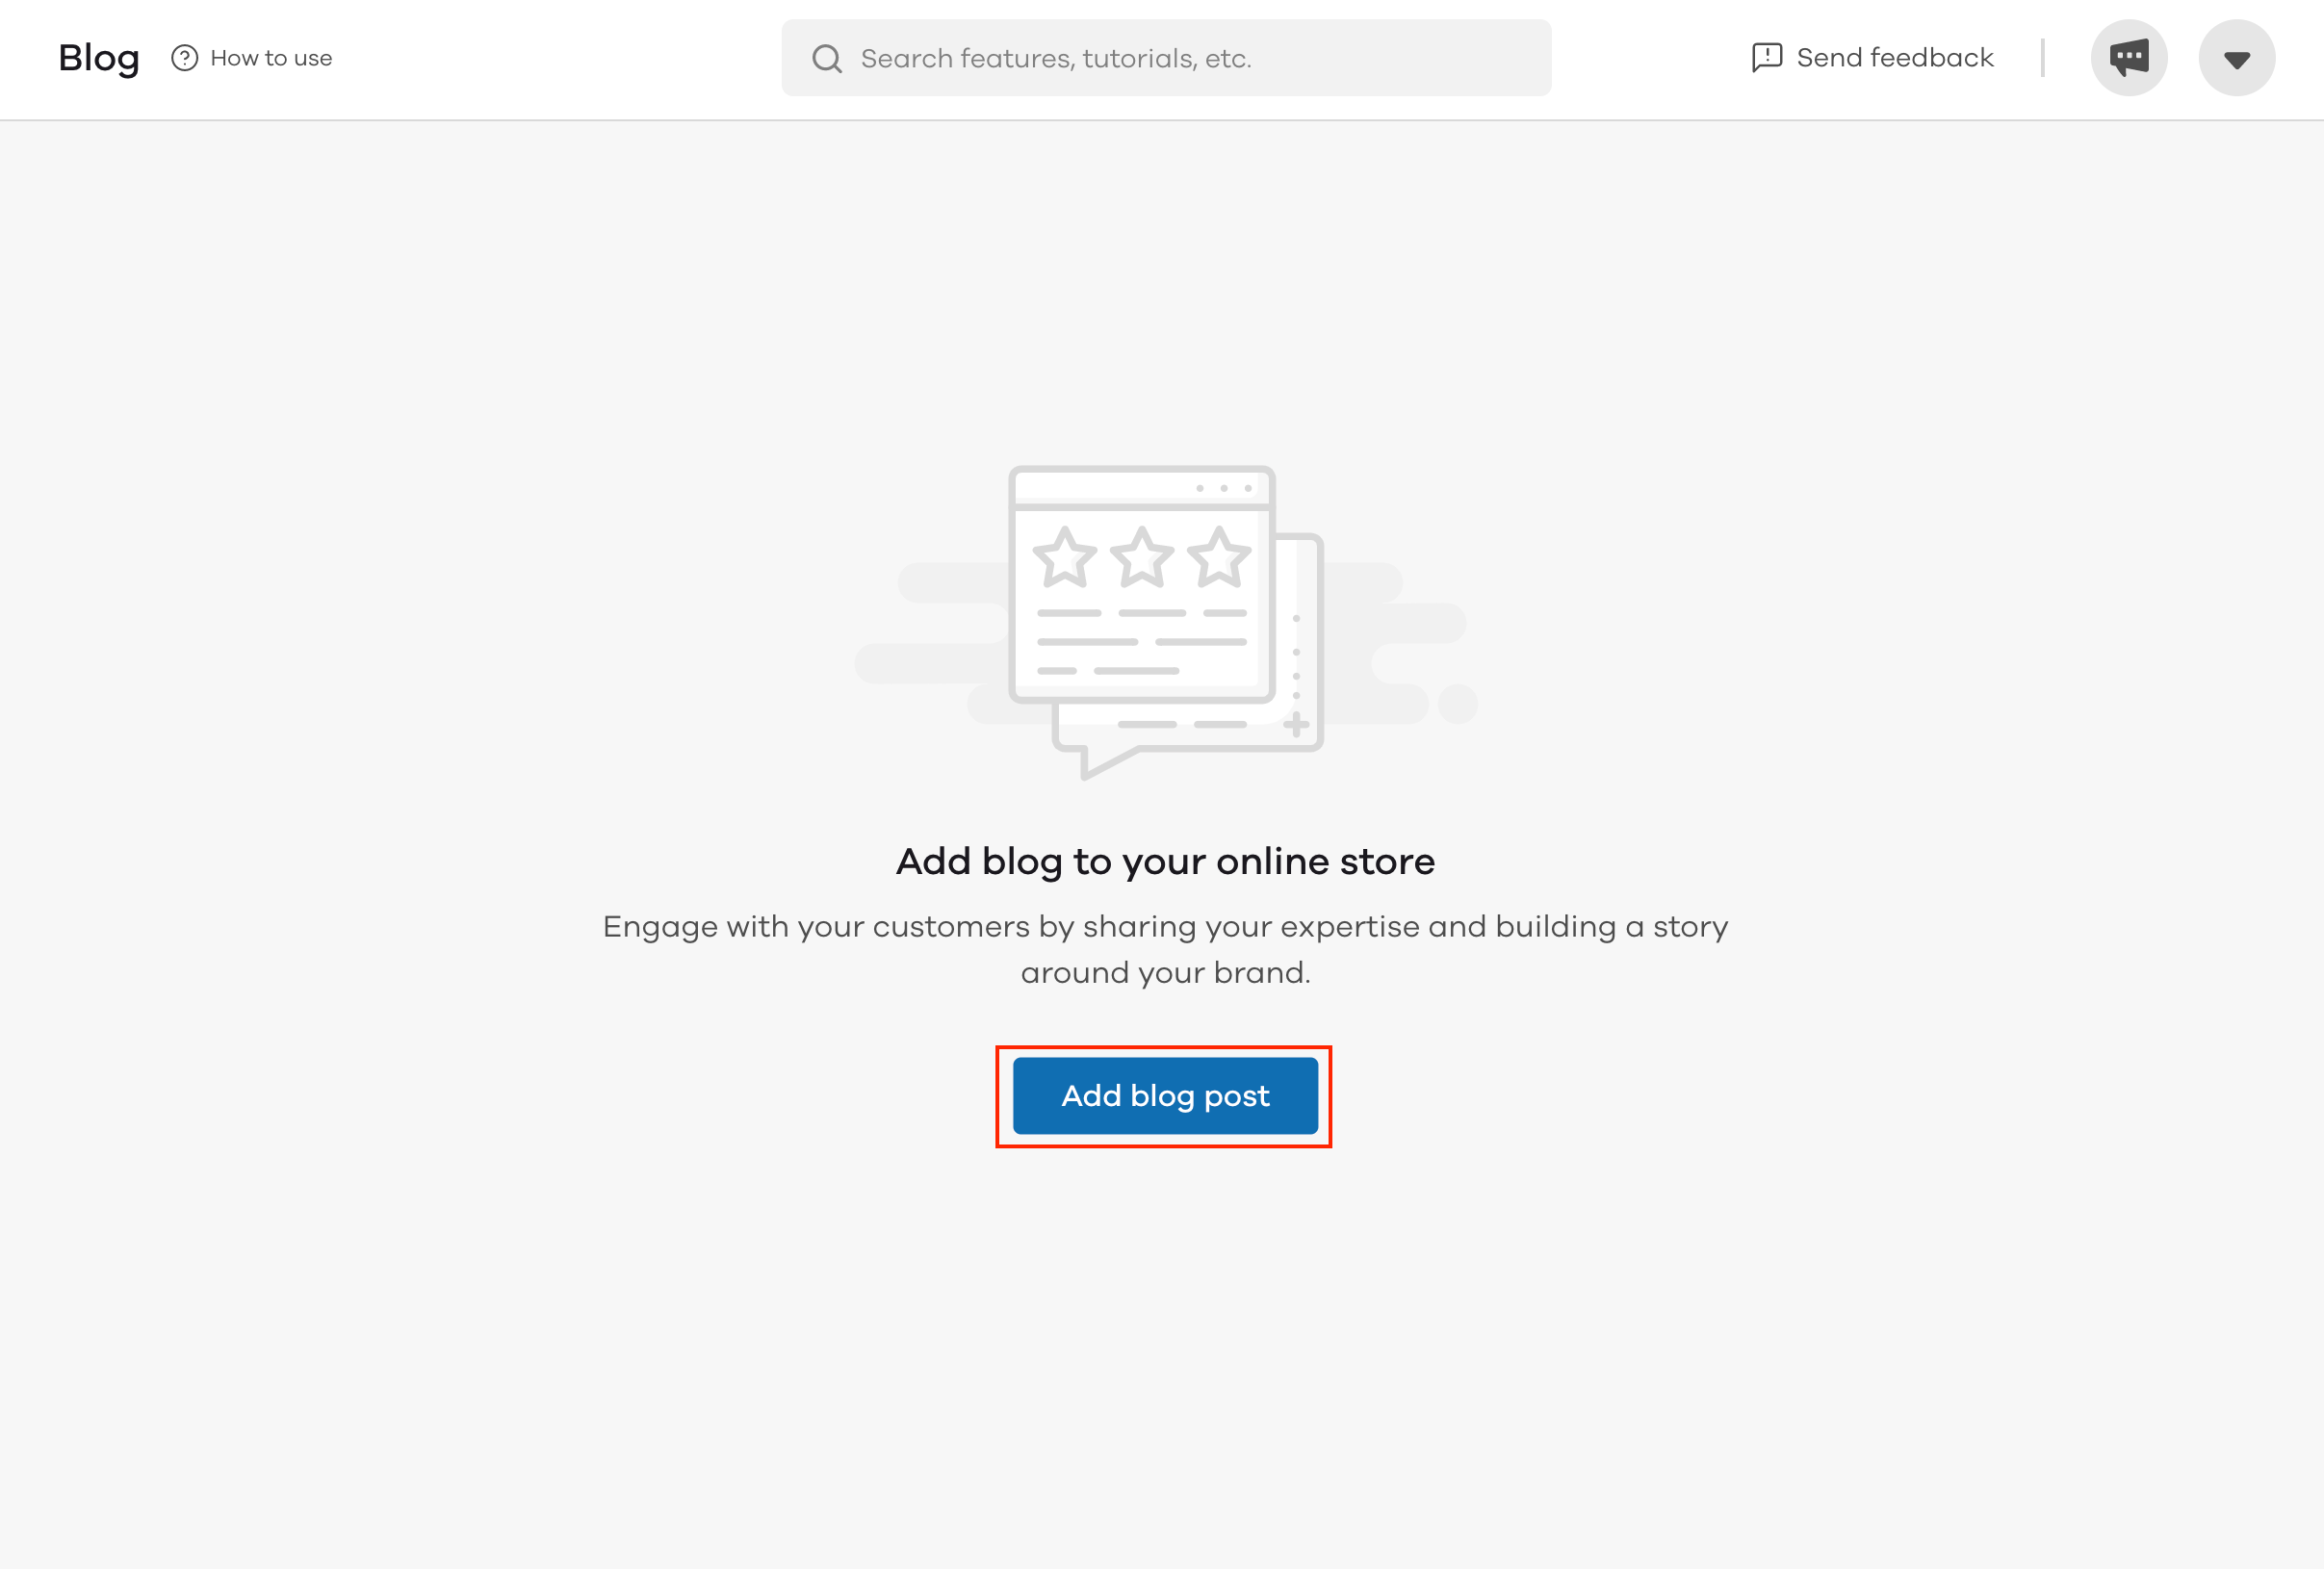
Click on Add blog post. Upon clicking the button, you will be able to enter the content in your blog.
Buyer side:
Once the blog has been updated, the customer can view it by clicking on Blog on the header.
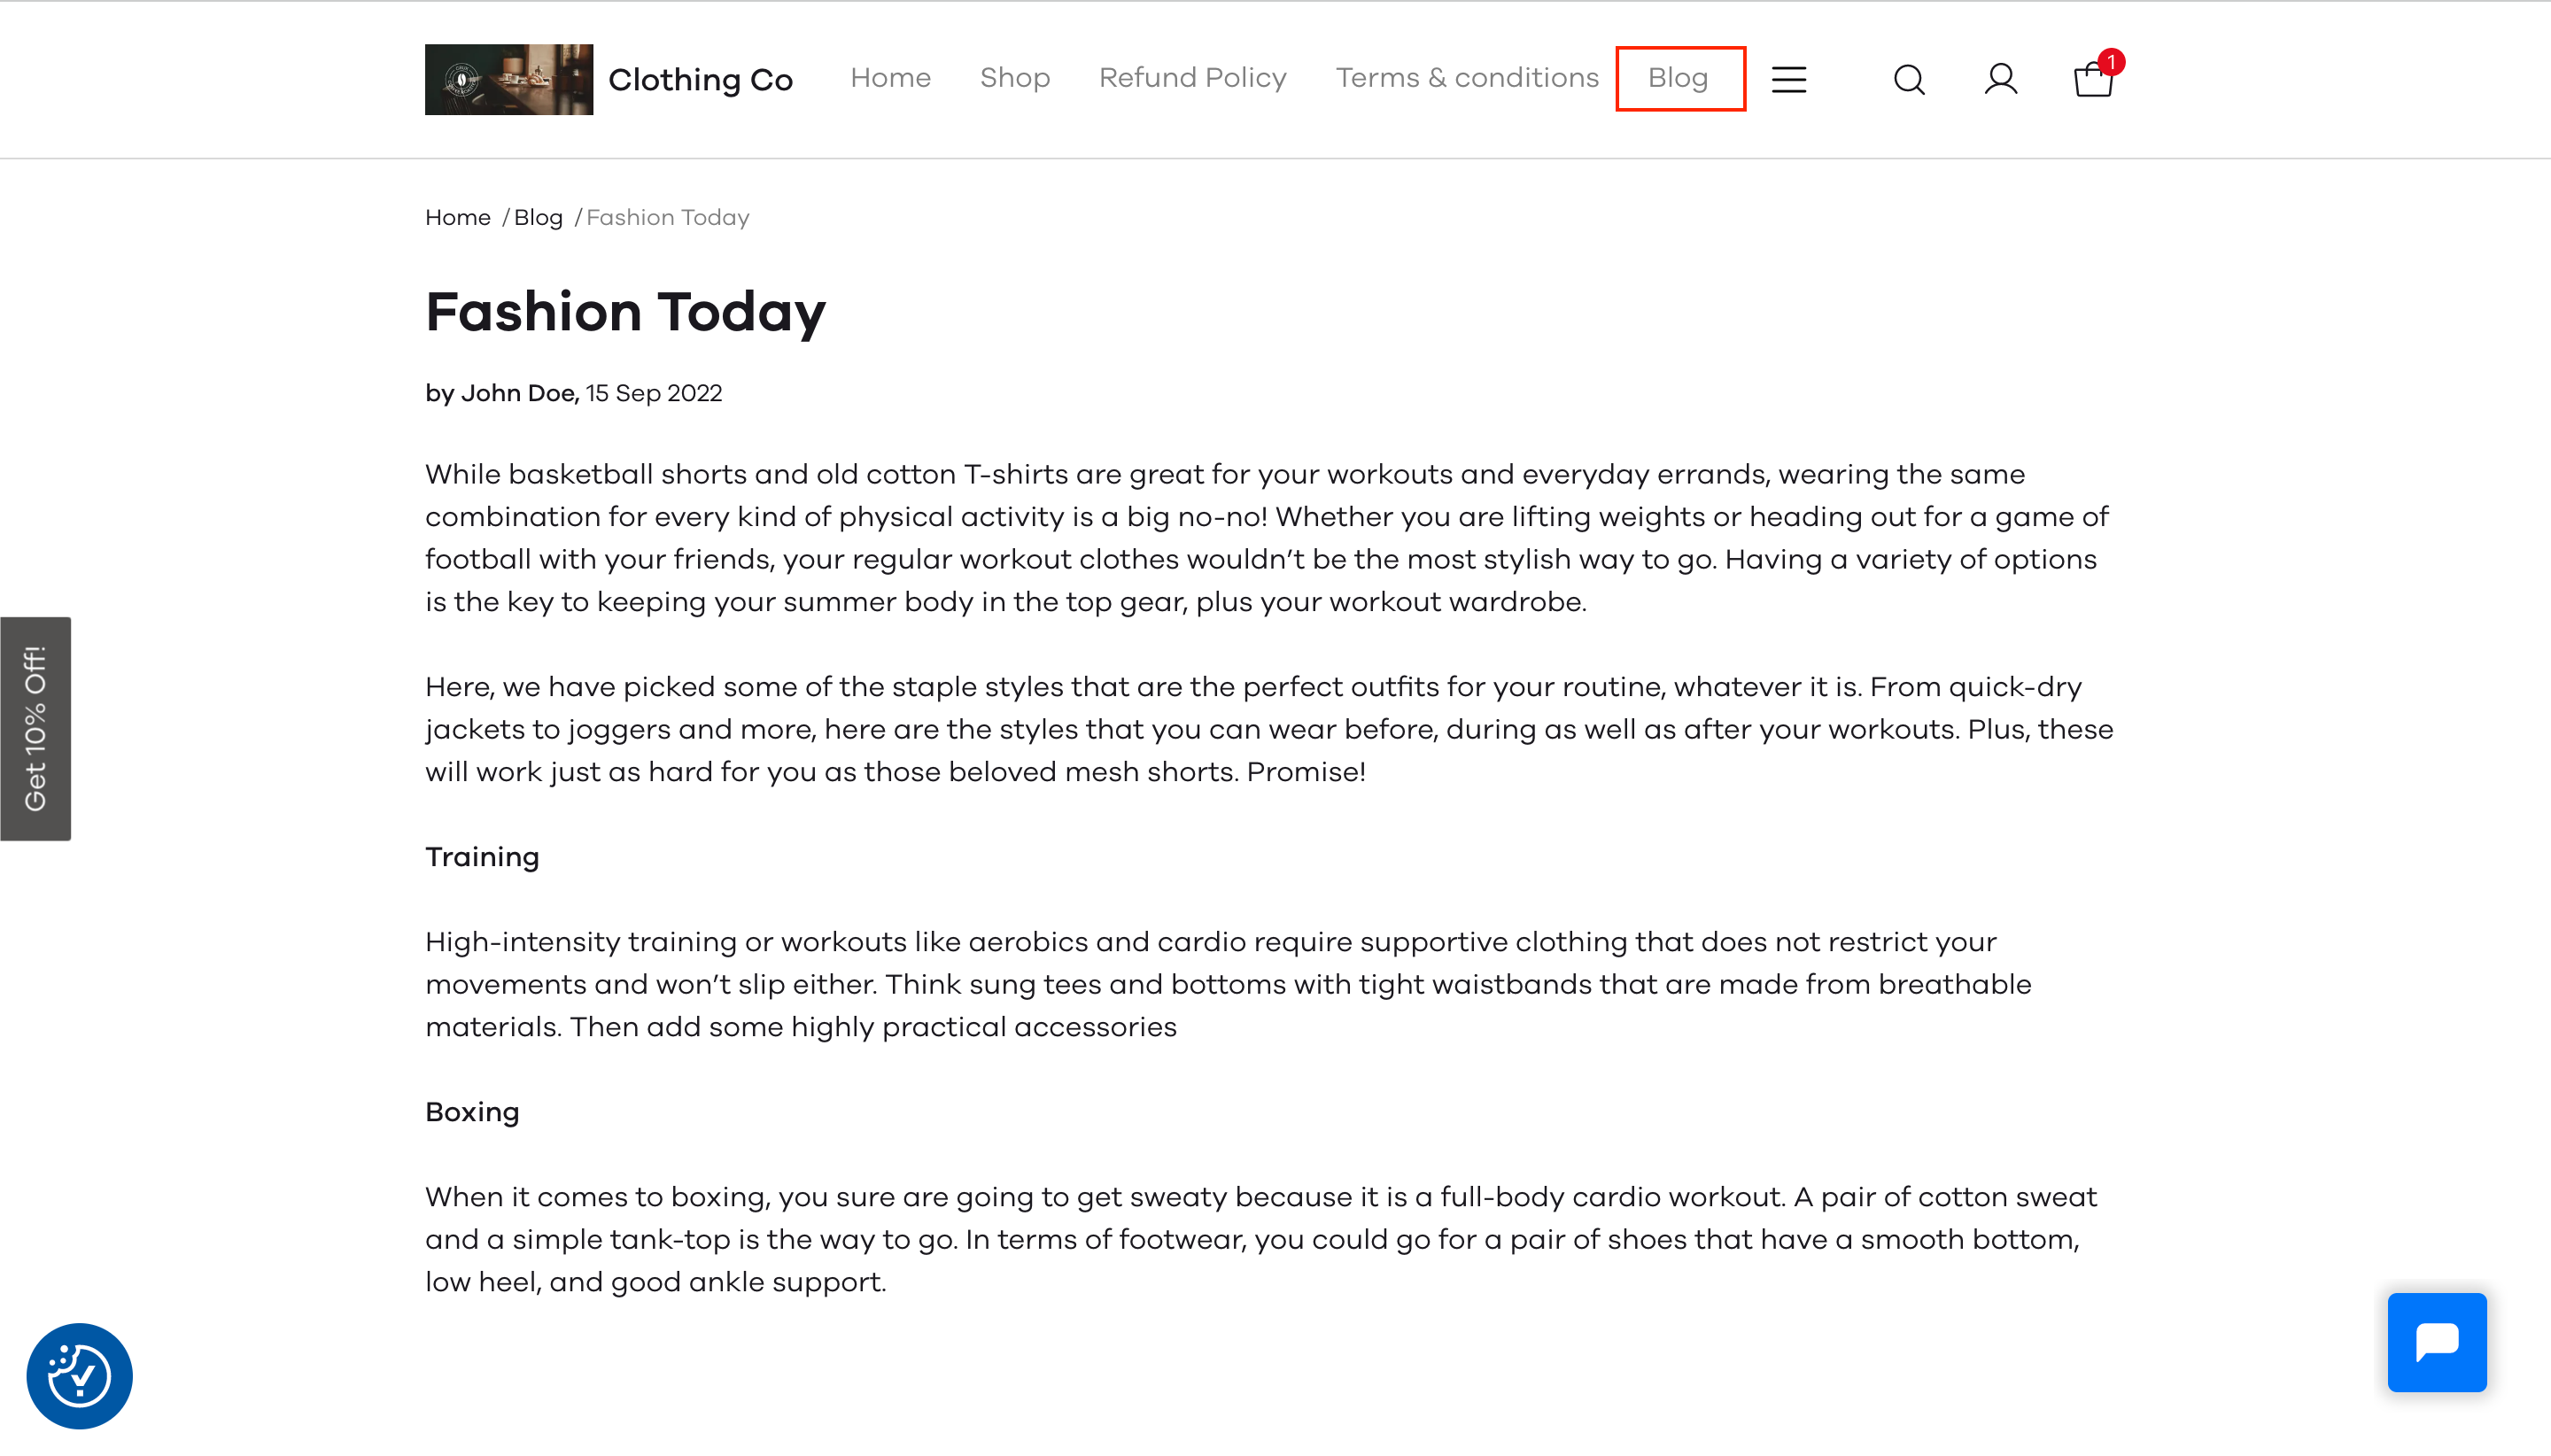
Click here to learn How to add a blog to your store!
Suggested plugins to use on the Mana theme
Plugins help make your store more interactive and attractive. Take a look at some of the plugins we recommend for your store!
- Wishlist (Supported only on the Mana theme for now)
- Product Attributes
- Size chart
- Hello bar
- Countdown Timer
- Trust Badges
- Store Locator
- Custom Header and Script inserter
Changes on the storefront after applying the theme
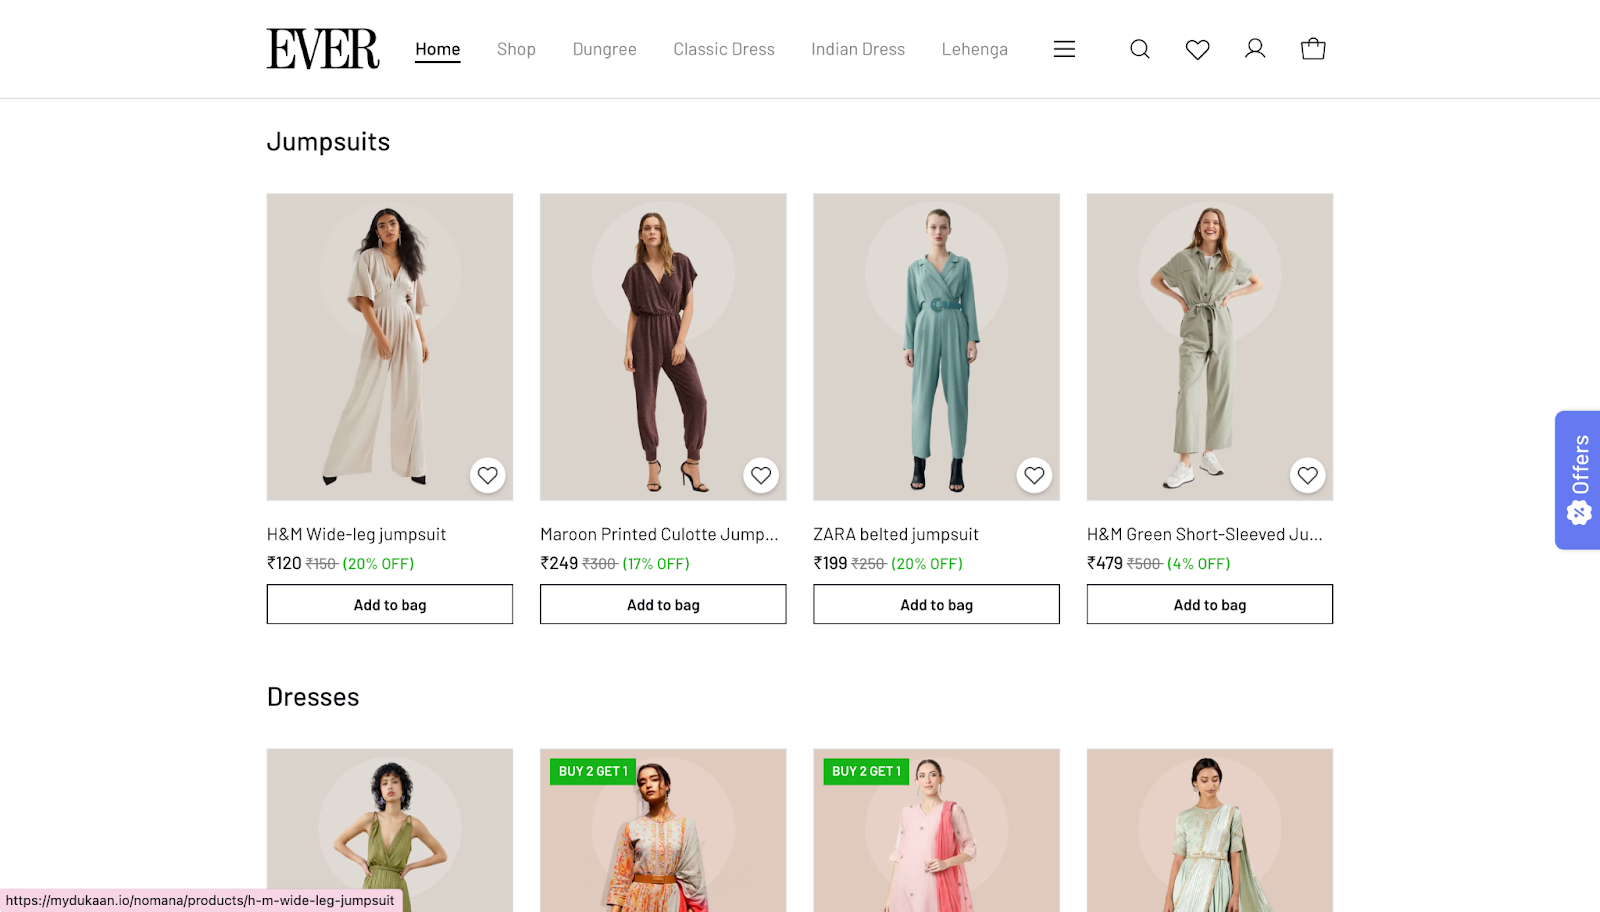
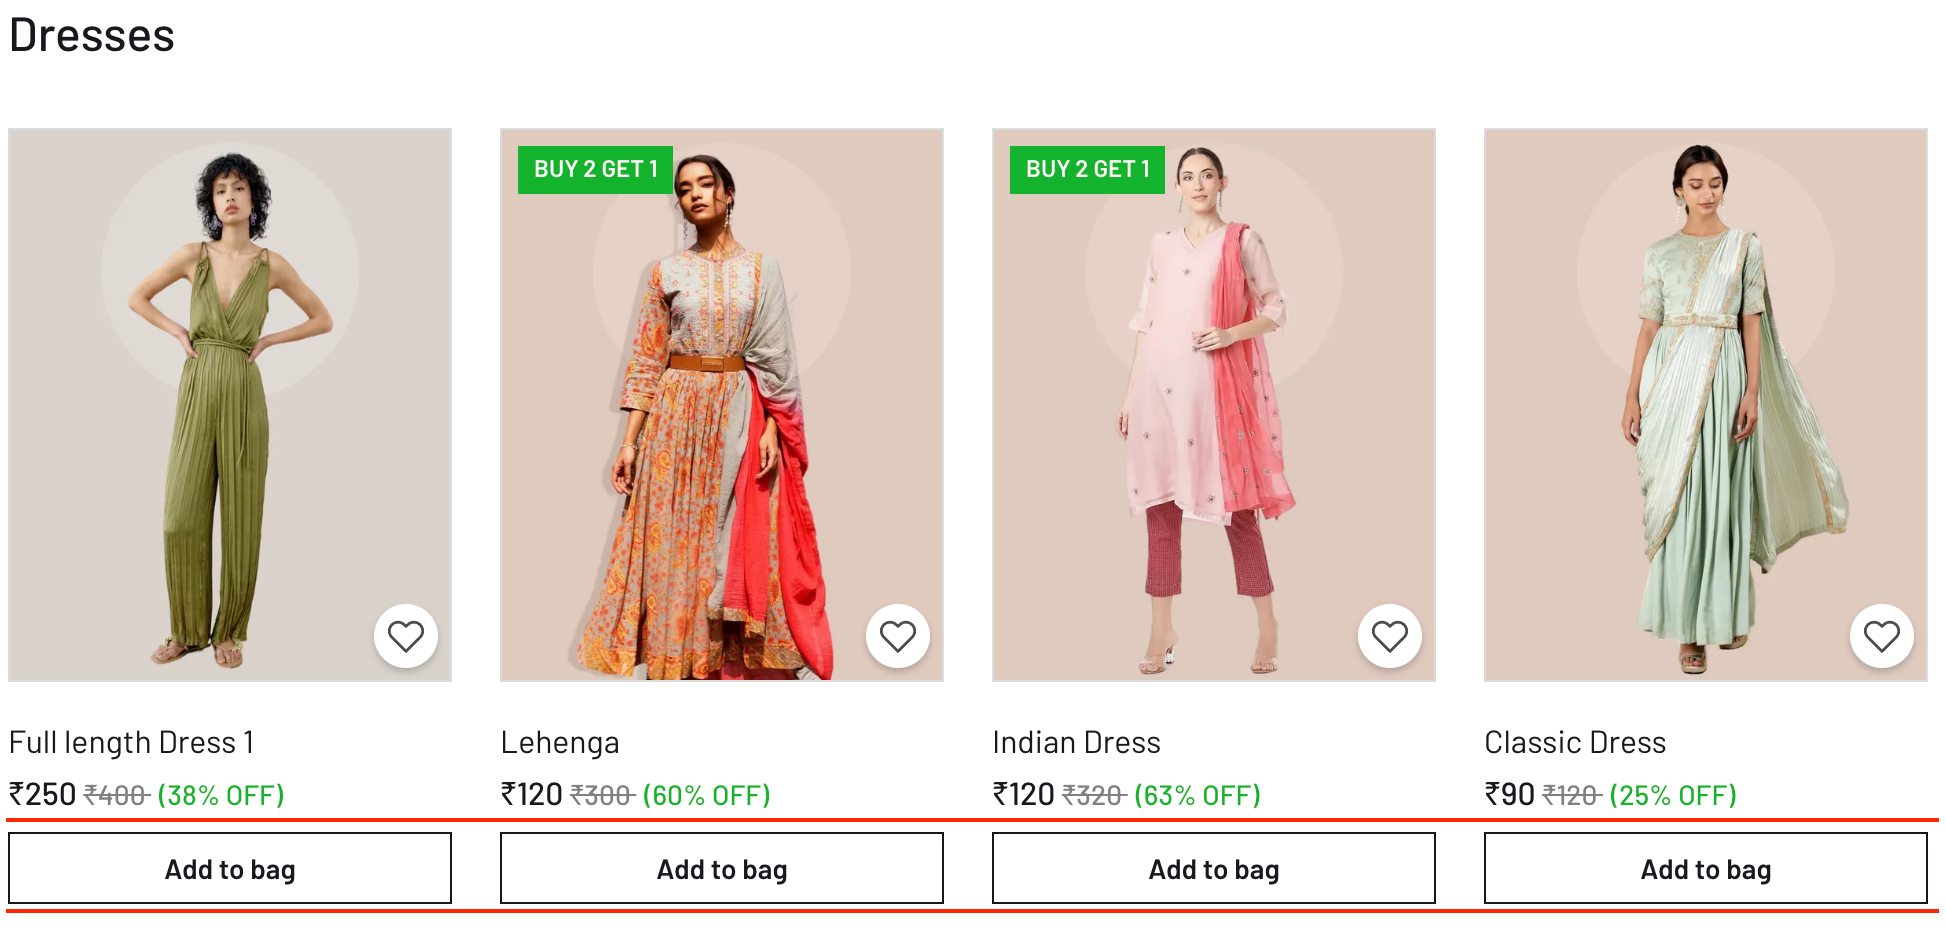
Home: The home section will consist of the top categories and the best-selling categories and a limited view of all the products will be shown.
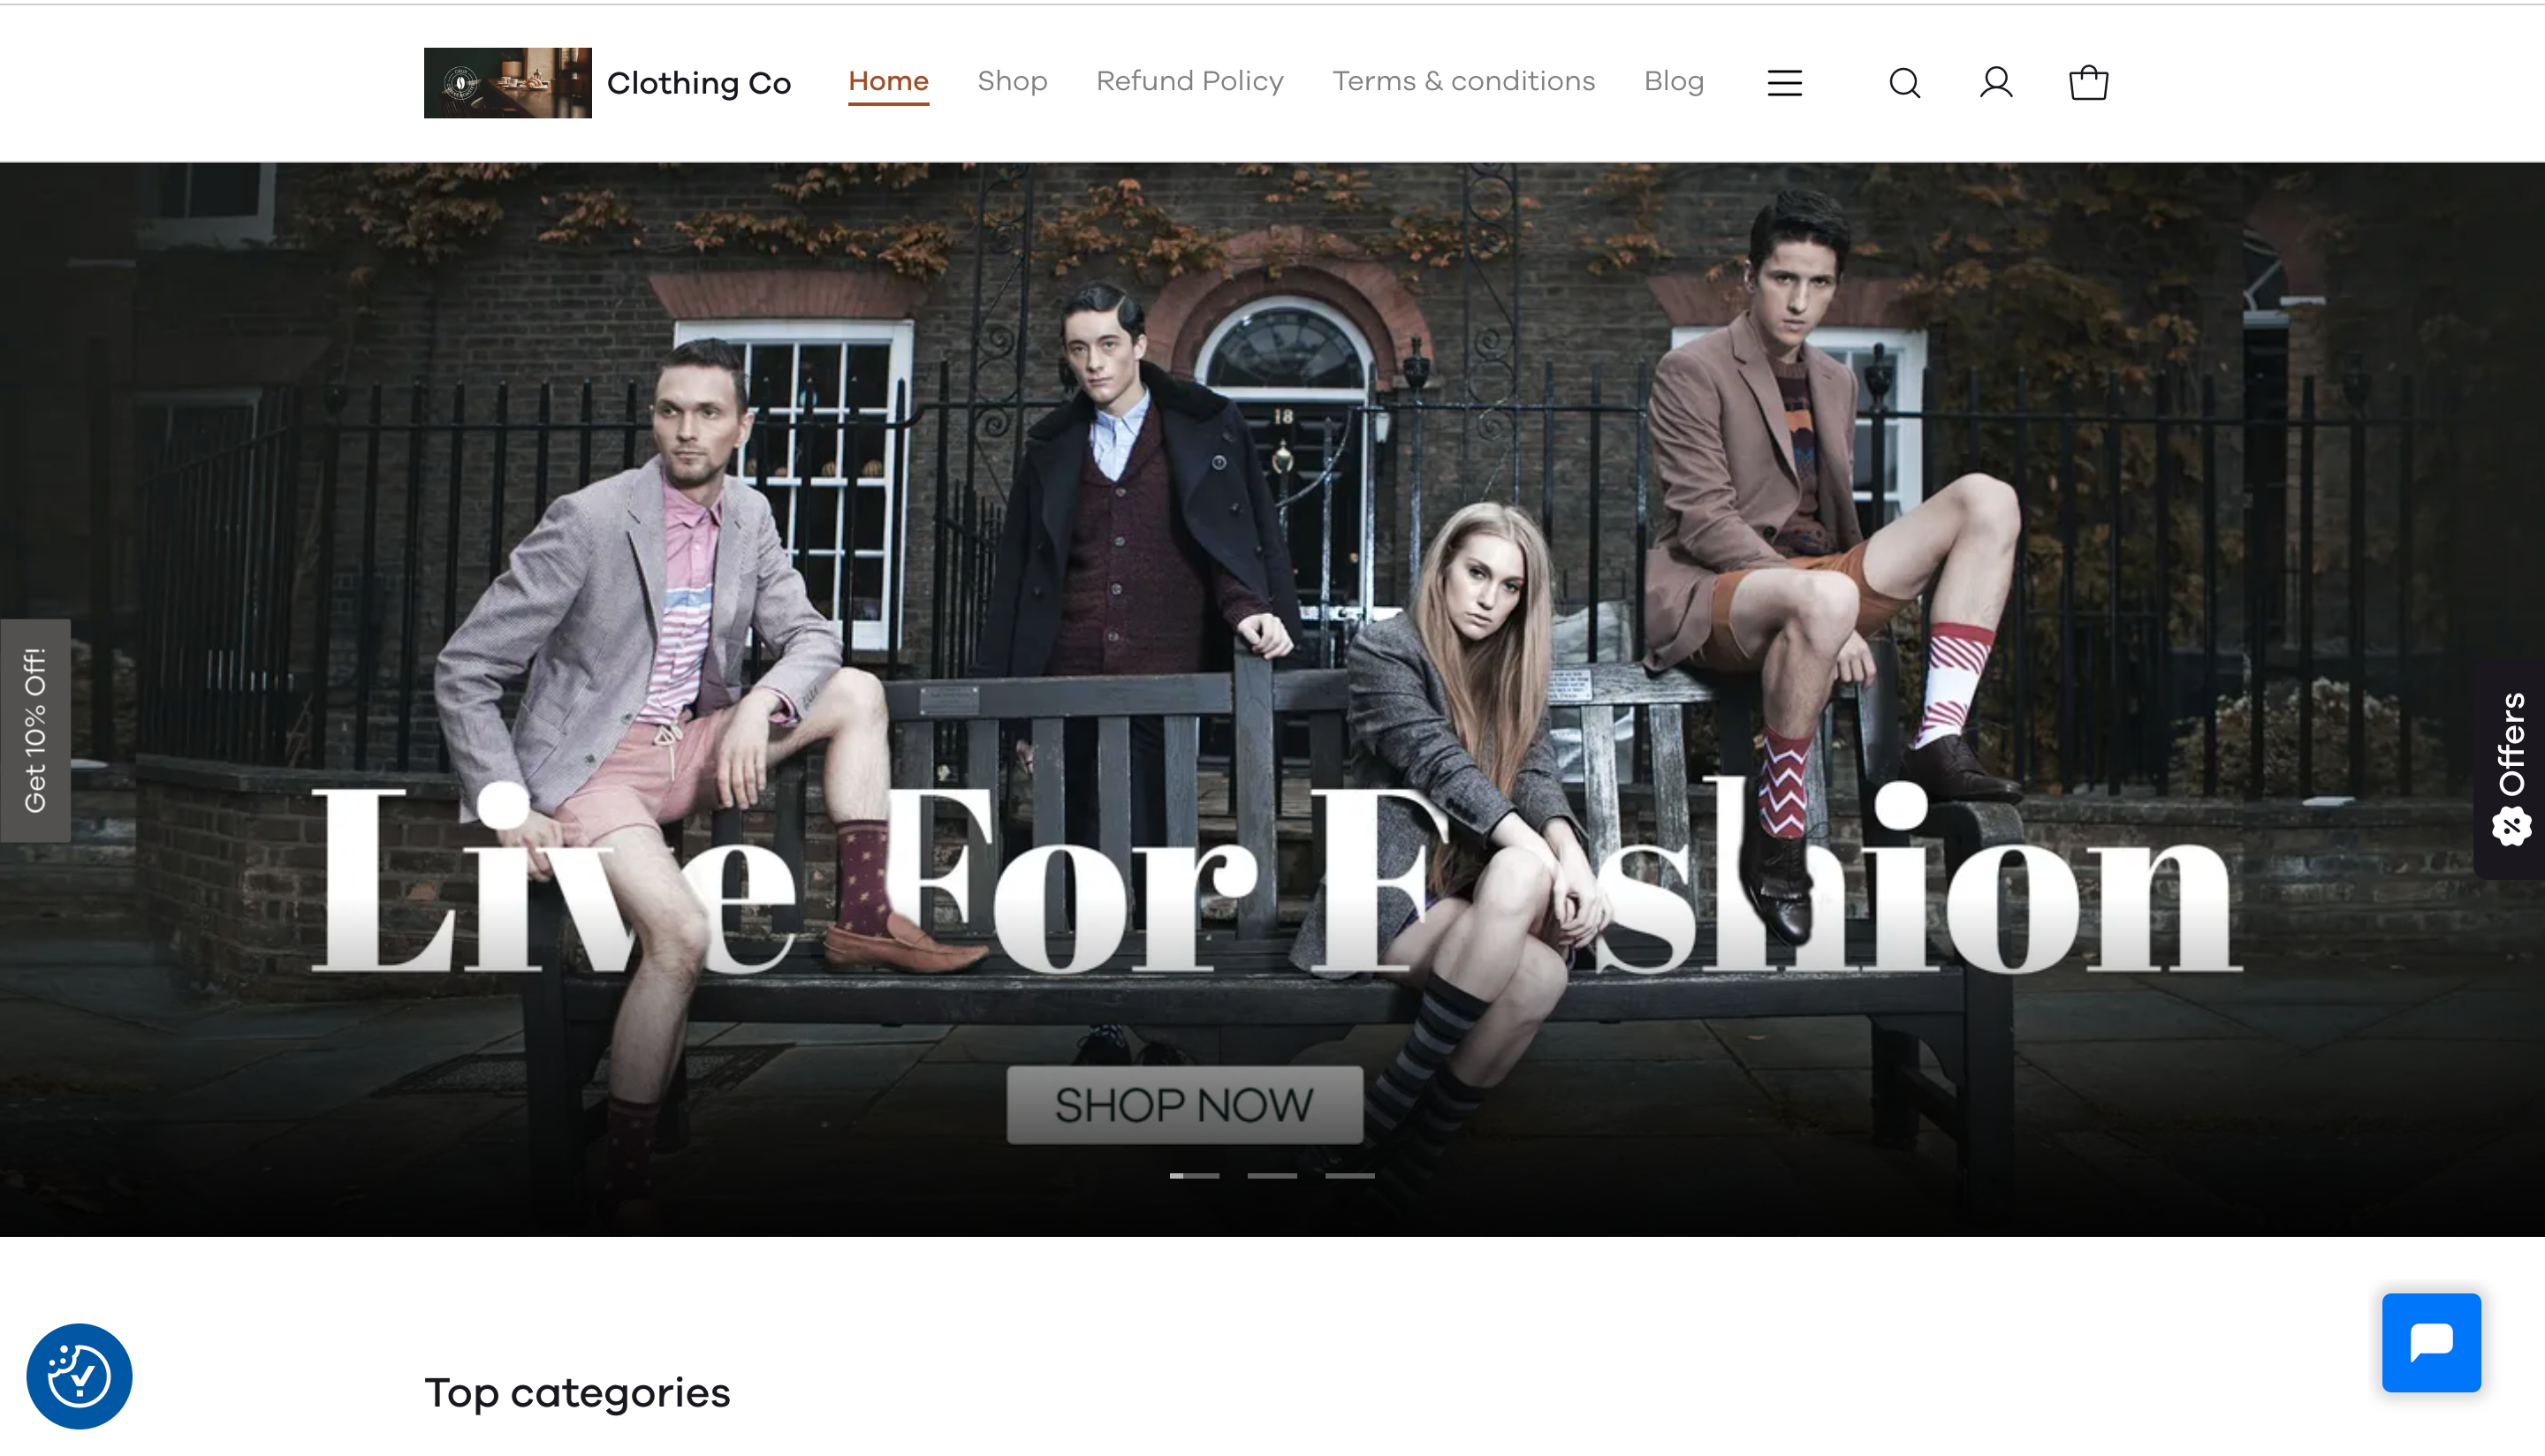
All the products visible to the buyer on the homepage will have an Add to bag button right below the product image.
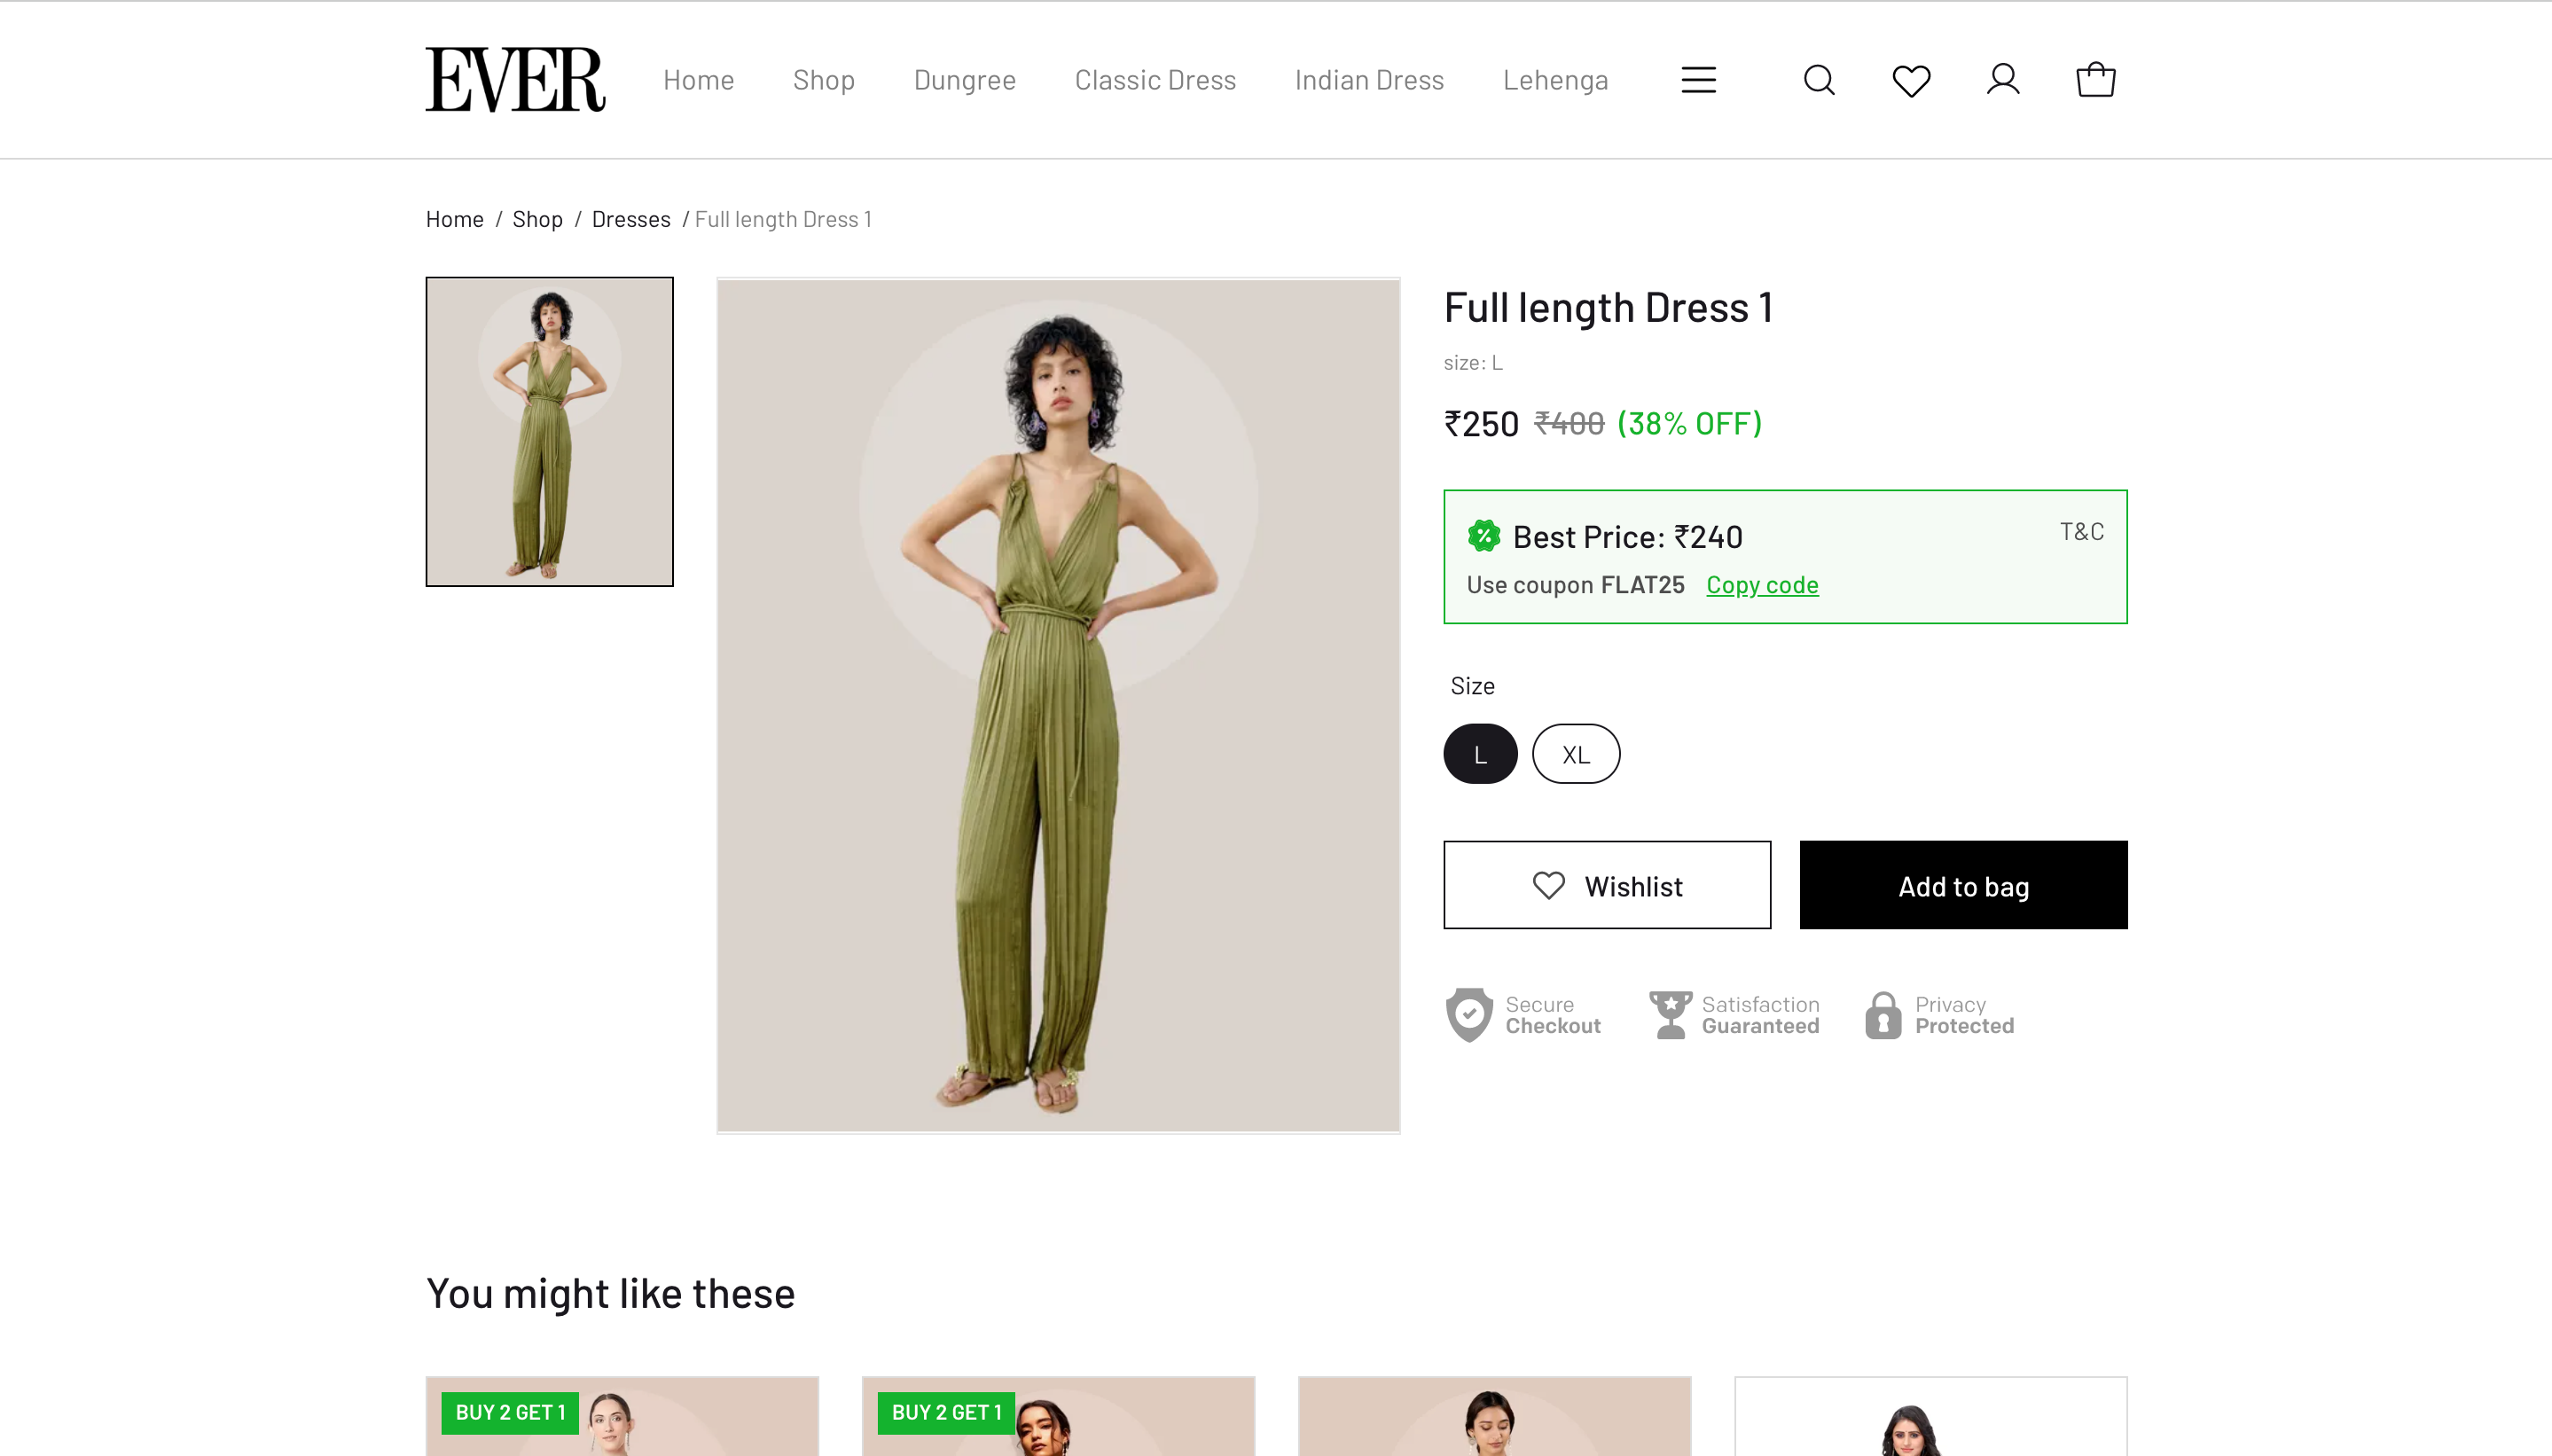
Upon clicking on the product, the buyer will be taken to the product page. Here the buyer will also be presented with other product recommendations that will enable them to buy more products from your store.

When the buyers click on Shop, they will be able to view all the categories present in their store. Upon clicking on the categories, the buyer will be able to view all the products present in the selected category.

The products present on the category page can be sorted and filtered based on the specification the buyer provides.

Viewing the Blog and pages
To view the blog and pages you've written on the storefront; First, Open your store link and click on the 3 lines in the header section of your store as shown below.
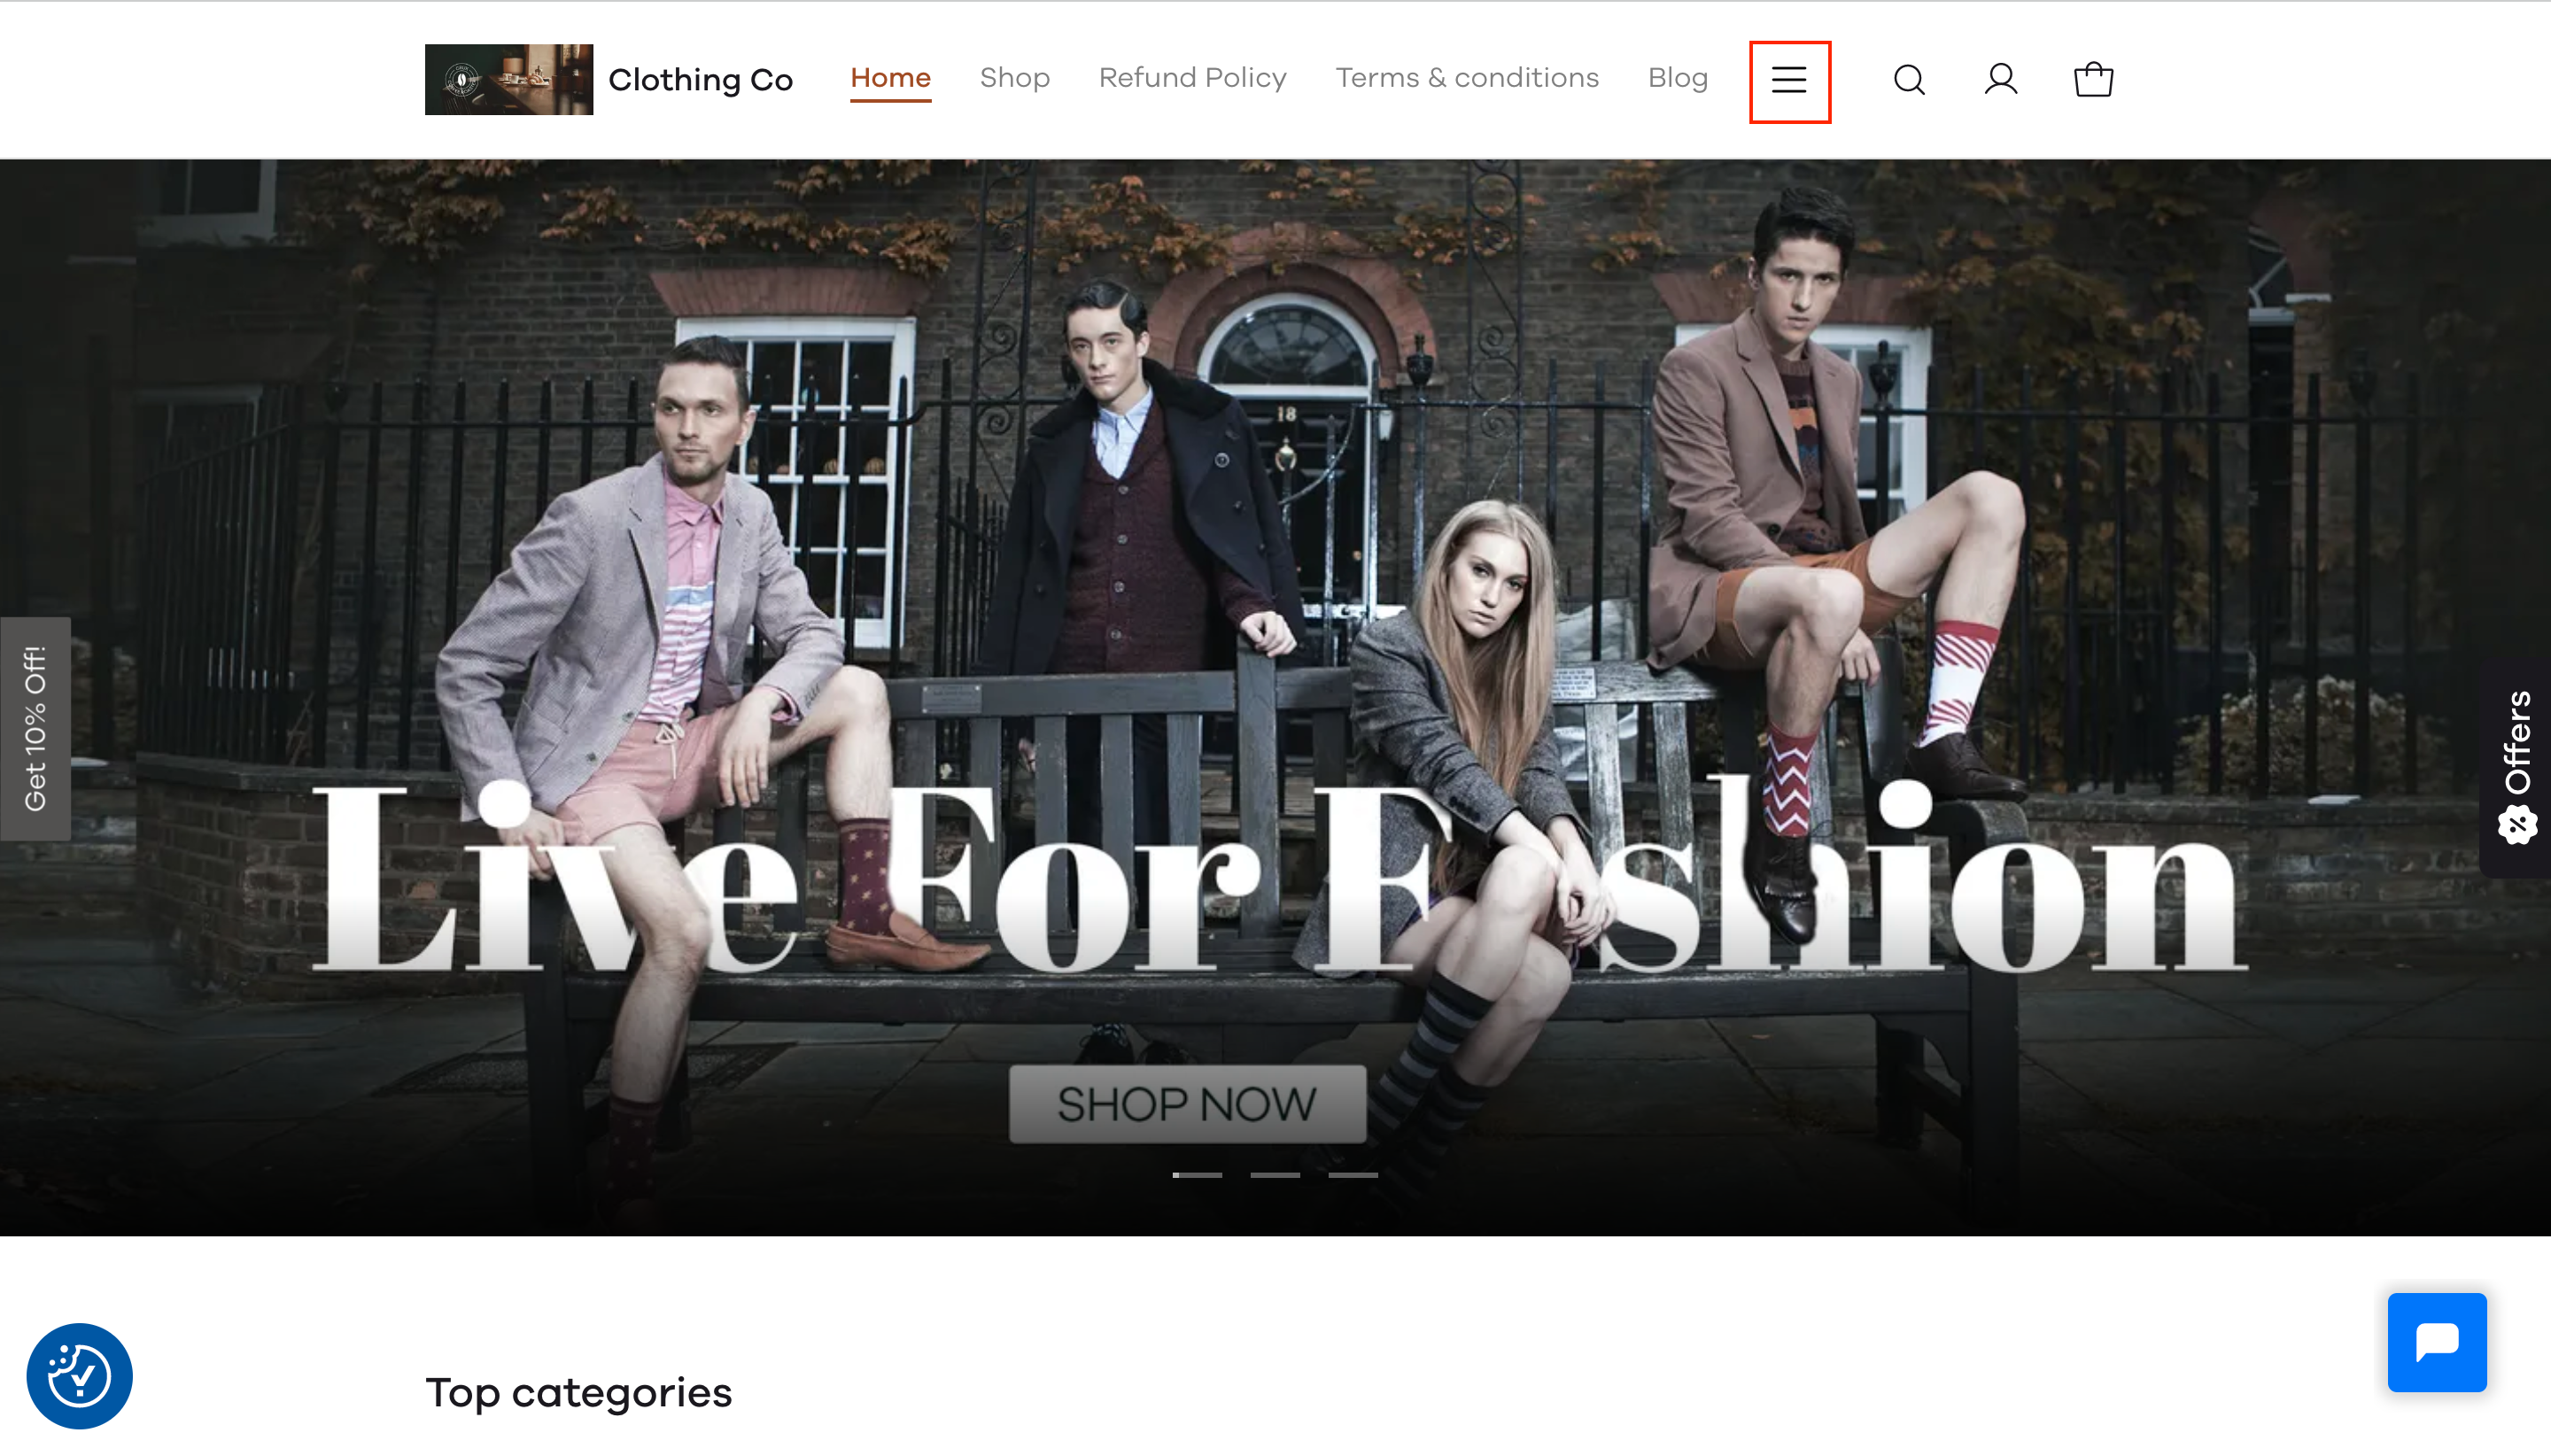
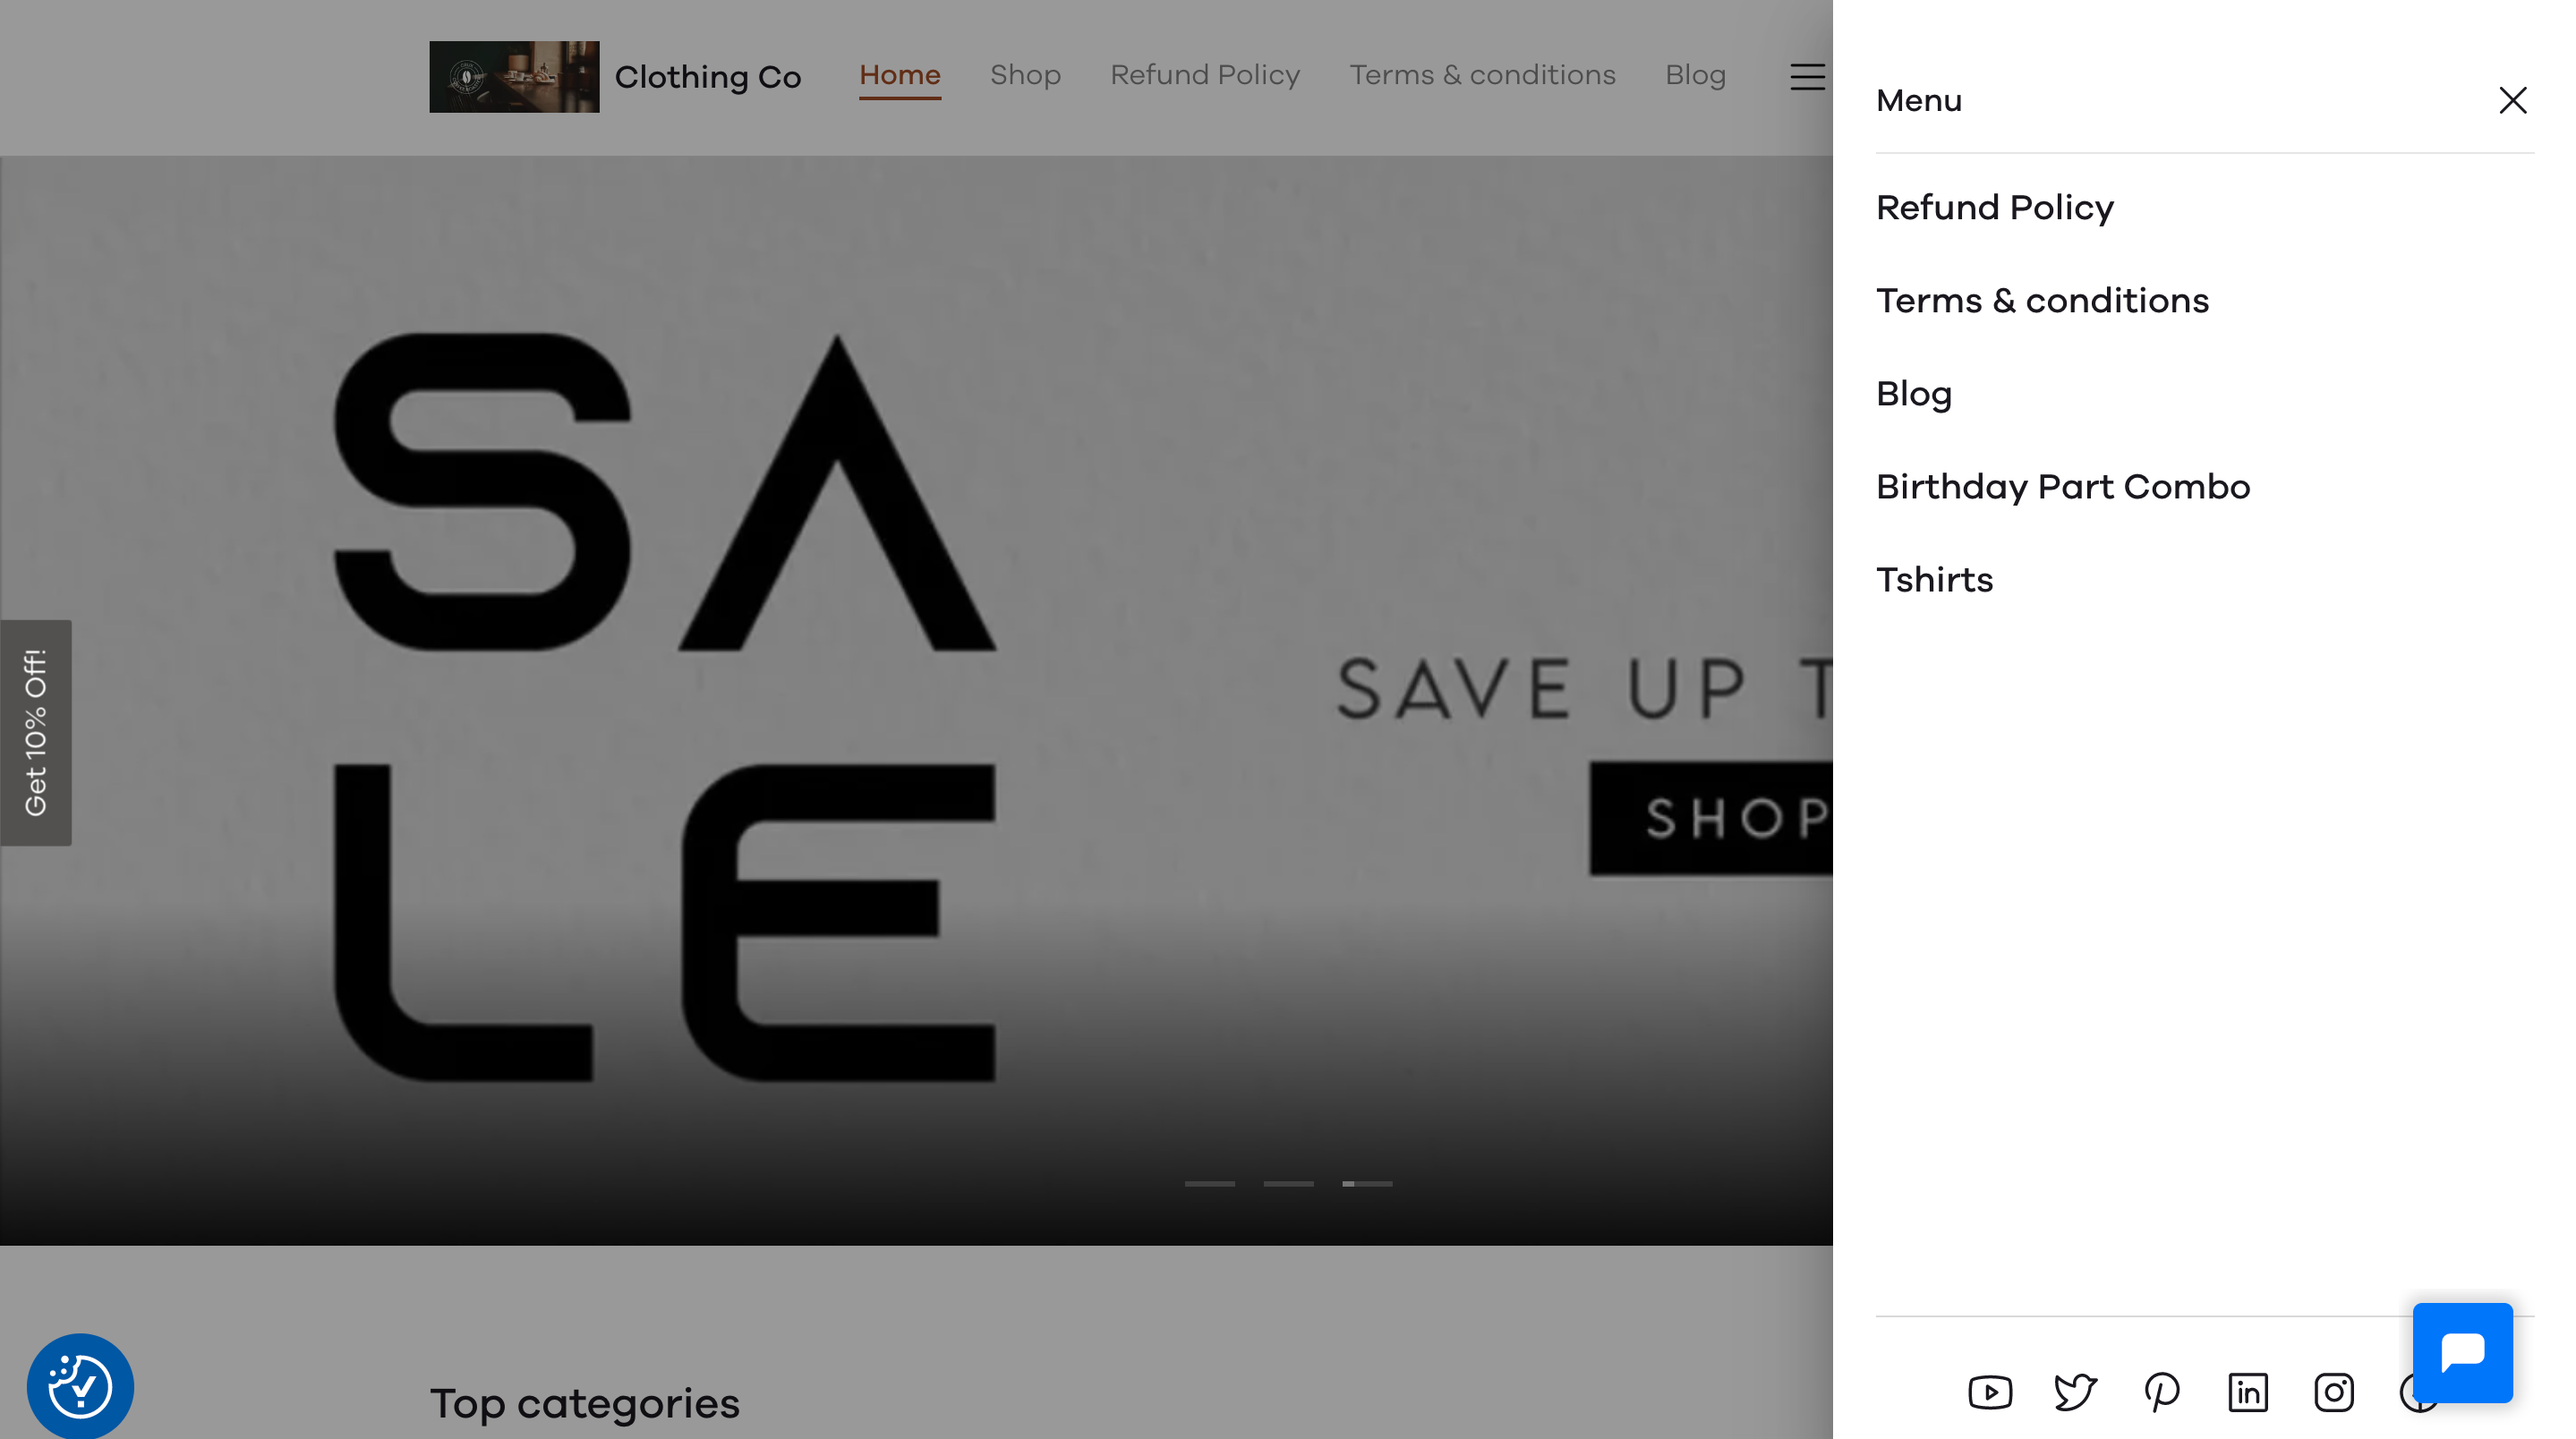
Upon clicking on the 3 buttons you will be able to view the pages and blogs added to your store.
Read more: