Choose from popovers, covers, scroll boxes, top bars, embedded forms, and more to create the perfect form for every campaign.

Here’s how you can start using the Mailmunch plugin:
- Create your account on MailMunch and add your site
- Click on your website name on the MailMunch dashboard
- Go to the Site Settings on the left sidebar
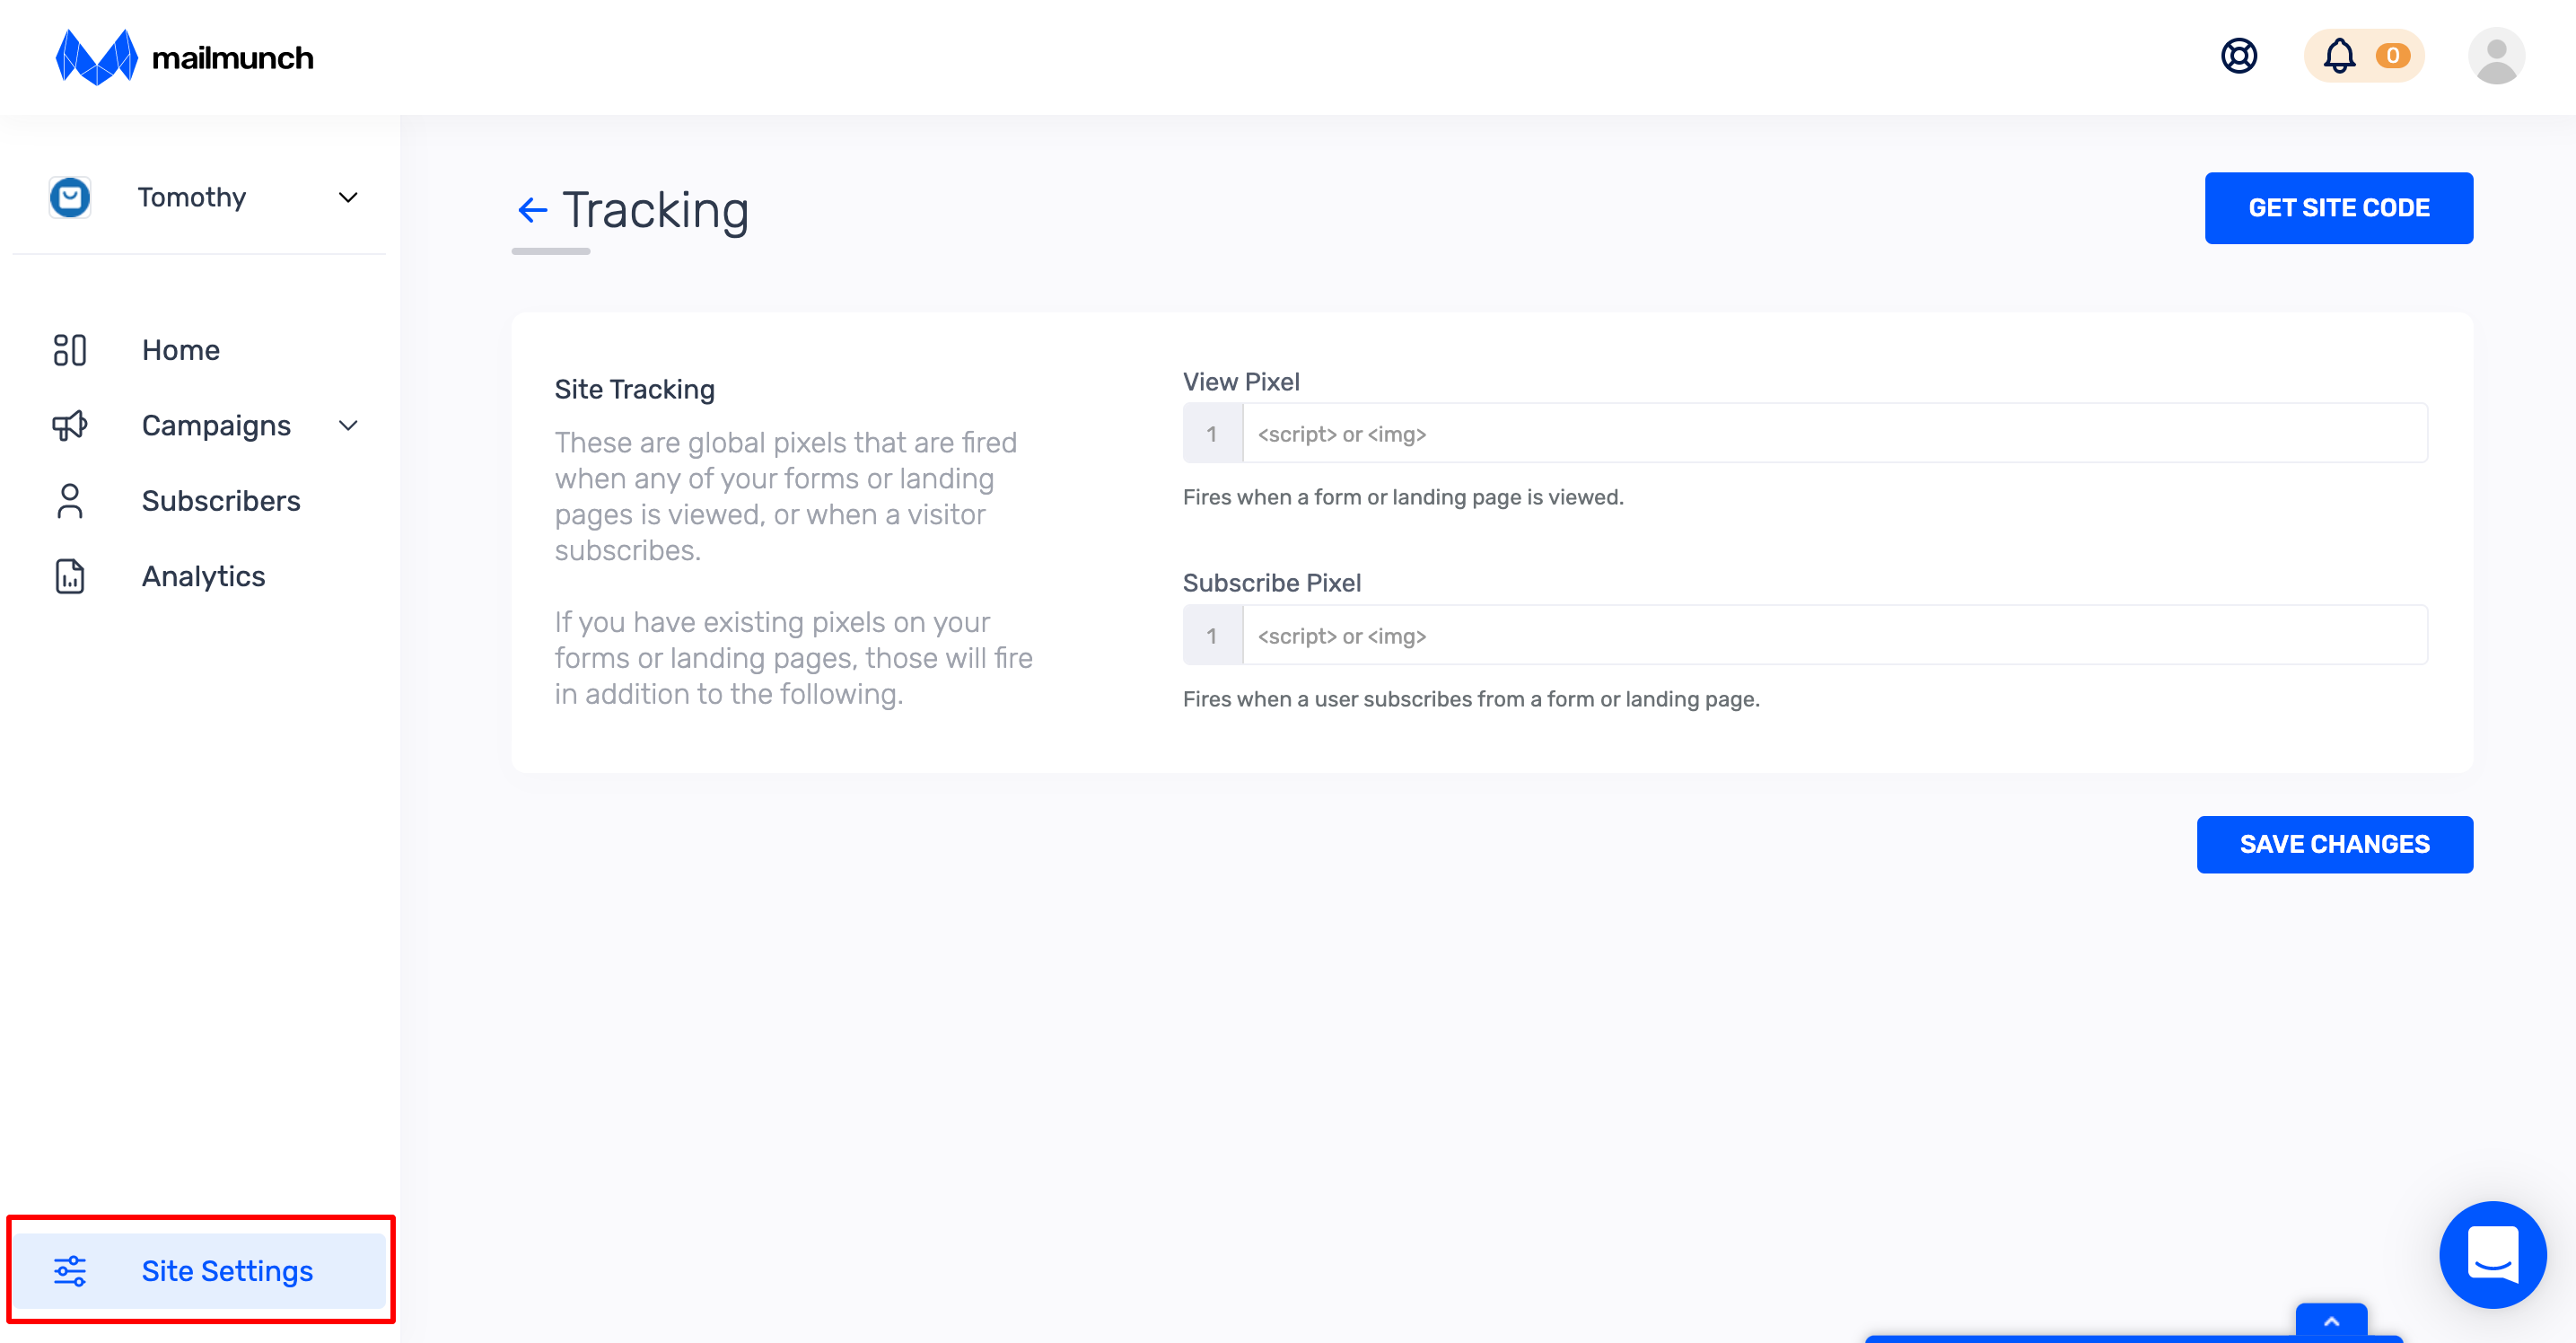
4. Click on Get Site Code on the top right corner of the page.

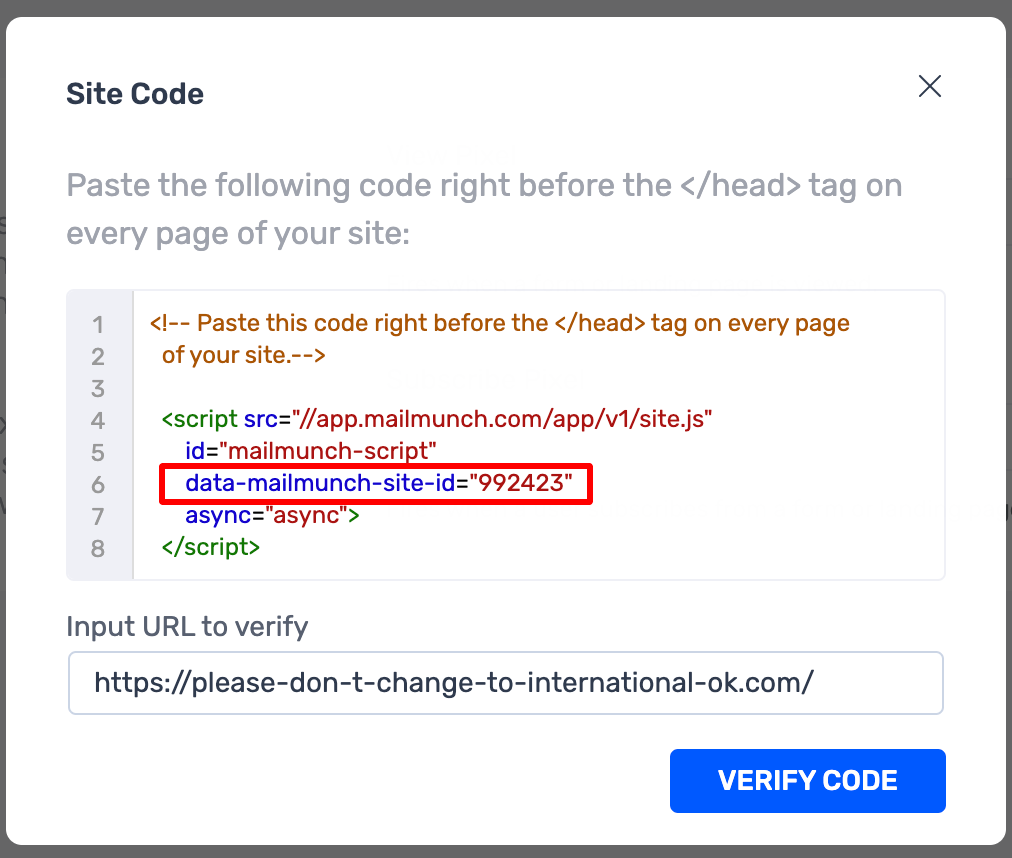
5. Copy the mailmunch-site-id from the code snippet. Please note that the site ID would be a number (for example: 992423)
6. Install the MailMunch plugin from Dukaan Dashboard and paste the ID in the settings page
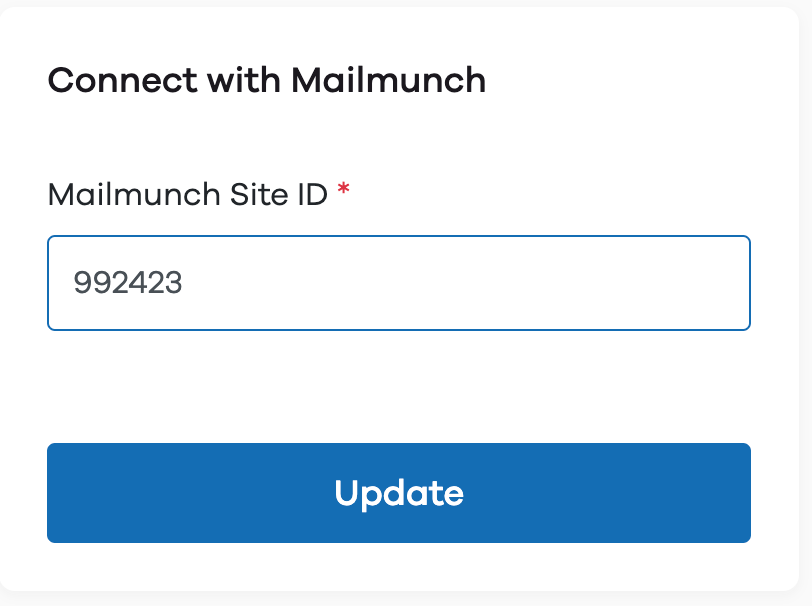
7. Click Update to finish installing the plugin