P.S: The blog section works best with the All-in-One SEO plugin. Click here to know how to enable it
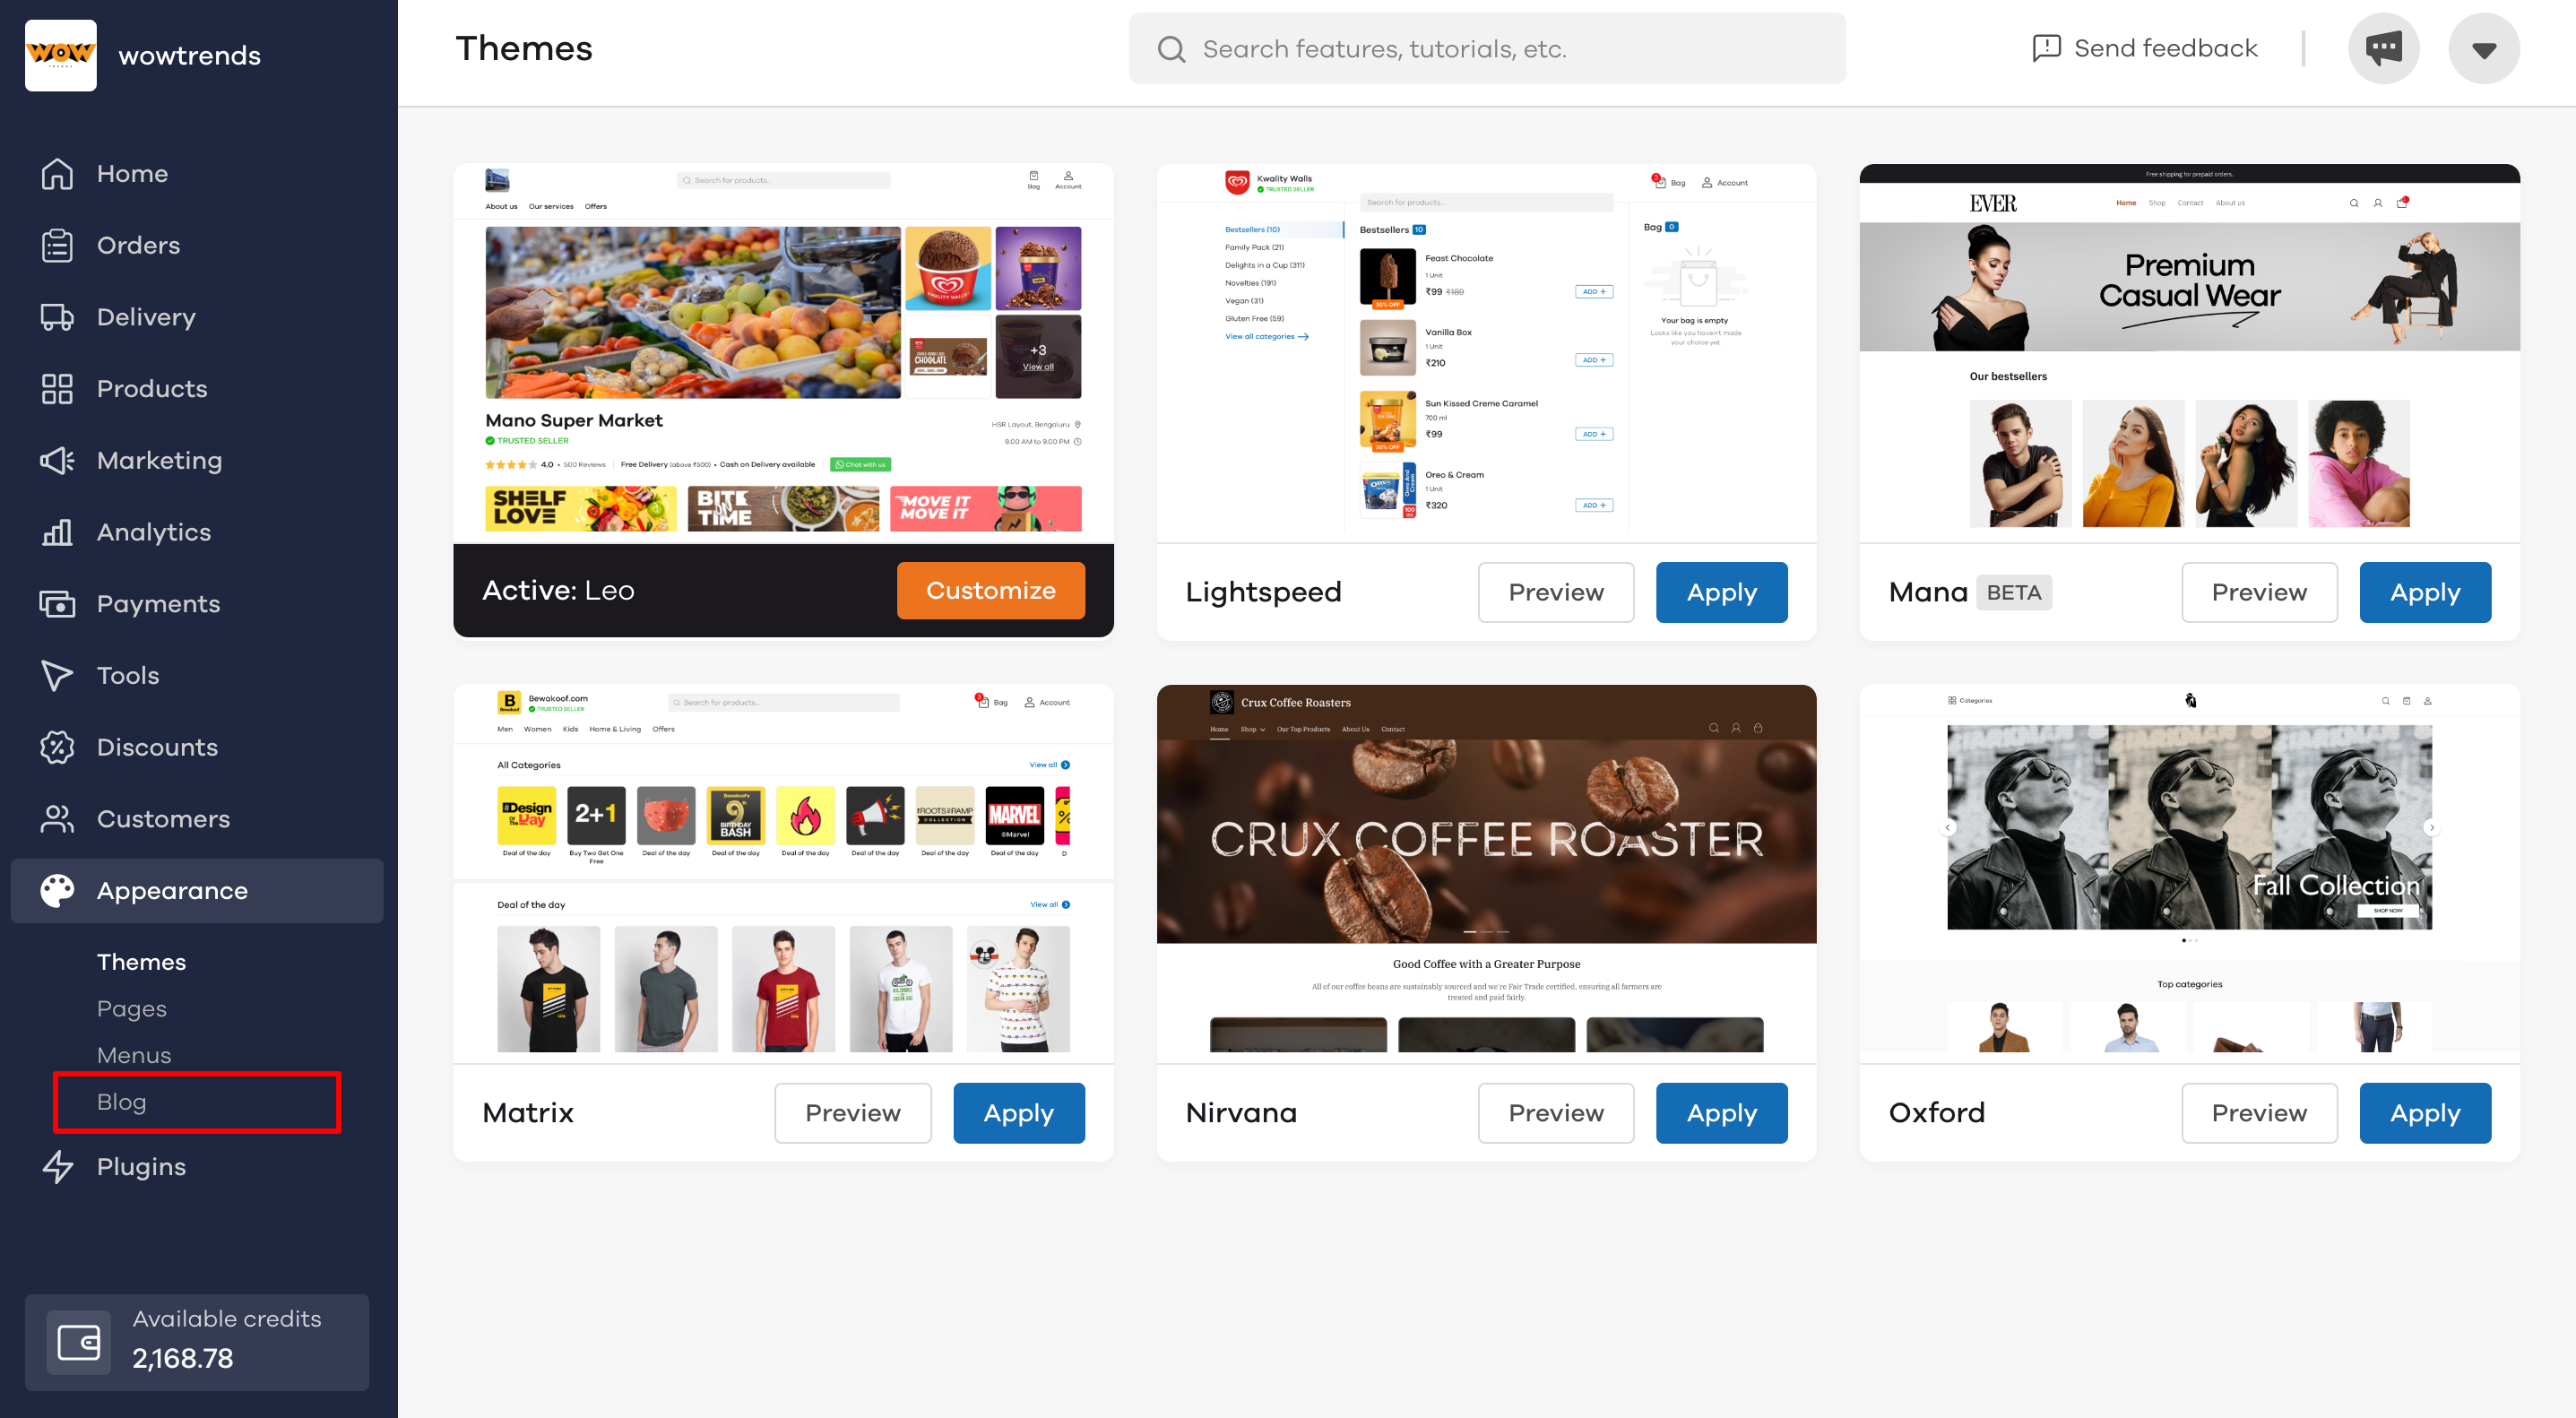
Head over to the Appearance section and click on Blog.
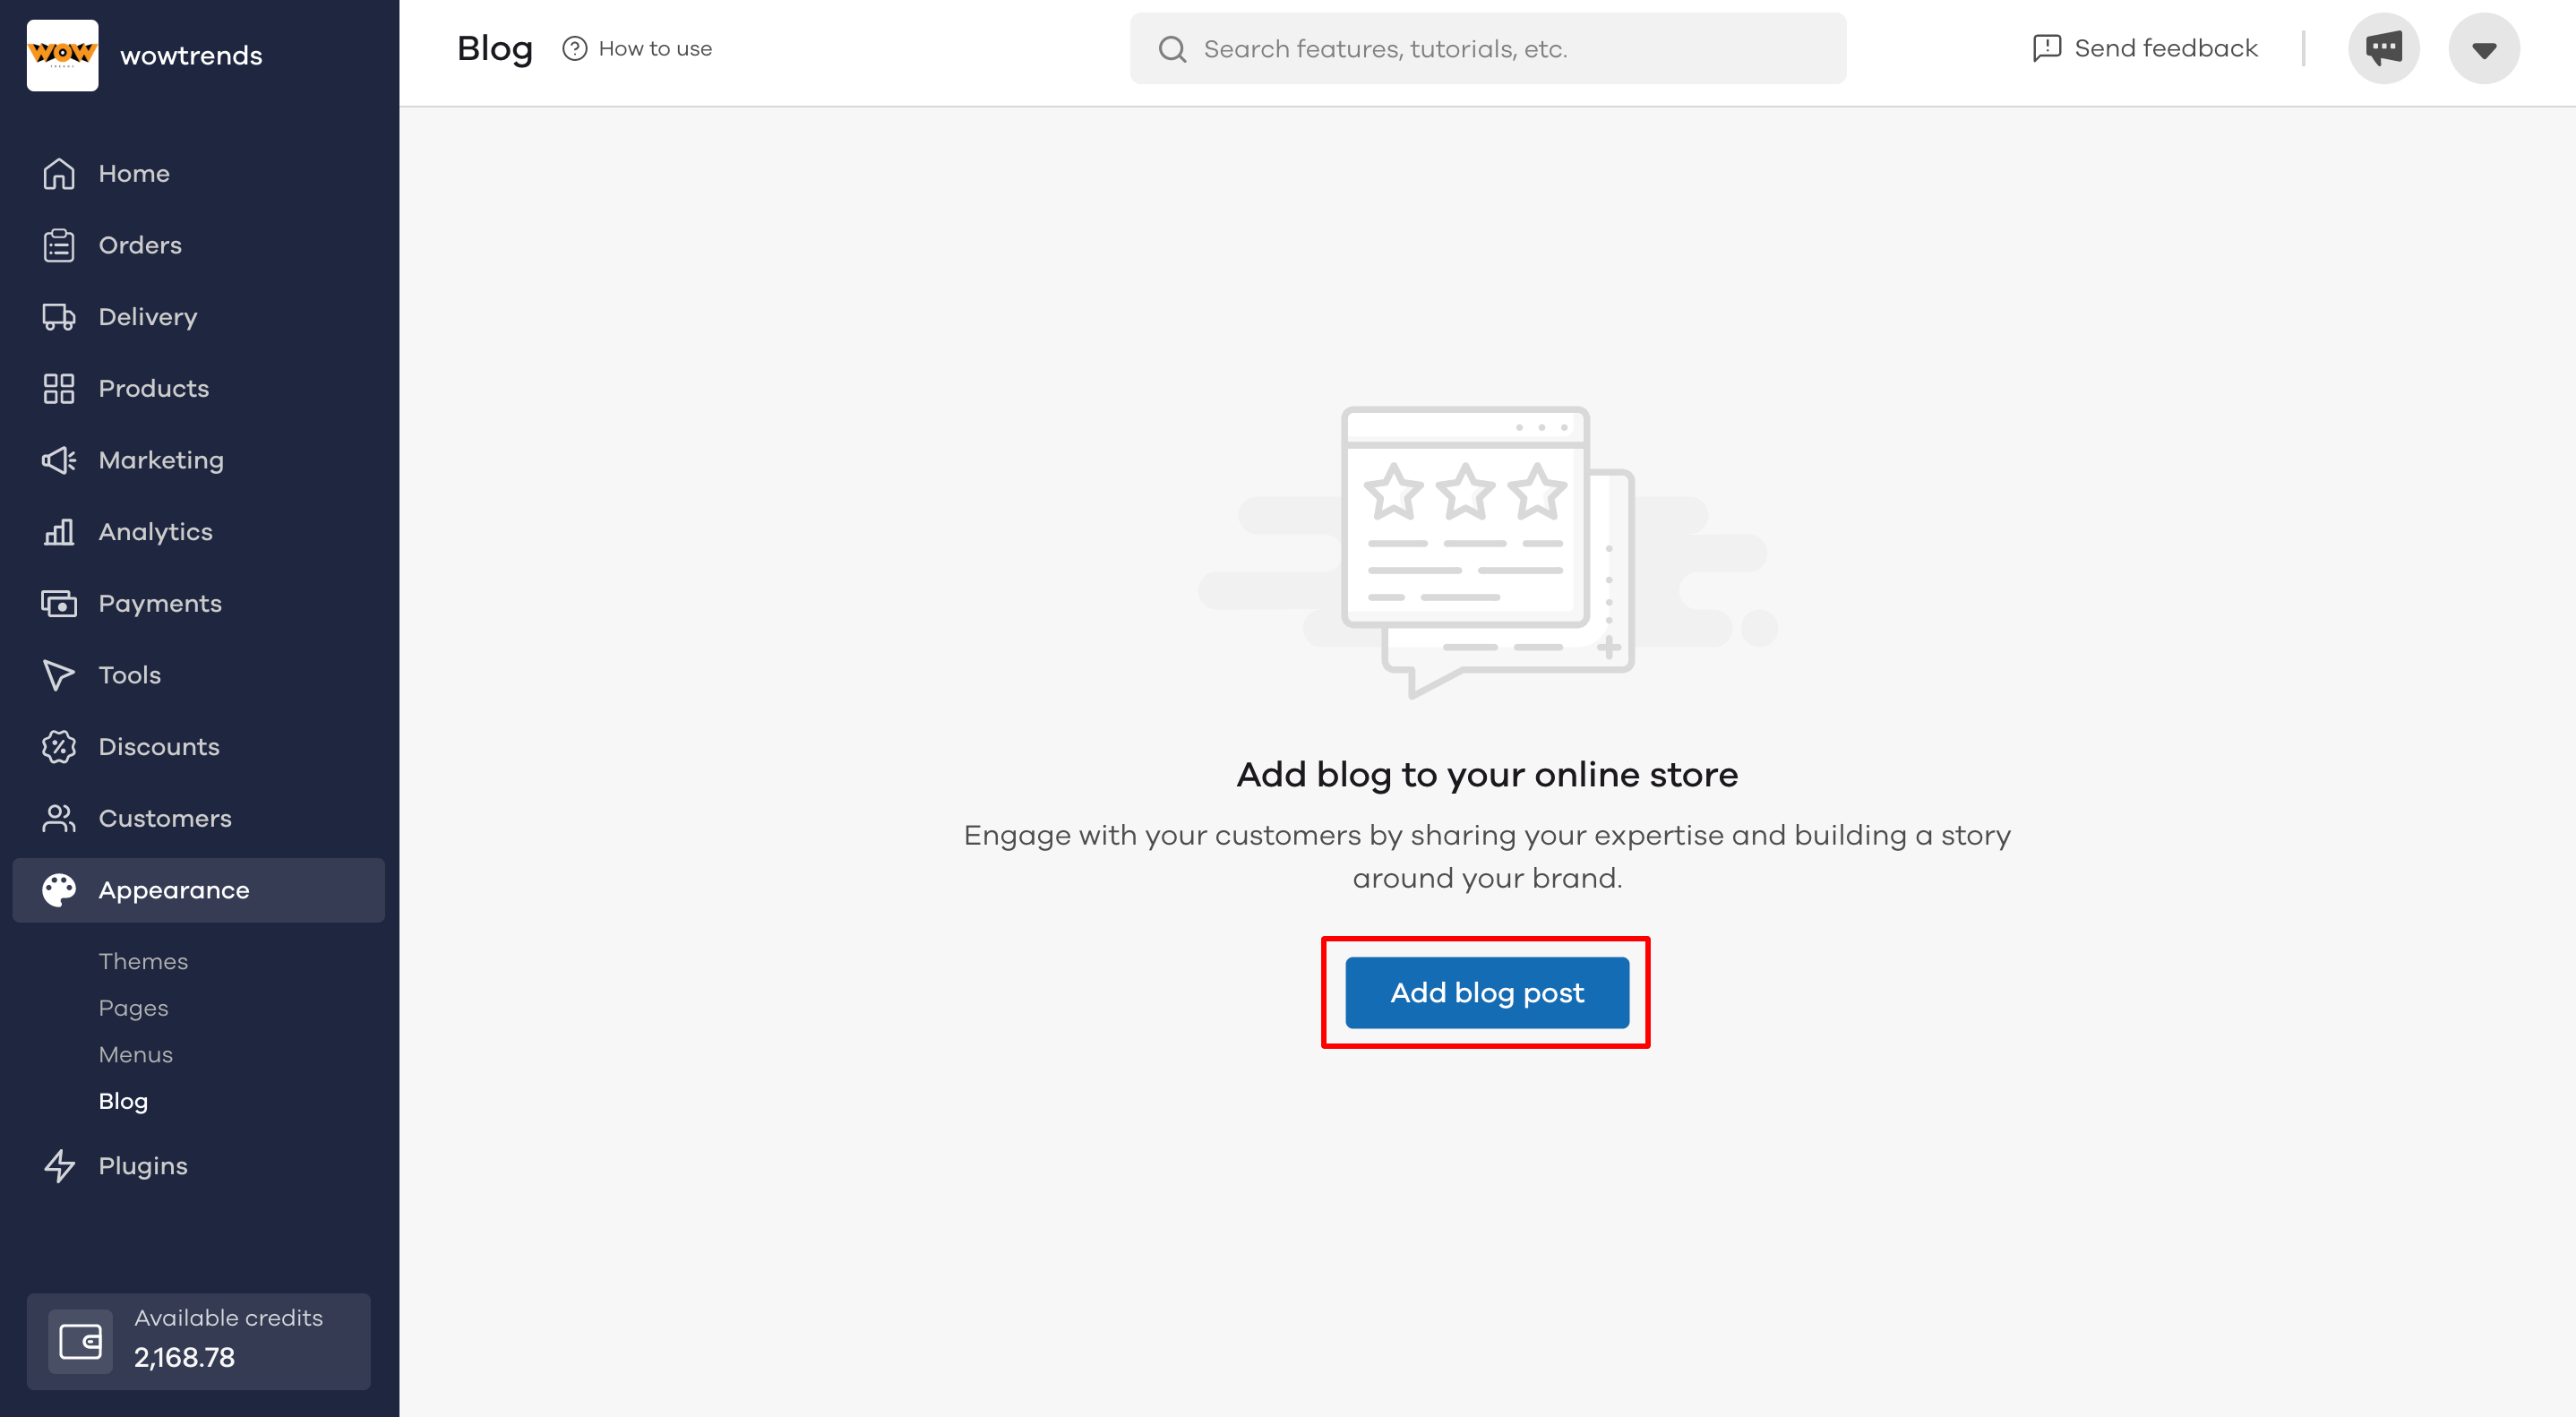
Click on Add blog post to add your first blog.
Once clicked, you will see the below screen. Here you can add details describing your blog post.
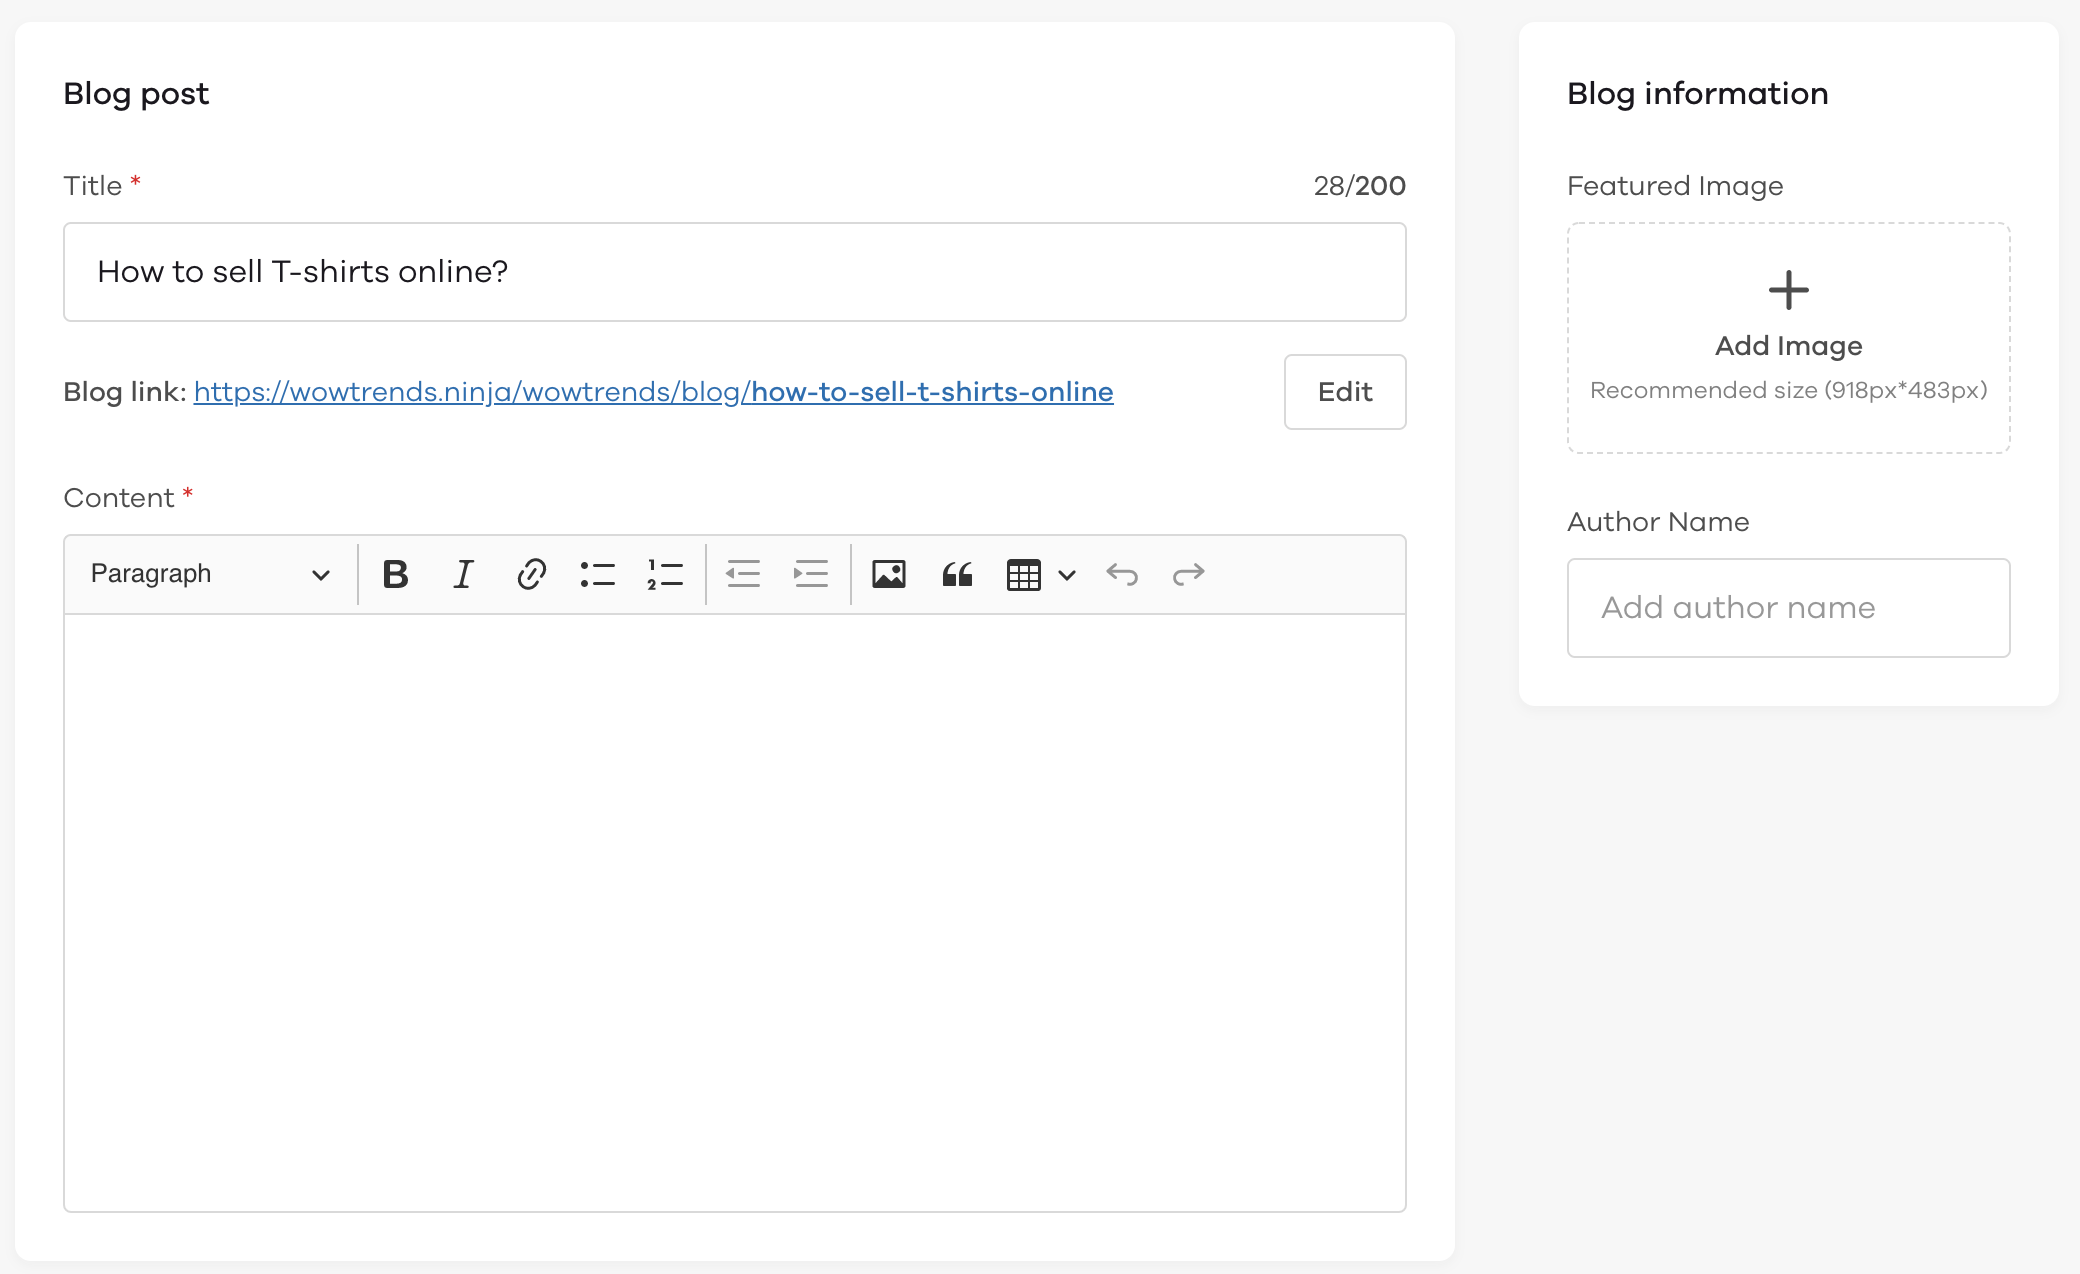
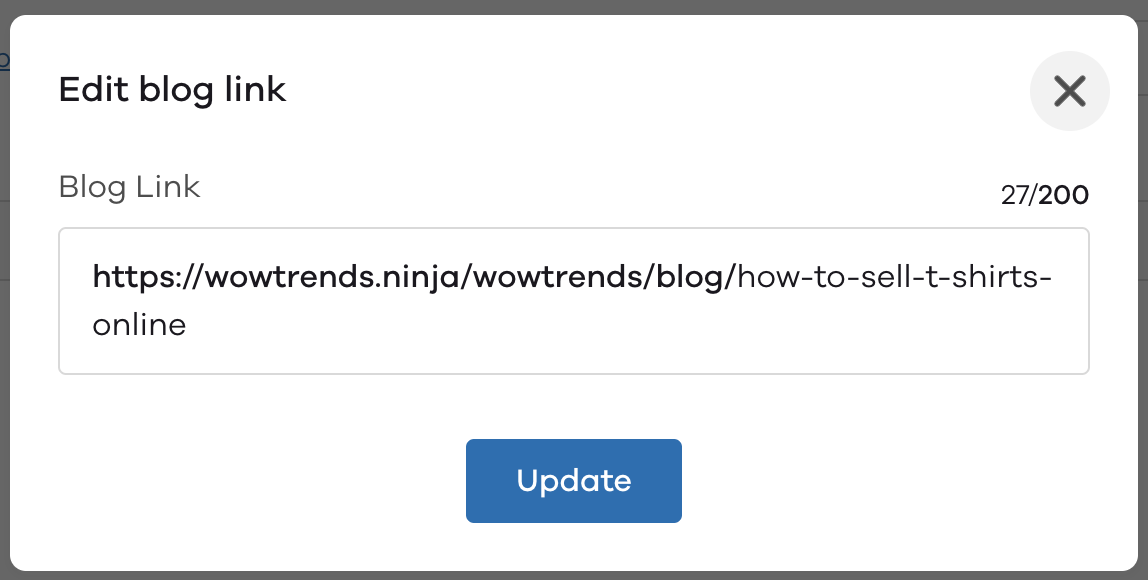
Under Title, add a name that describes the blog. If you want to edit the link to this blog, click on the Edit button to make changes.
Under Content, you can add your content, including images to describe what the post is about. You can also add bullets, links, make your content bold, add block quotes and tables using the options available.

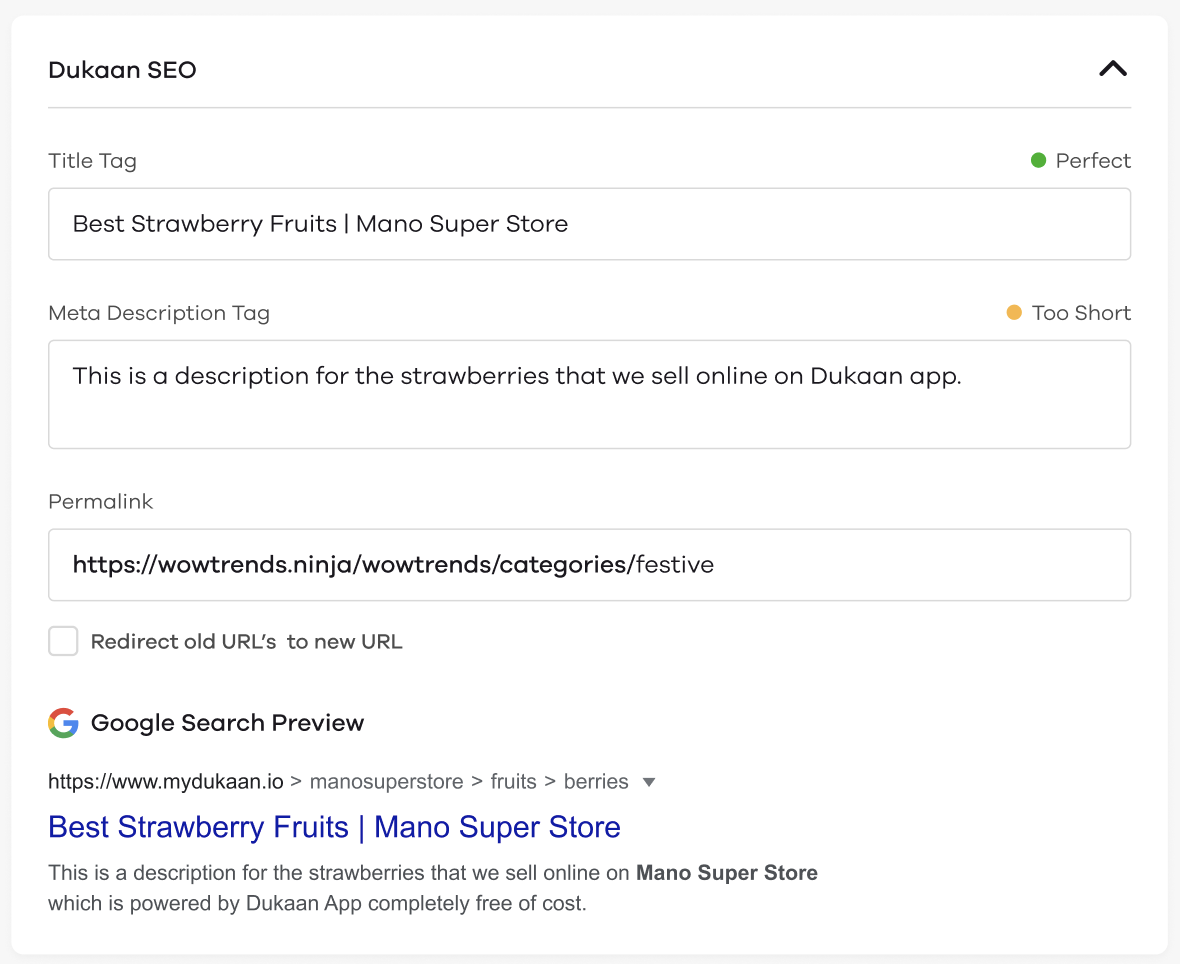
After completing the content section, you will see the Dukaan-SEO section. In case you are not able to see it, you need to install the All-in-One SEO plugin on your store.
Now that you're all done with the content of the blog, it's time to add the Featured image and Author of the blog on the right side.
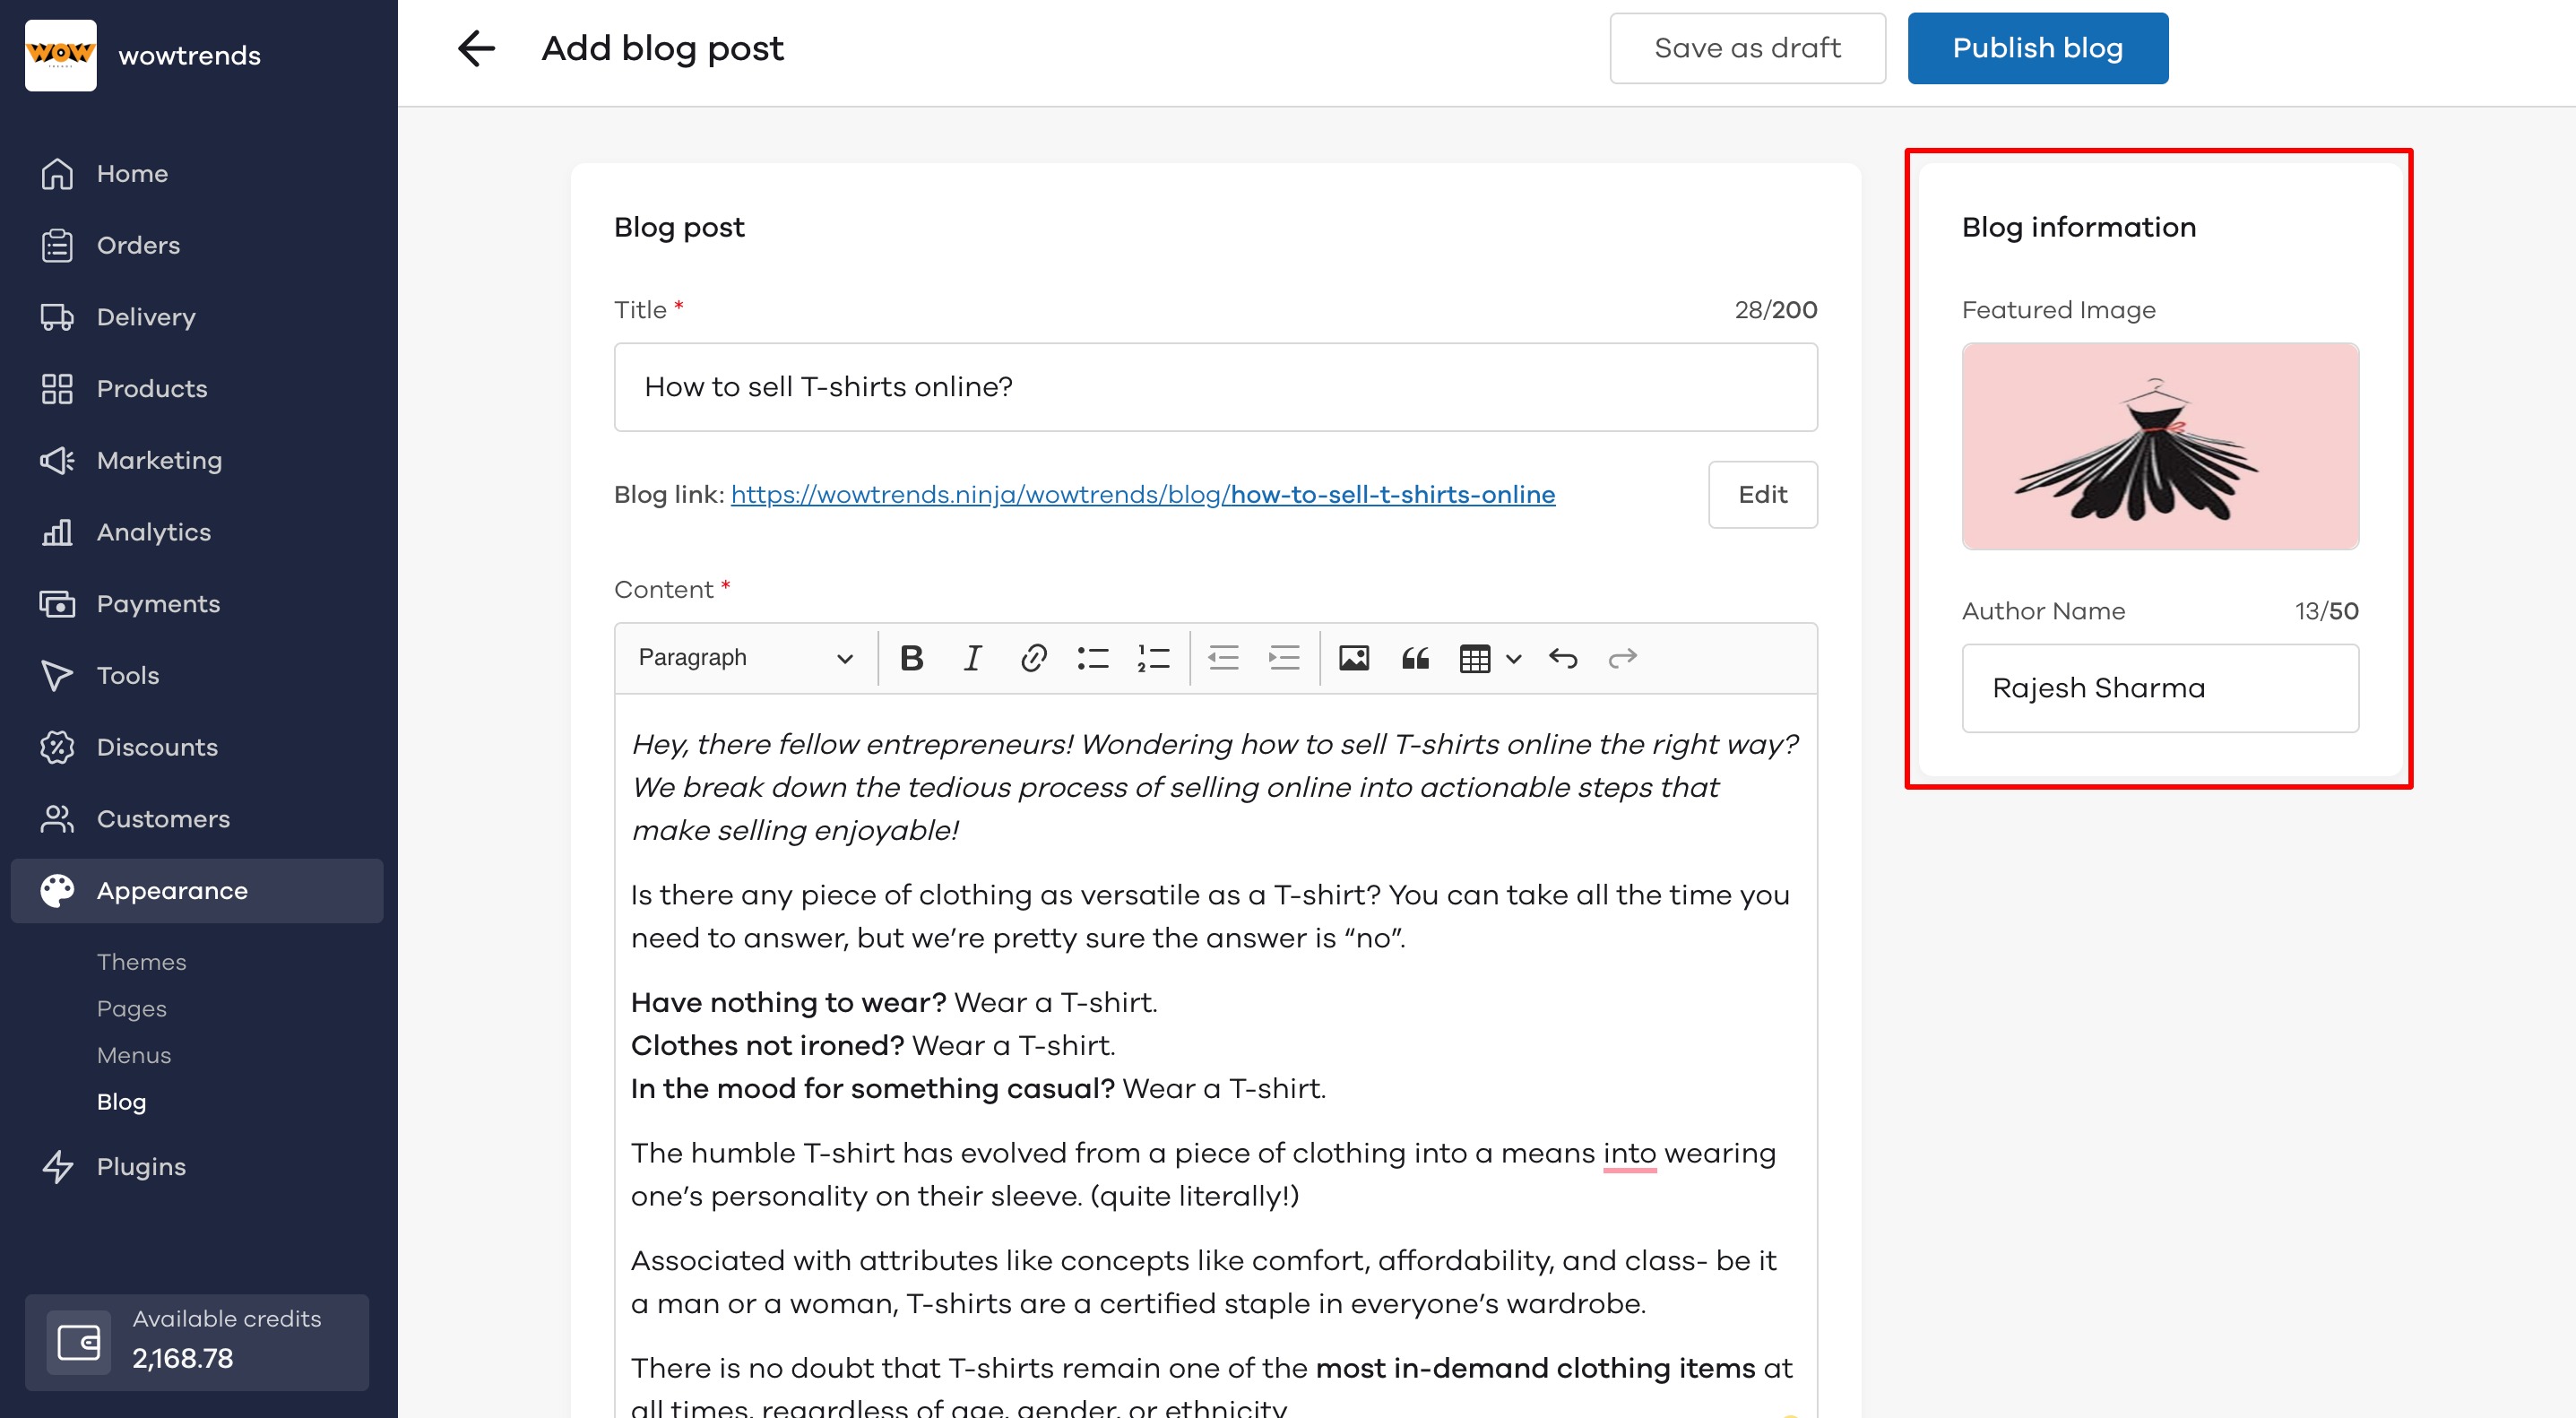
An image size of 918px x 483px is ideal.
If you want to save the blog for later purposes and do not wish to publish yet, click on the Save as draft button.
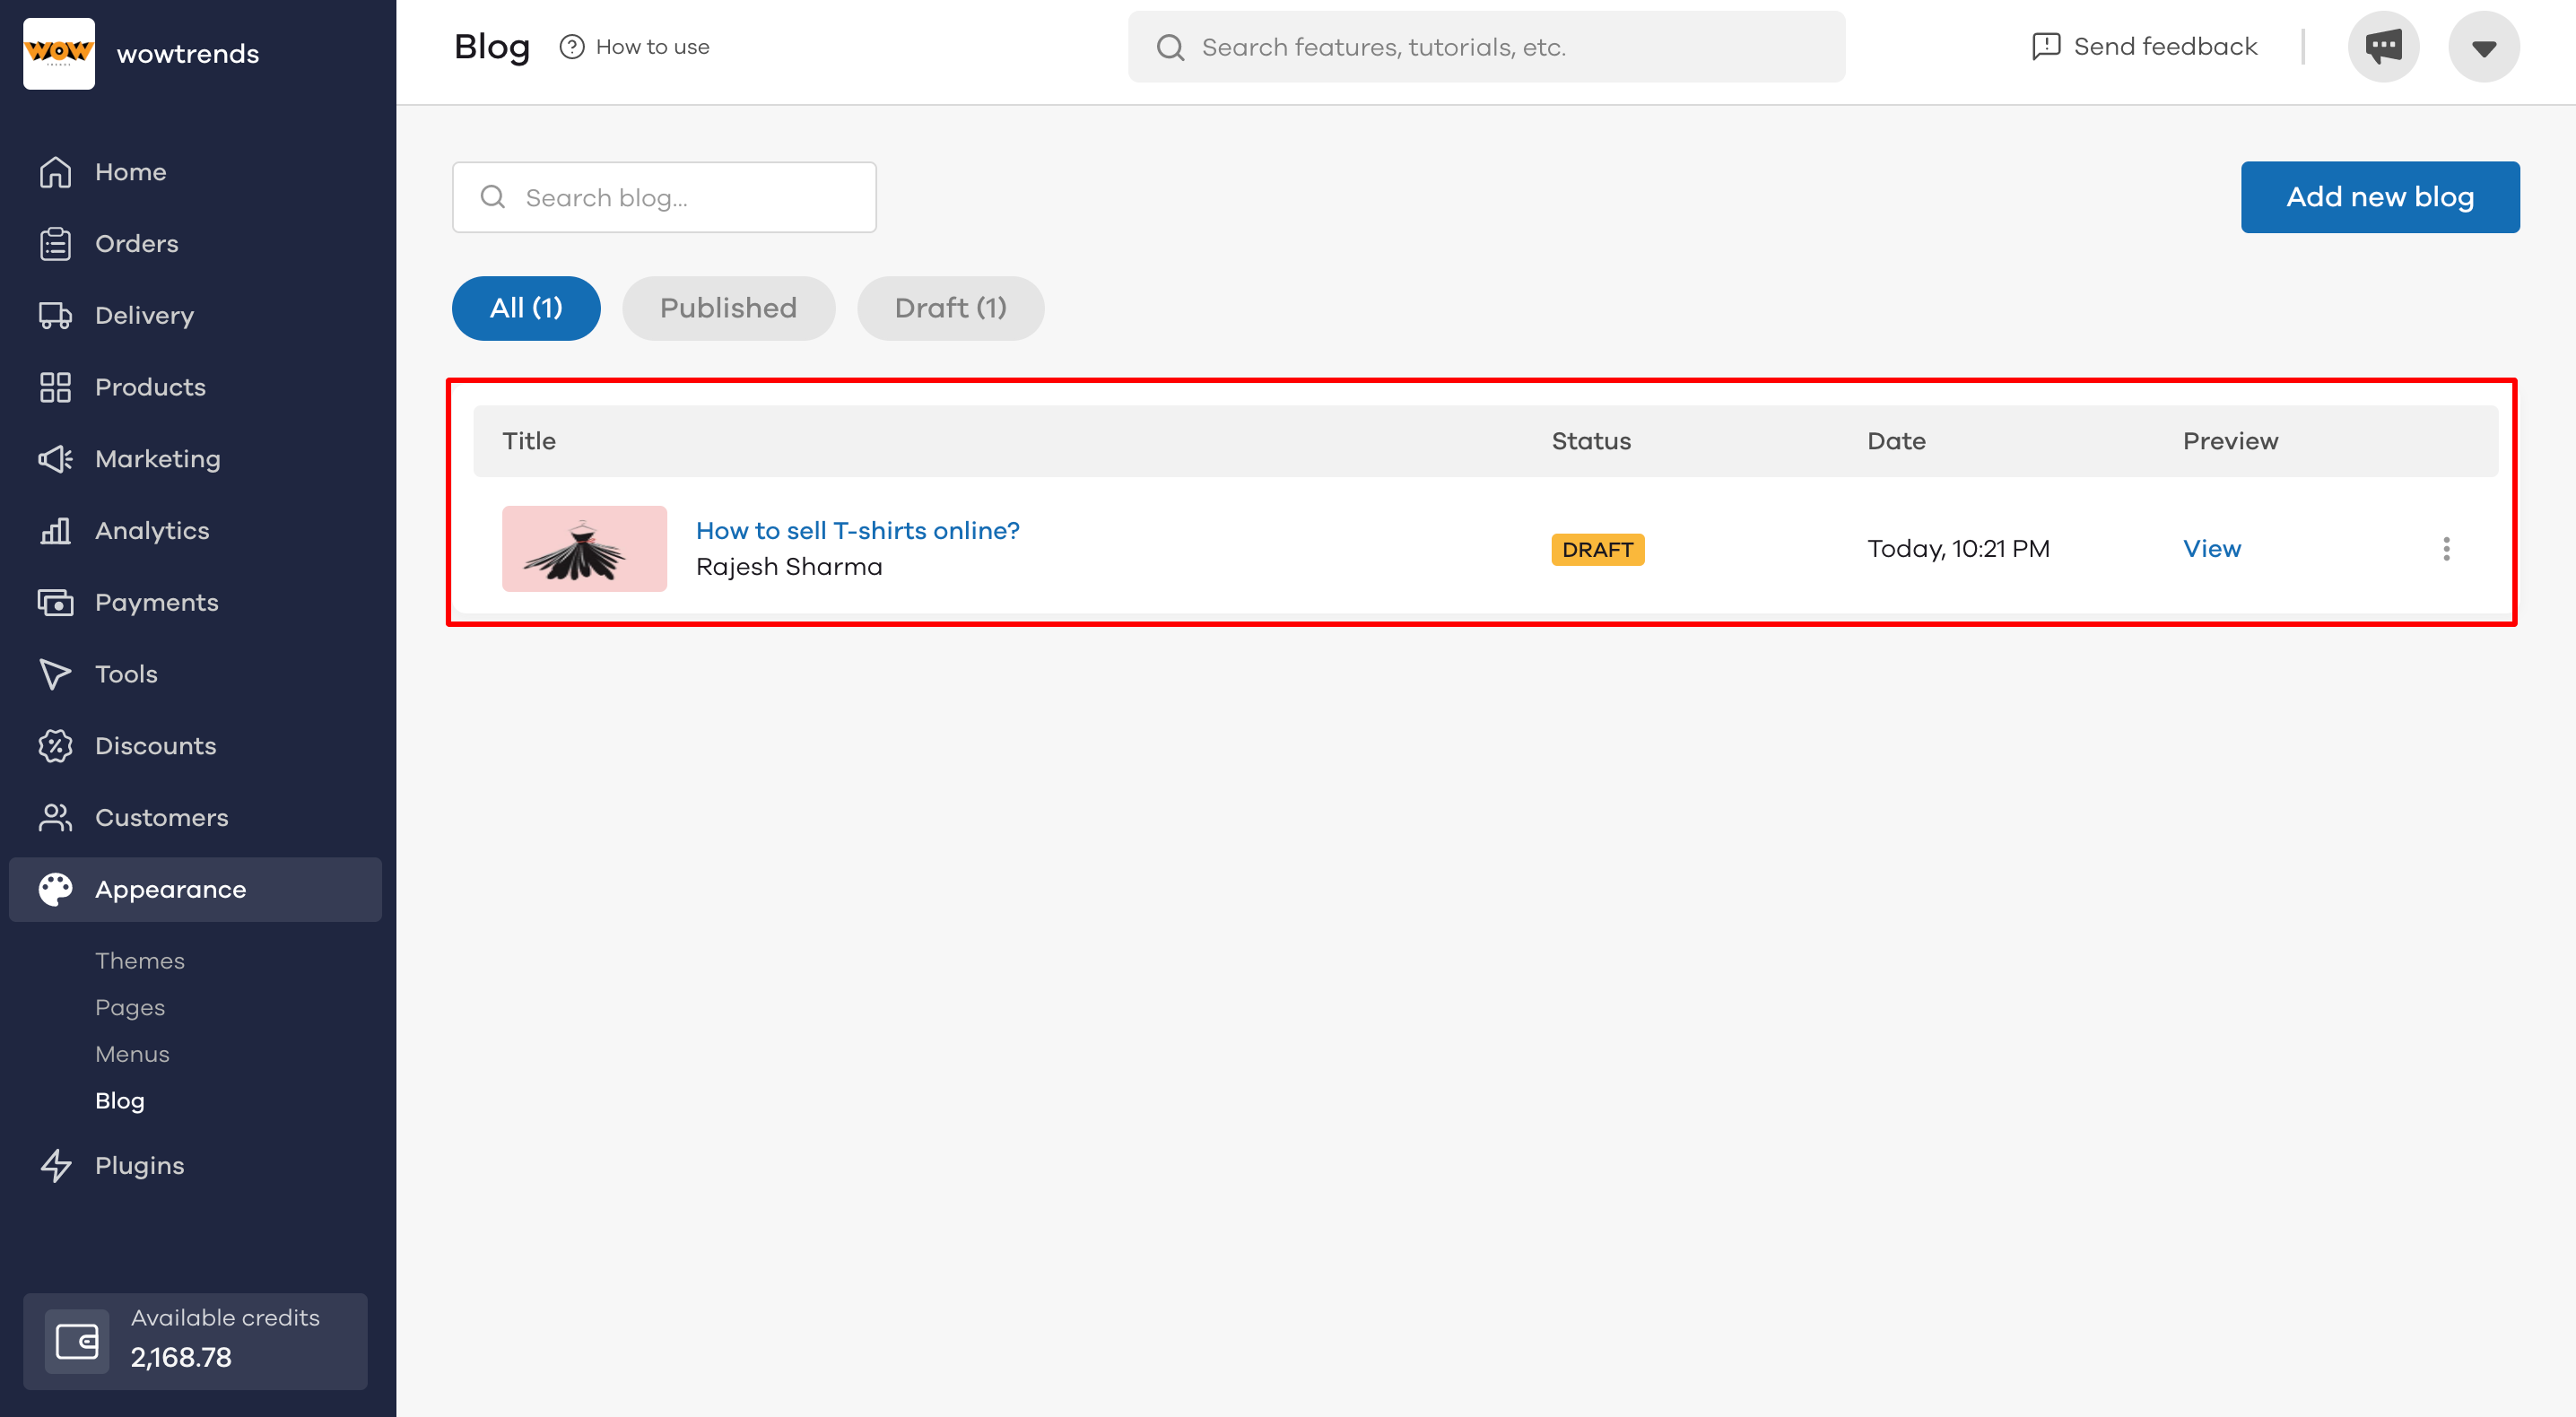
You can also view and edit all your published and draft blogs under the blogs tab. To edit a blog, click on the blog's name to go to the blog editor. Here change the details that you want and click on Publish blog to save changes.

To delete a blog, click on the three dots button which is at the right against the name of the name, and click the Delete blog button.