What are webhooks?
Webhooks are automated messages sent from apps when something happens. They allow different apps to communicate with each other and share data when something happens. You can choose to read more about webhooks here.
How to use the webhooks plugin?
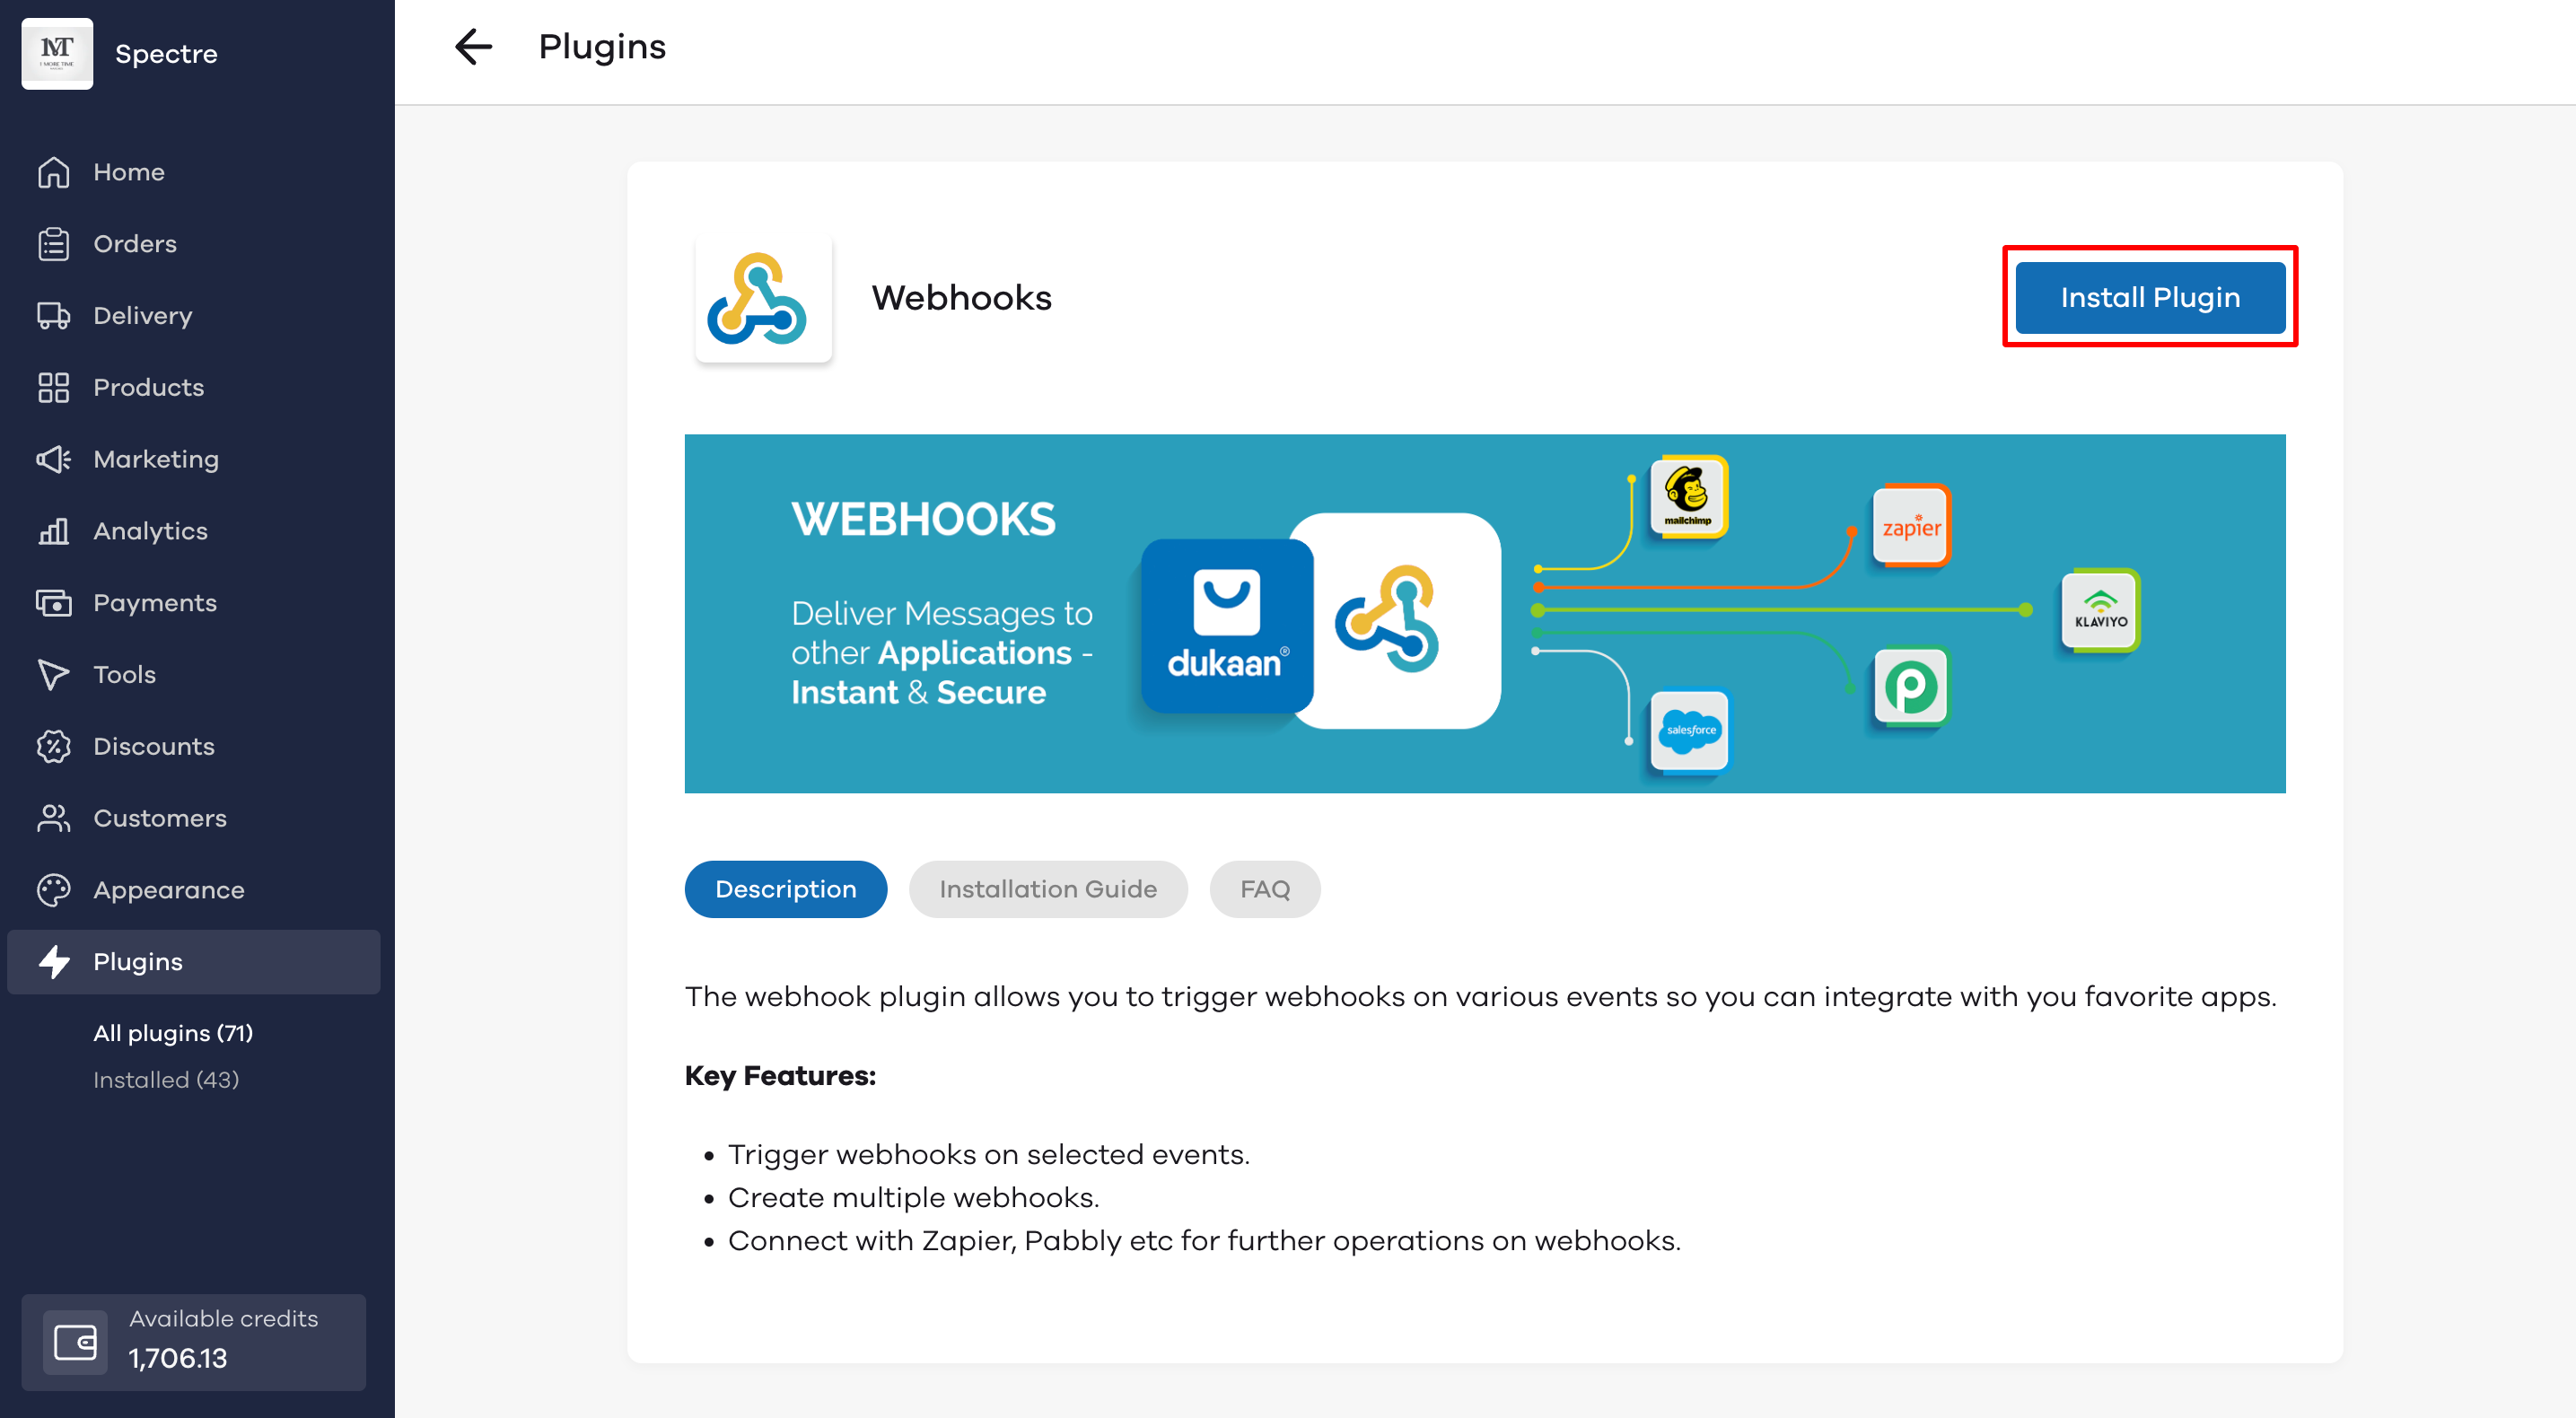
In order to use the webhooks plugin, head over to the plugin install page and click on Install. After installing, head over to the Plugin Settings.
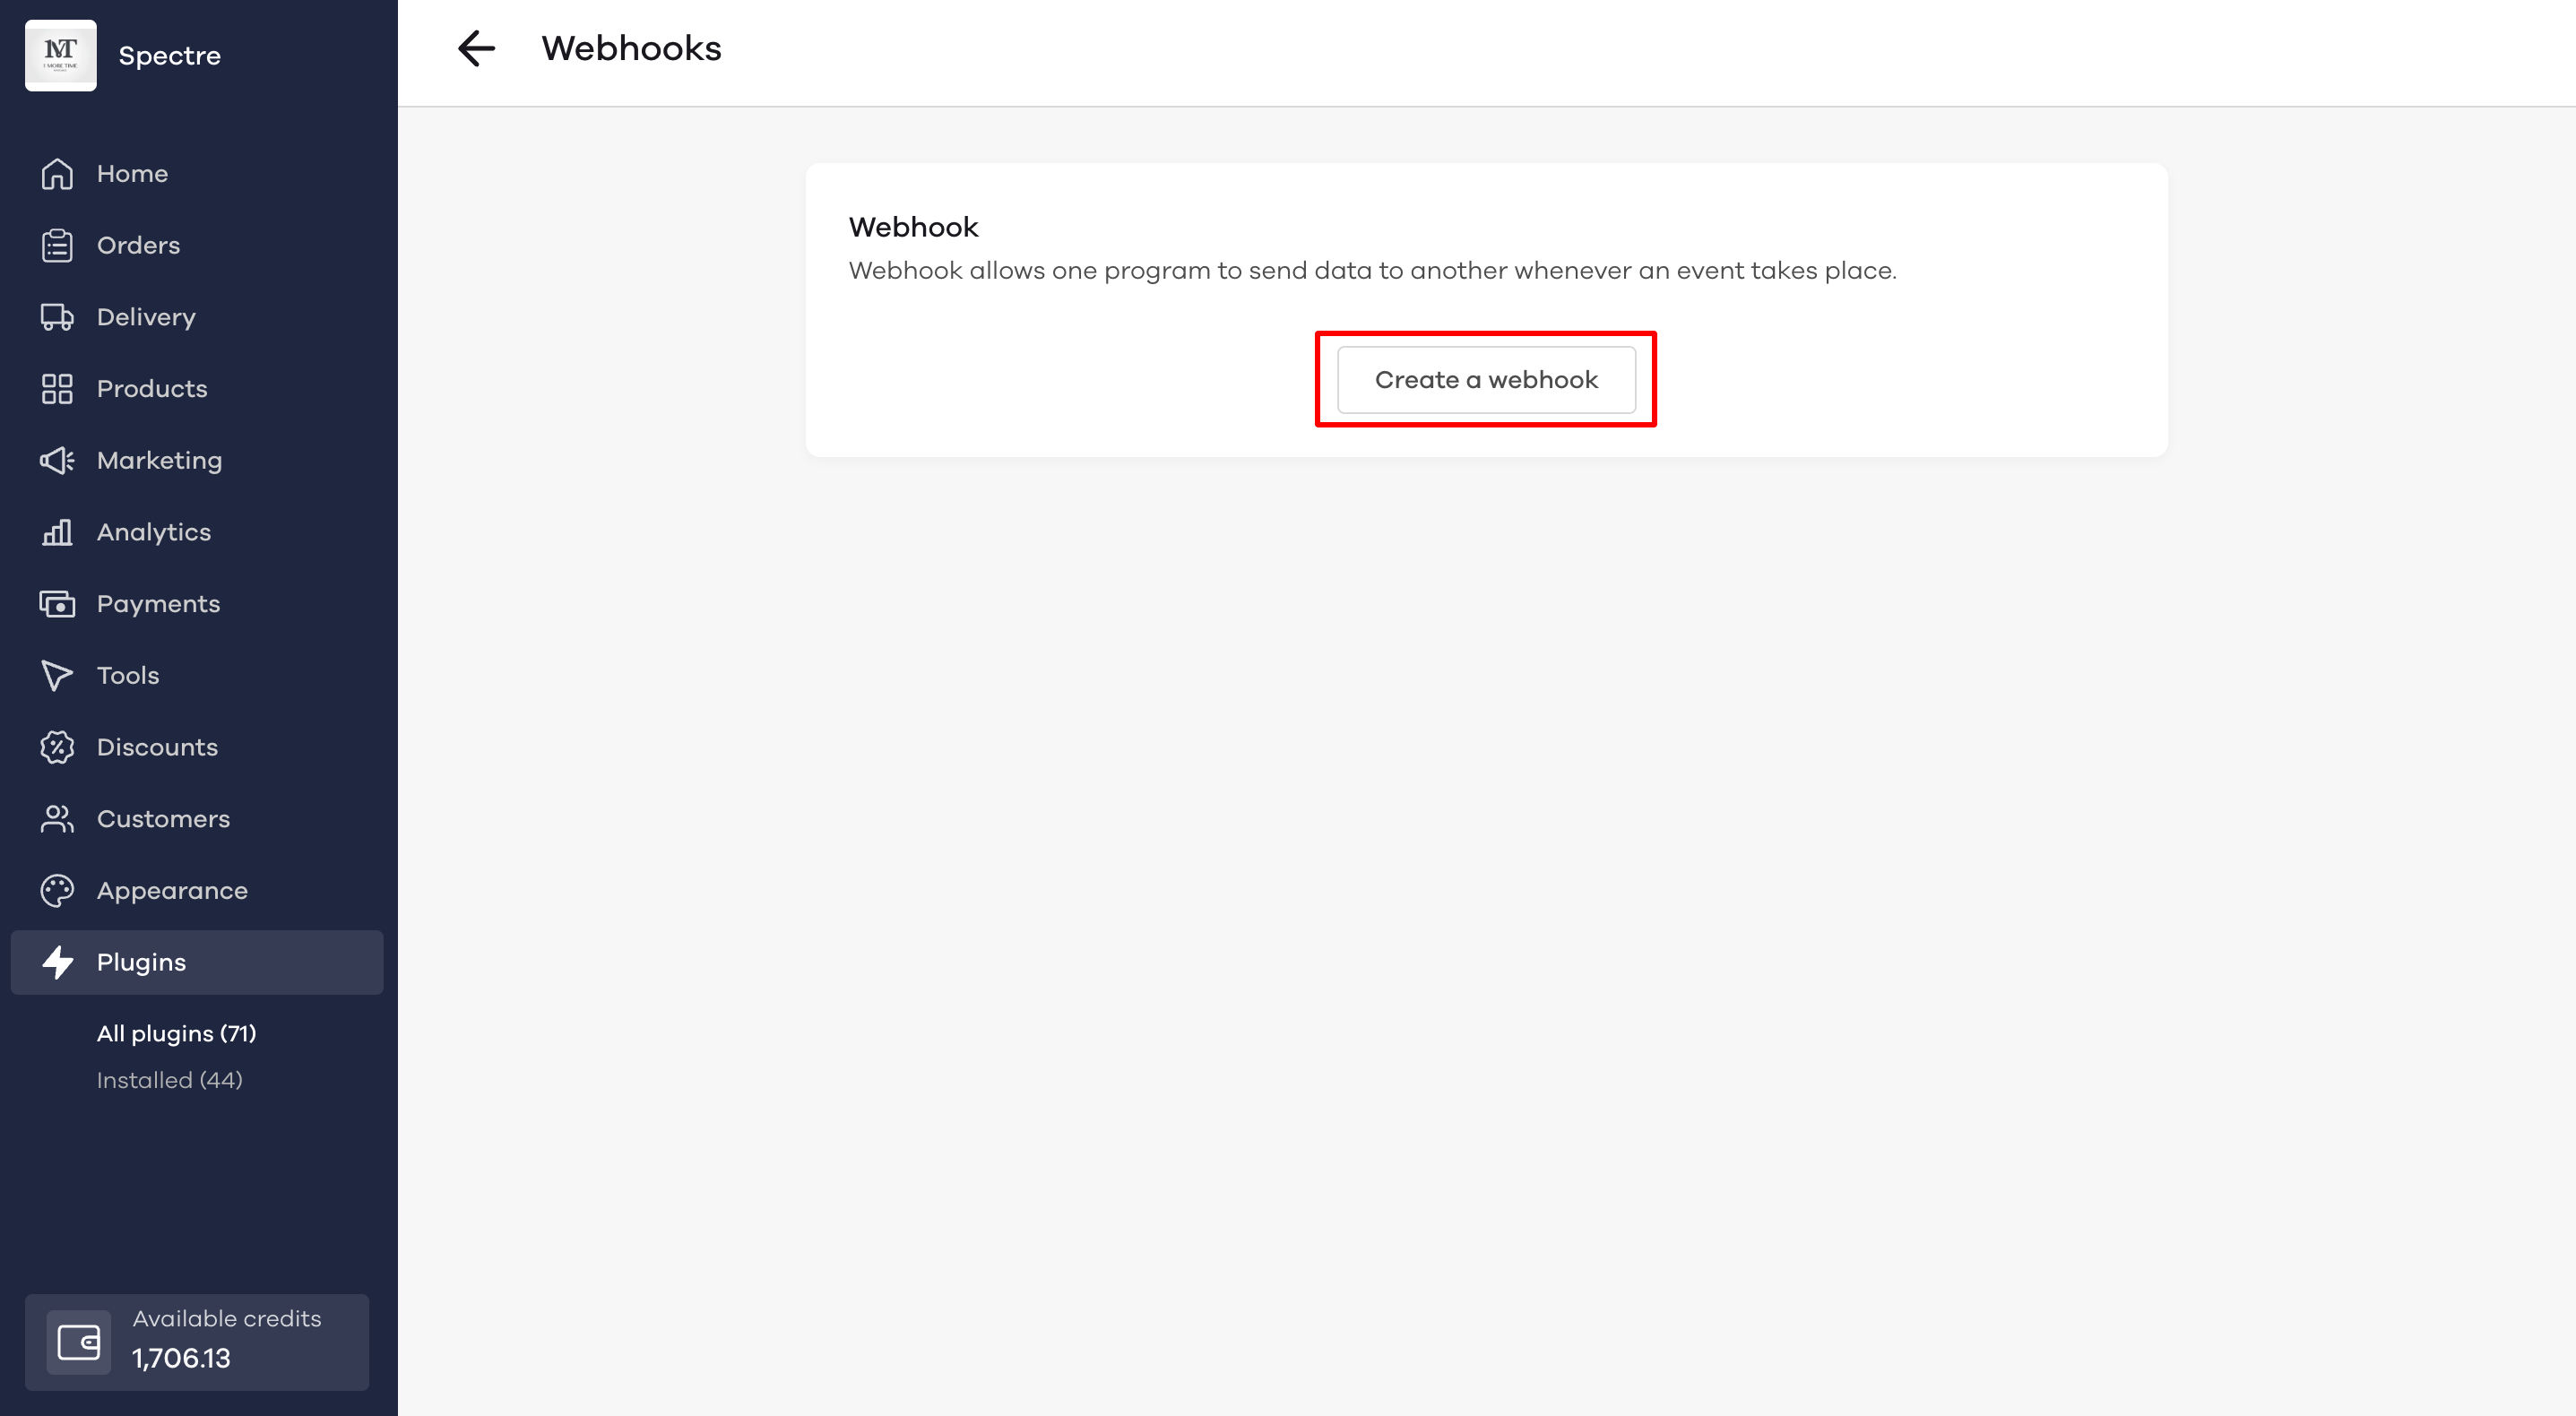
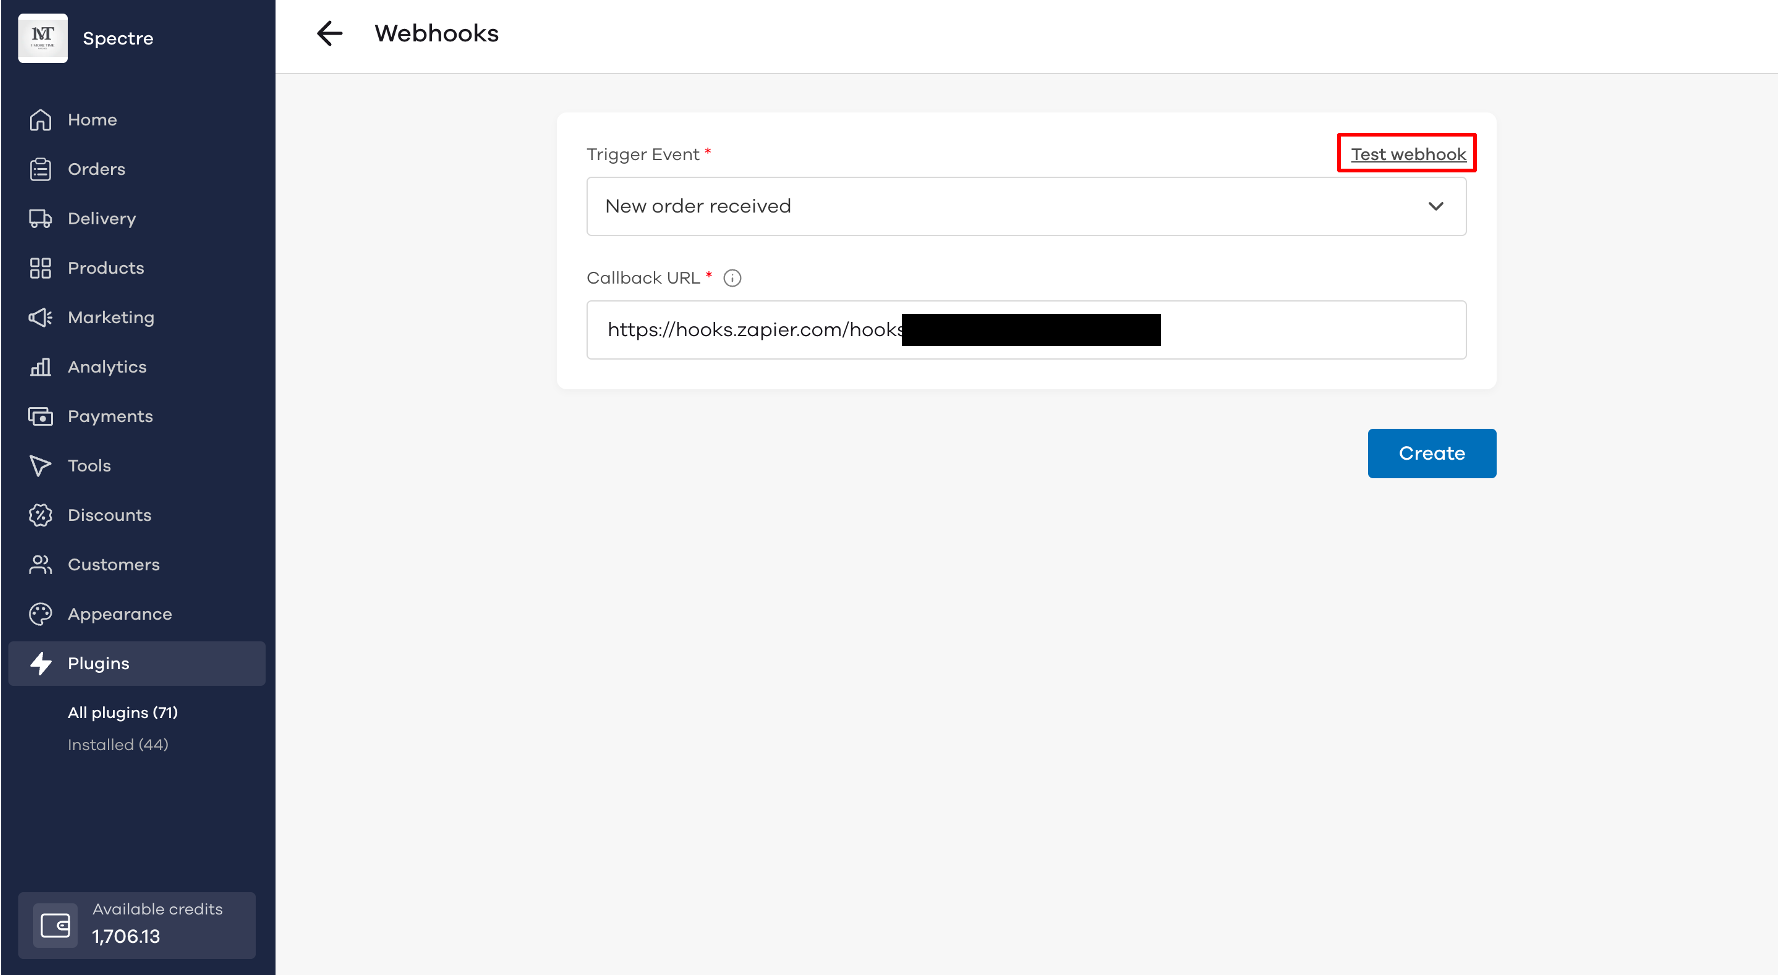
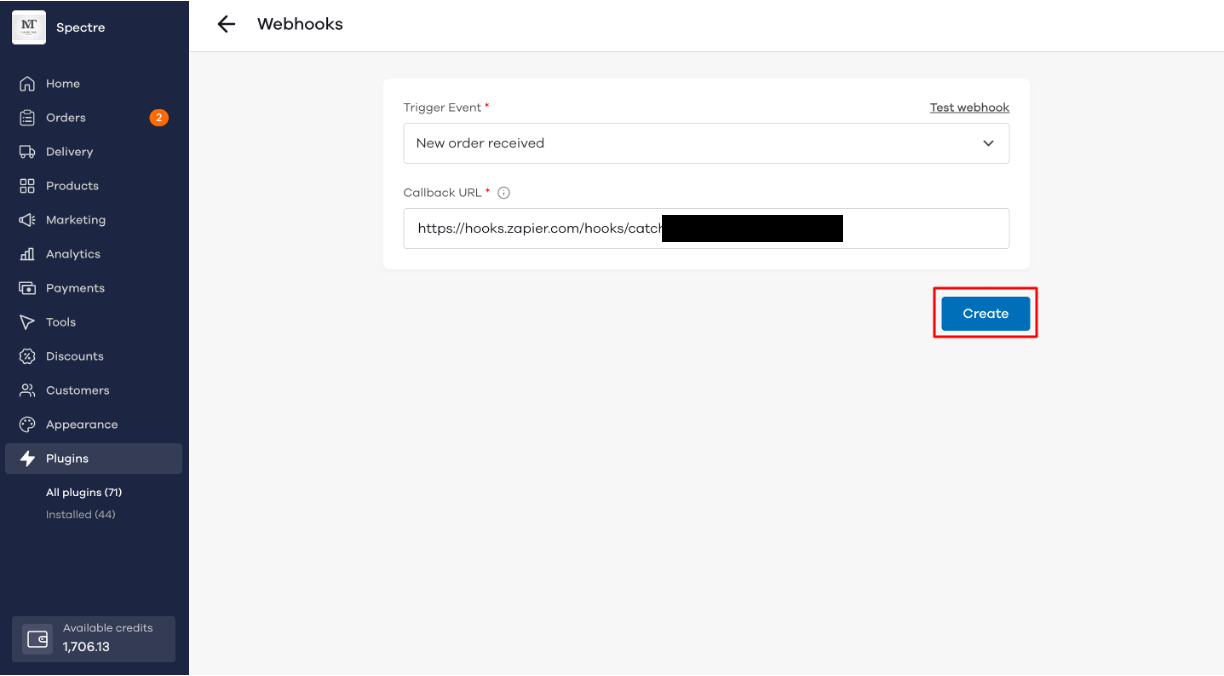
You will see the below screen. Click on Create a webhook.
On clicking on Trigger event, you get four options to select the trigger event-
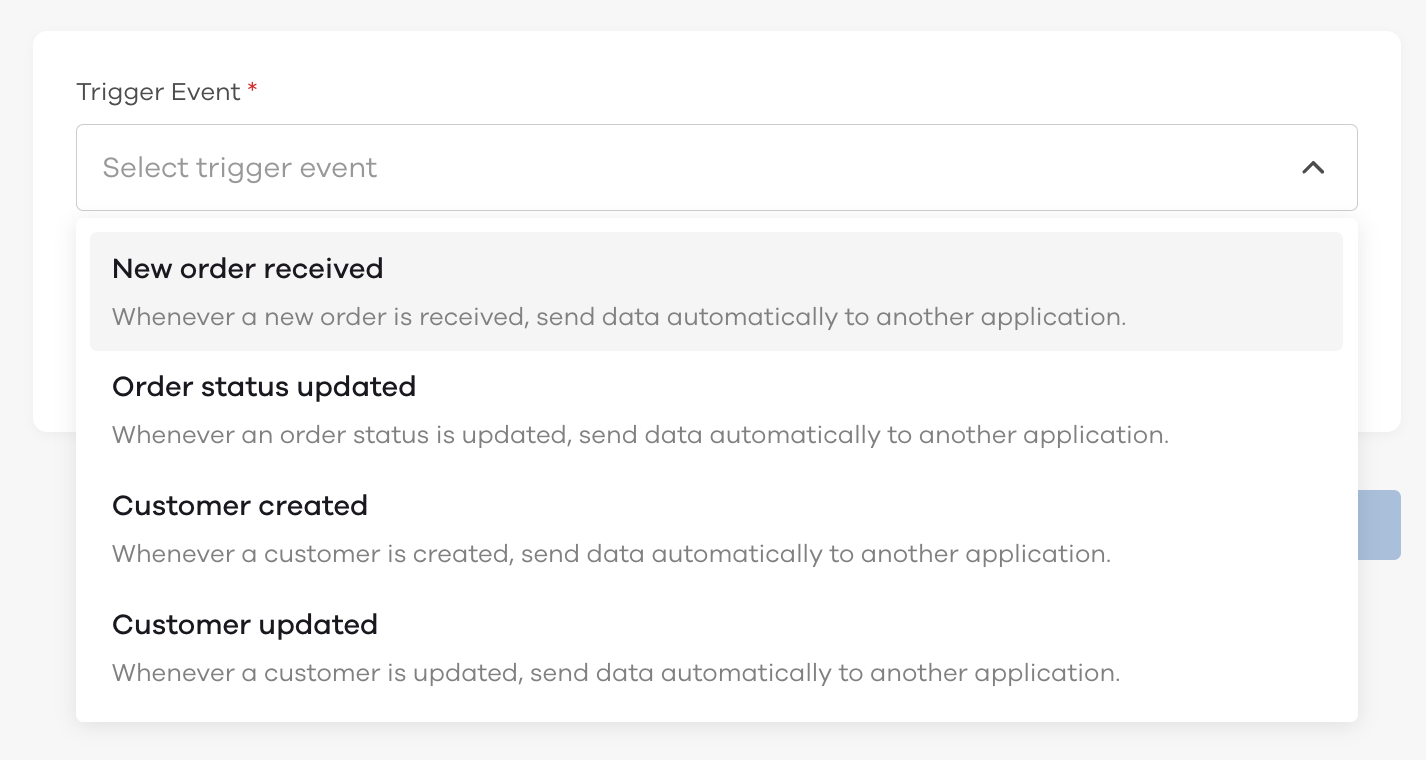
- New order received: A webhook whenever a new order is received. You can use this to send order notification webhooks to the application of your choice (Zapier/Pabbly/etc) and then send order notifications to your customers
- Order status updated: When there is an update on the order status, this data will be sent to the application of your choice
- Customer created: When a new customer is created on your store
- Customer updated: Whenever the customer details are updated, either from your store dashboard or the customer updates the information on their own
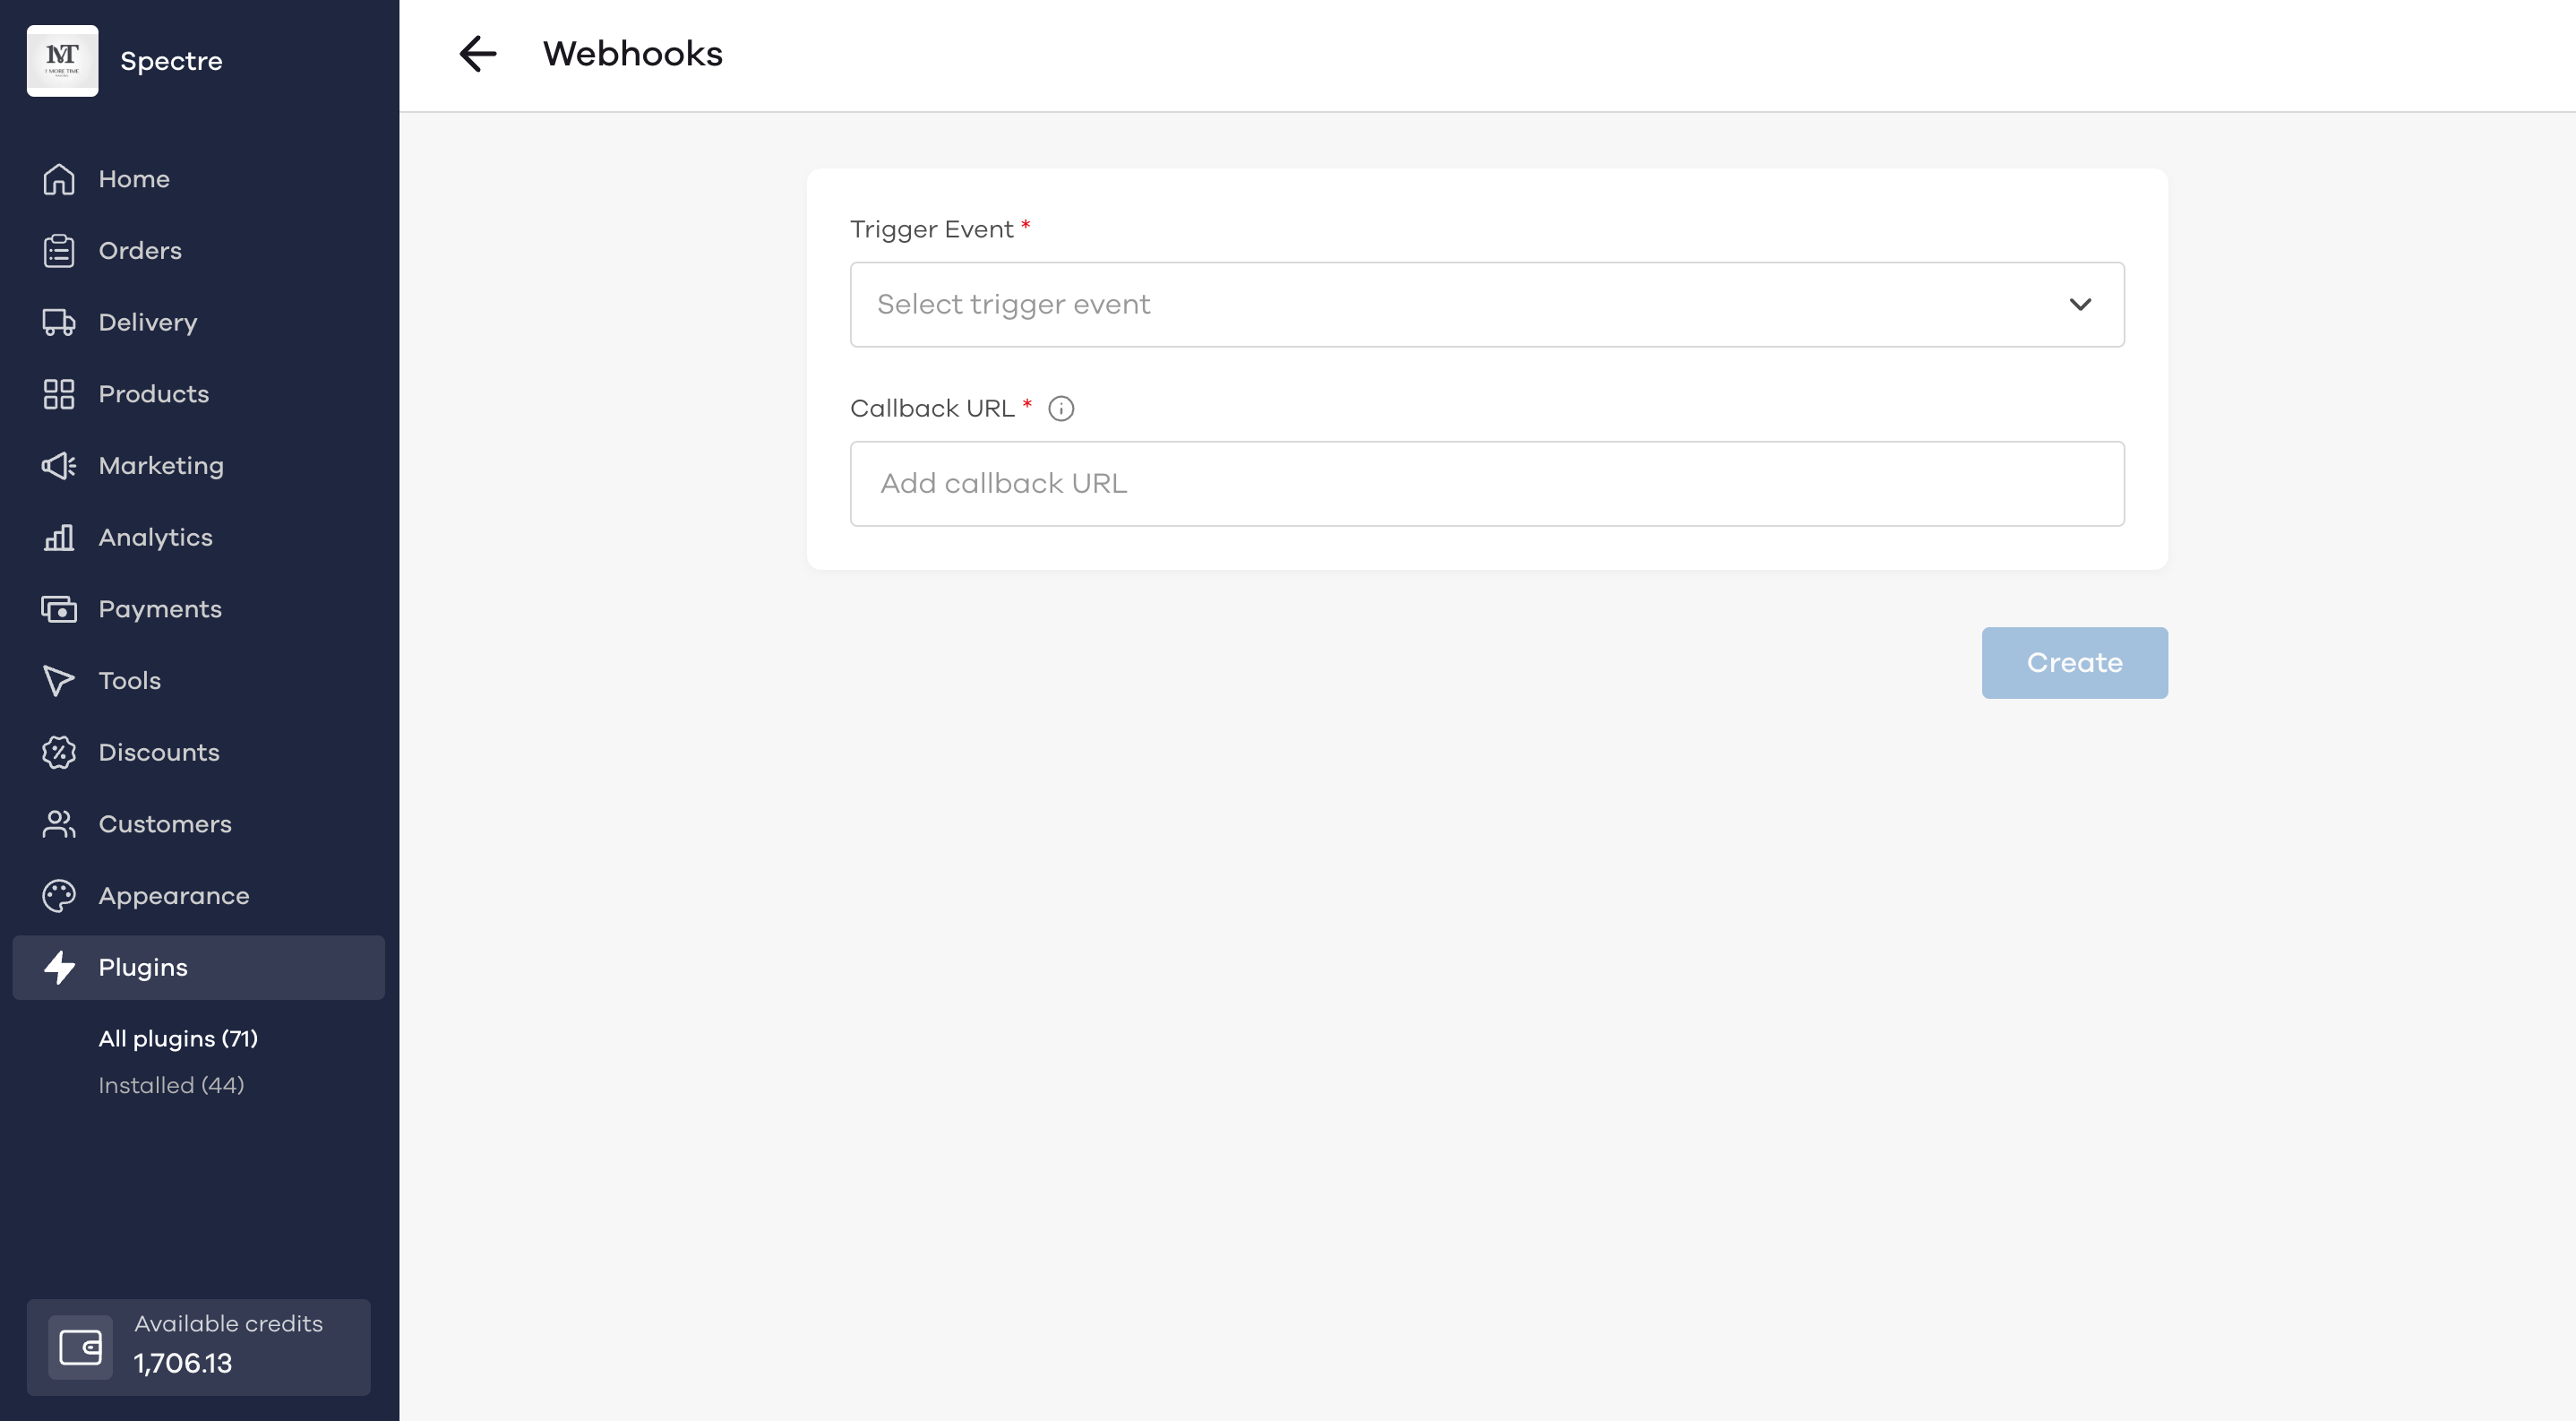
The Callback URL is the destination where your data will be sent to. This data can be sent to your application of choice. For eg, Klaviyo, Mailchimp, Zapier, Pabbly, etc.
Once added, you will also get the option to Test webhook

This will allow you to test the connection and see the data you receive. Once added, click on Create.
Example webhook
- To send custom order emails or notifications by any other service, you can create a new order & order status webhook.
- The Webhook can be connected to any service like Mailchimp, Klaviyo directly or via 3rd party apps like Zapier & Pabbly
- After connecting these apps you can trigger emails/notifications as soon as order is received, order status changes to any state from pending to delivered
Example integration with Zapier & Klaviyo
Let's try to integrate with Zapier and create a new subscriber on Klaviyo.
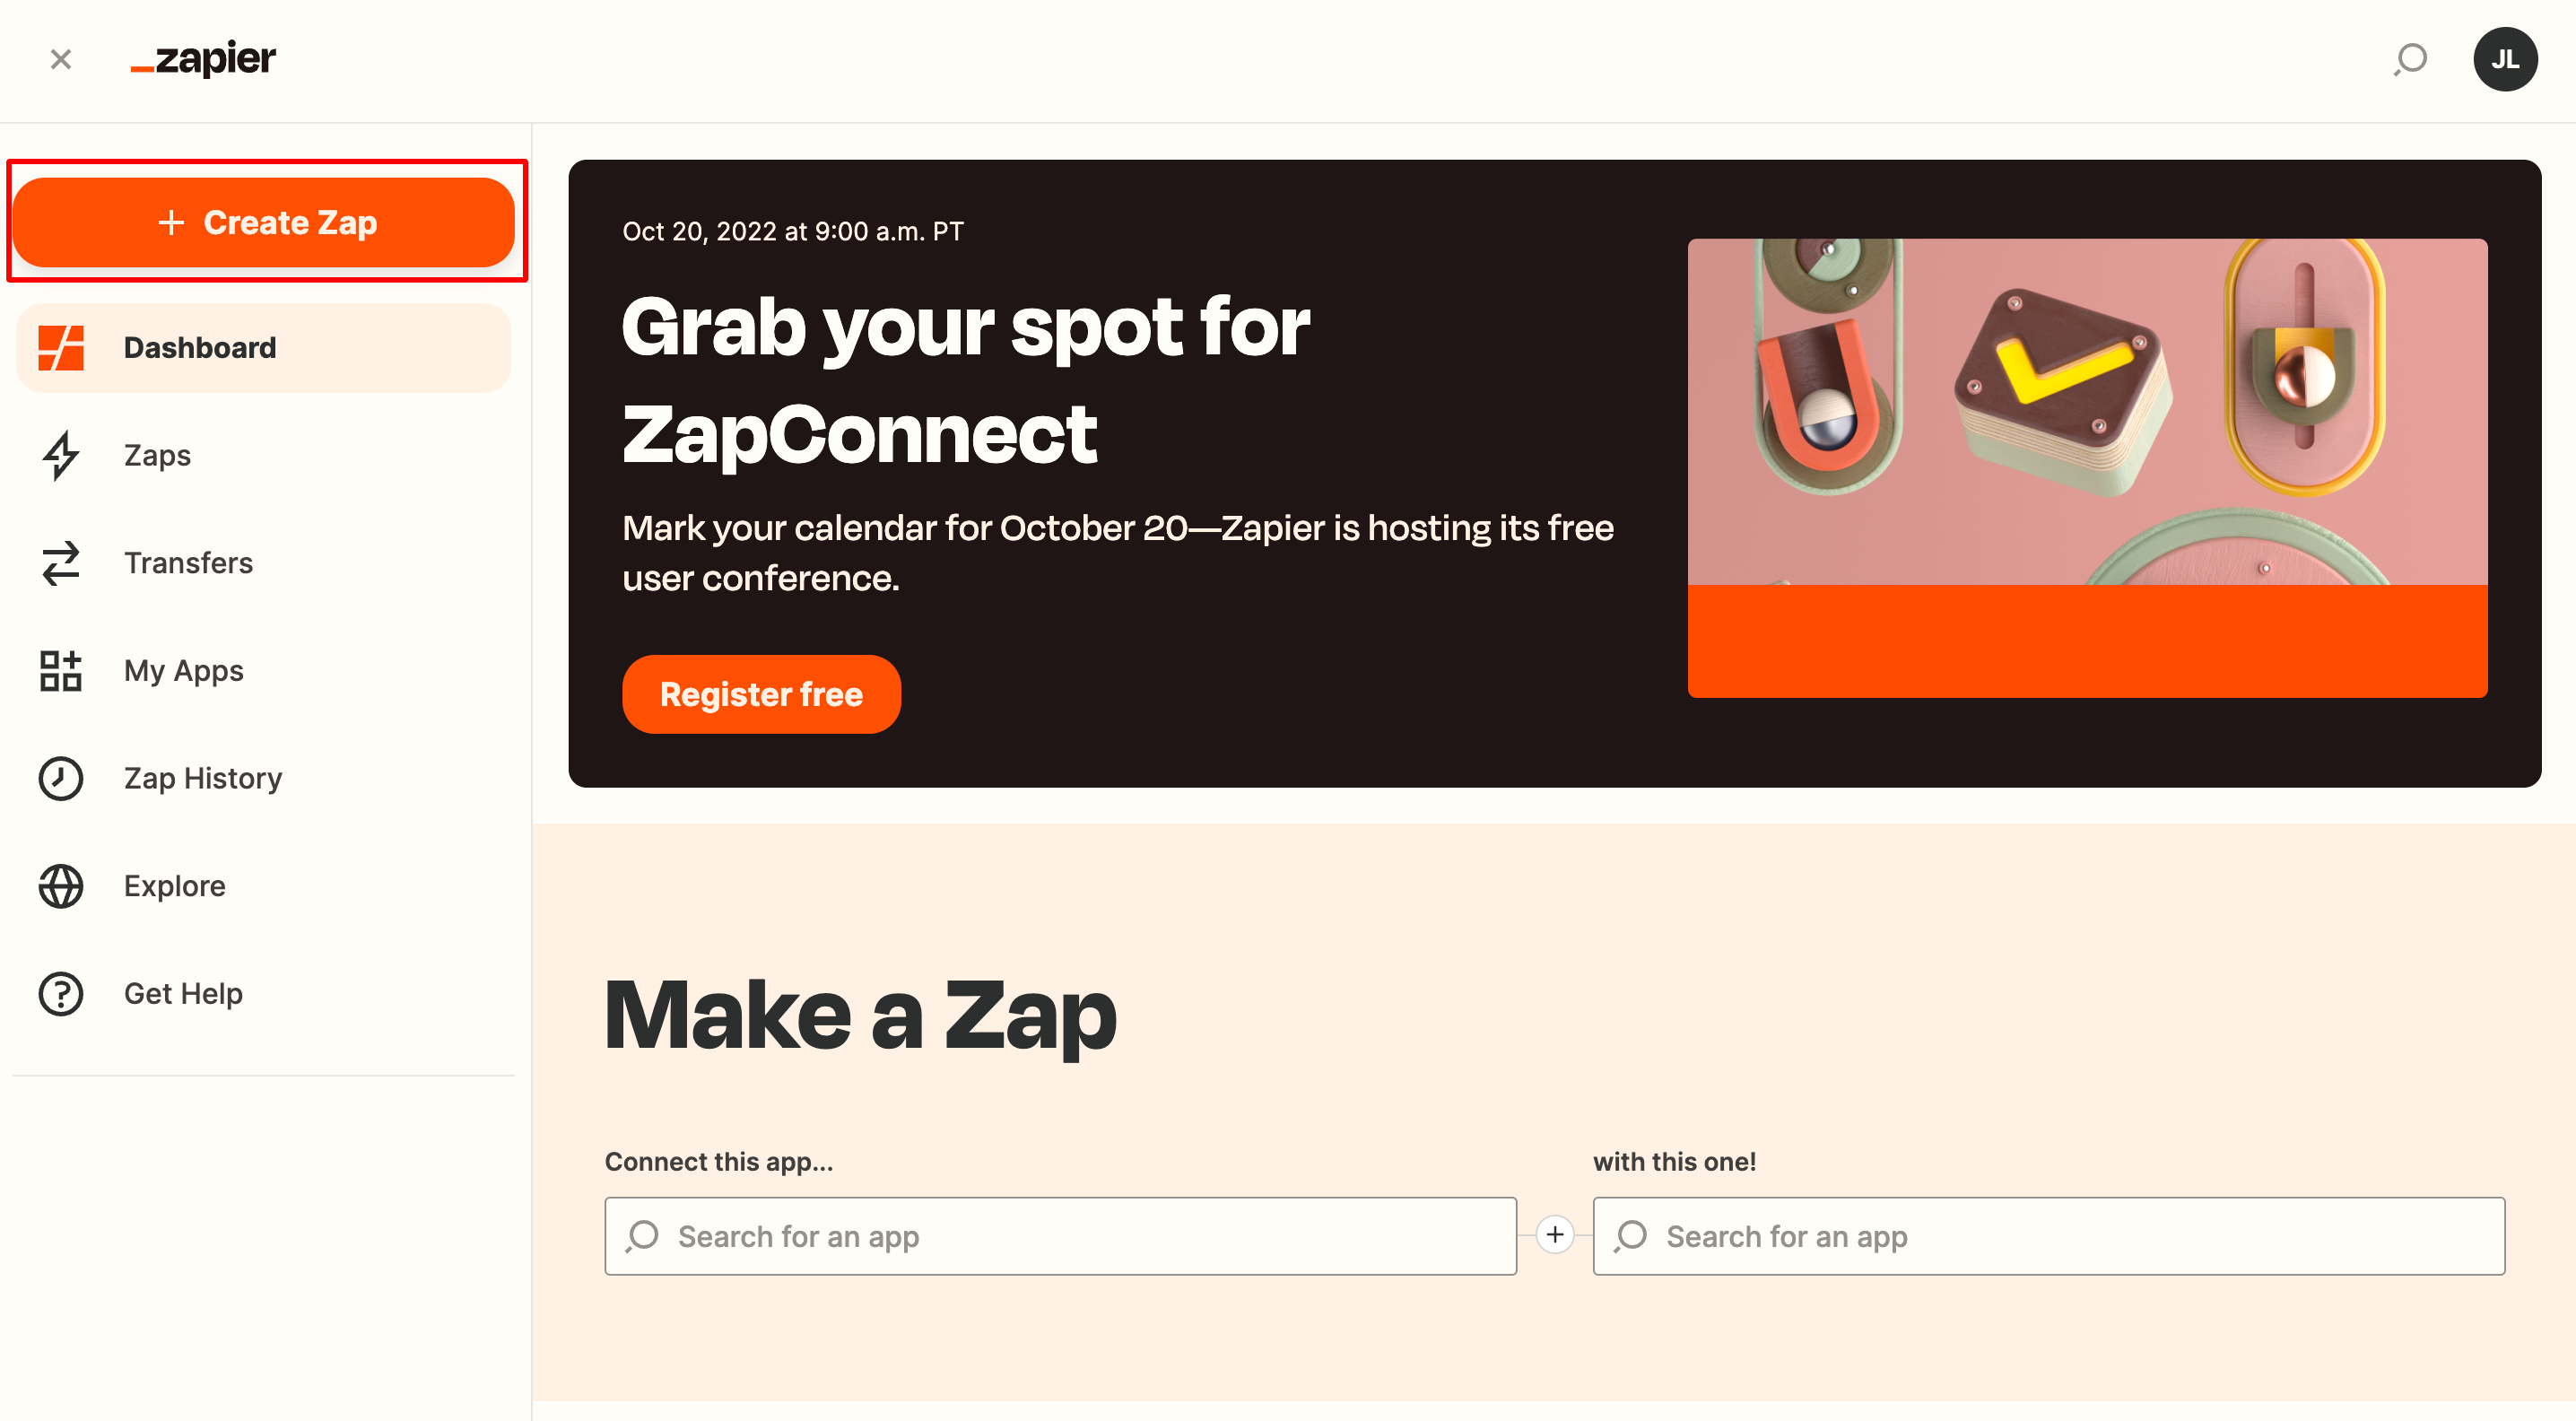
Head to your Zapier section and click on + Create Zap
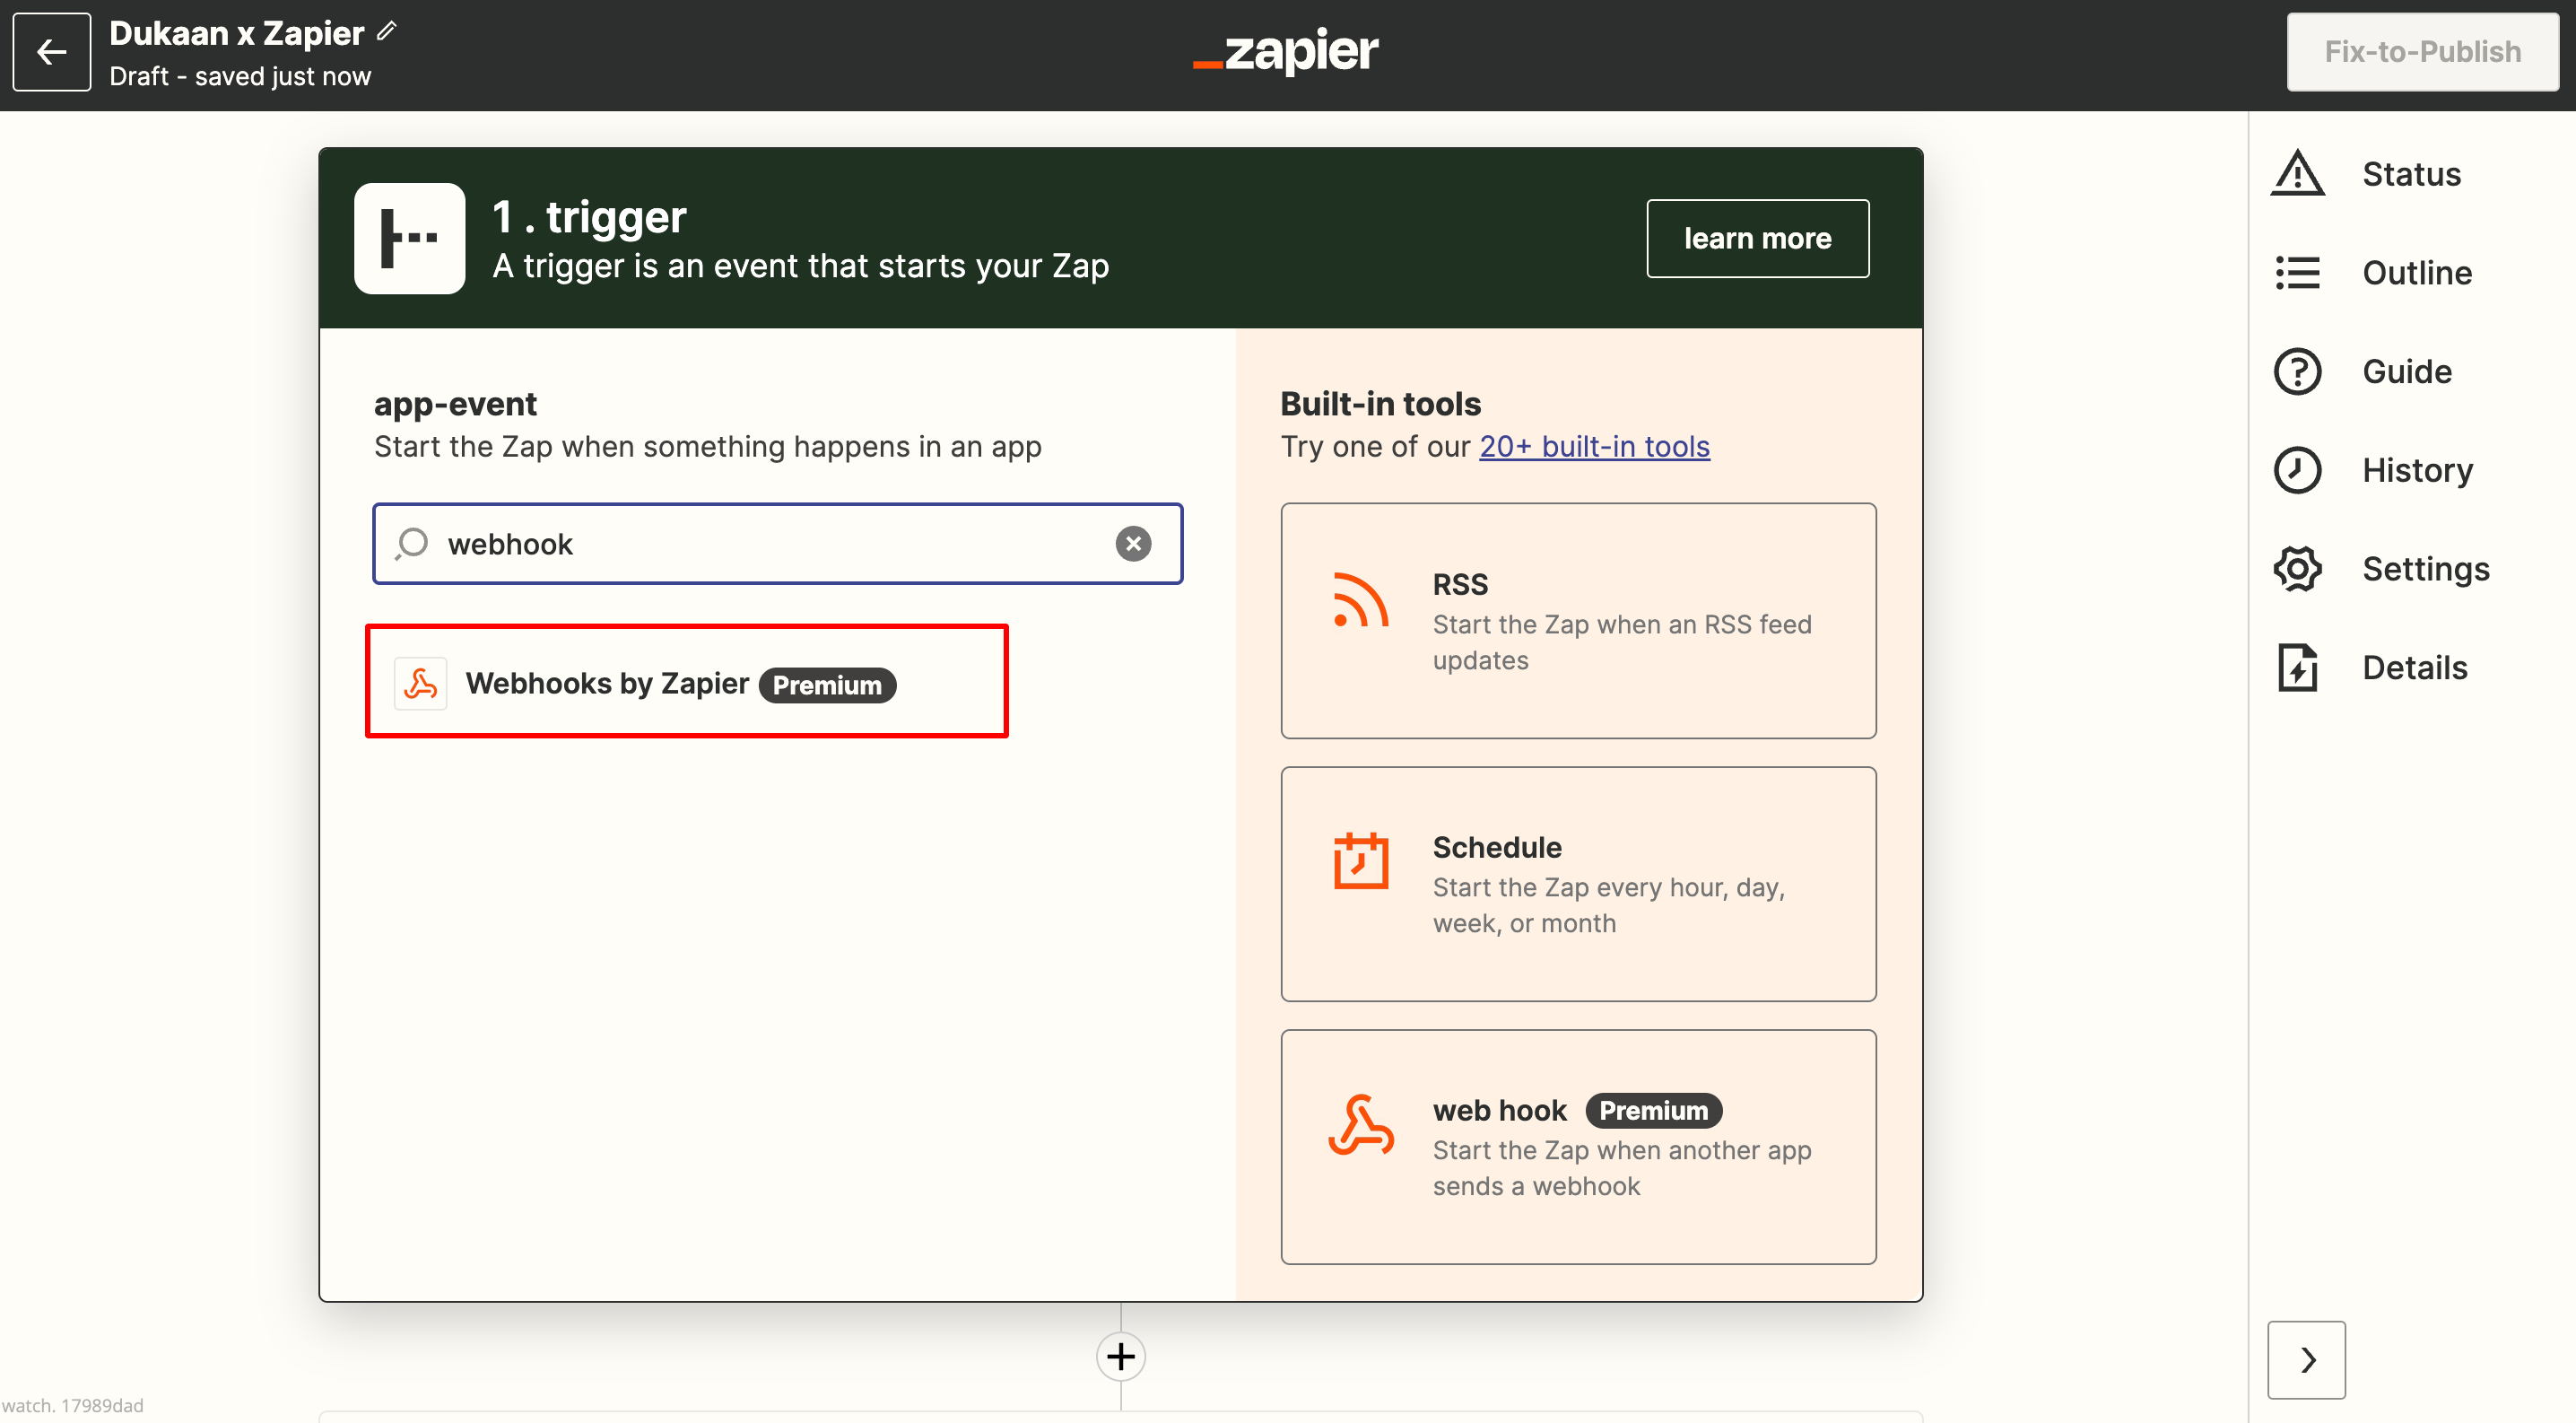
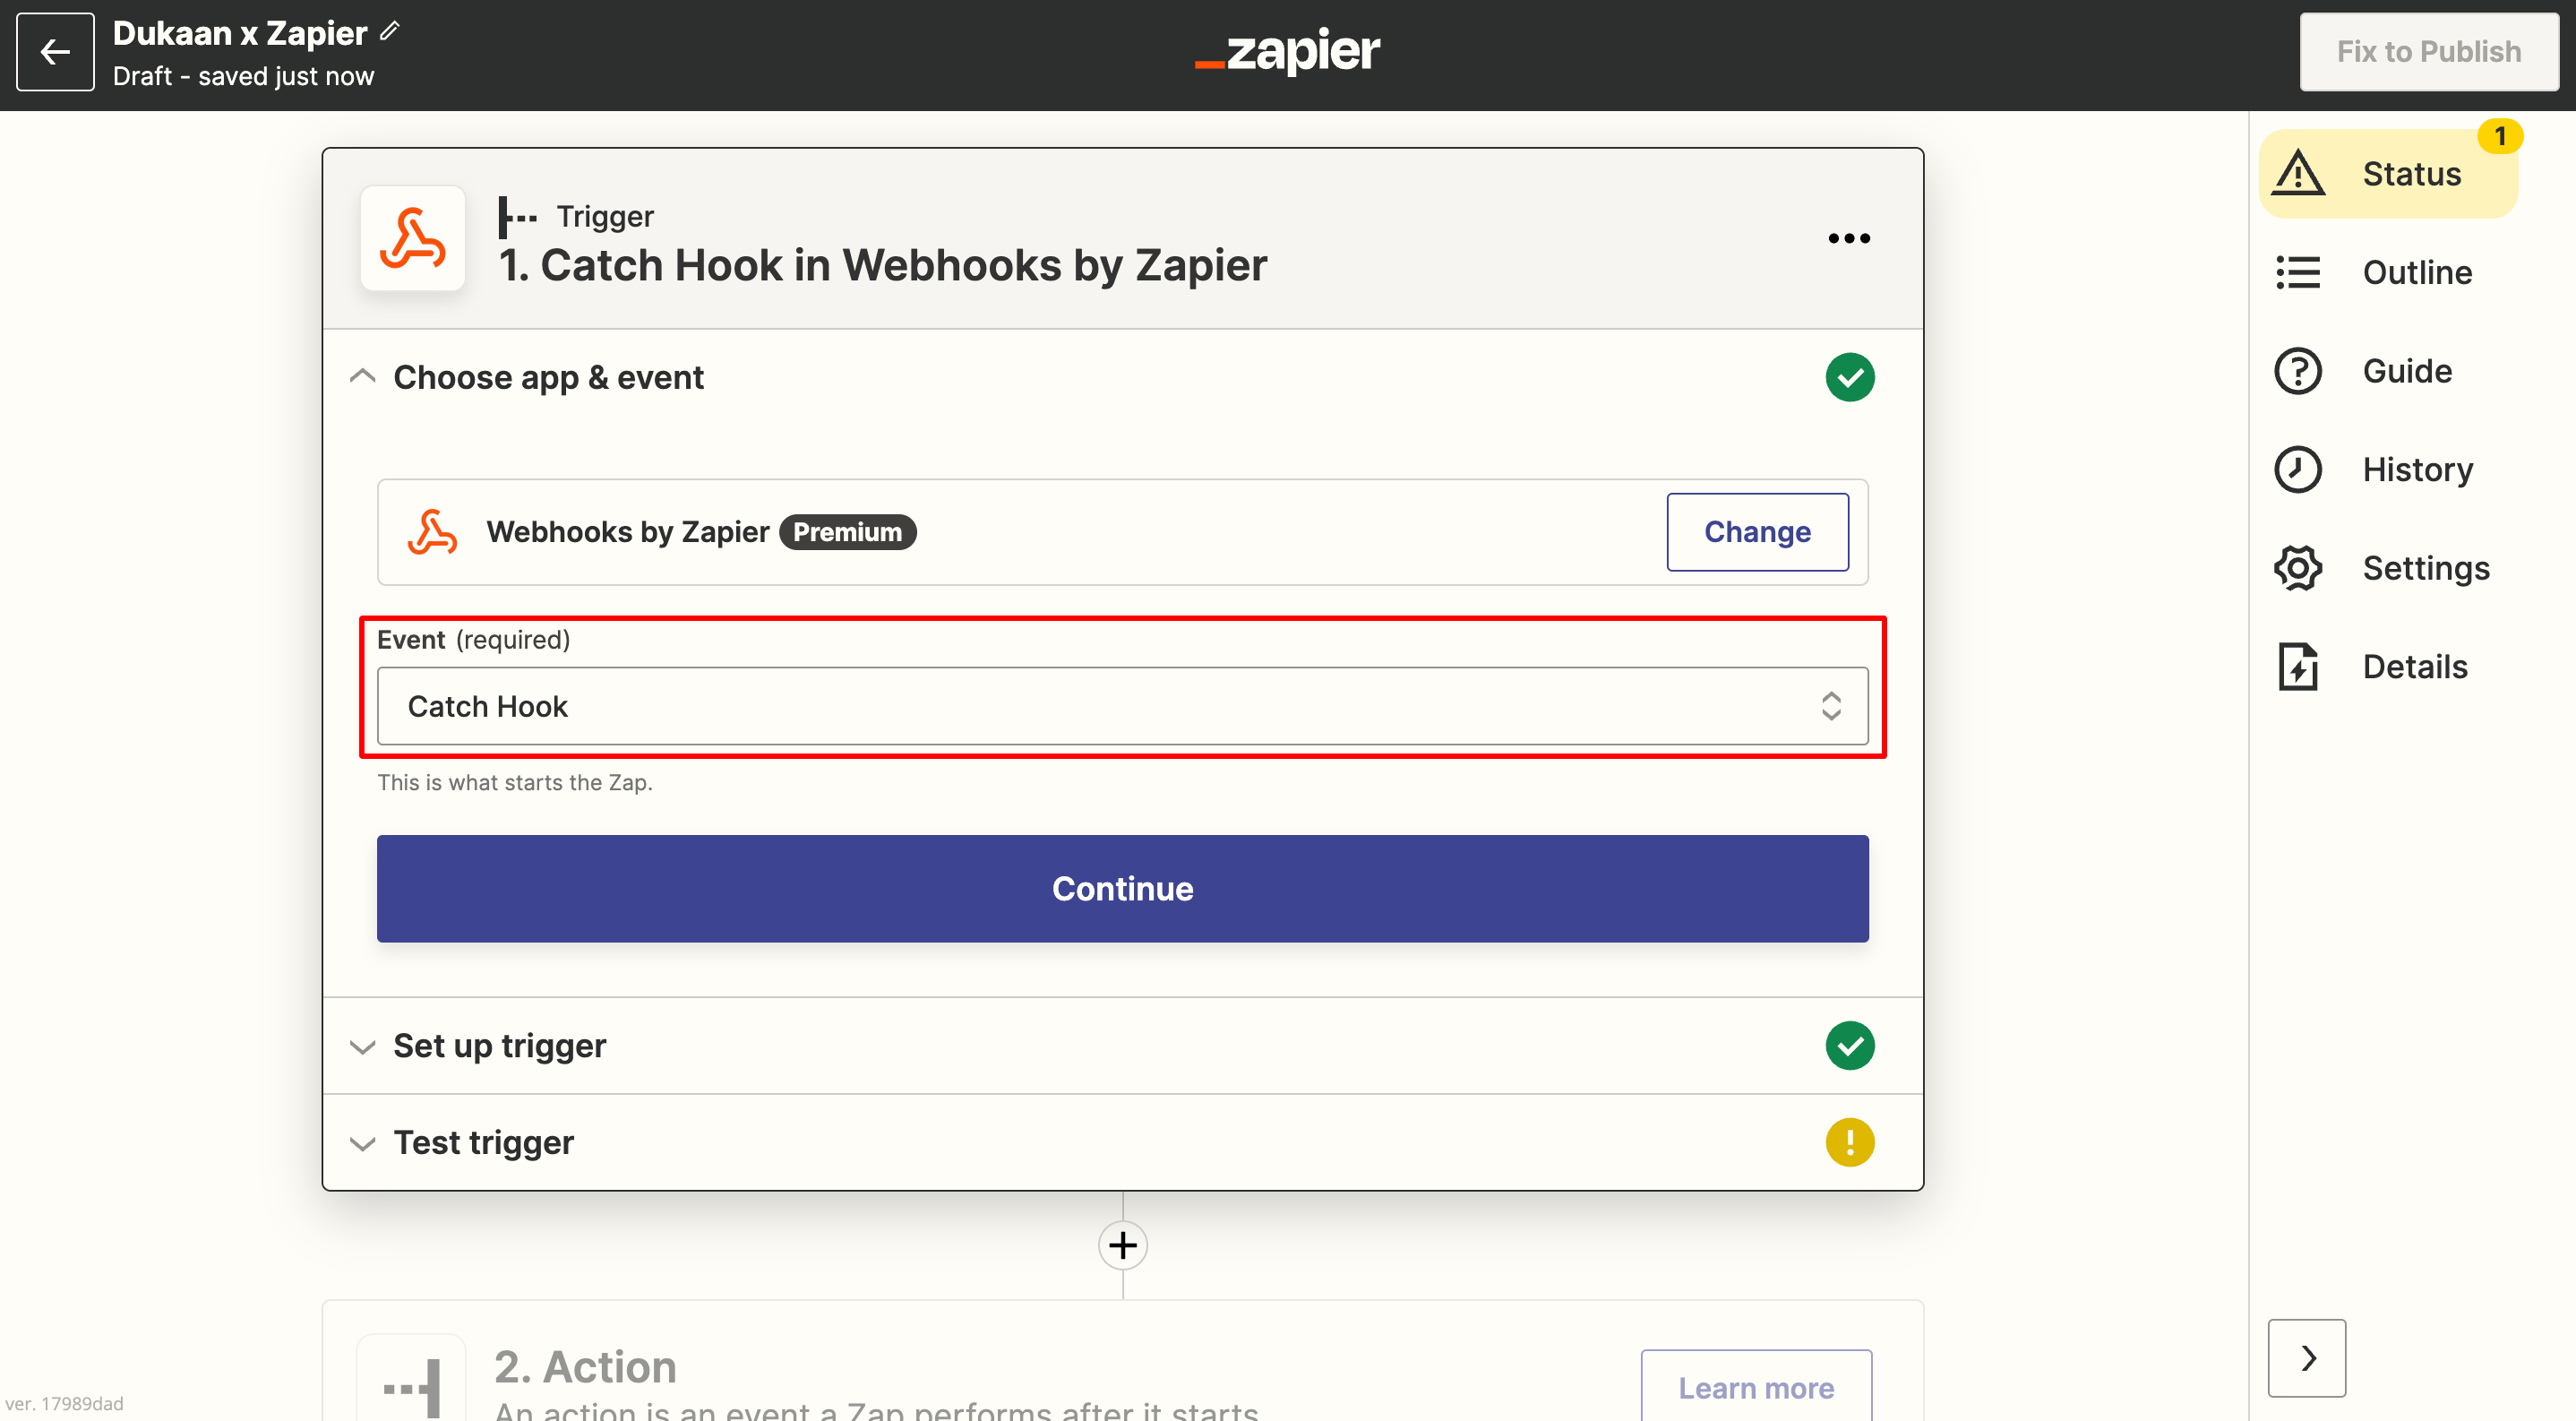
Add the Webhooks by Zapier app
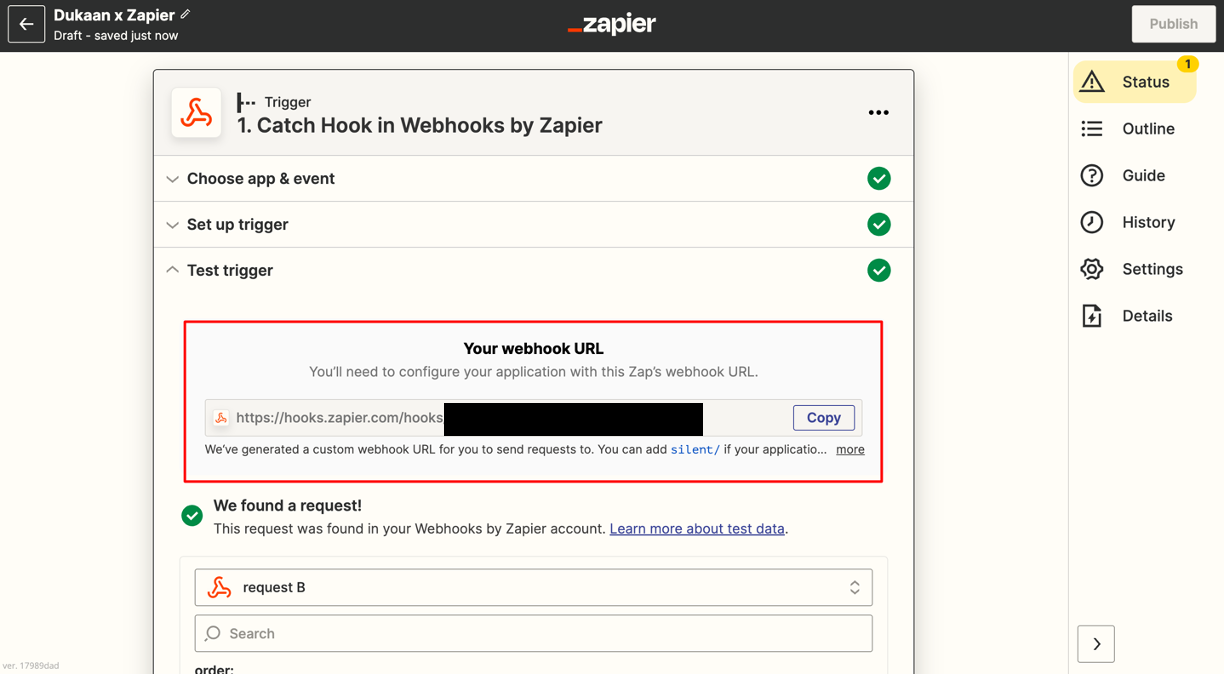
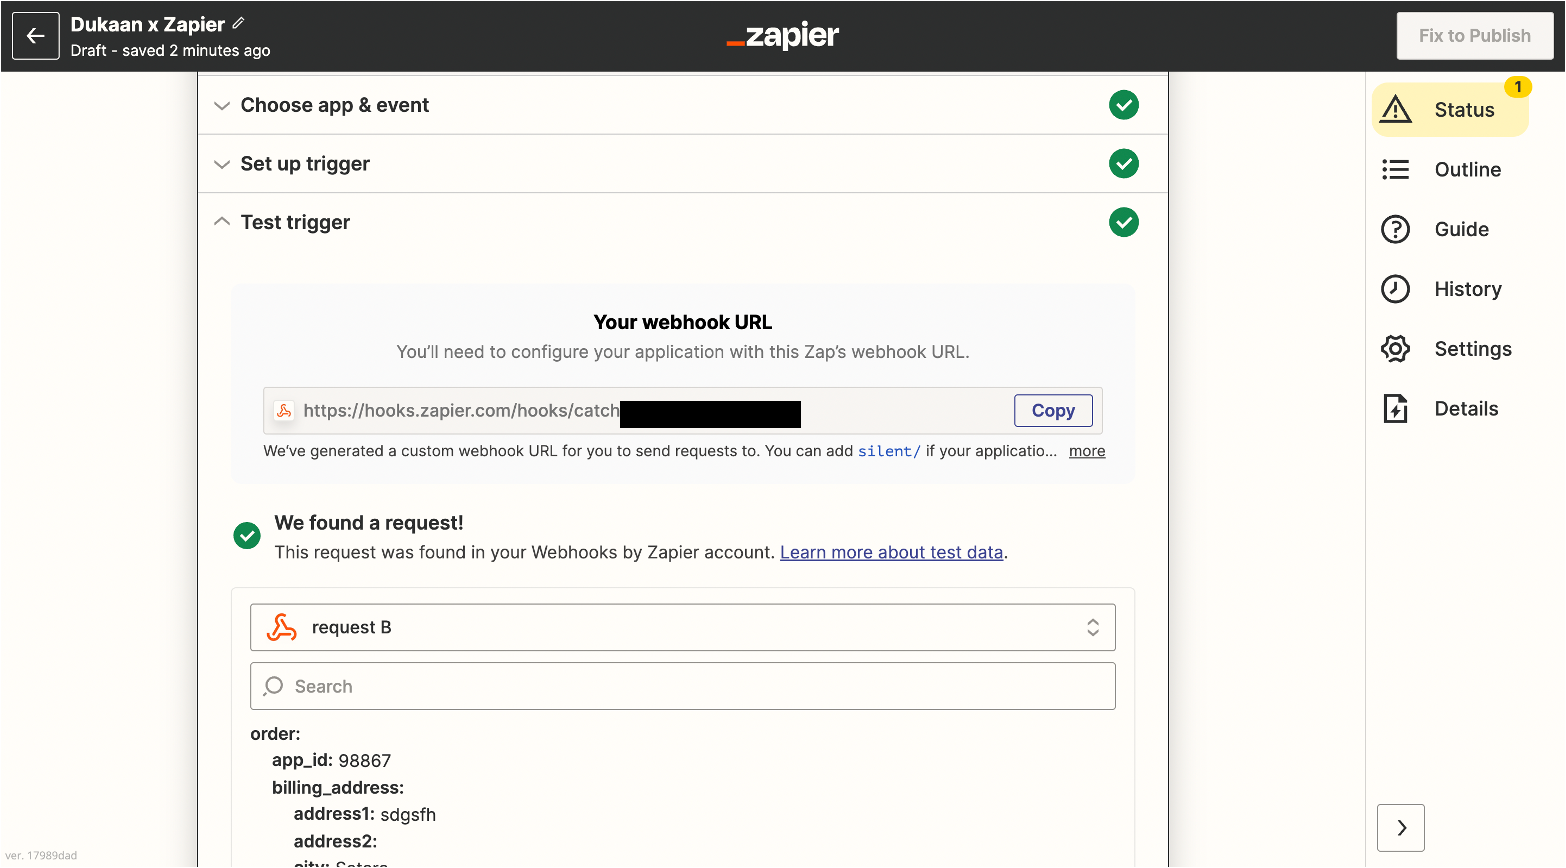
Now, head to the Webhook plugin settings and paste this in the callback URL section. Click on Test webhook here. Similarly, click on Test trigger on Zapier.
You will get the following notification that the webhook test is successful and be able to see sample data below it. Now, click on continue.
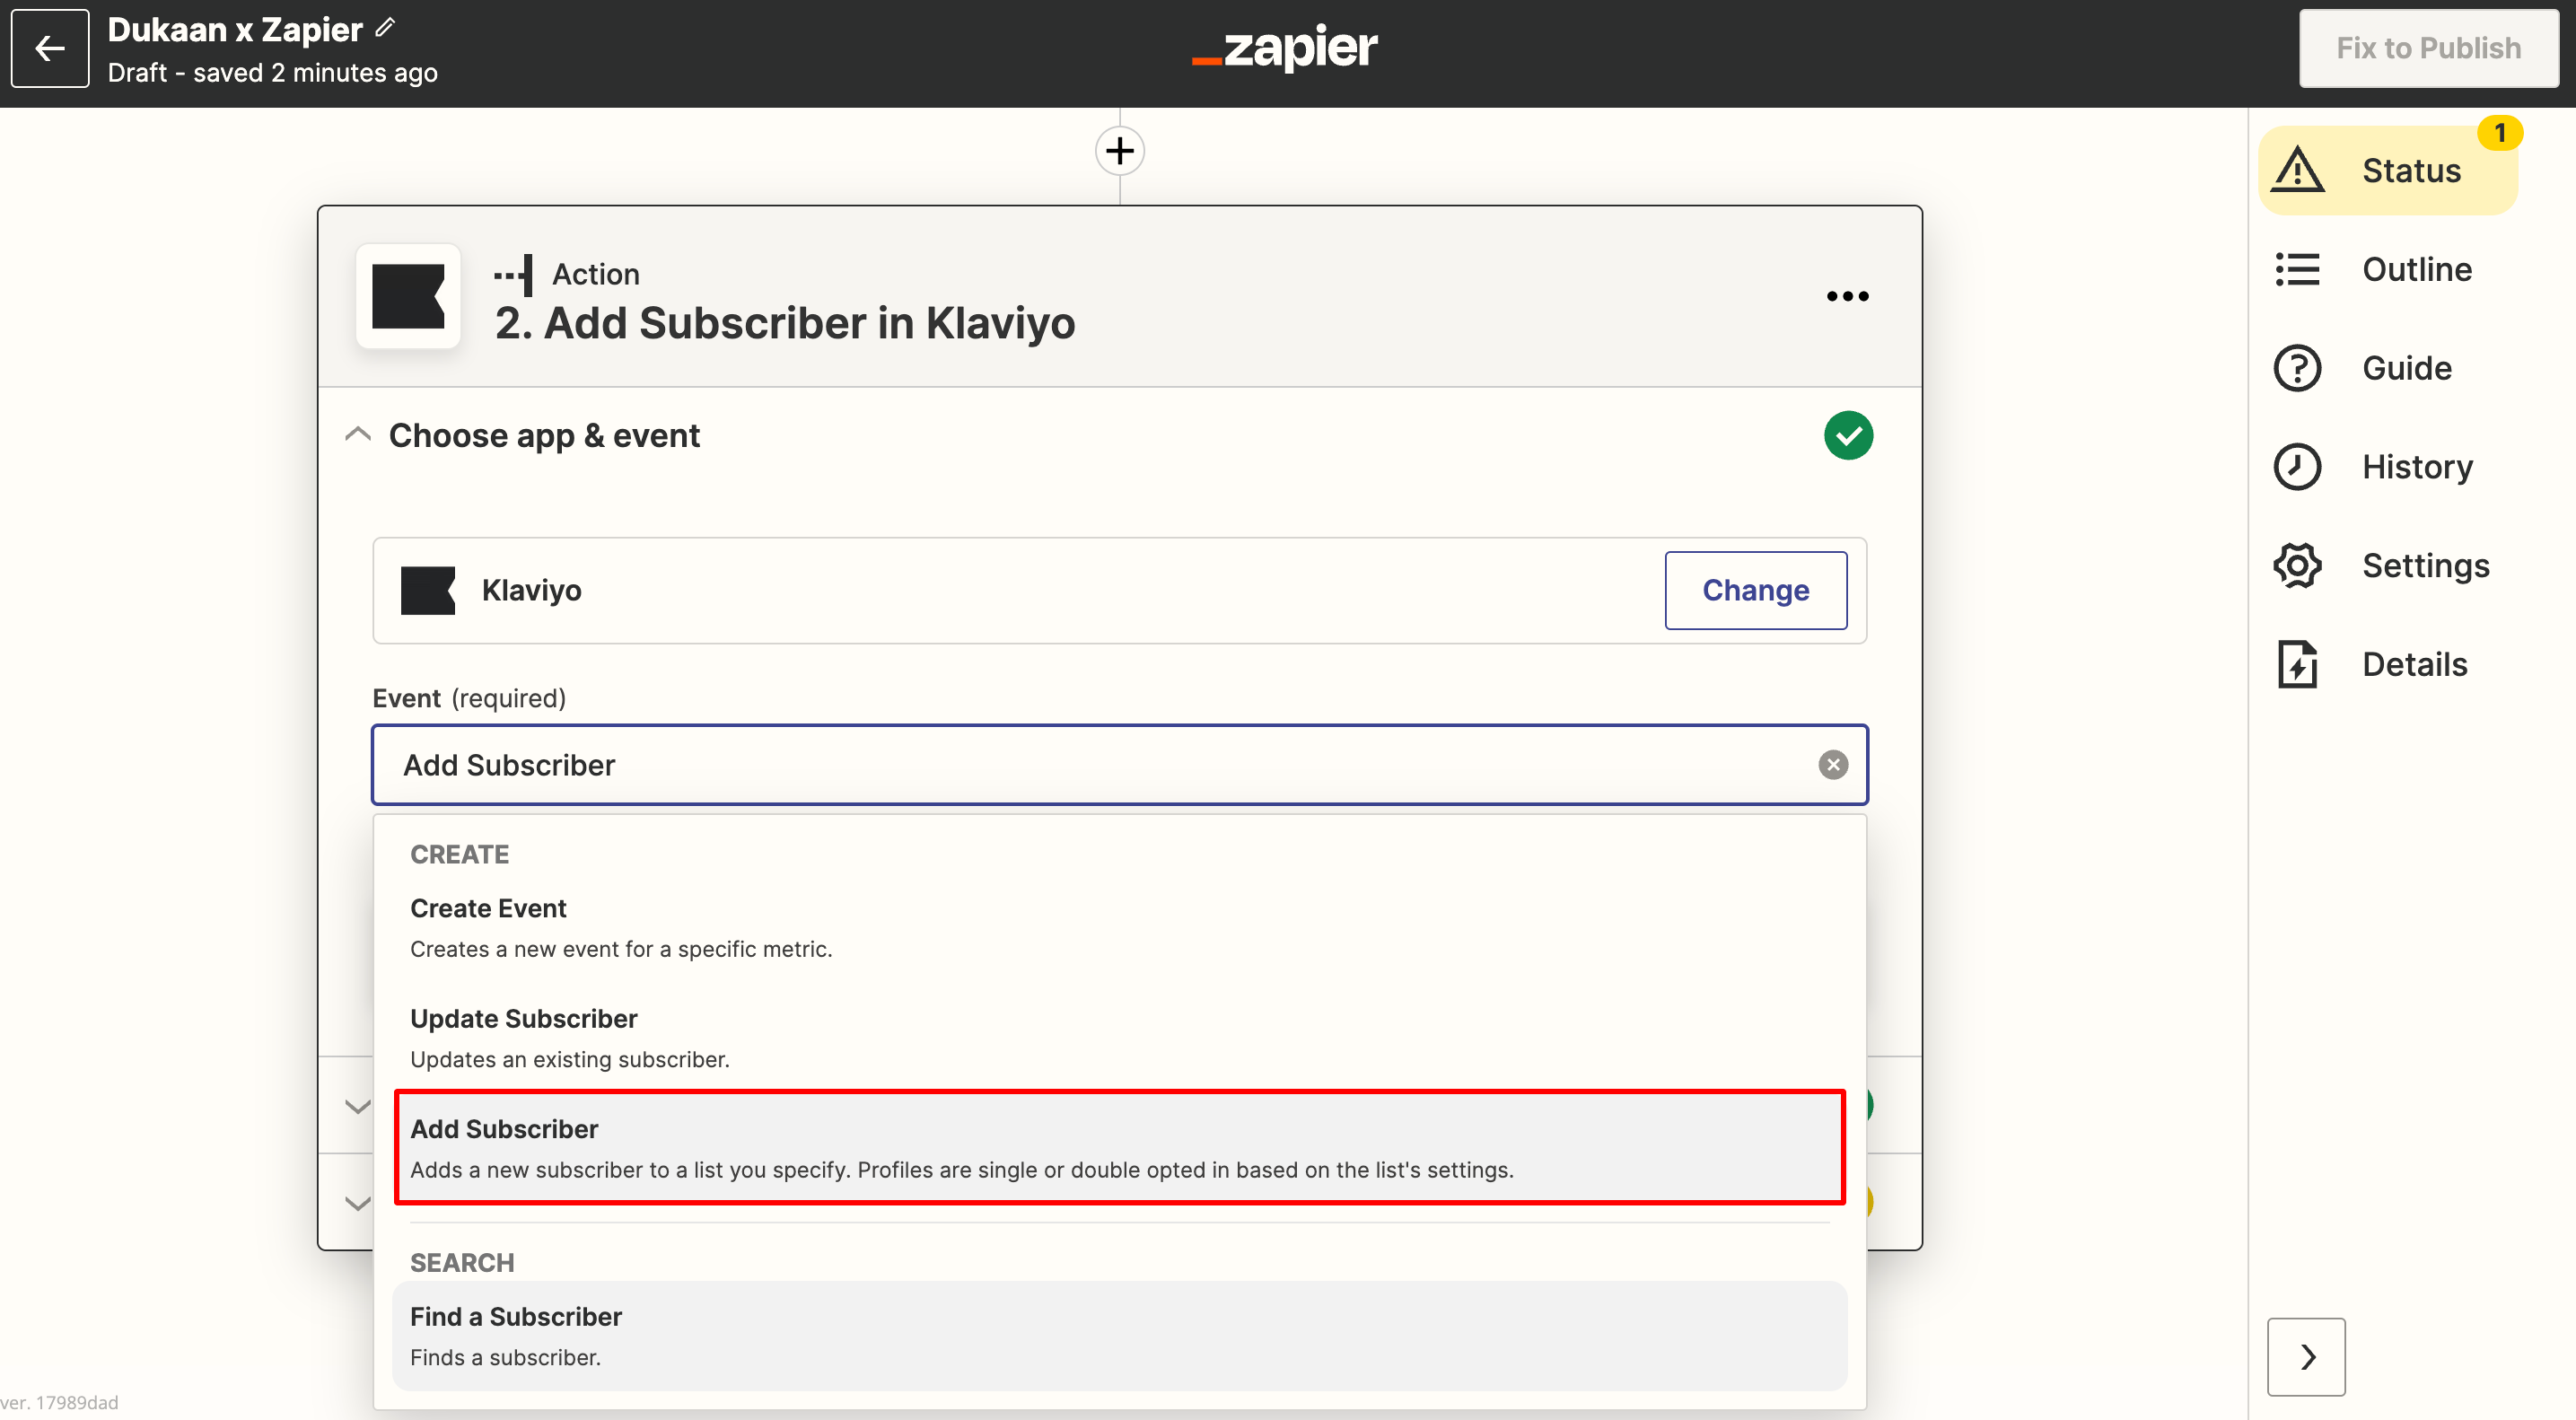
Continue with linking your Klaviyo account and choose the List you wish to add your new orders to.
You will see the Insert Data section with details that are received on a new order in your store. You can also click on Show all options and select the one relevant to you
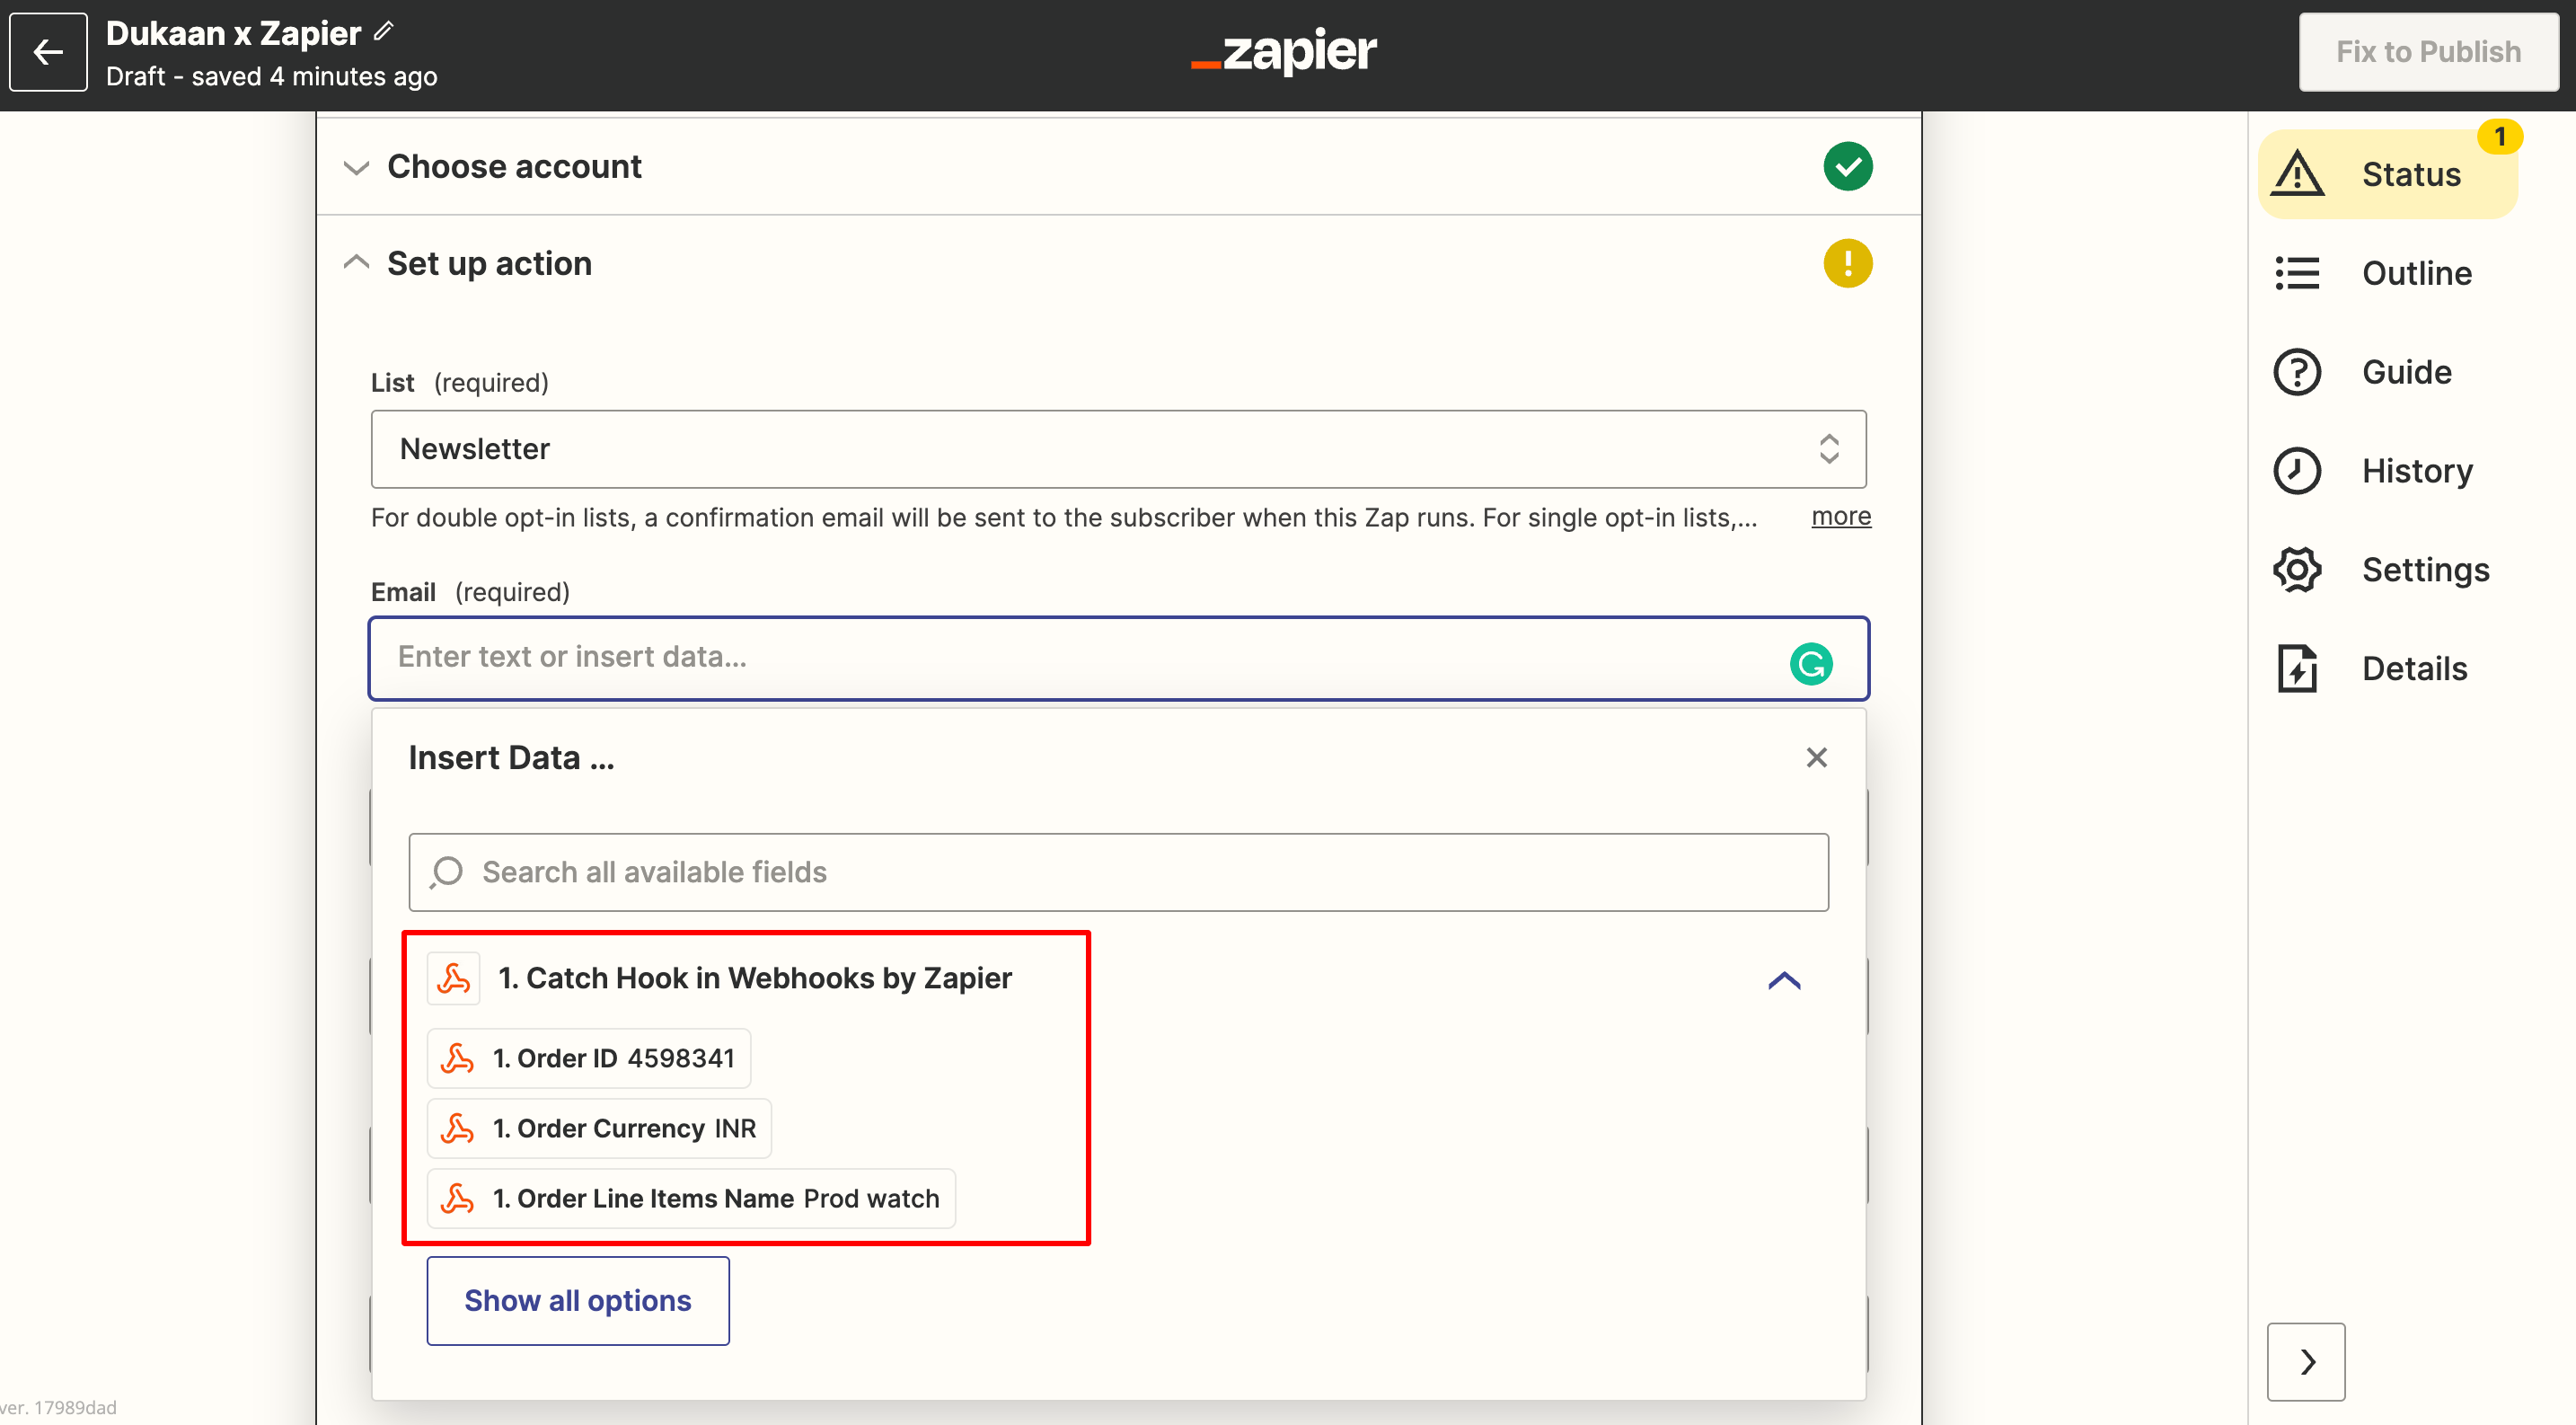
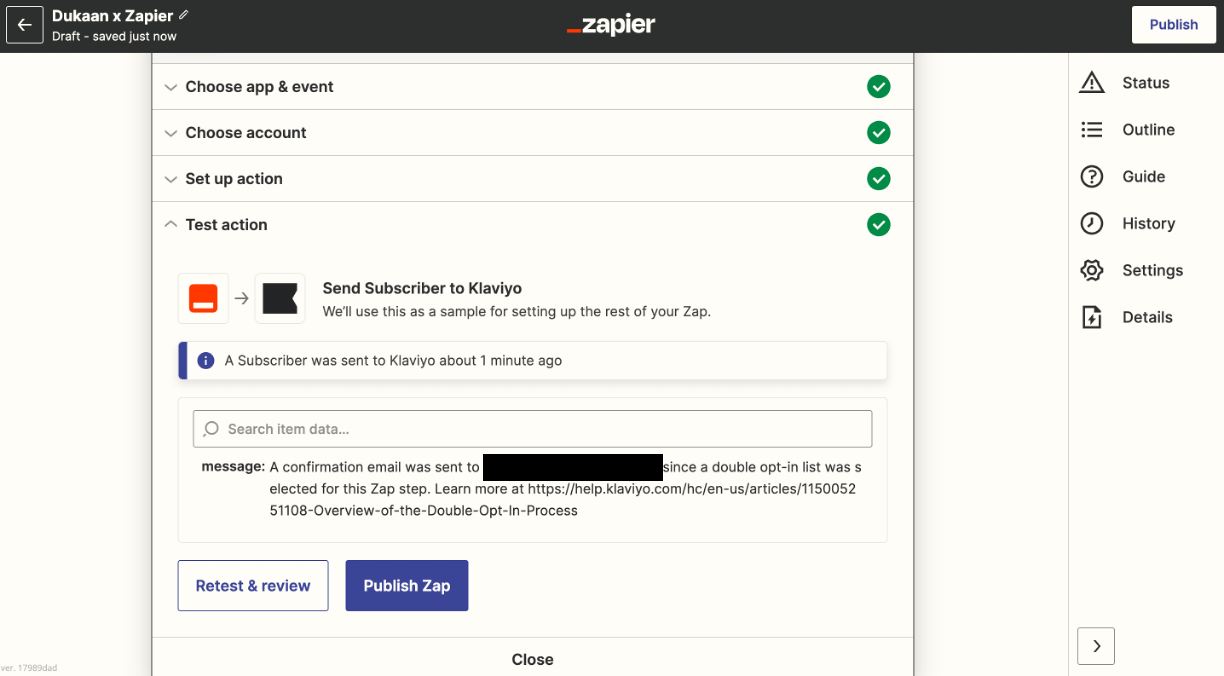
Now, go back to your Dukaan plugin settings and click on Create button to automate the process.
Read more
How to use the Wishlist plugin?