Collaborate with teammates using assignments, notes, and shared views.
Automate common tasks using machine learning and create macros with natural language so customer messages never slip through the cracks.
Features
- Proactively engage customers with messages and calls to action based on automated triggers and rules.
- Customizable contact forms with dependent fields for your app or website. Automate form responses with Workflows.
- Measure and gauge your team's effectiveness with automated qualitative and quantitative surveys.
- Automate common workflows with custom triggers on incoming conversations.
- Use response templates and searchable FAQ articles to respond to your customers quickly.
- Create tags as an admin or add tags on the fly for better organization and intuitive automation.
- Customizable roles and permissions for each agent ensure dashboard privacy and admin controls.
- Frictionless co-browsing to get a peek at your customers' roadblocks in real-time.
- See when your team is viewing and replying to customer conversations.
- Set your office hours, vacation days, and individual staff shifts to ensure customers never get left in the dark.
How to install Re:amaze on your Dukaan store
Here’s how you can start using the Re:amaze plugin:
- To start using Re:amaze, create an account on Re:amaze or log in (if you have one)
- In the dashboard URL, you will find the account ID for your Re:amaze account. For example- If my URL address is https://dukaan-app.reamaze.com/, then my Account ID is dukaan-app.
- Now, install the Re:amaze plugin on Dukaan
- Click on settings and it’ll ask for your Account ID
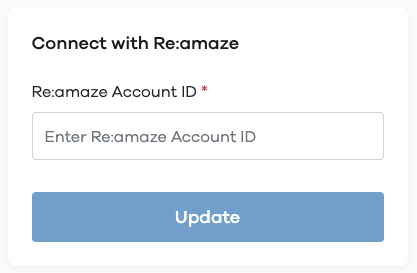
- Paste your ID code here and click on update to complete the installation