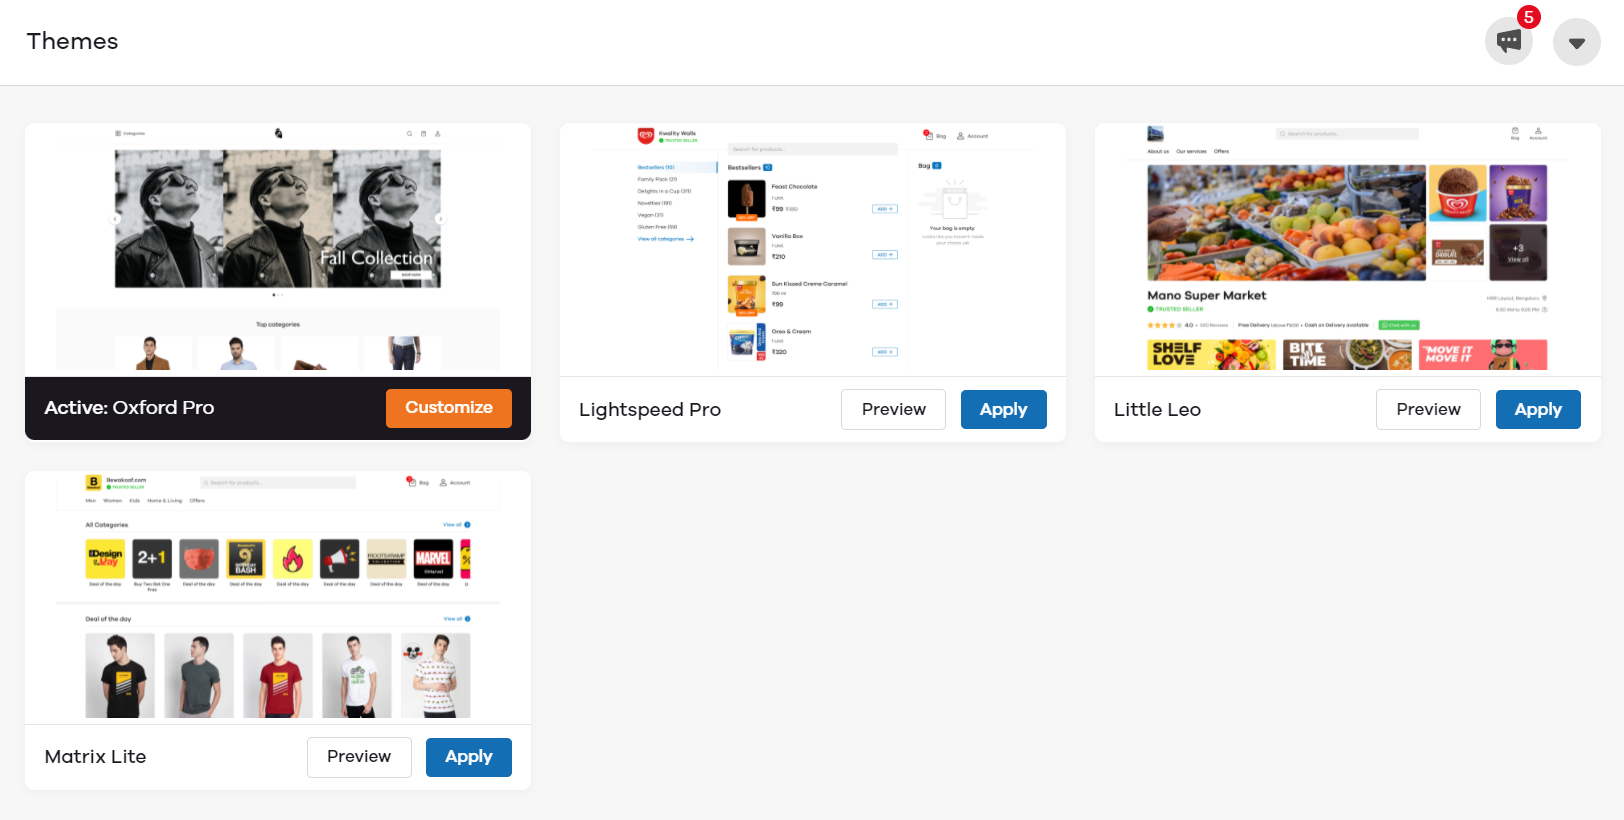
Once applied, click on Customize to make changes as per your choice.
Background
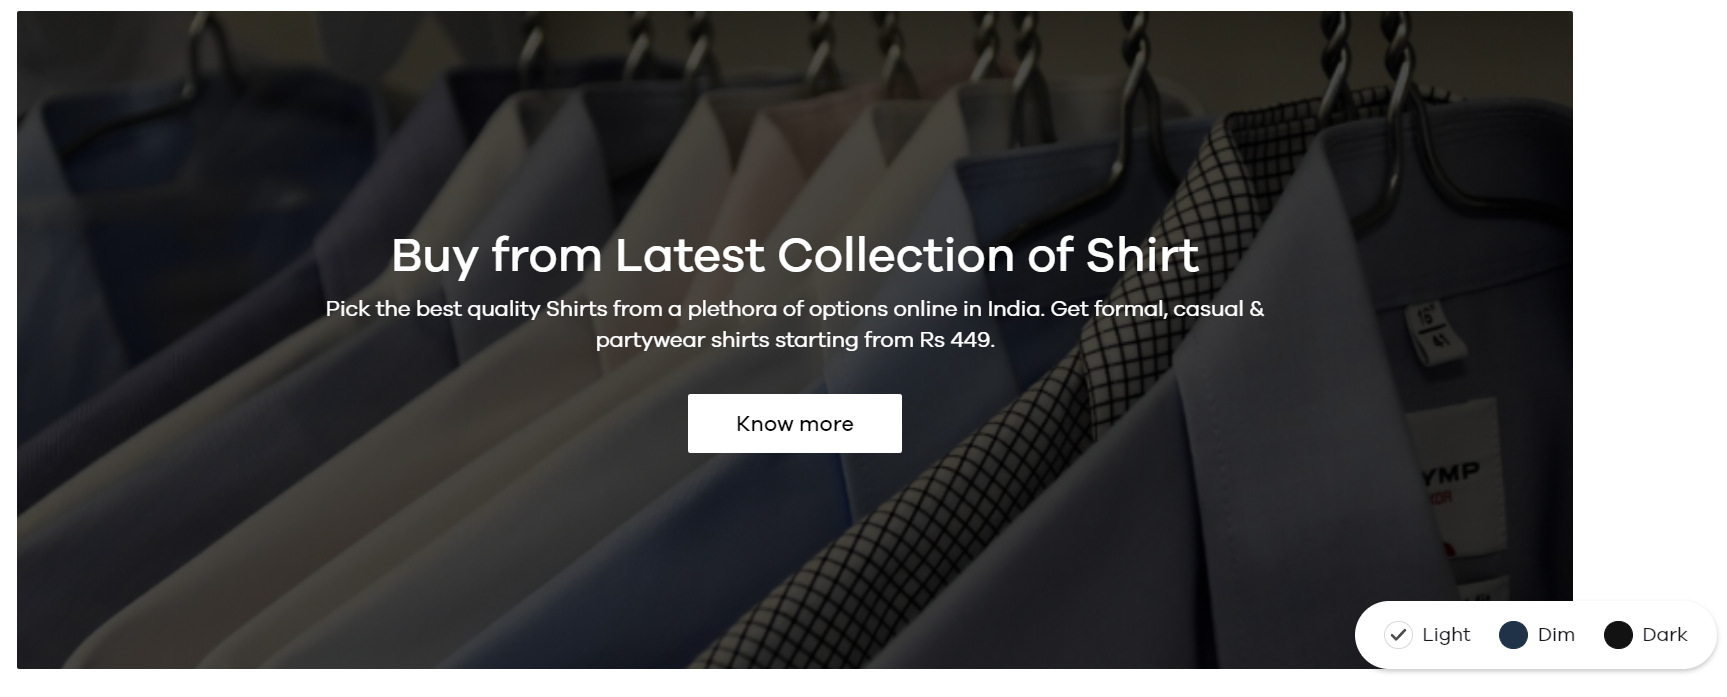
This theme offers three different modes. You can choose either Light mode, Dim mode, or Dark mode for your online store. You can later change the background mode as well.
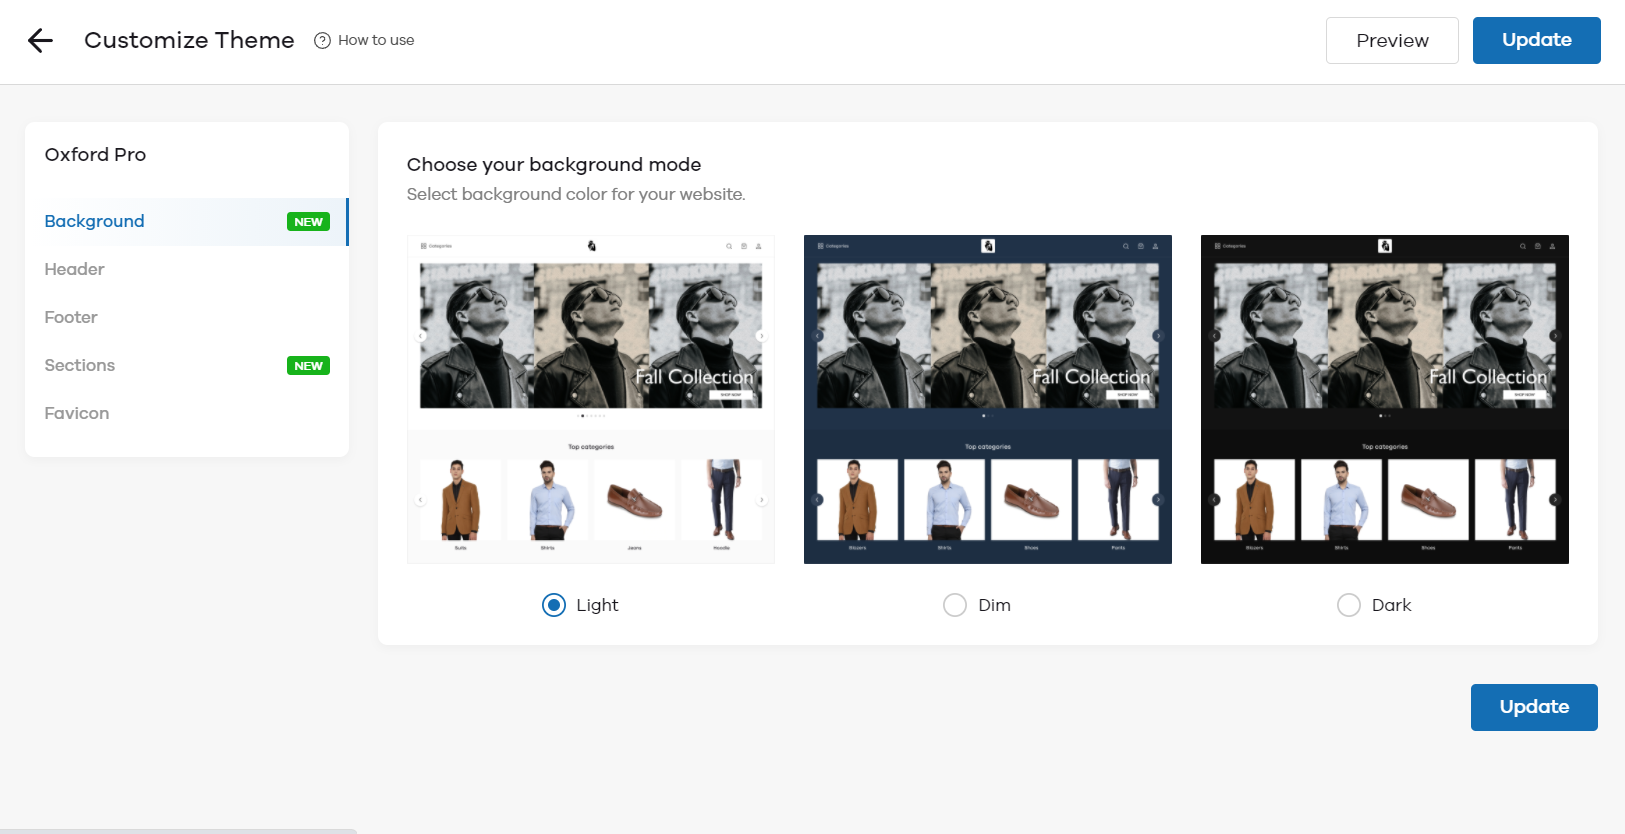
Header
In the Header section, you can make changes to the top section of your store:
- Store Name - When you enable this option by clicking on the toggle button, your store name will be shown alongside the logo of your store. If you wish to show only the logo, turn it off again.
- Promo Banners - You can choose to display three banners on the top section of your store. You can either choose from the template gallery and set the banners easily. If you want to upload the banners of your choice, click on add your own banner button with the recommended size of 1296px X 548px.
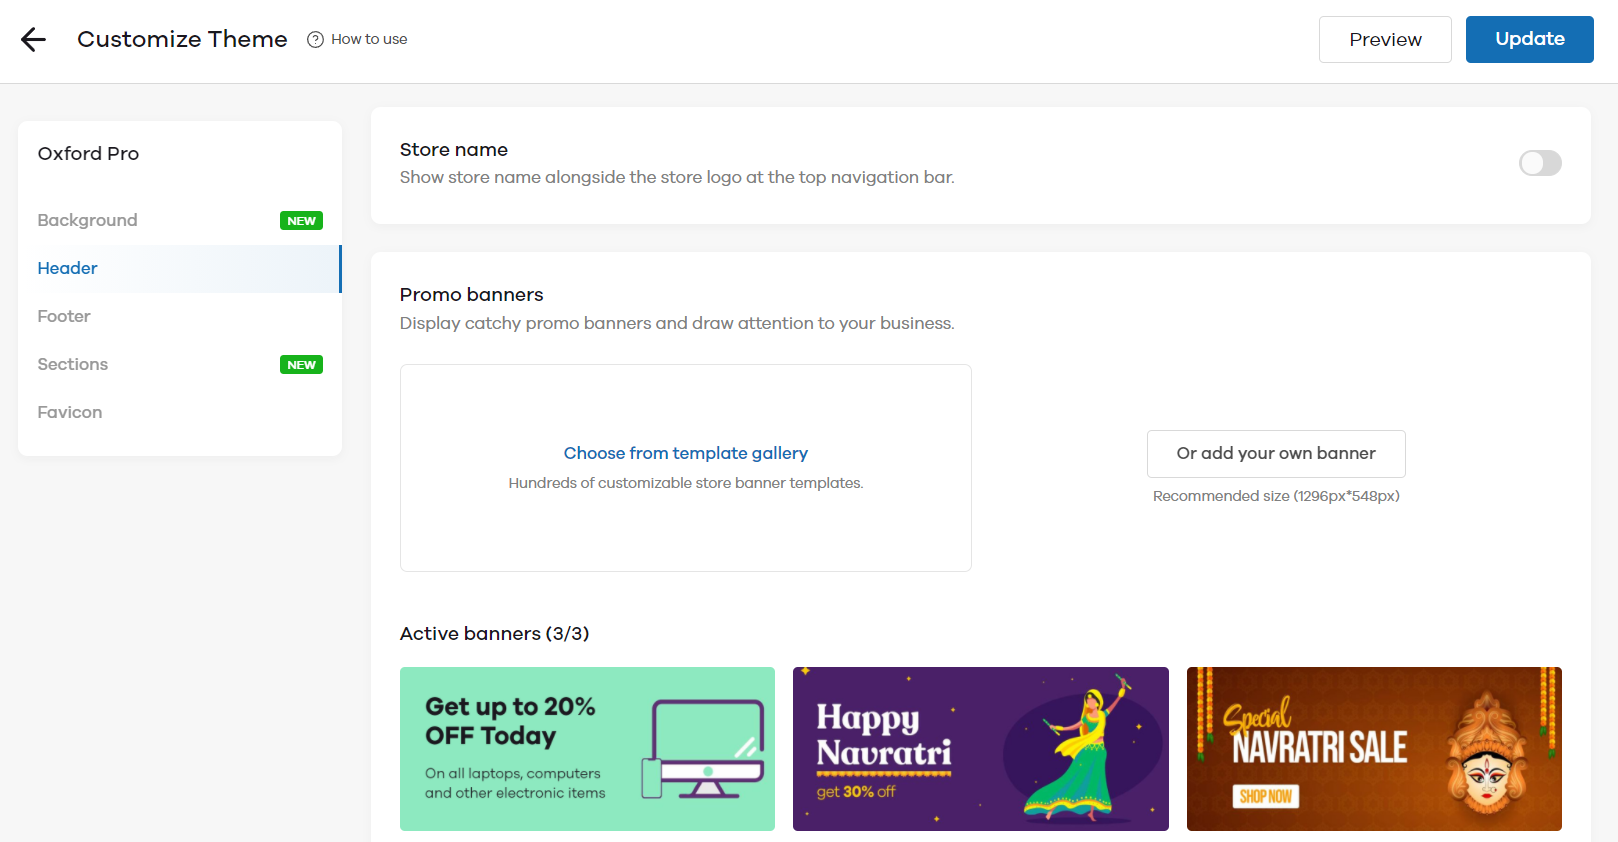
Footer
In the Footer section, you can make changes to the bottom section of your store:
- Social Profiles - You can add social media profiles to your store so that your customers can follow you and can stay updated. Enter your username in the respective fields. For example, if your business page username on Facebook is apnakirana, enter that in the Facebook URL field.
Sections
Through this, you can add multiple sections on the homepage of your store and make it appealing.
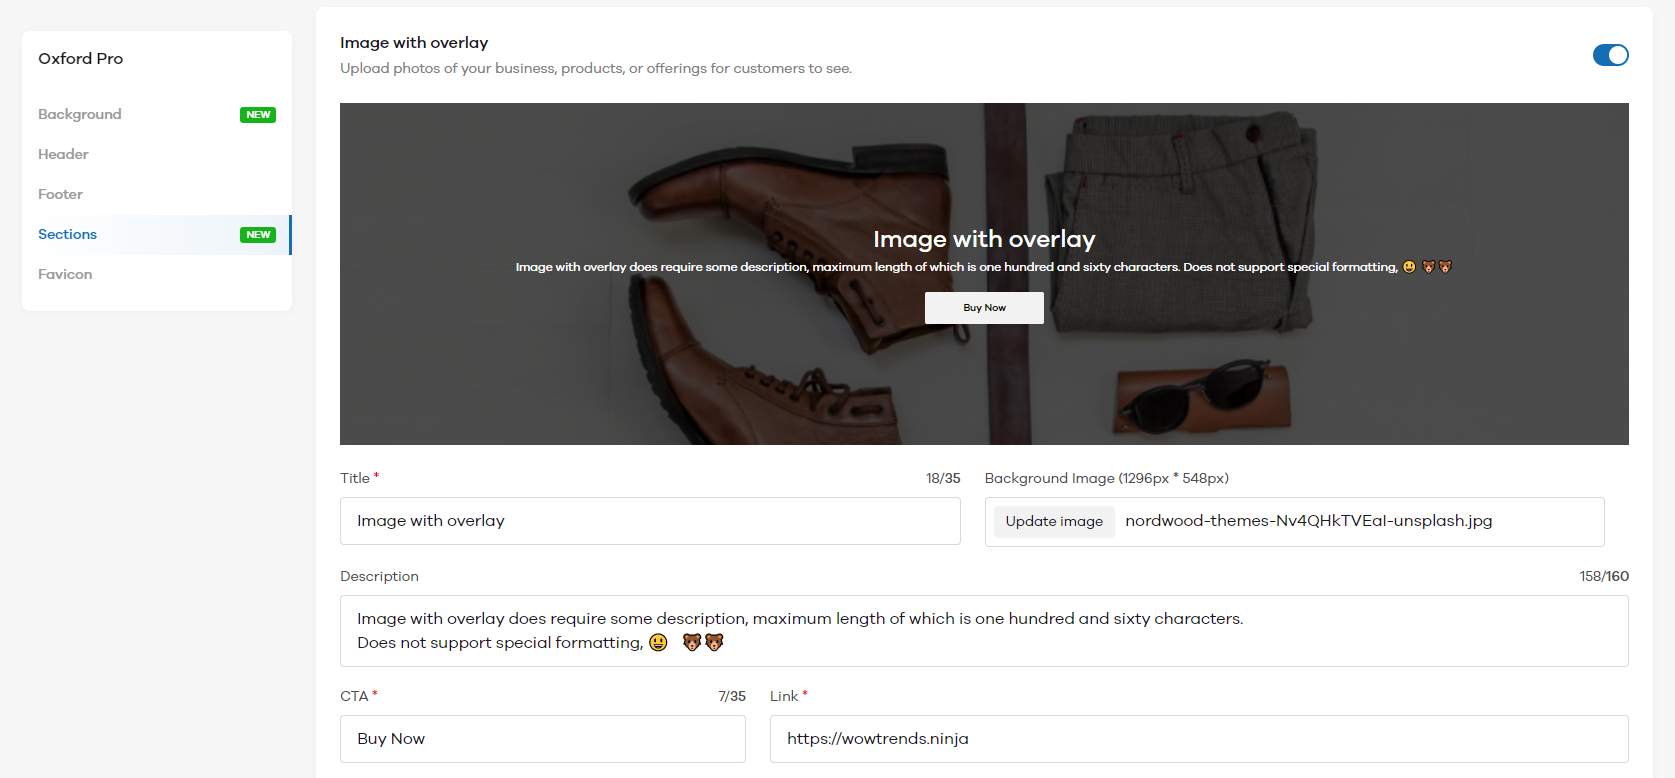
Image Overlay - Here, you can add an image to promote a product, category, or any offer on a category. This image overlay catches eyeballs and is a good way to promote products as shown below.
To add this, enable Image with Overlay by clicking on the toggle button. Now, add the title, description and upload the image of your choice. To add a button name, add some text under the CTA field and mention the link where you want the users to land, once they click on the button.
Brand Story - You can use this section to share information about your brand, products, categories, etc with your customers as shown below.
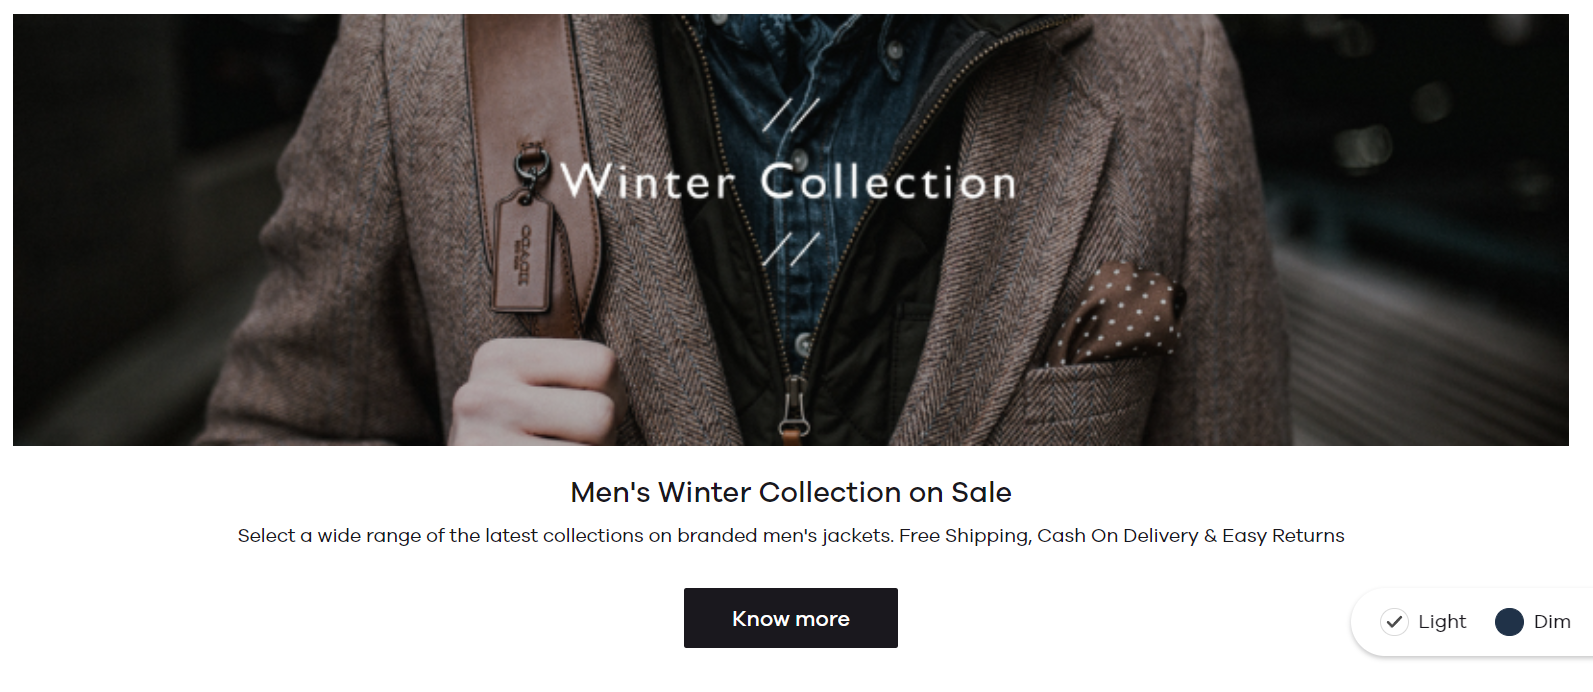
To add this section, enable Brand Story by clicking on the toggle button. Now, add the title, description and upload the image of your choice. To add a button name, add some text under the CTA field and mention the link where you want the users to land, once they click on the button.

Featured Product - With this section, you can specifically highlight a product and showcase it to your customers. This section can come in handy when there's a new product launch, clearance sale on a specific product, or limited edition product. Here's how this section will look like on your homepage.
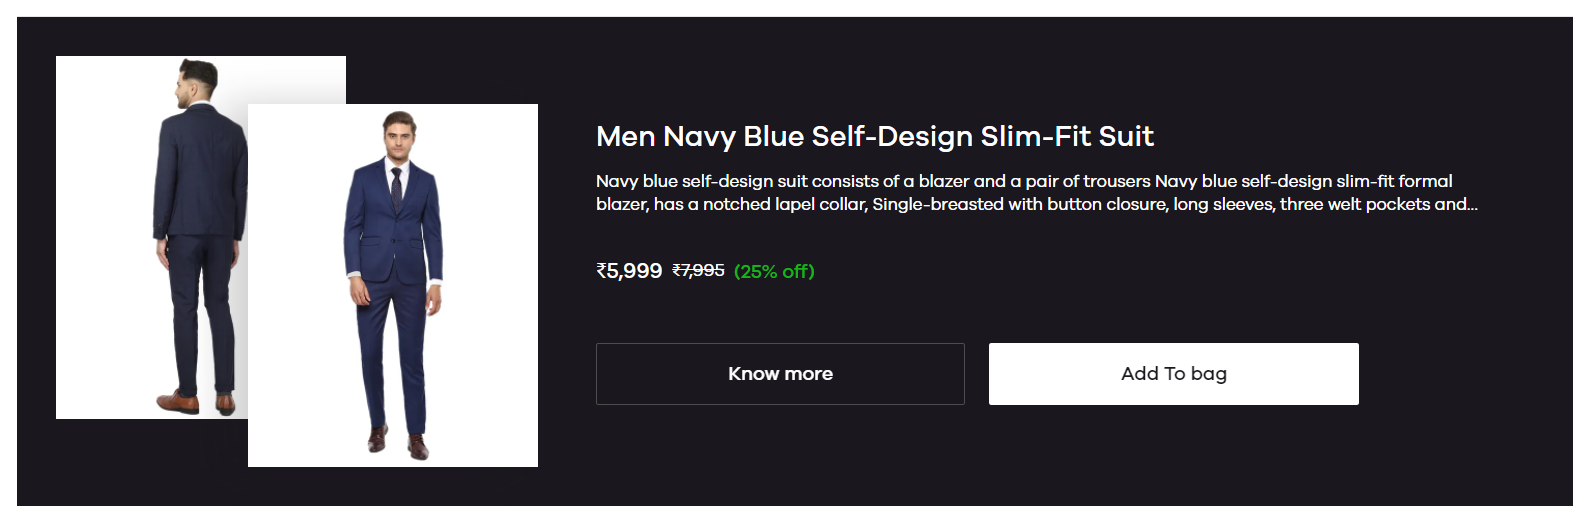
To add this section, enable Featured Product by clicking on the toggle button. Now, click on the Product field and select the product that you want to highlight here.

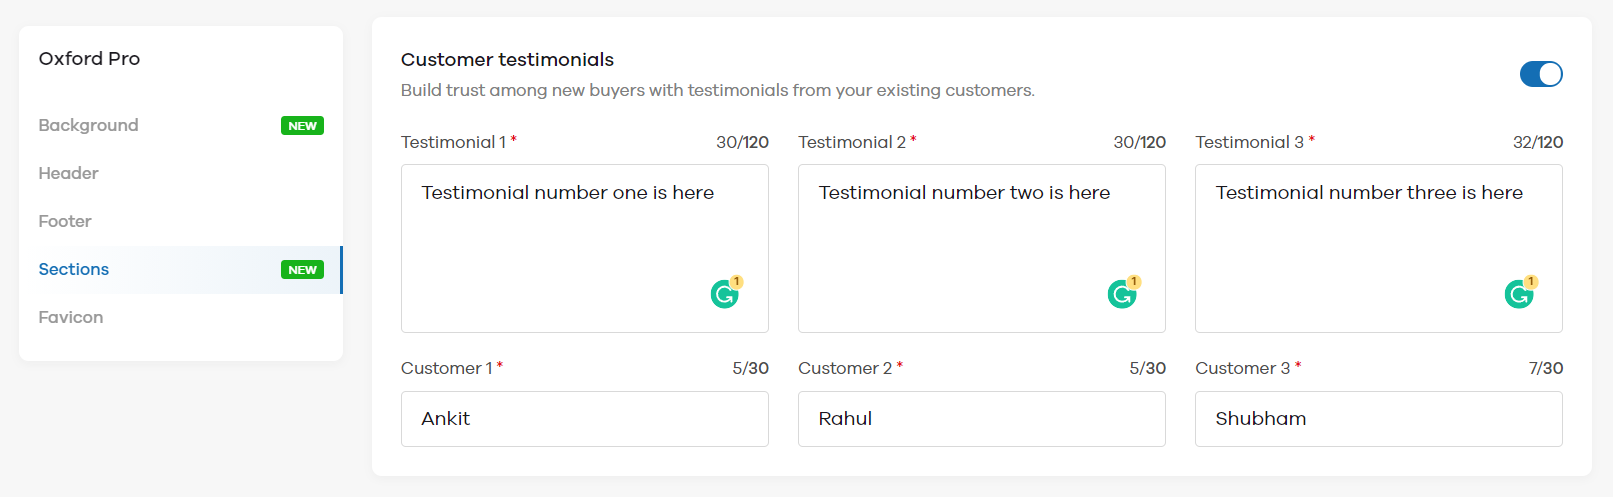
Customer Testimonials - With this section, you can showcase top customers reviews on your homepage to build trust among your new customers.
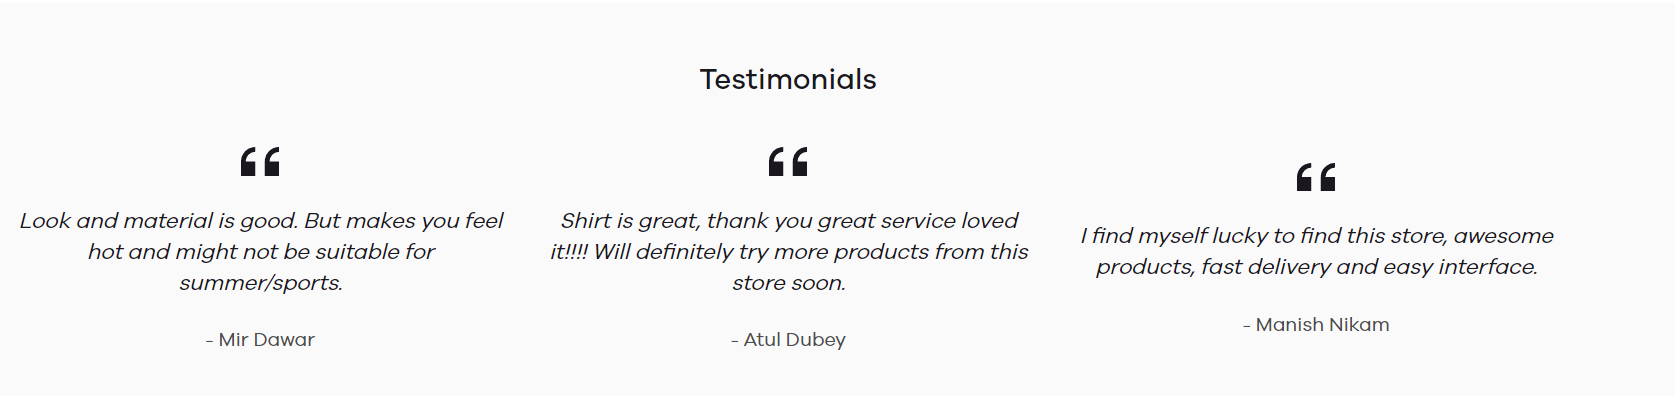
To add this section, enable Customer Testimonials by clicking on the toggle button. Now, you can add up to 3 reviews with testimonial content and the customer's name.
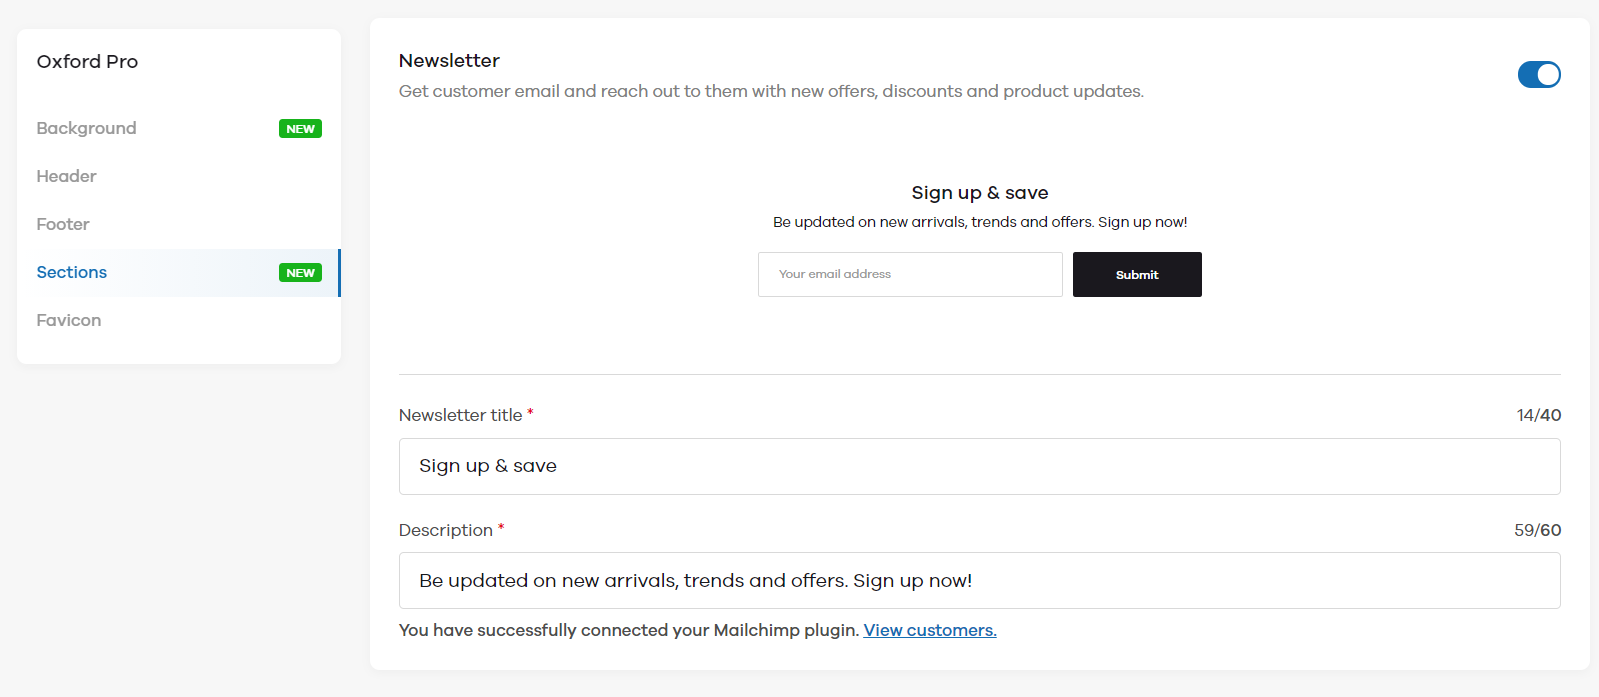
Newsletter - With this section, you can collect your customers' email address to market them new products, offers, and discounts to get them back to your website.

To add this section, enable Newsletter by clicking on the toggle button. Now enter the title and description to make it personalized to your brand. Note that you need to install the Mailchimp plugin before you can collect emails.
Favicon
Once you click on Favicon, you can see an option to change it. A favicon, also known as a website icon or URL icon is a file containing one or more small icons, associated with a particular website or web page. You can change it to show your brand's short logo or any other image. By default, Dukaan's logo is shown as a Favicon if left unchanged.
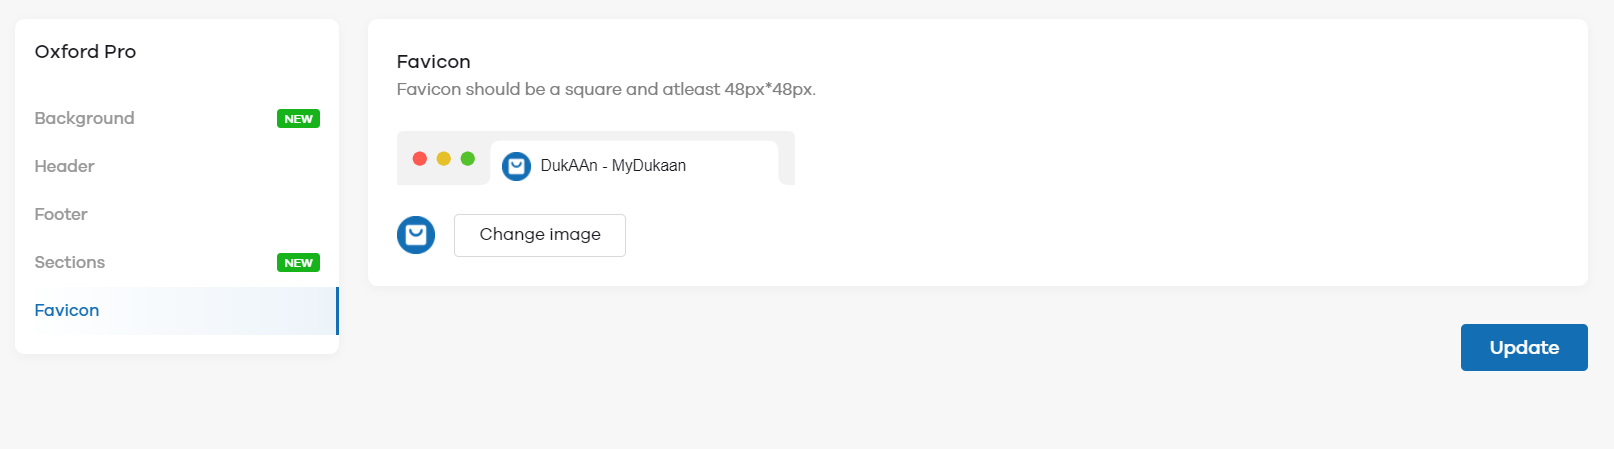
To change the Favicon, click on the Change Image button and upload the desired image.
Advanced
You can also add the "Add to bag" button on the homepage and category page for a seamless checkout. Click on Advanced and enable the toggle button.
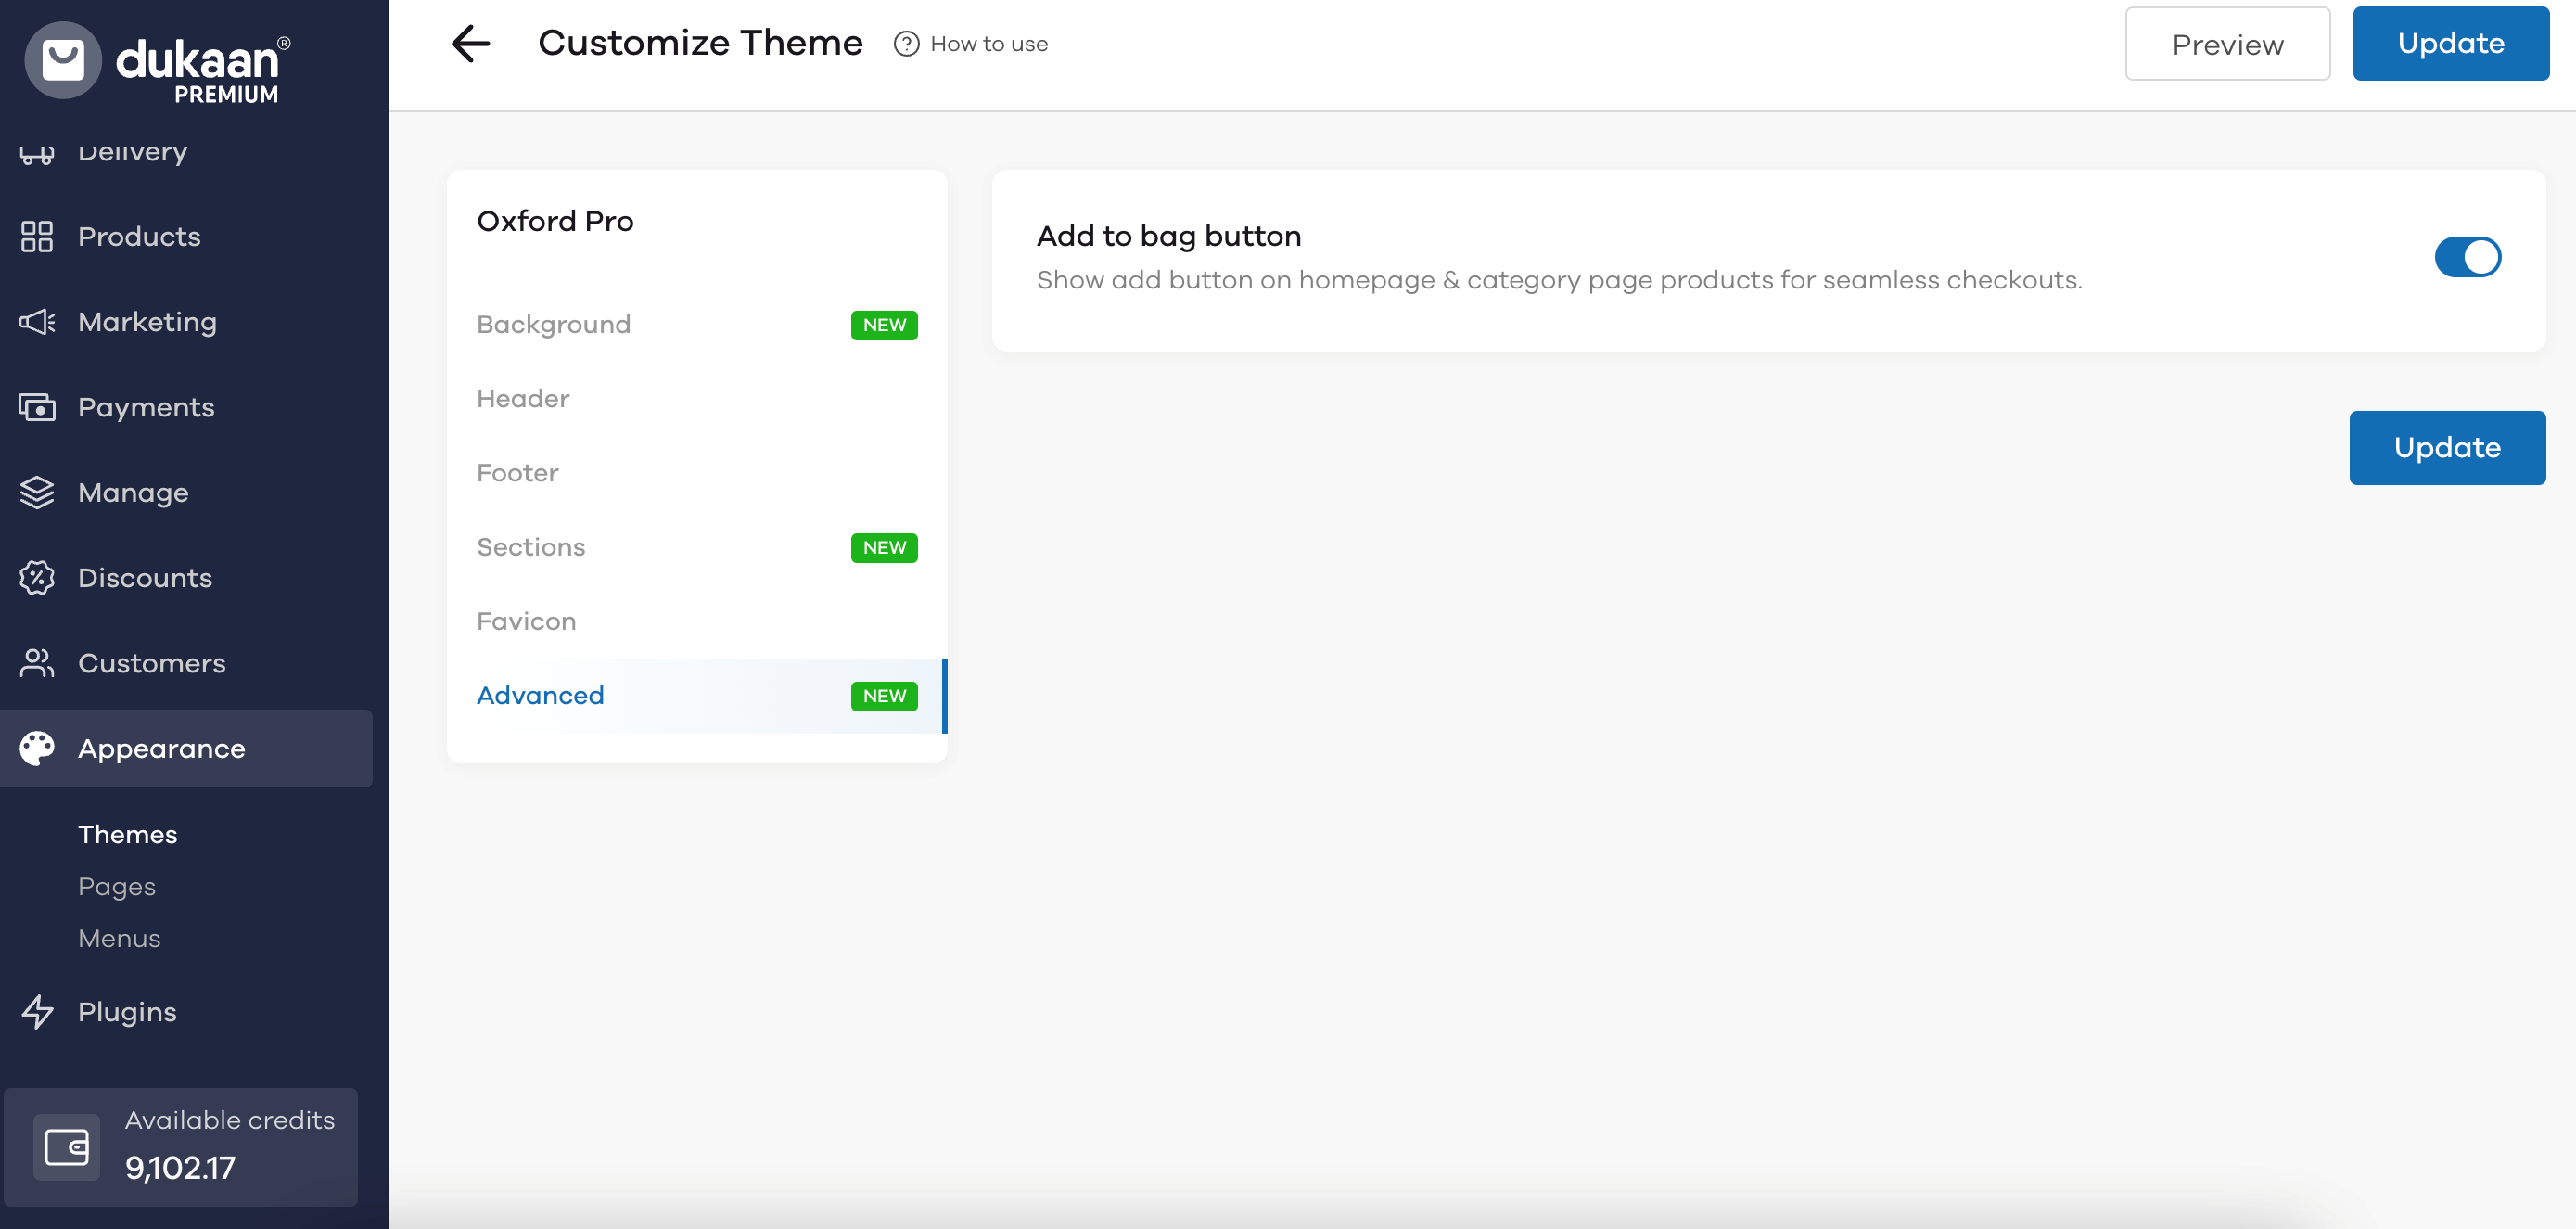
Once you've made all the changes, click on the Update button to save the changes.