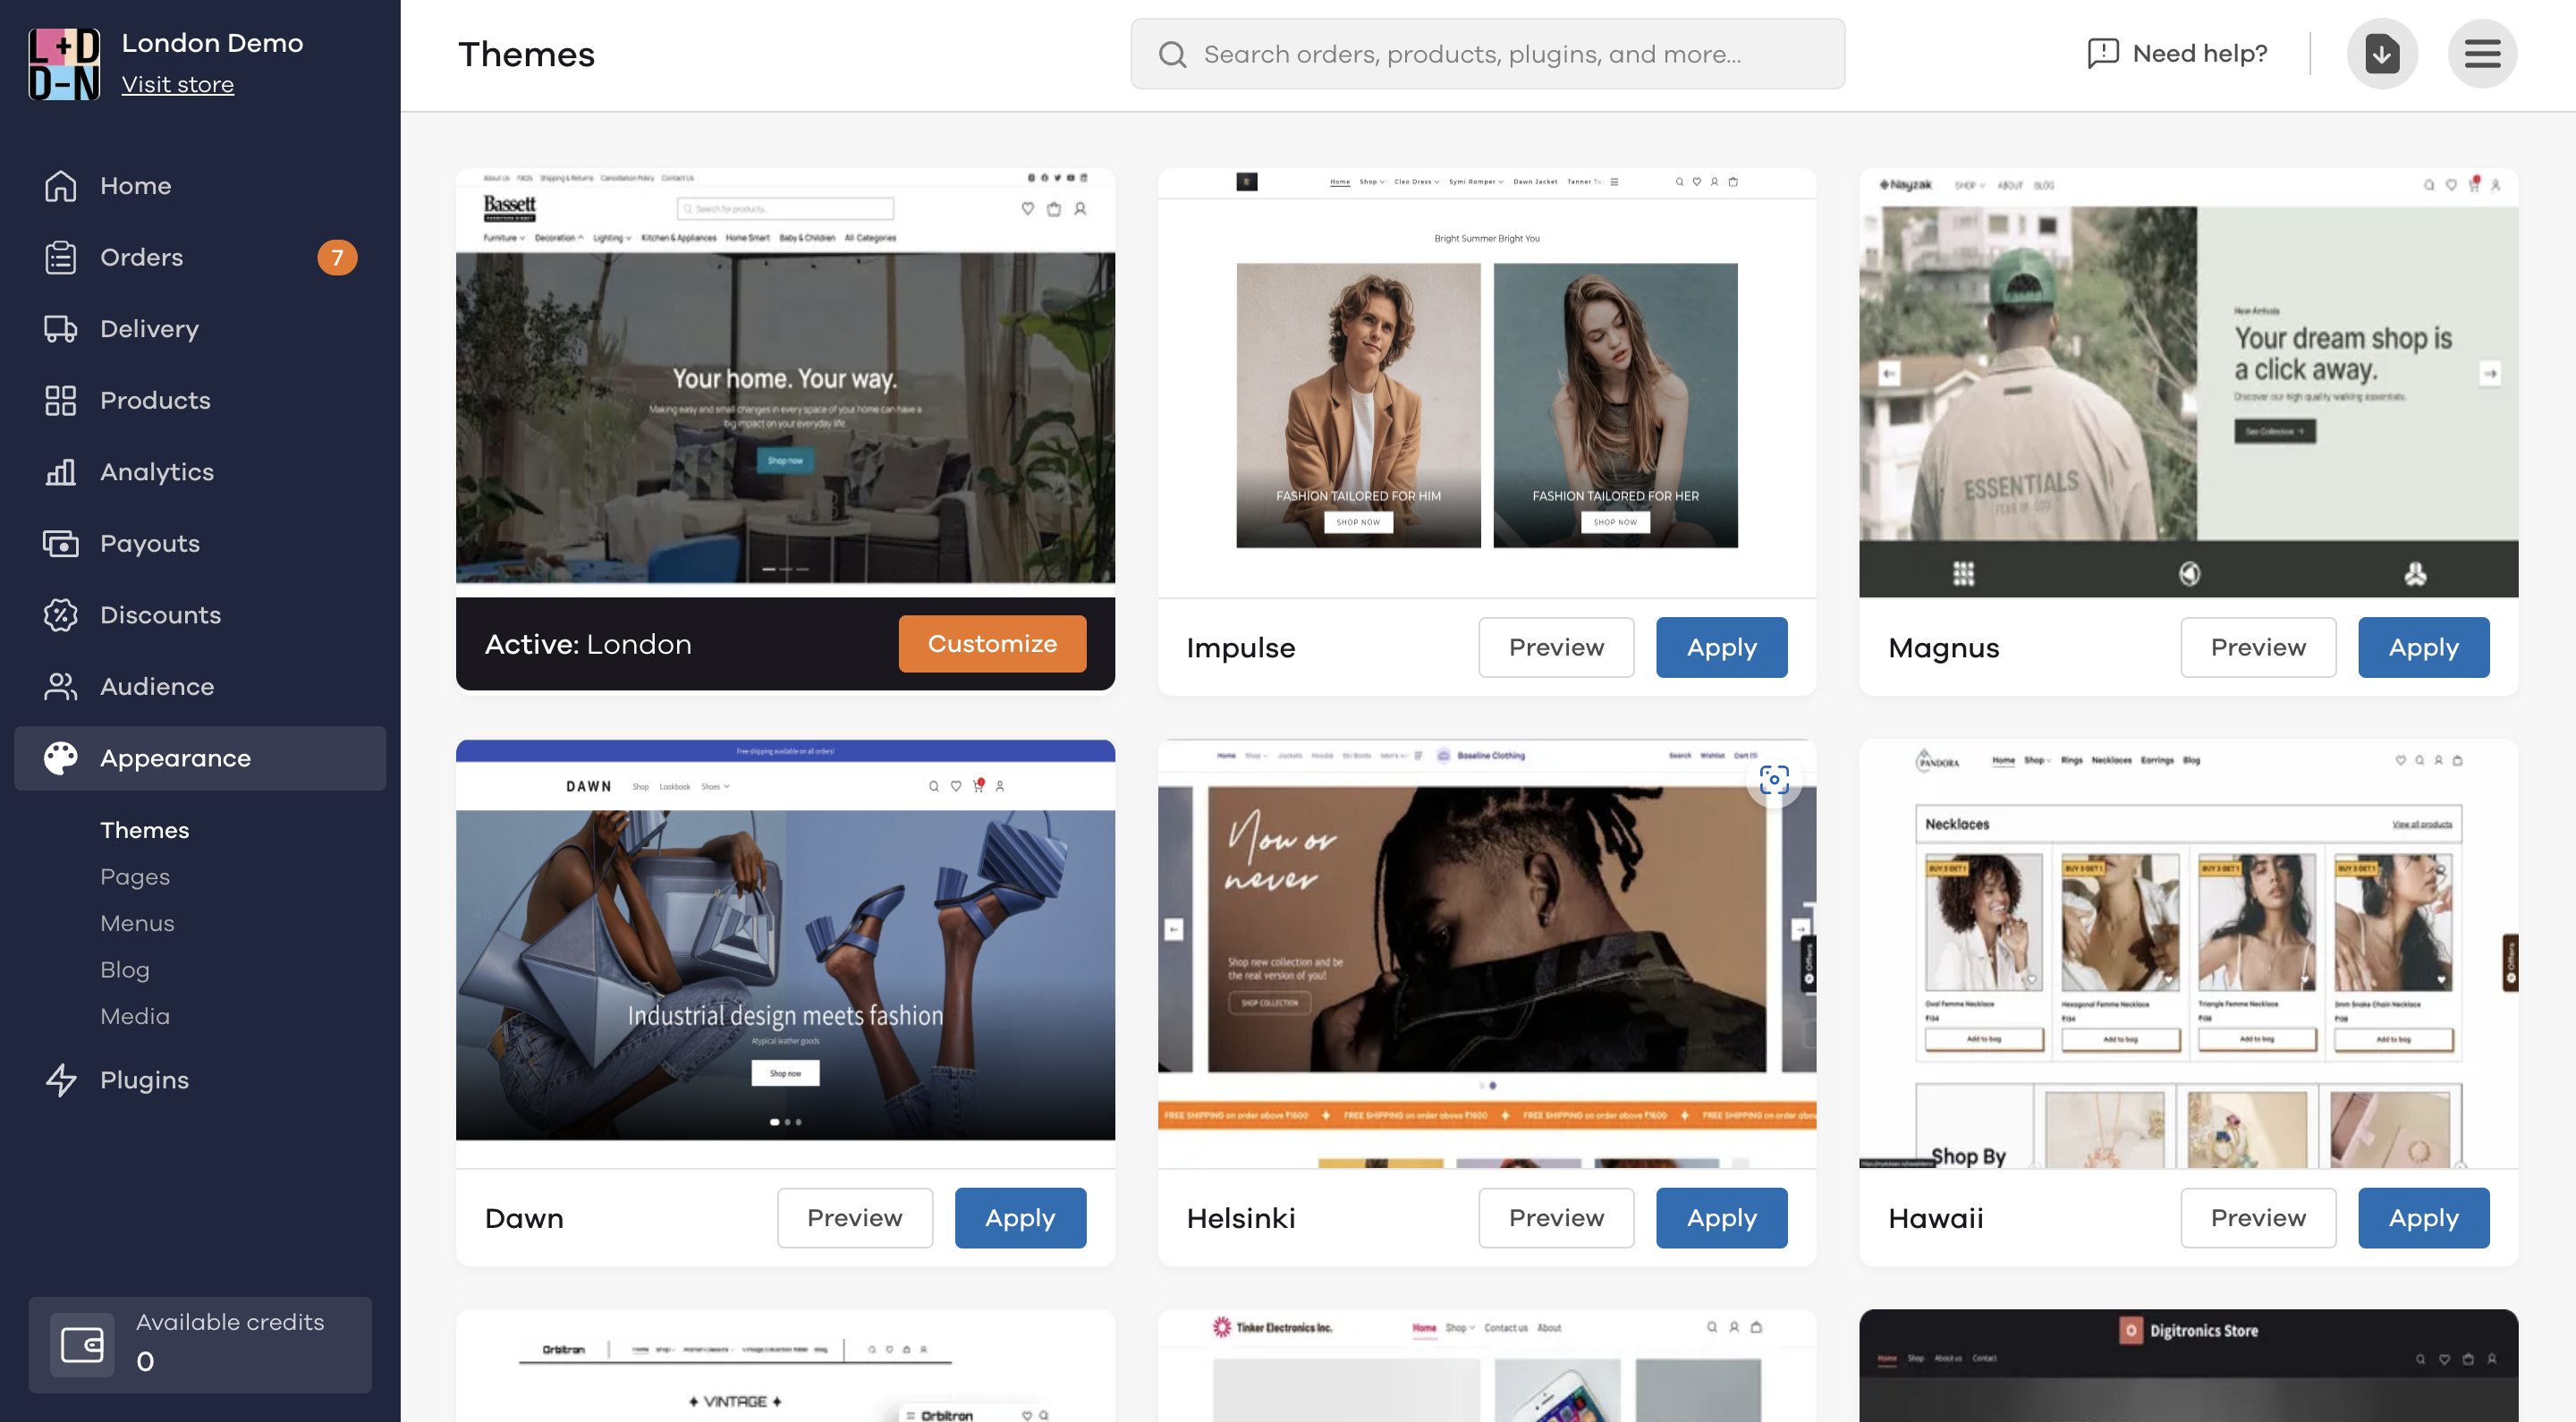
Once applied, click on Customize to make changes as per your choice.
Header & Favicon
In the Header section, you can make changes to the top section of your store:
- Store Logo: Change the logo of your store
- Show Store Name - When you enable this option by clicking on the toggle button, your store name will be shown alongside the logo of your store. If you wish to show only the logo, turn it off again.
- Favicon: A favicon is also known as a website icon or URL icon. It is a file containing one or more small icons, associated with a particular website or web page. You can change it to show your brand's short logo or any other image. By default, Dukaan's logo is shown as a Favicon if left unchanged. To change the Favicon, click on the Change Image button and upload the desired image.
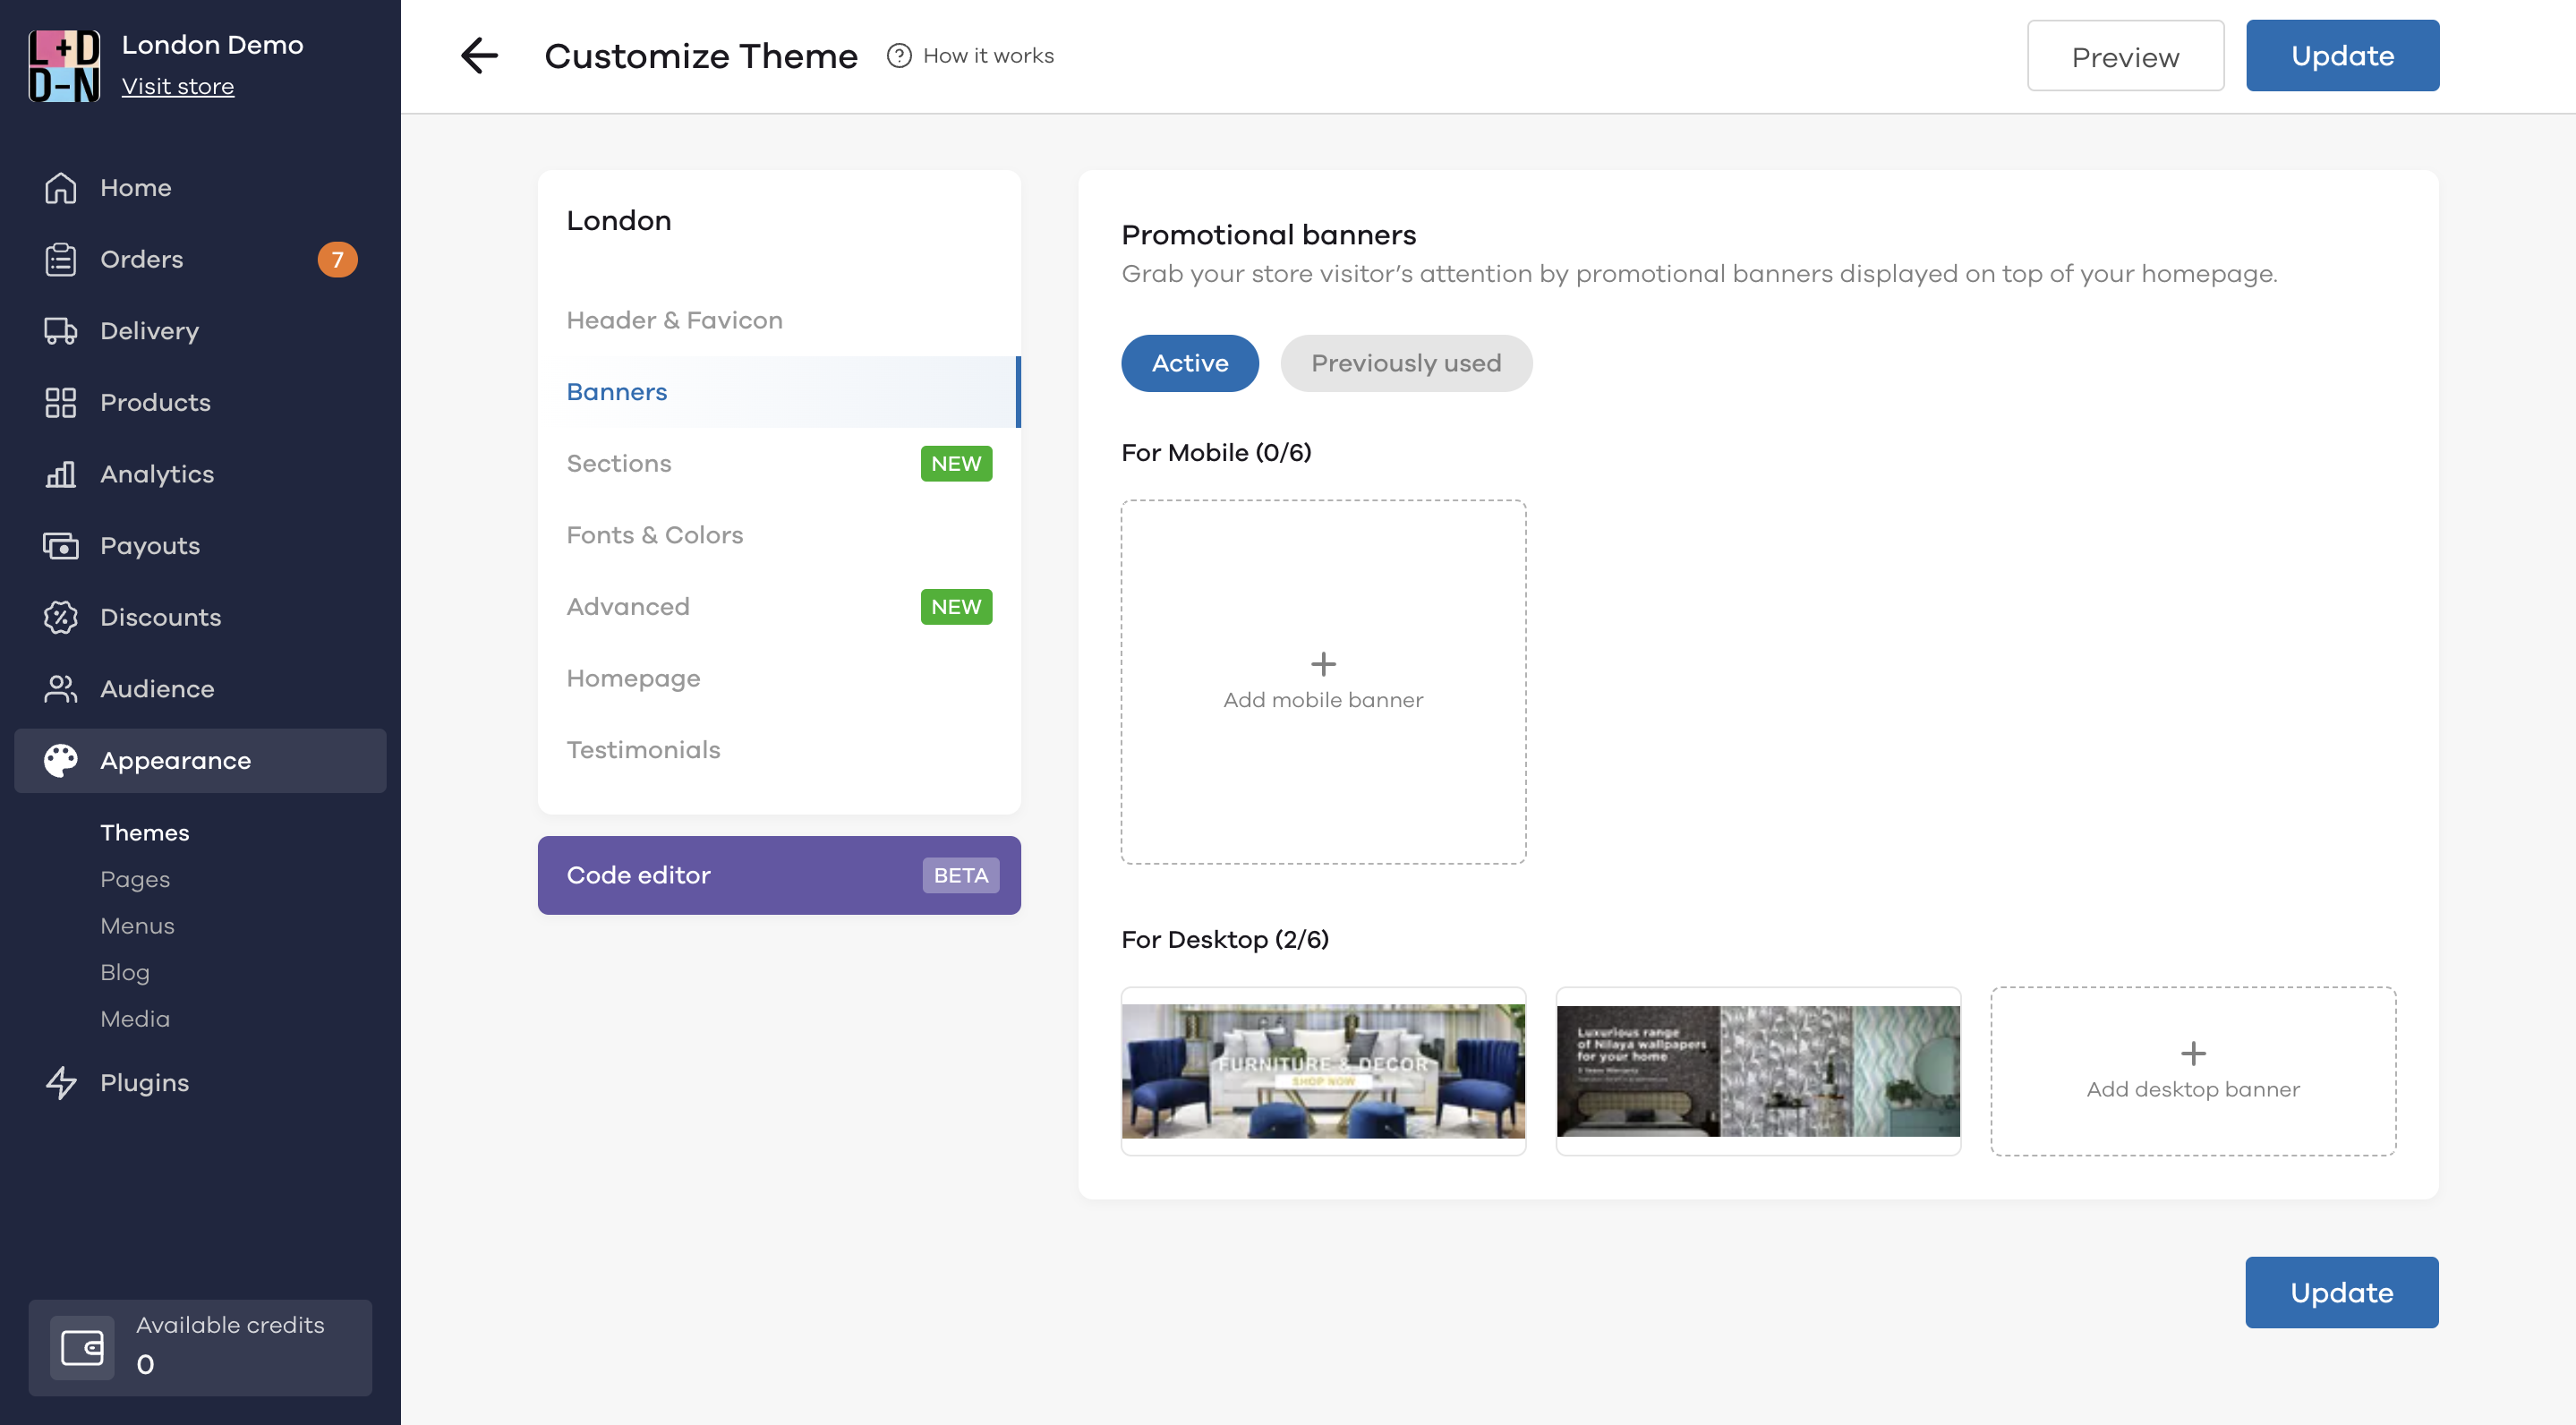
Banners
You can choose to display six banners on the top section of your store and upload separate optimised banners for both mobile and desktop.
The recommended size for desktop banners is 1296px*544px and for mobile banners it is 360px*324px.
You can also choose to add clickable links to the banners.
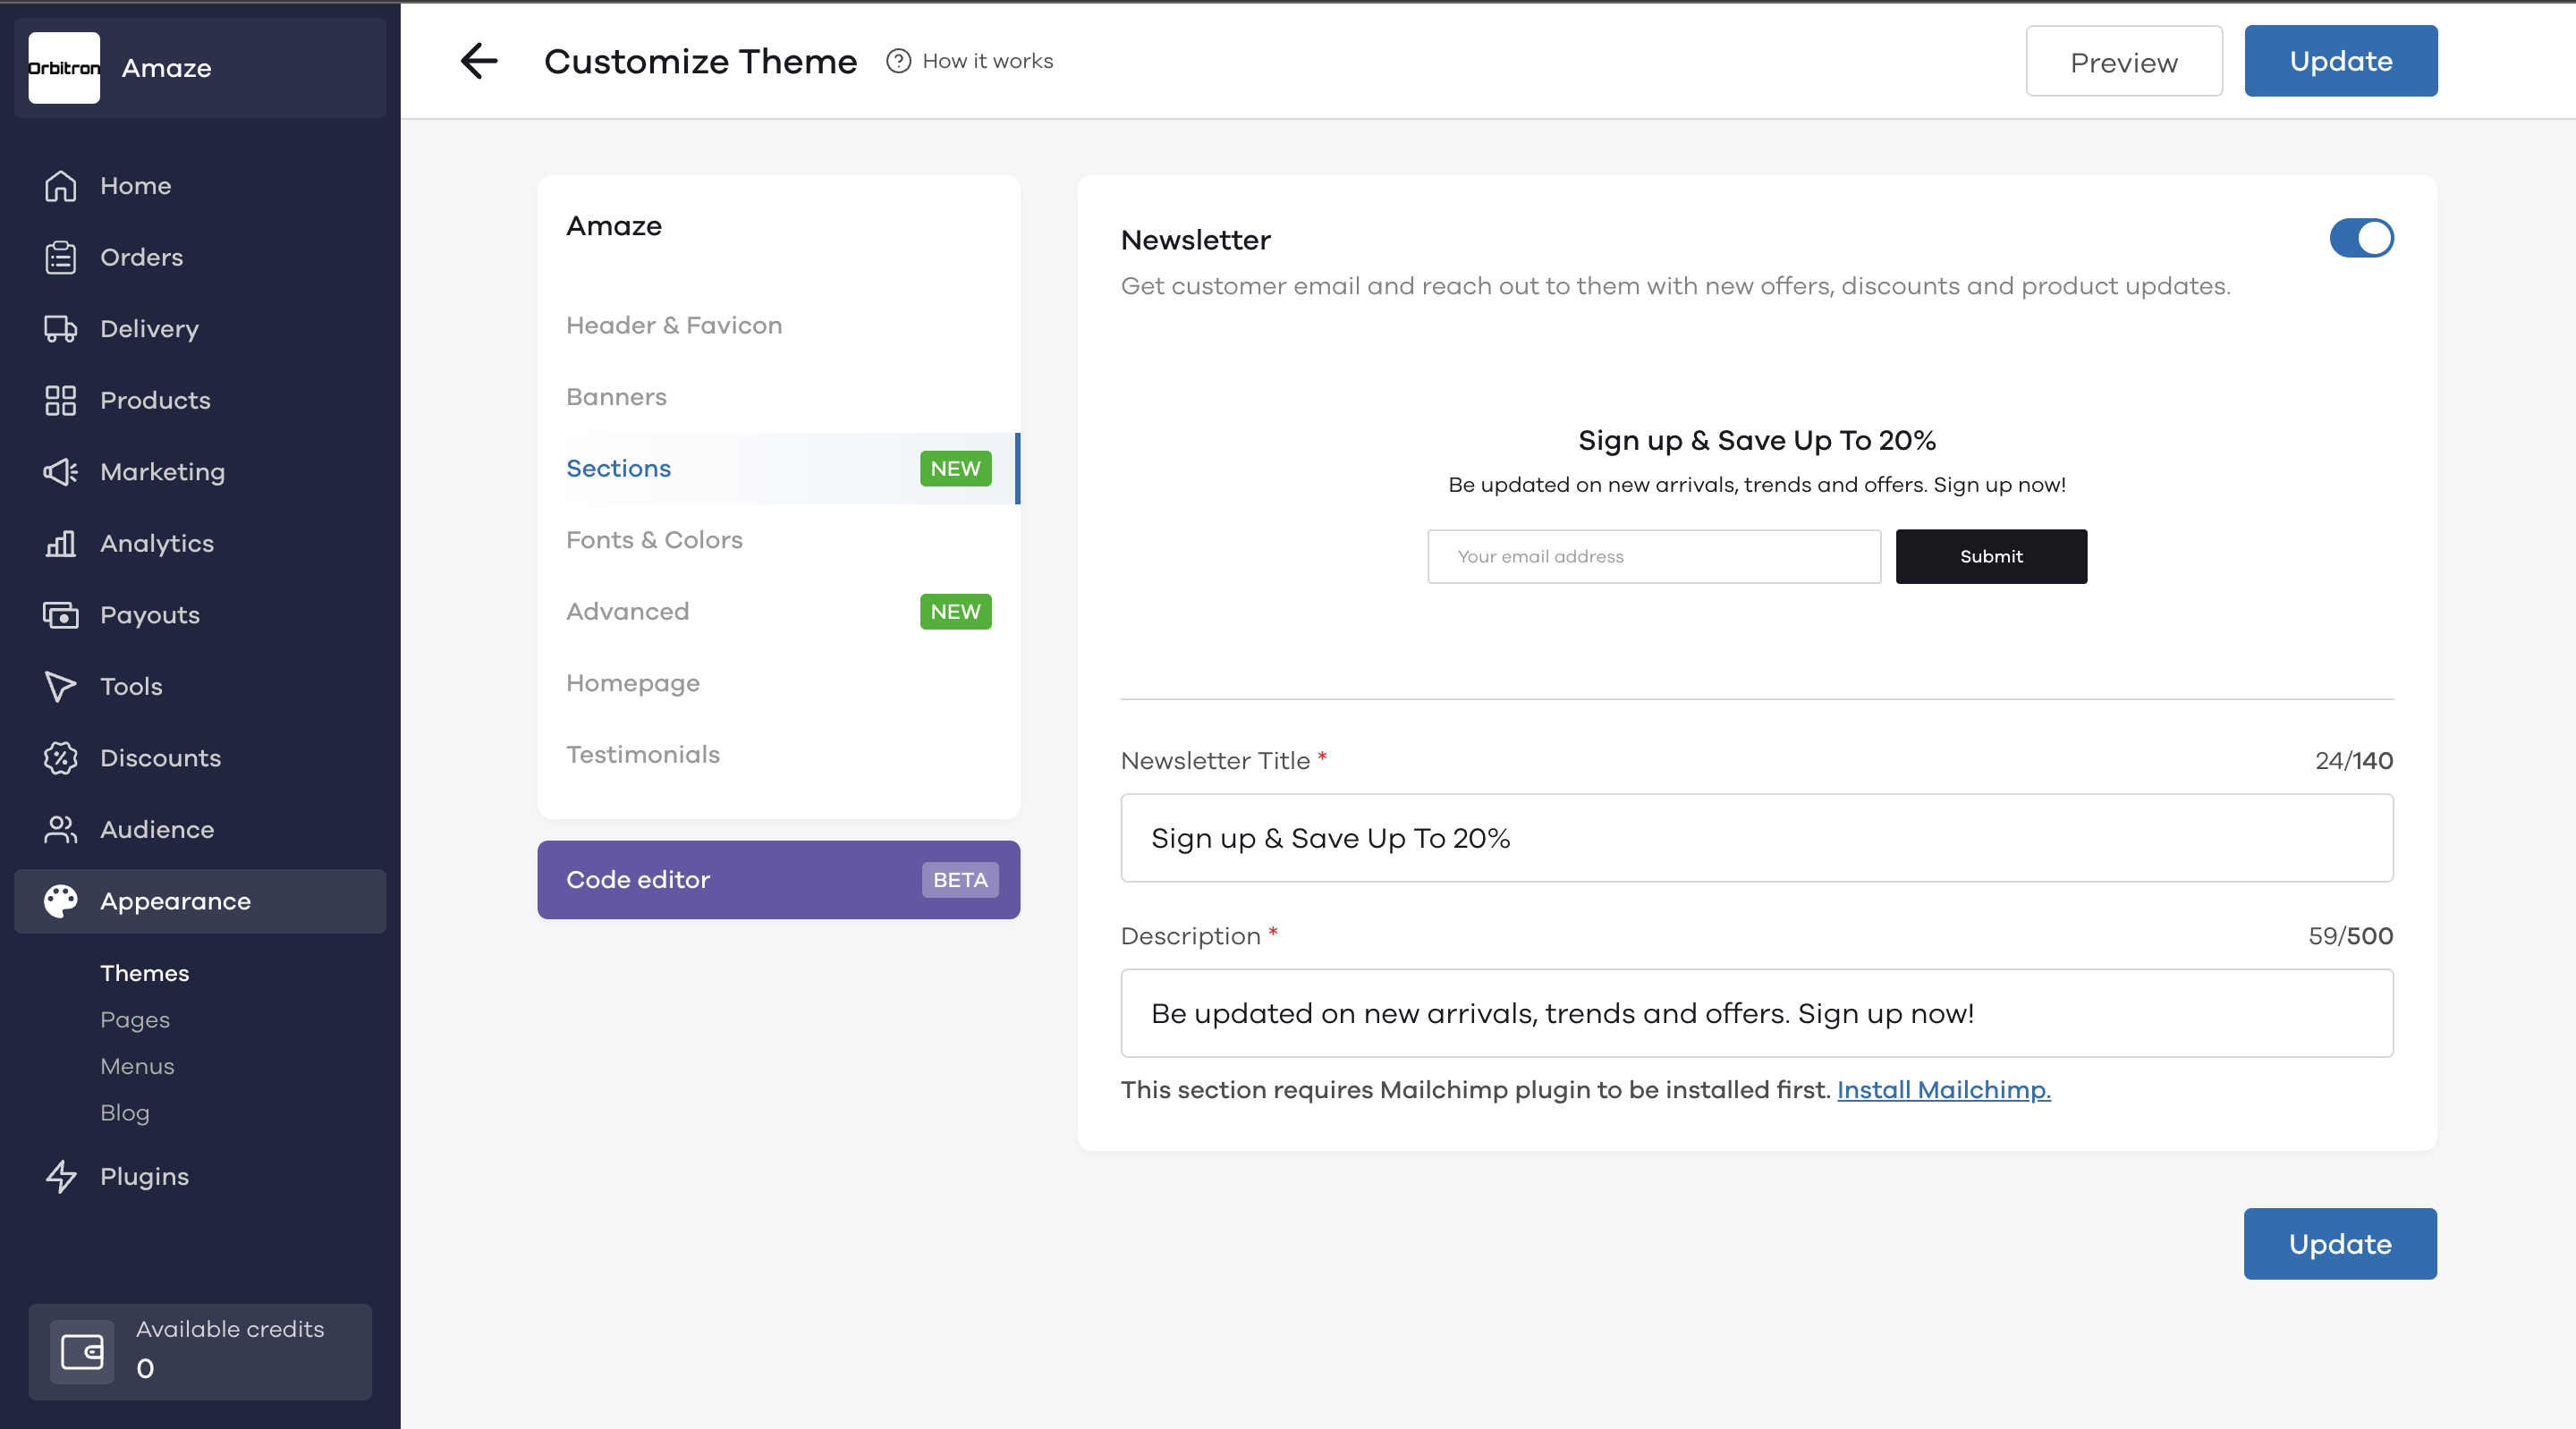
Sections
Through sections, you can add the Newsletter section for your store by turning the toggle on.
Note: You need to have the MailChimp plugin configured to collect emails from your customers.
Fonts and Colors
The Fonts and Colors section allows you to change the entire color scheme and fonts of your store.
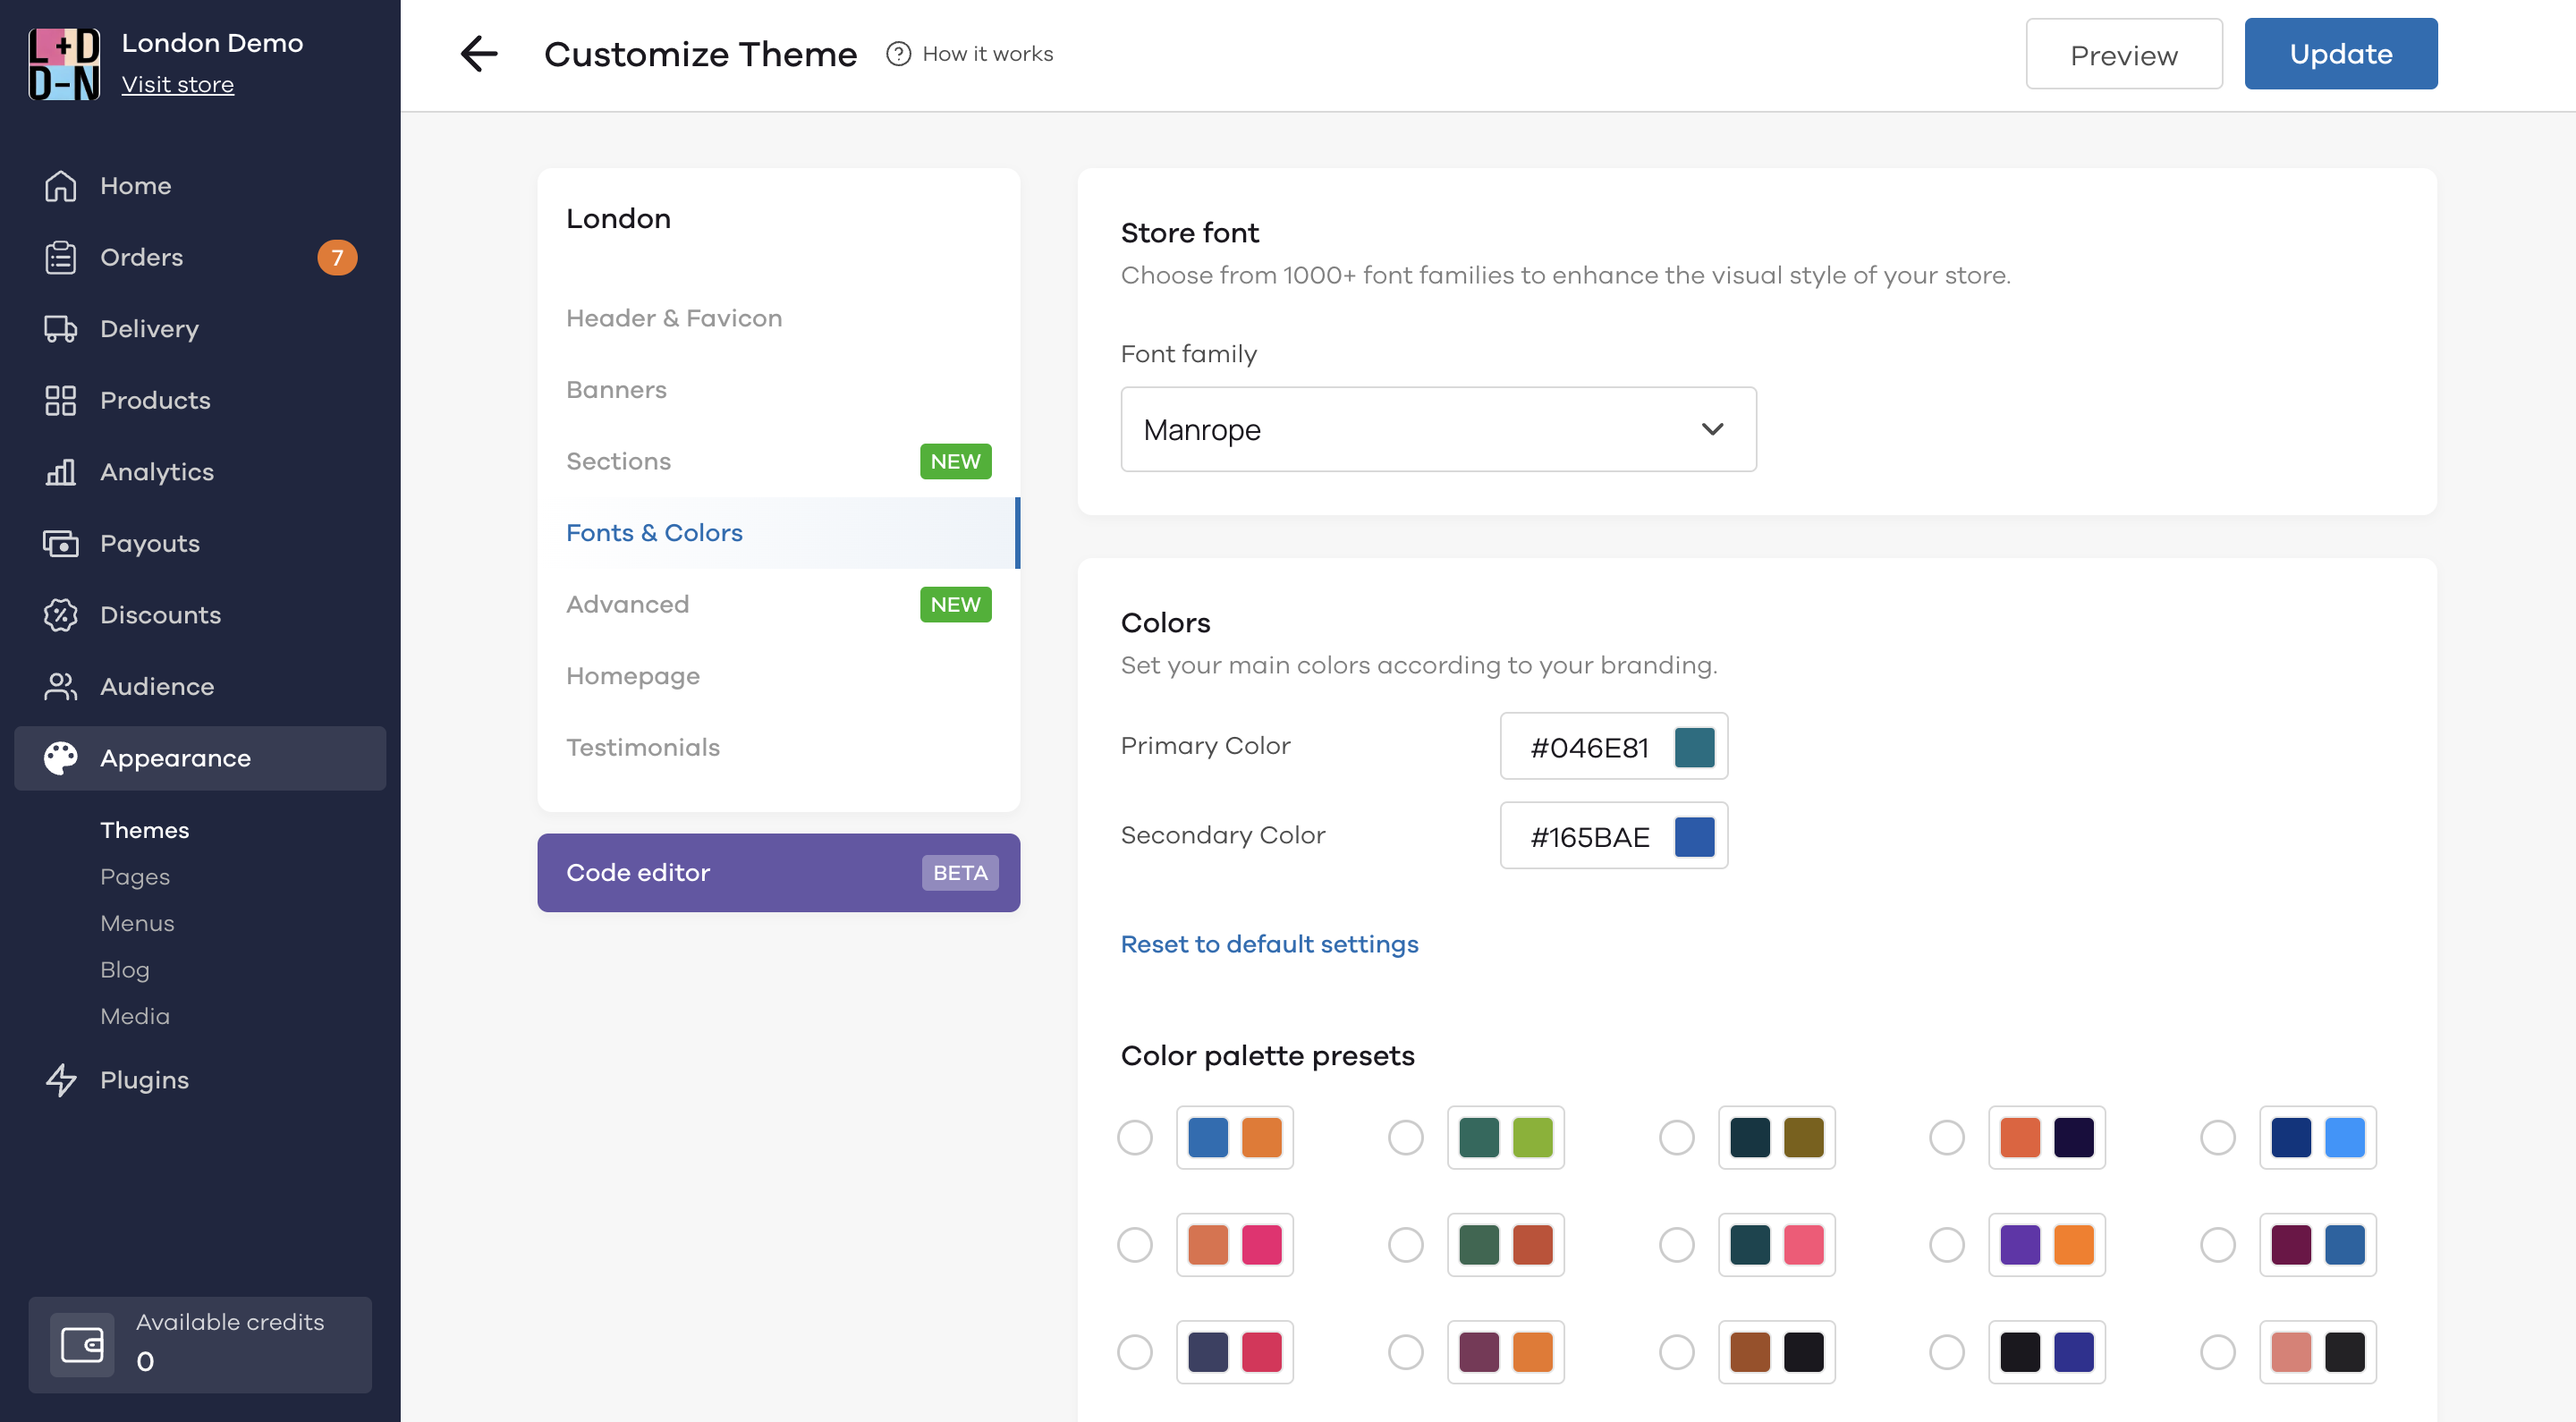
To edit this, click on the font family dropdown and choose from over 20+ different fonts for your store.
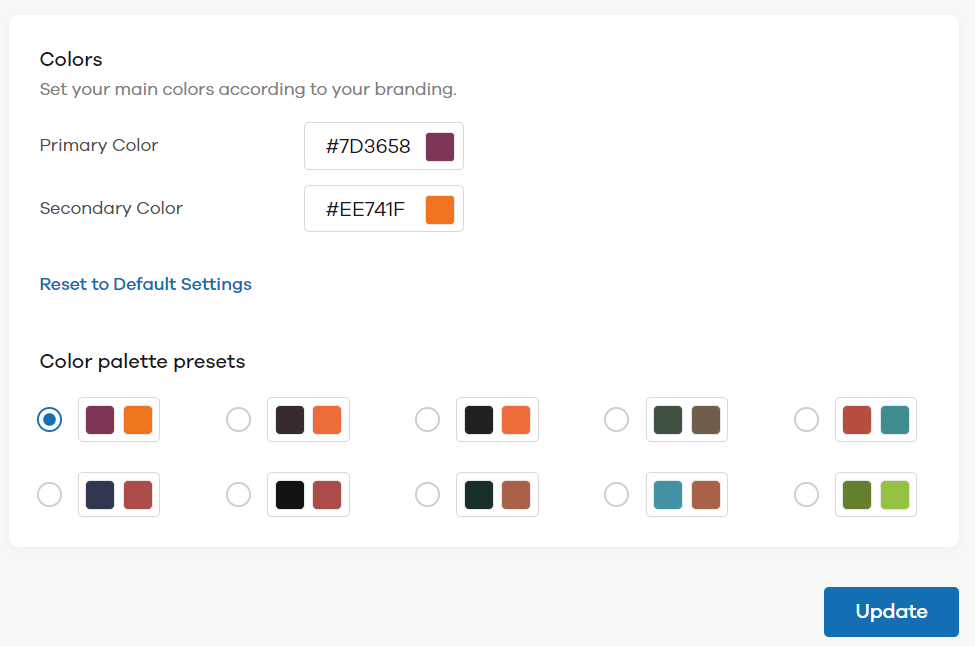
You can choose to edit the color scheme by adding a primary and secondary color for your store. You also have the option to choose from the existing color presets below.
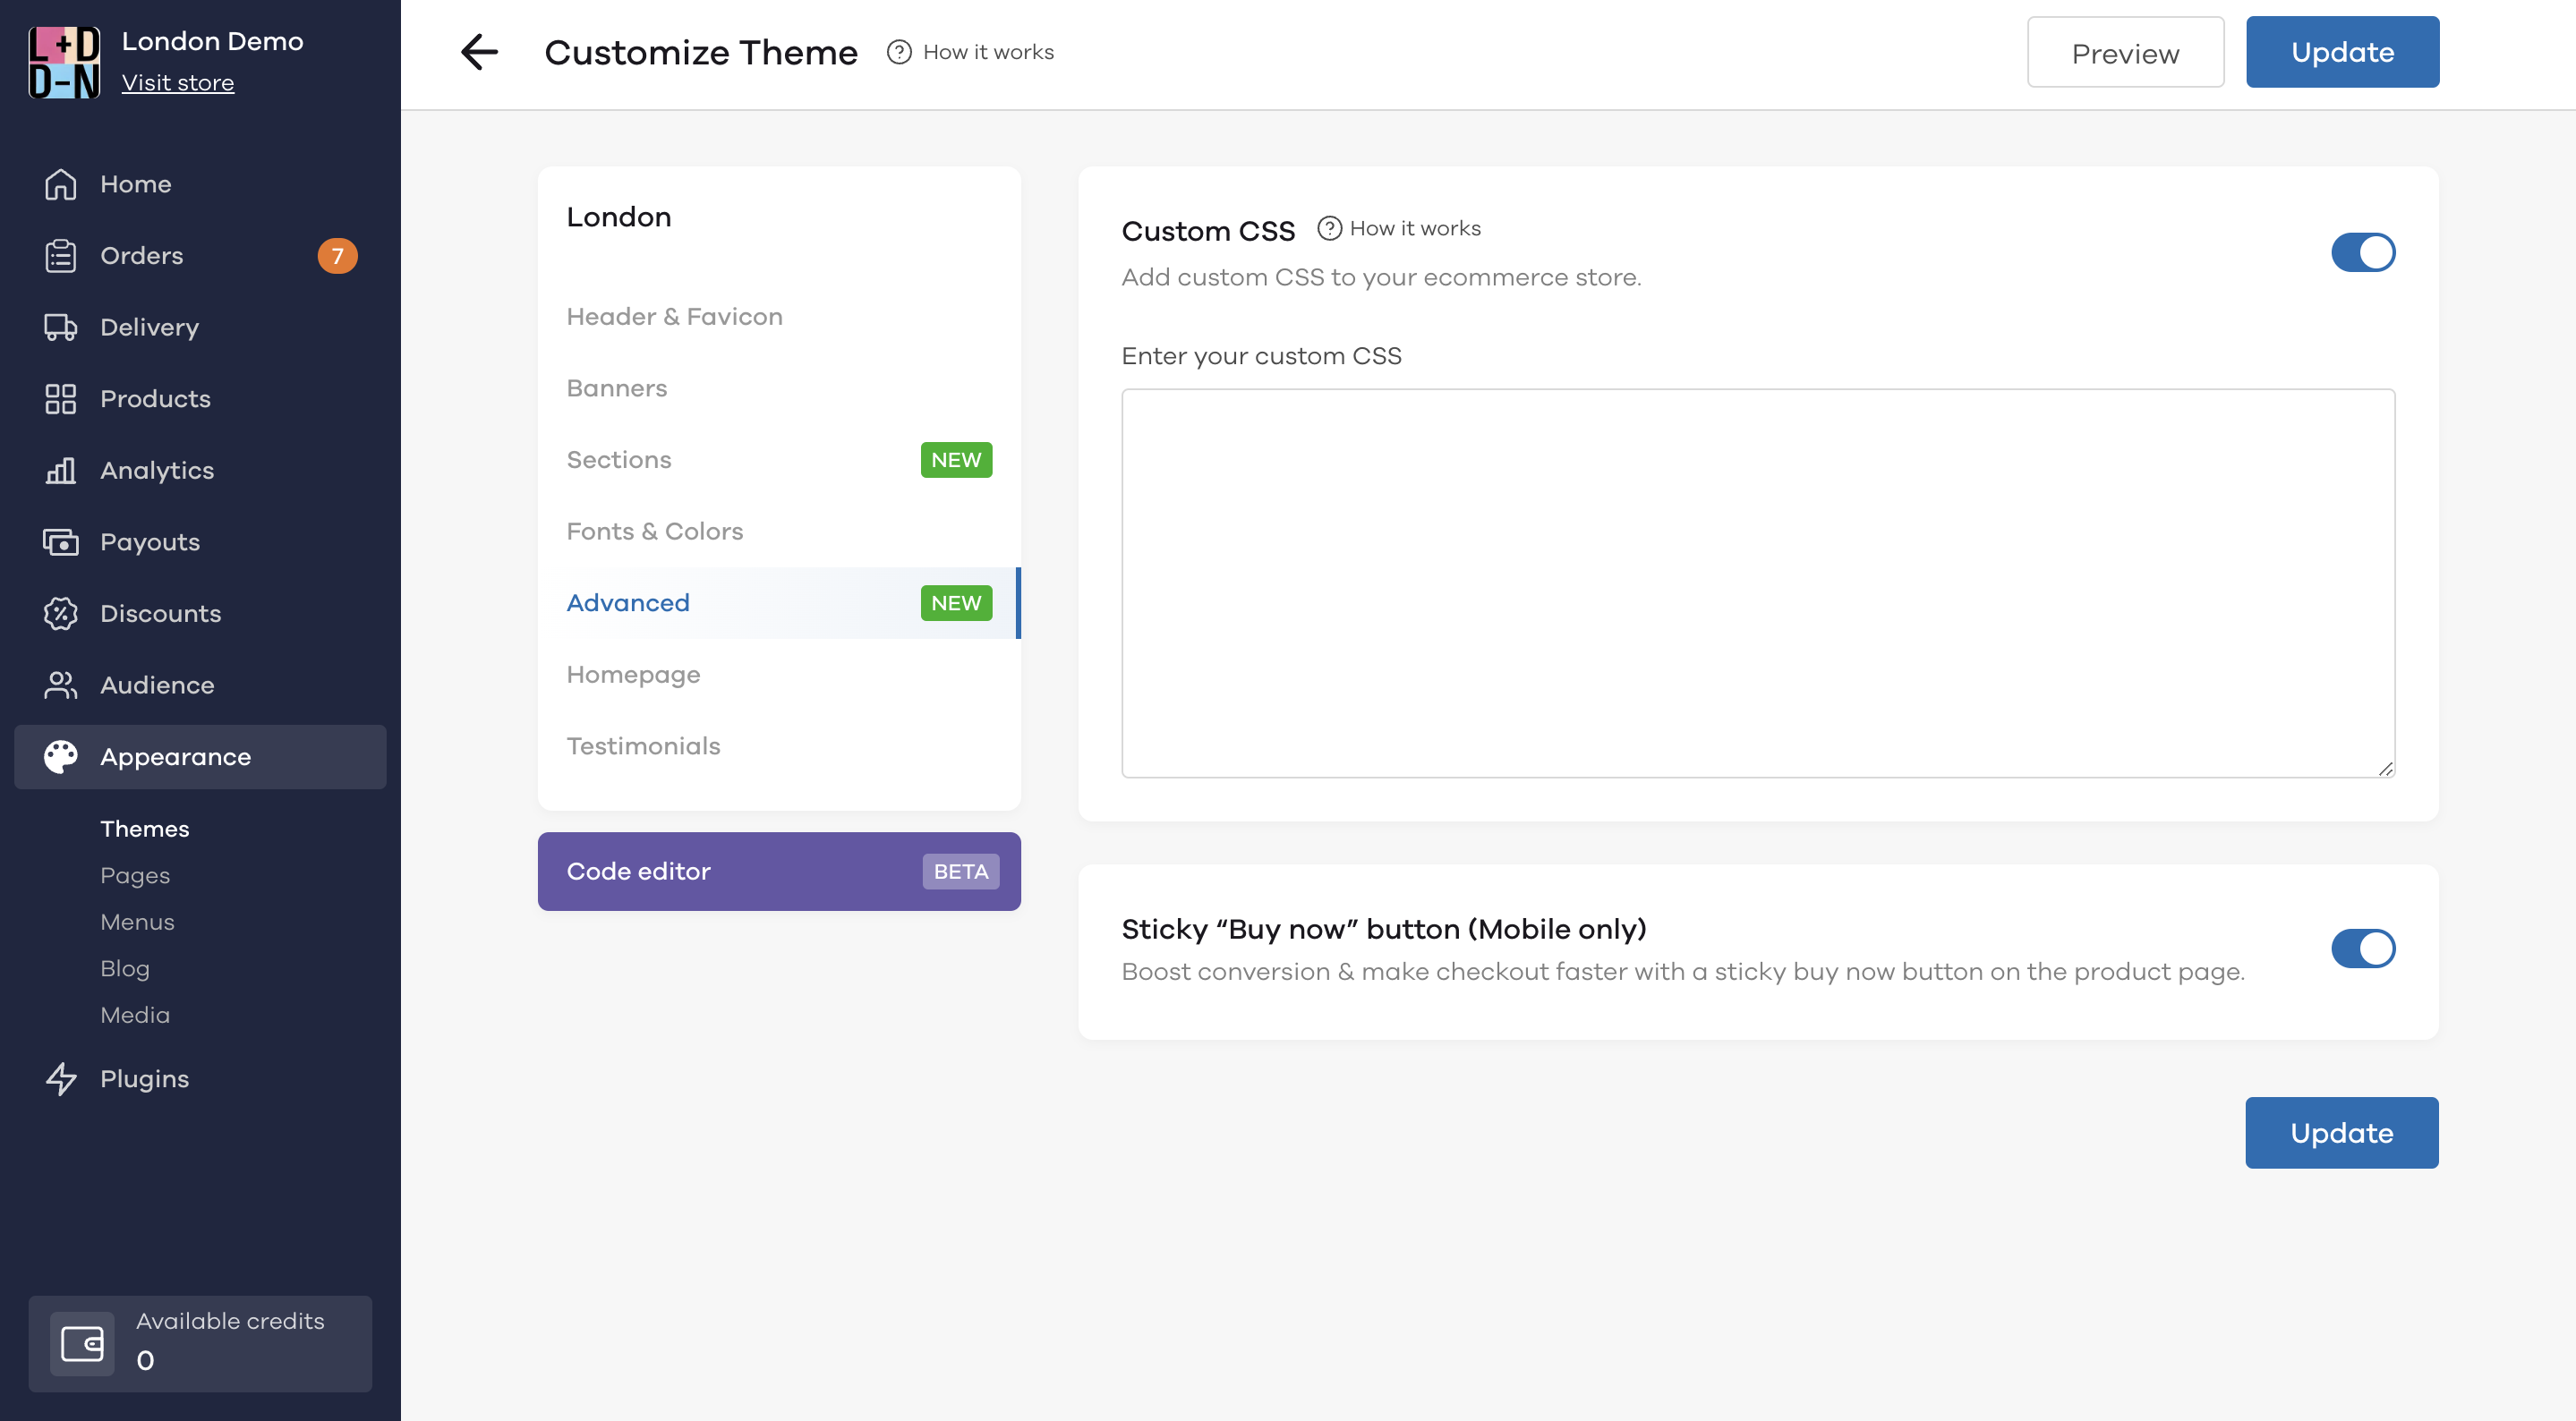
Advanced
You can use the advanced section to modify the theme using Custom CSS. To know more about custom css and how to use it, click here.
Additionally, you can toggle the Sticky "Buy now" button to increase conversions on mobile and have a sticky button on the product page.
Homepage
Image showcase section
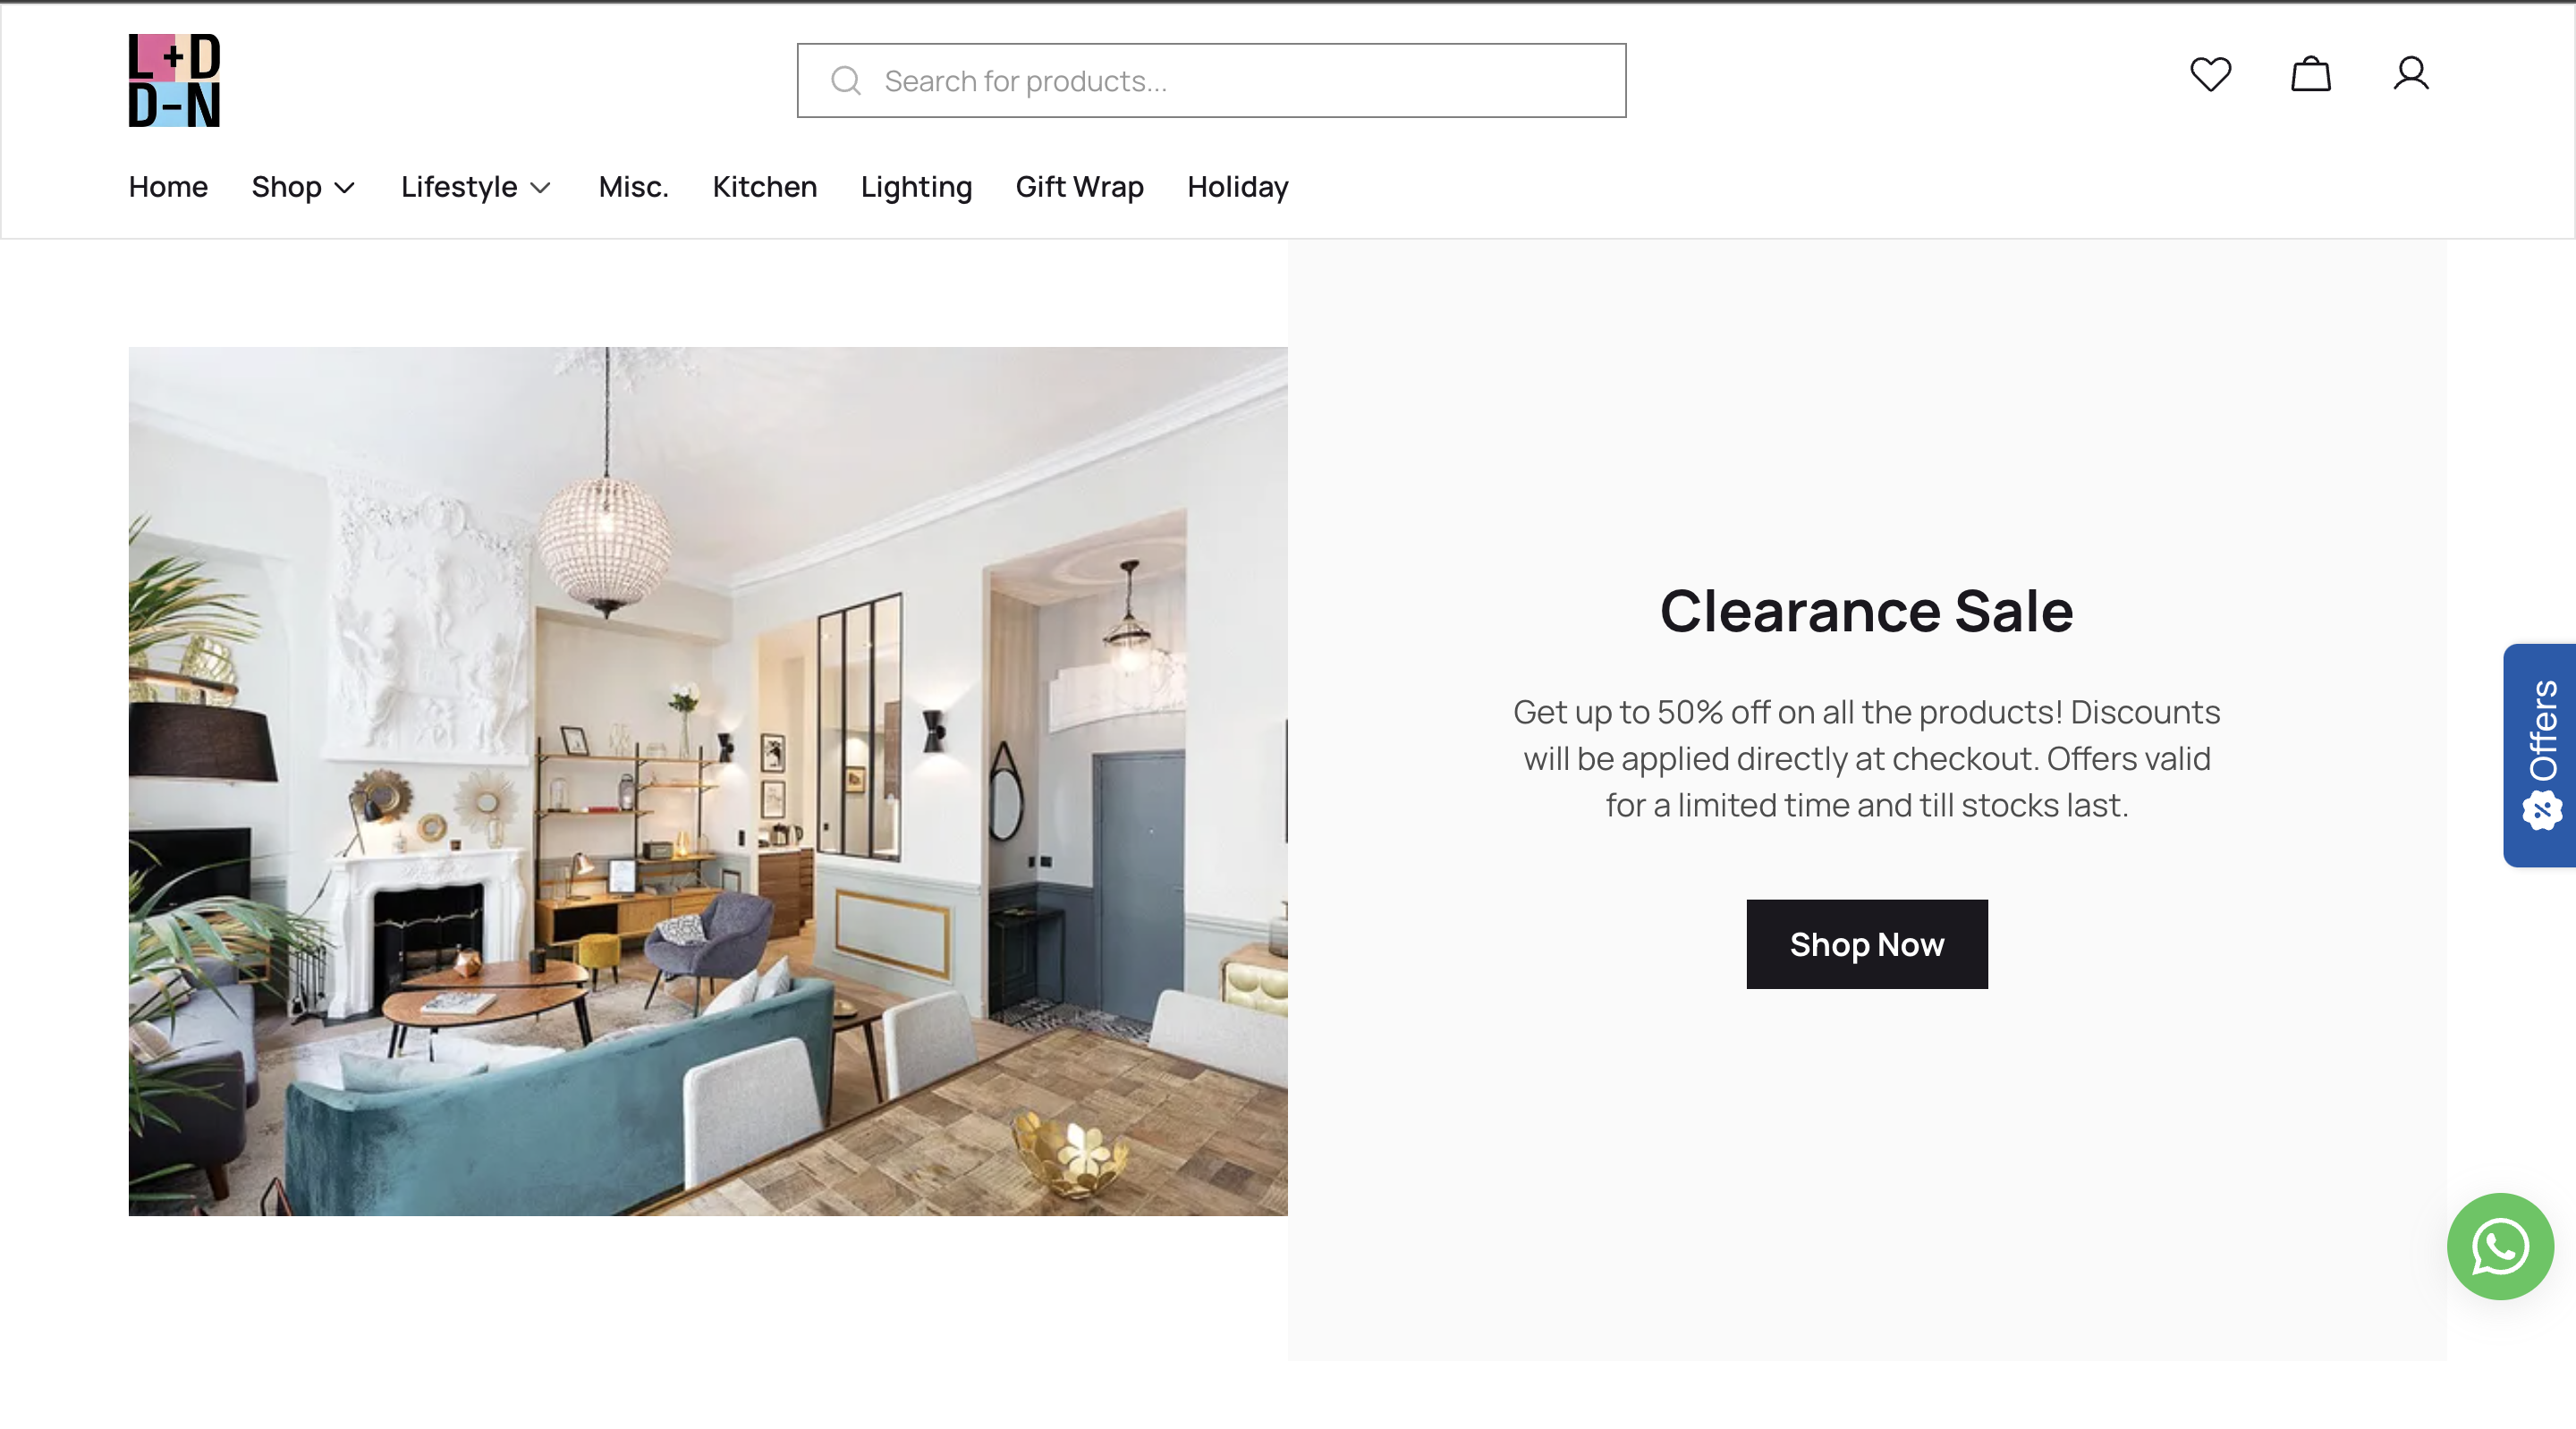
On the London theme homepage, the first section that you see is the Image showcase section.
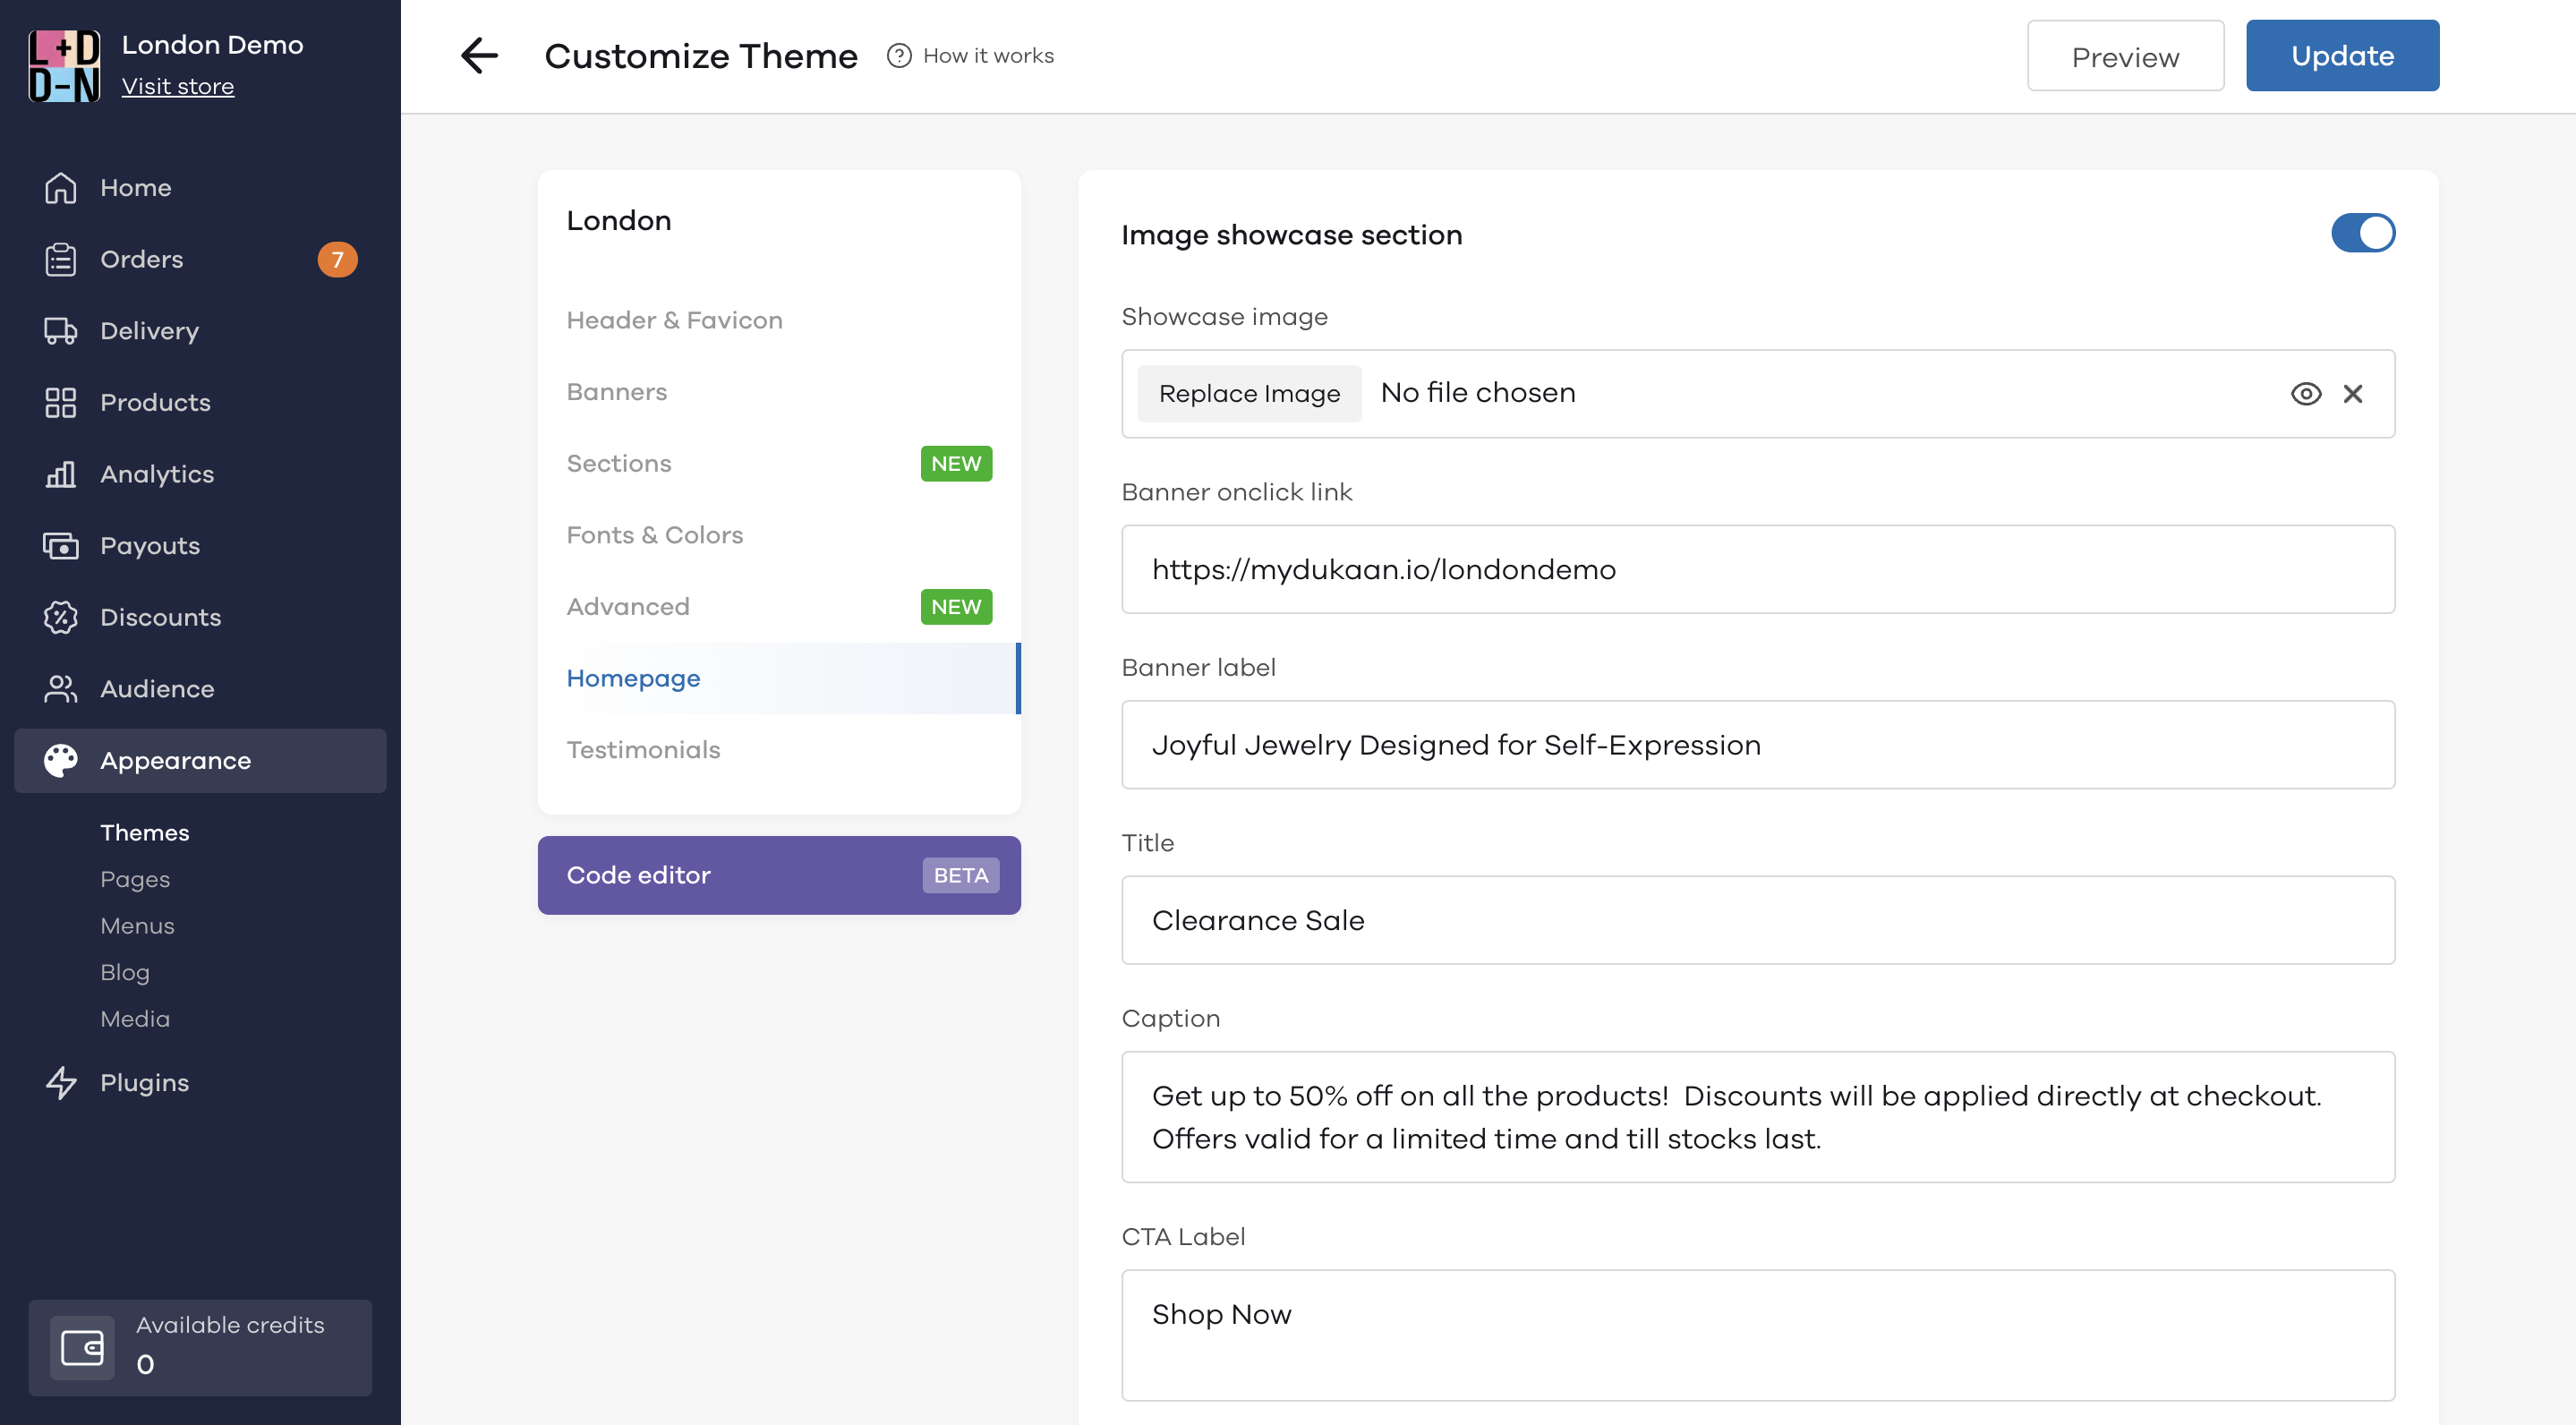
Here's how it would look like on your store. For the images, upload high resolution square images, preferably in the size of 1000px x 1000px.
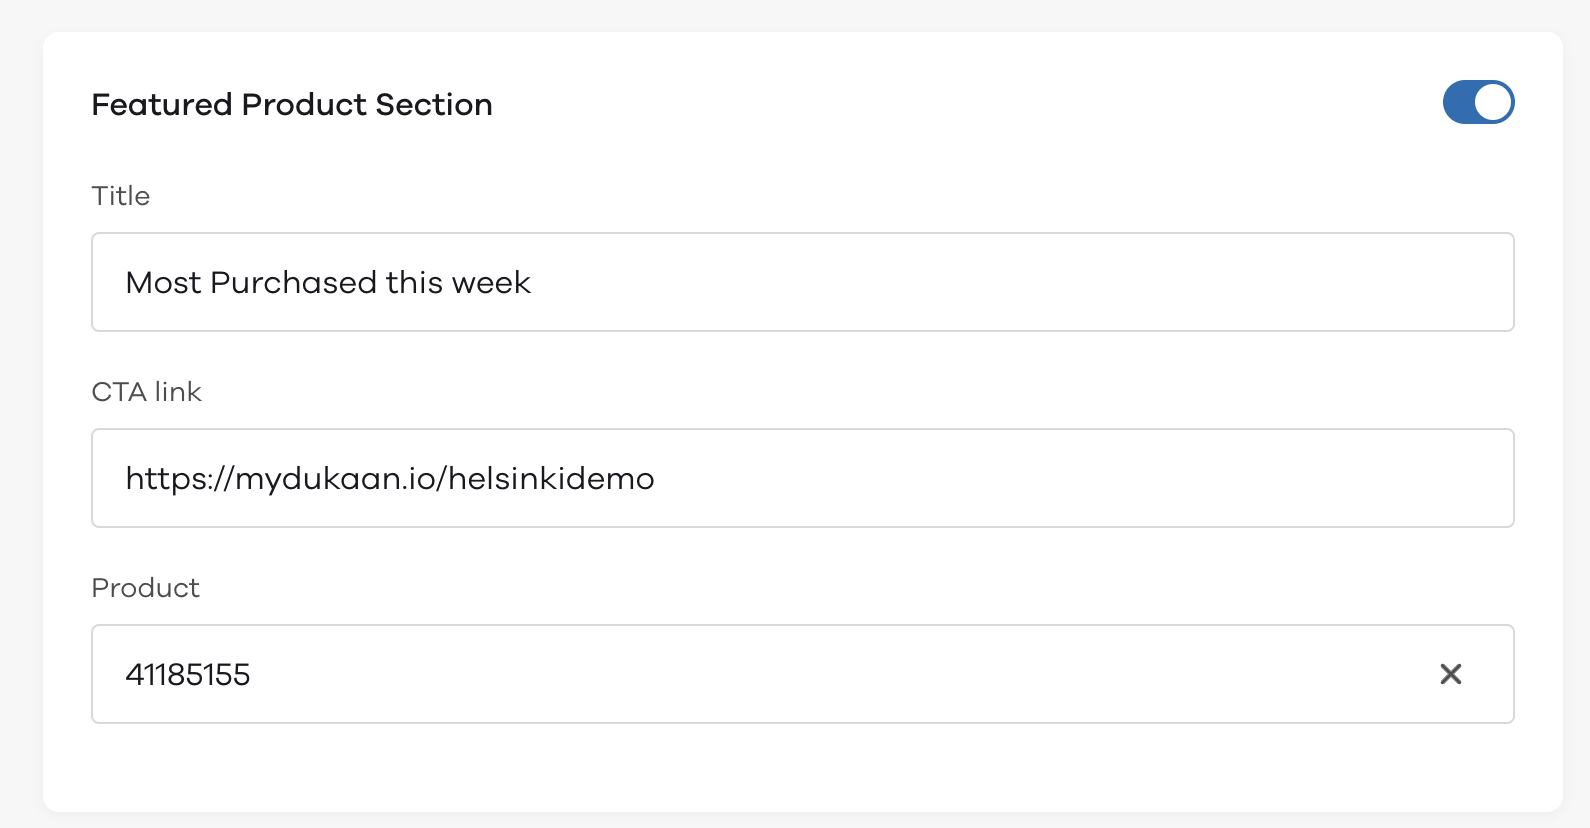
Feature product section
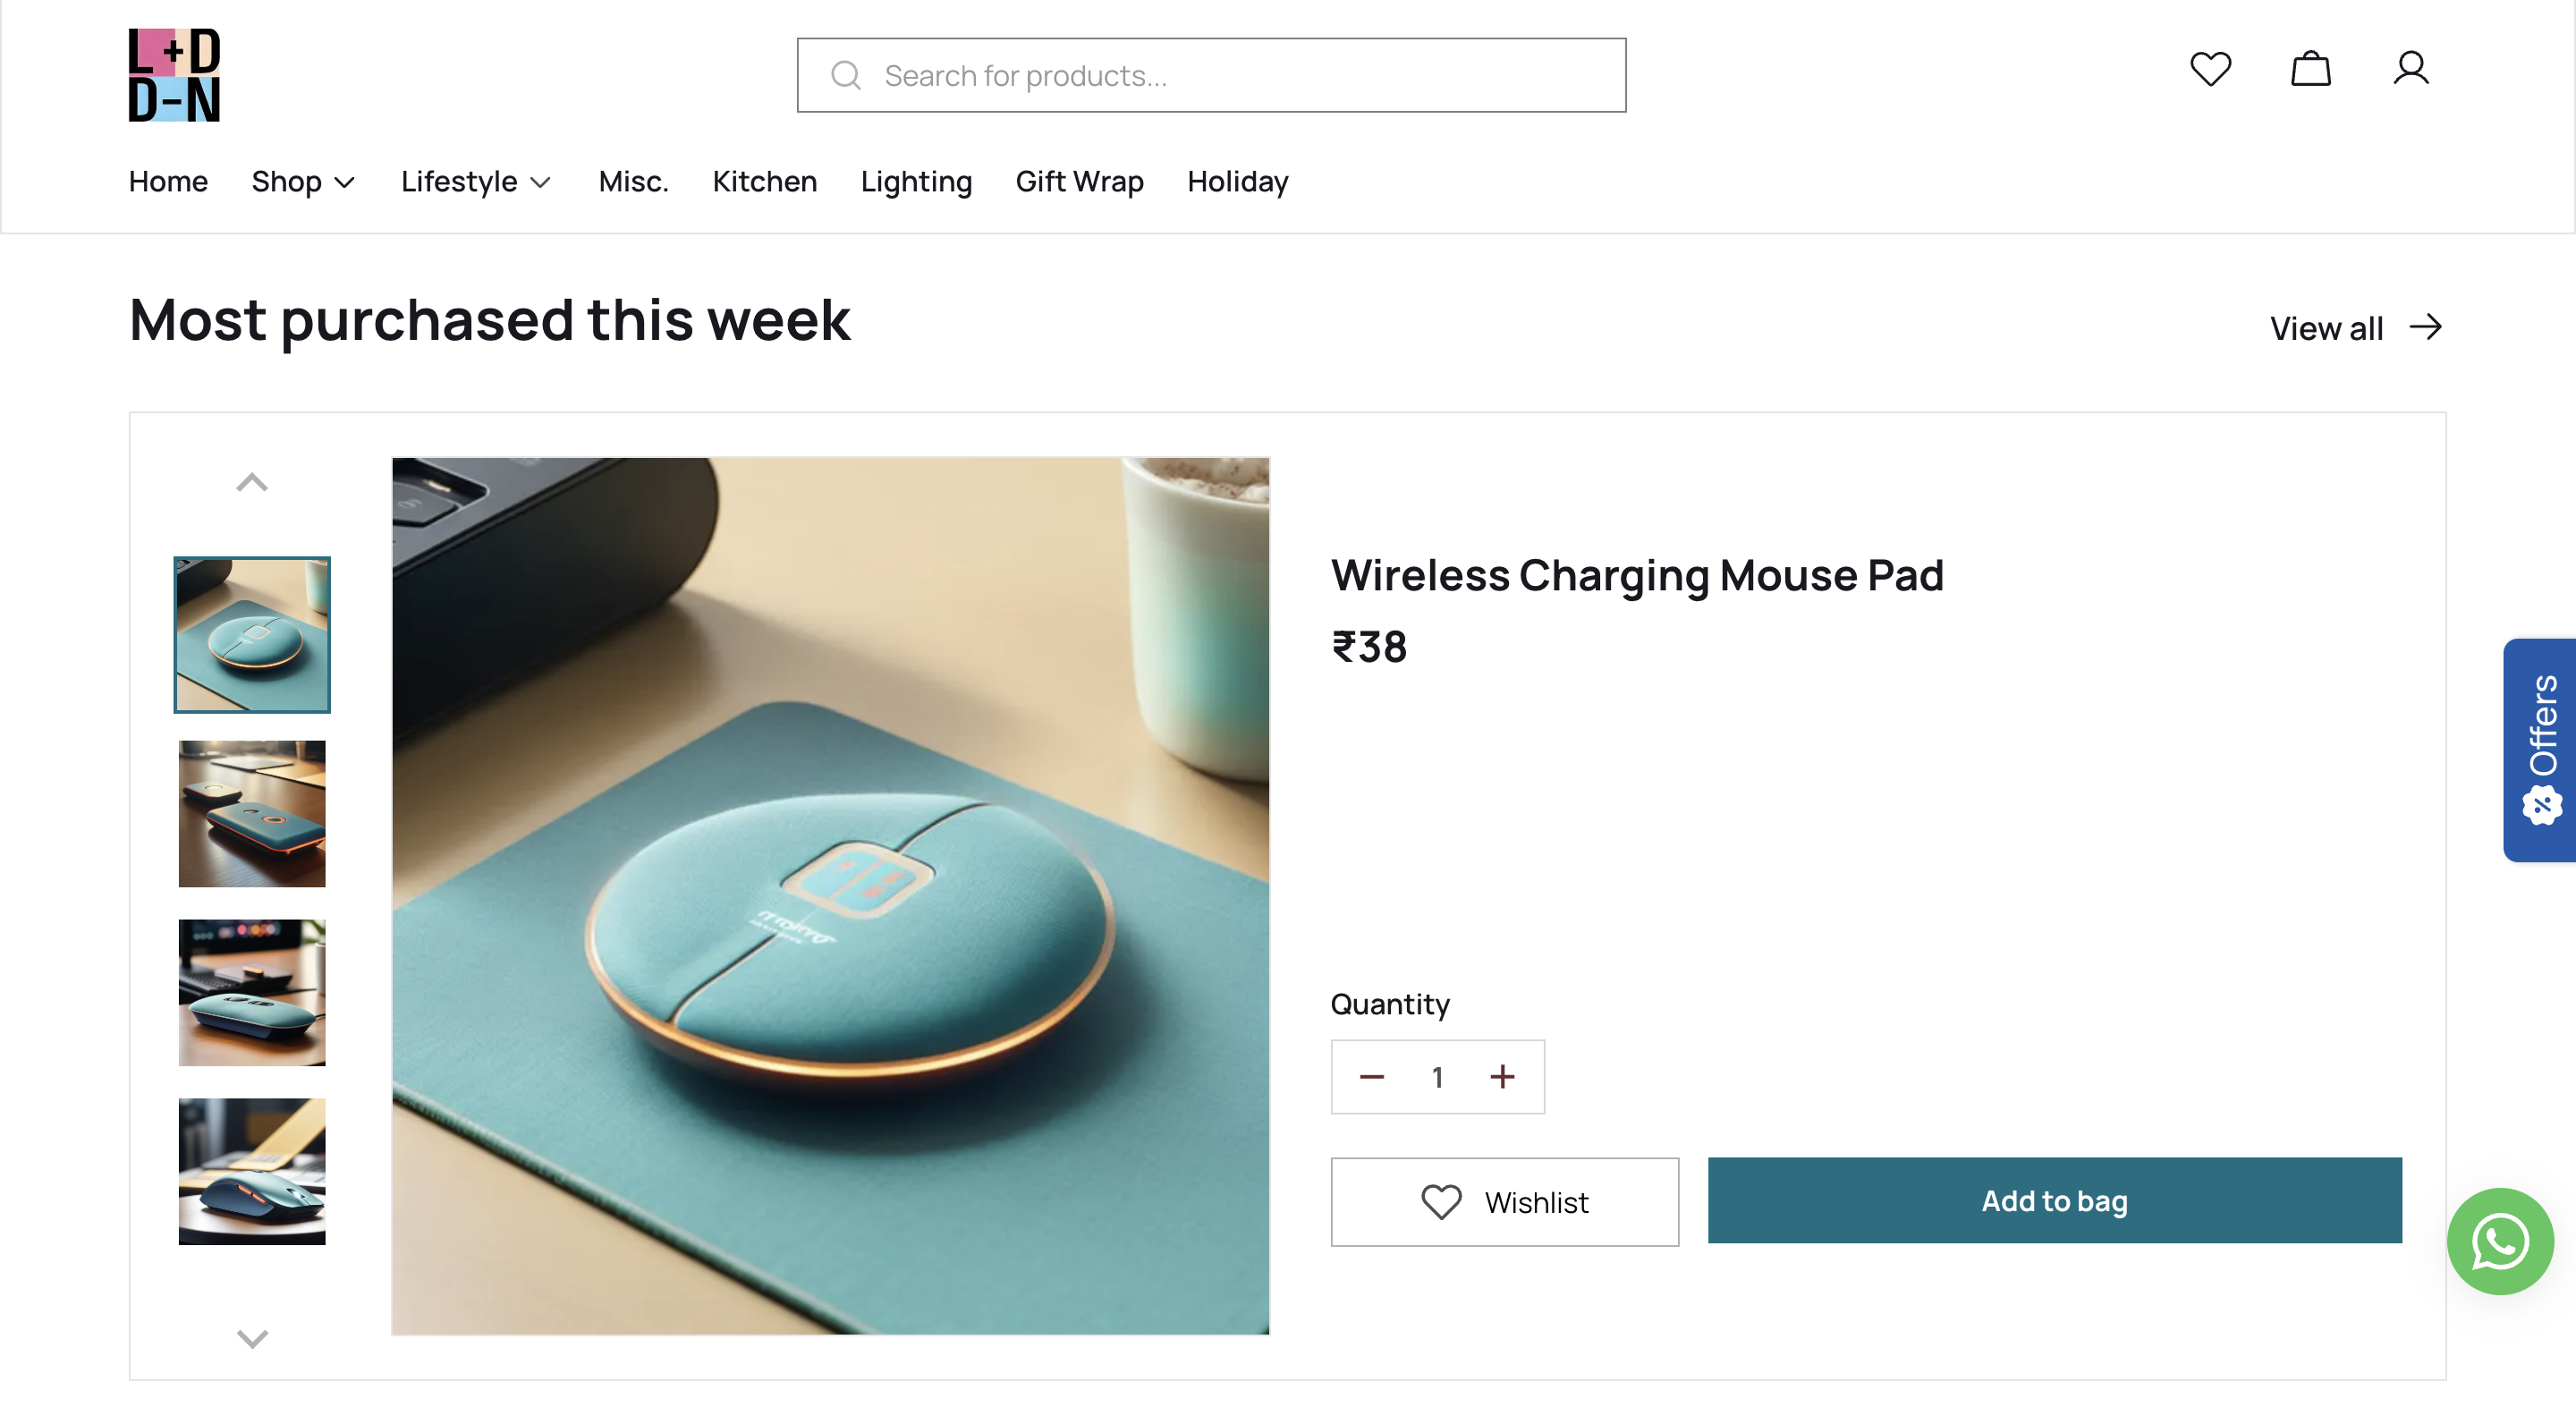
Next comes the featured product section where you will be able to map the title (Most purchased this week, in this case), select the products using the product selector and add a CTA link for it.
Here's how the featured product section looks like on your store.
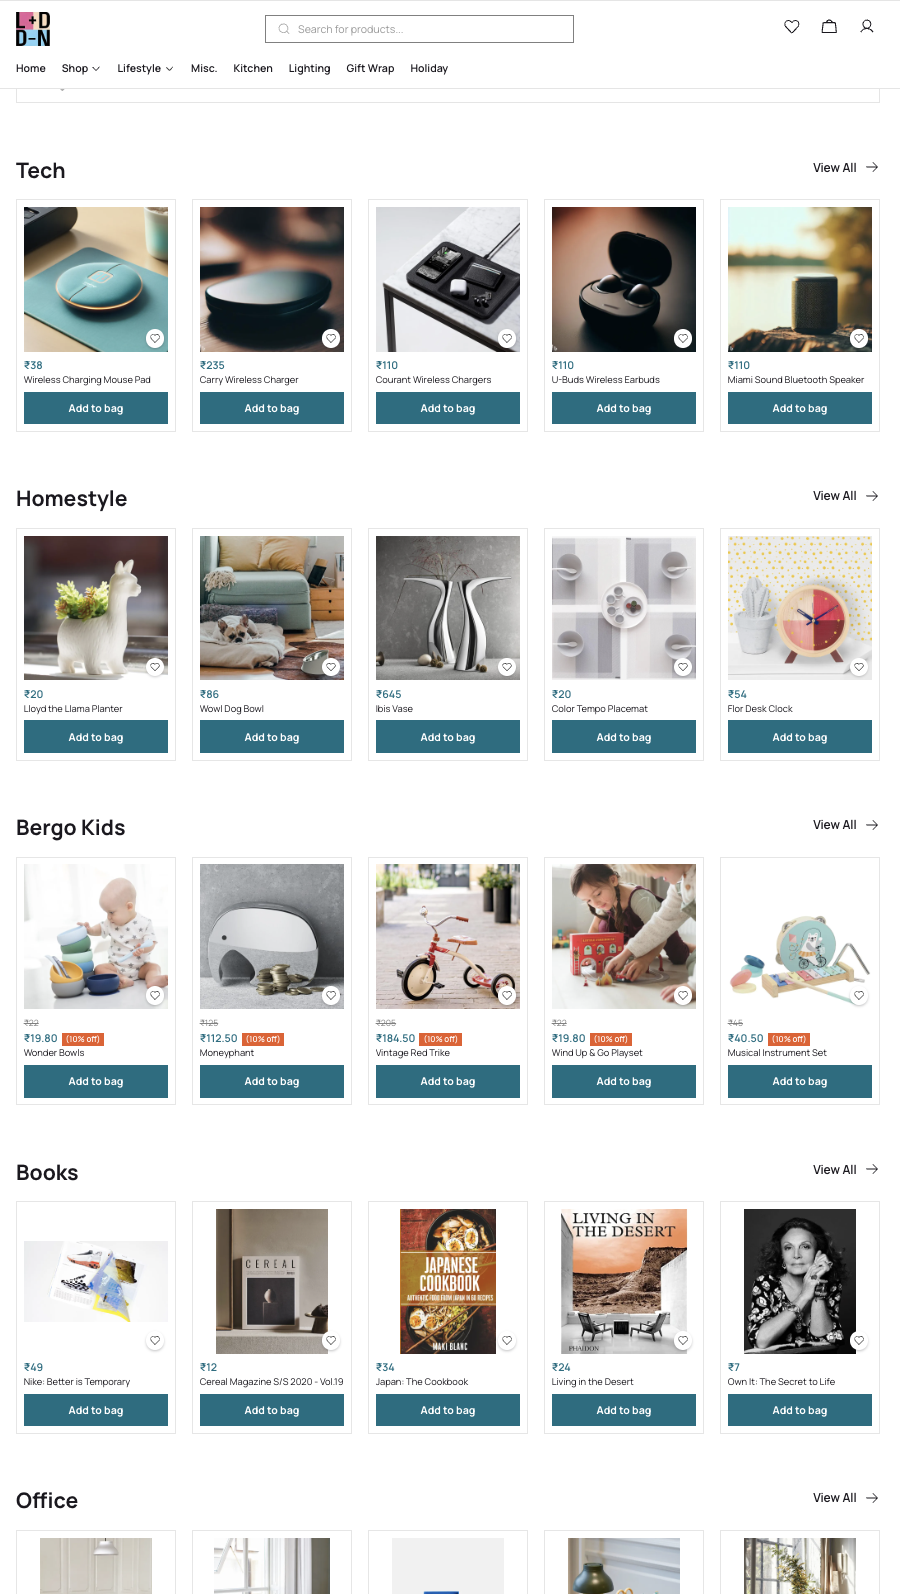
Category product list section
Finally, we have the category product list section that allows you to select the various categories you want to showcase on your homepage.

Simply use the category selector and add them to your store.
Here's what the final output would look like -