The Checkout Form feature helps store owners to capture important details of an order. This feature makes it easy for store owners like you to have the correct information, eliminating the need for manual interventions.
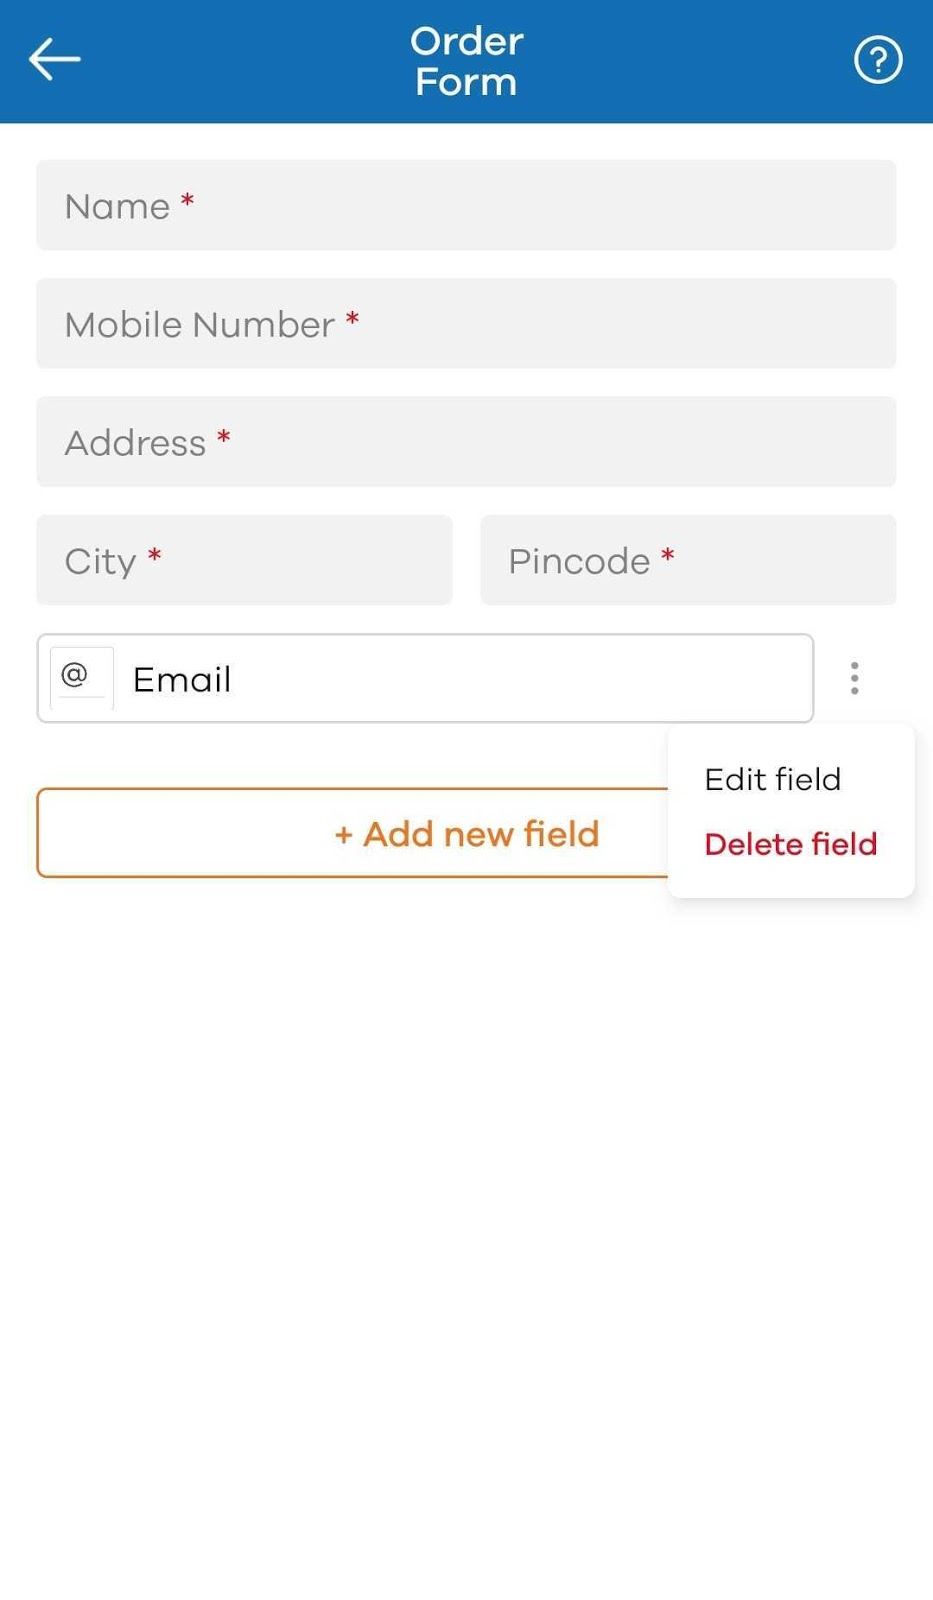
To add a new field to your checkout form, go to Manage and select Checkout. The input fields which are greyed out (like Name, Mobile Number, Address, etc.) are mandatory and can’t be edited.
Click on Add new field to begin.
Here, enter the Field Name. Field Name helps customers understand what information they are required to share. Keep the name of this field easy to understand.
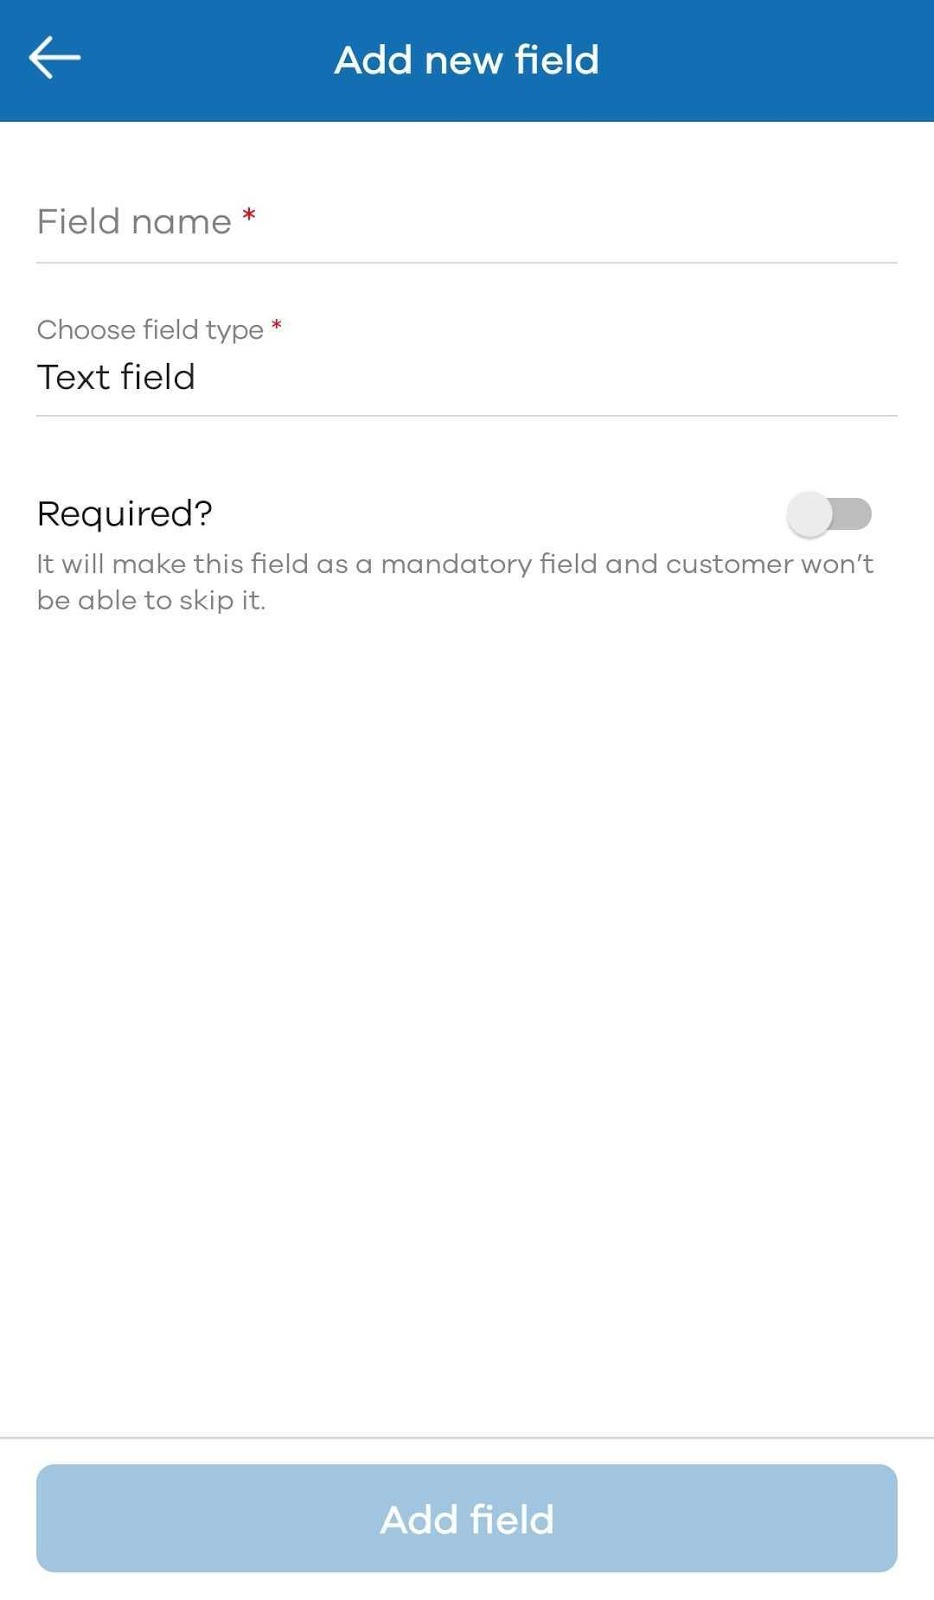
Now, choose Field Type. There are four types of Field Type i.e. Text field, Email, Date picker, Time picker.
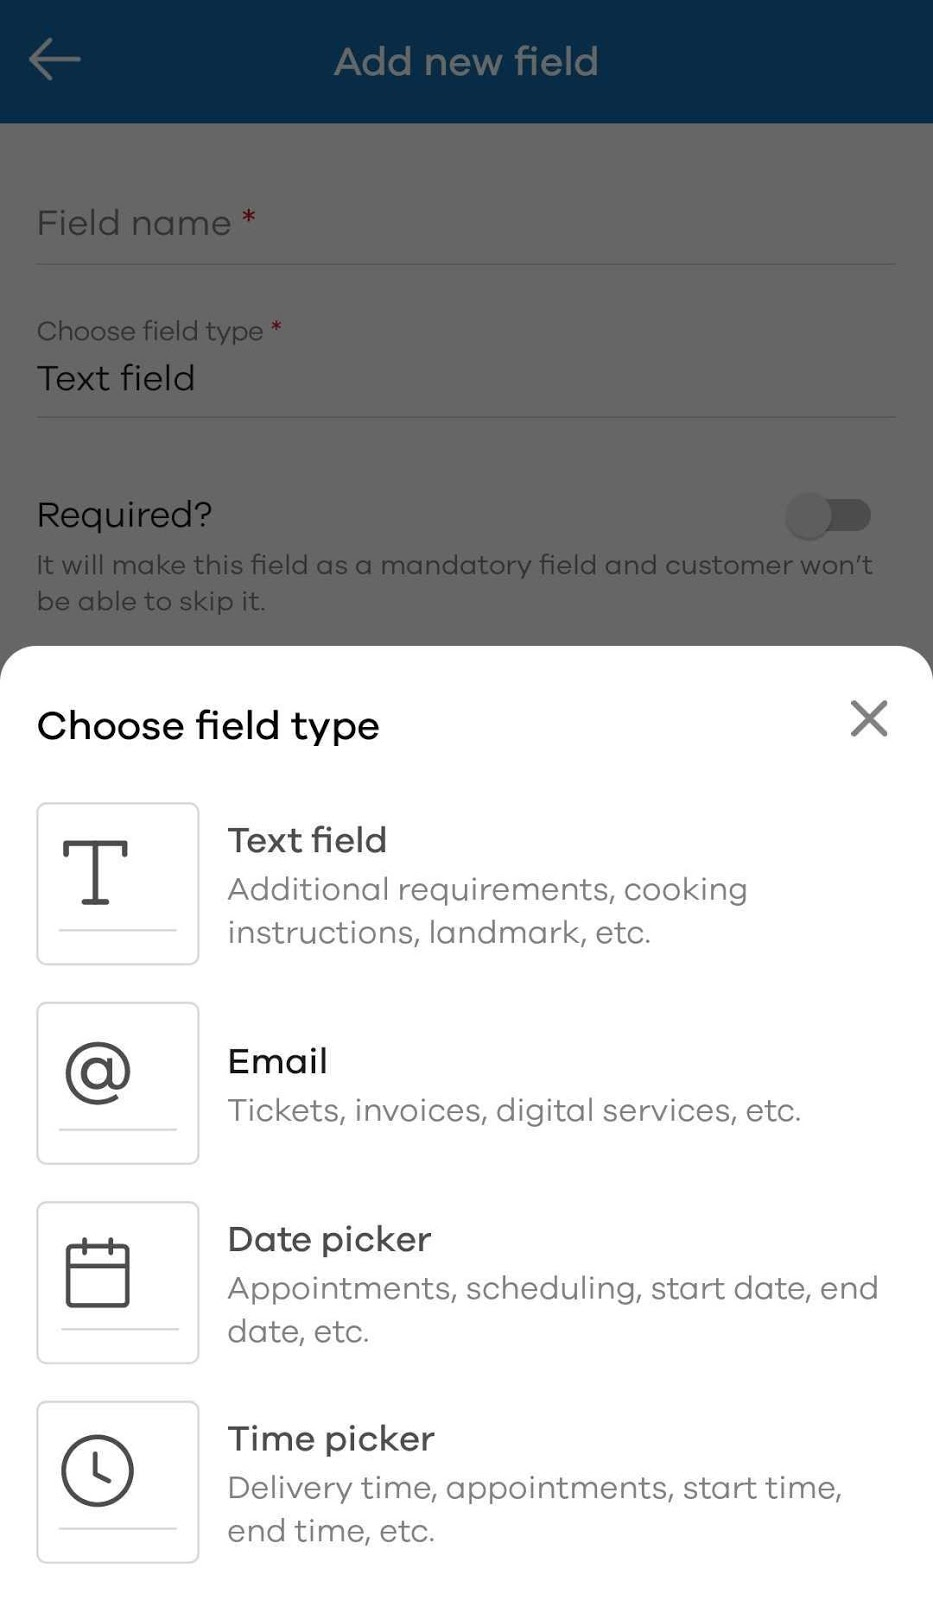
Text field enables customers to add text-based inputs like additional information, landmarks, cooking instructions, etc.
Email helps customers to share their email addresses. If you’re selling digital products or selling tickets online, this can be useful.
Date picker allows customers to pick a specific date for appointments based bookings or scheduling a service.
Time picker allows customers to pick the desired delivery time, appointments, or start time for any service or product.
If you want this field to be mandatory, toggle ON the Required button. Once it is turned ON, your customers have to provide this detail while placing their order and they cannot skip it.
If you don’t want this to be mandatory, turn the toggle OFF. Click on Add field at the bottom to save changes to the field.
To add this field to the Checkout Form, click on the Add field button at the bottom.
You can also delete or edit any field that you’ve created. To edit or delete, click on the three dots button and select the desired option.