With this plugin, you can accept and manage product reviews on store and make it easier for other people to make buying decision.
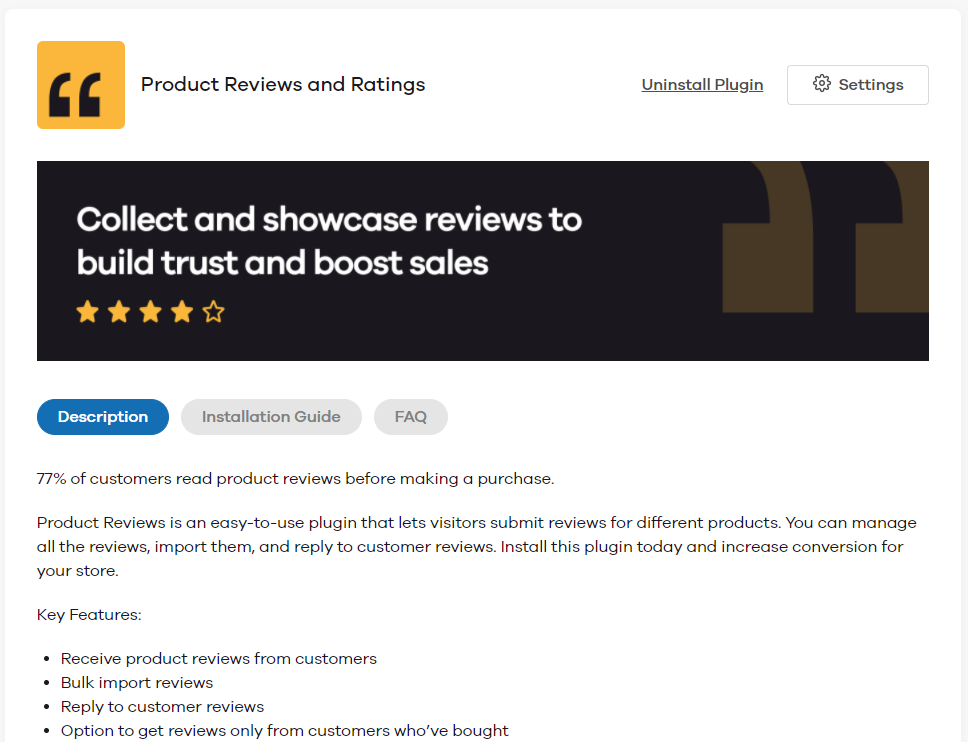
To use this feature, go to Plugins and install Product Reviews and Ratings plugin.
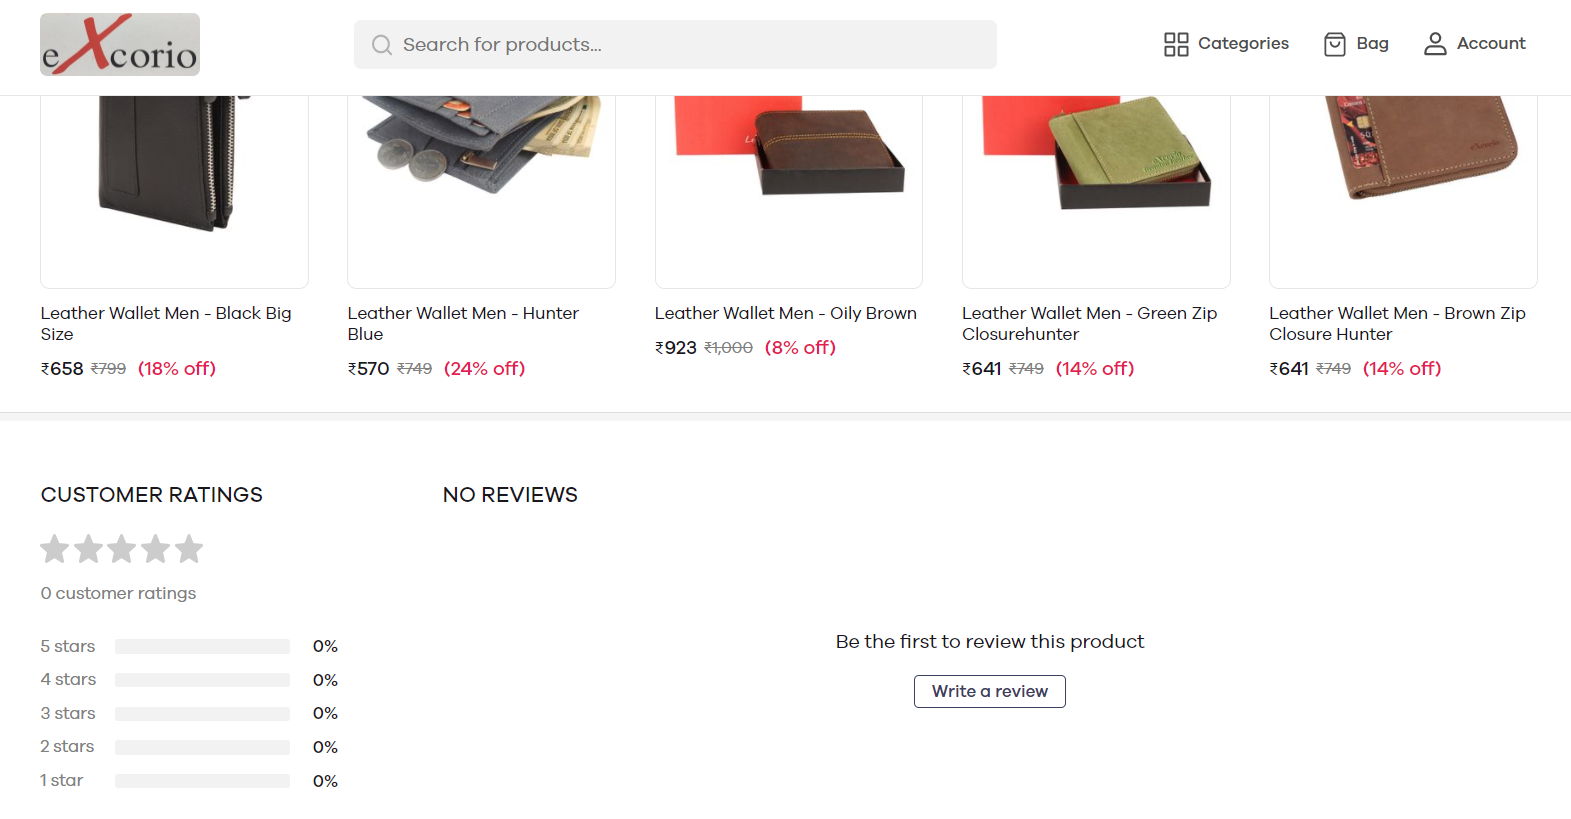
Once you've installed the plugin, customers can leave a review for products on your store. They'll see a Customer Ratings section below the product pages as shown below.
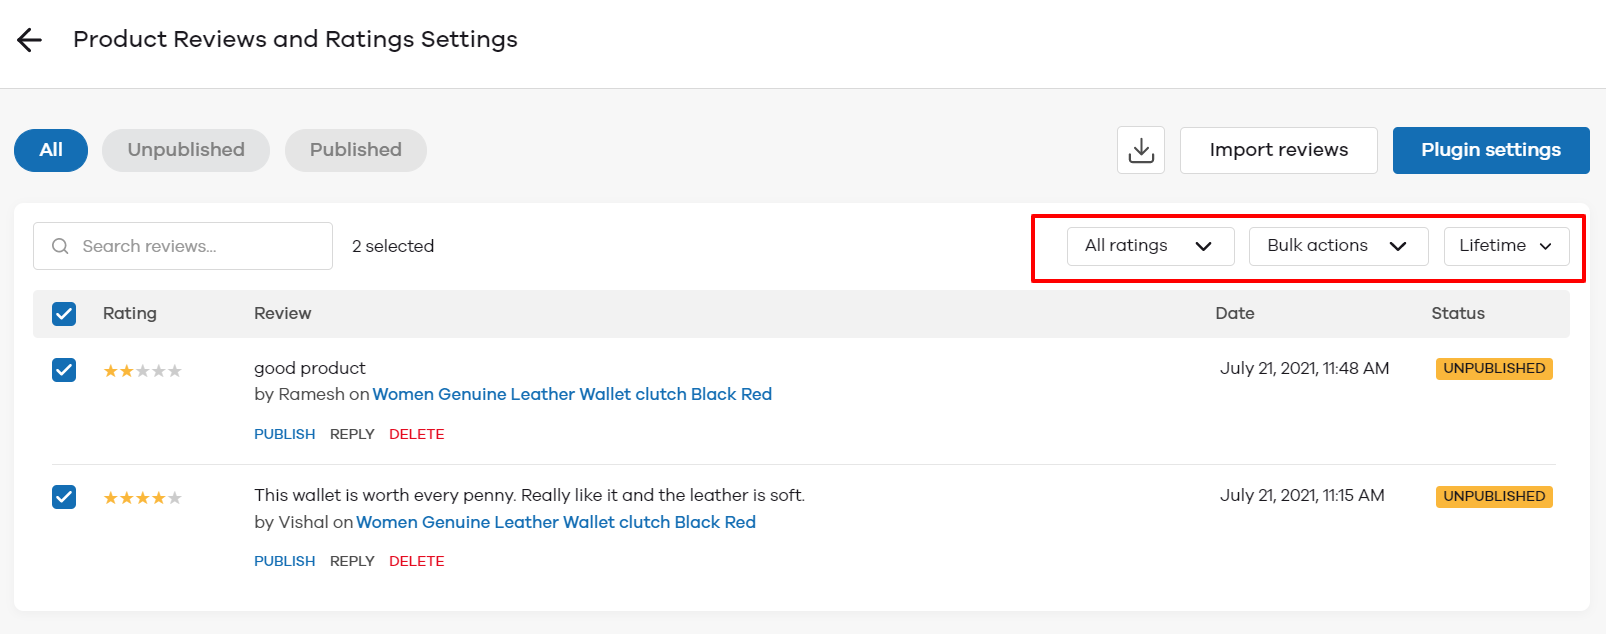
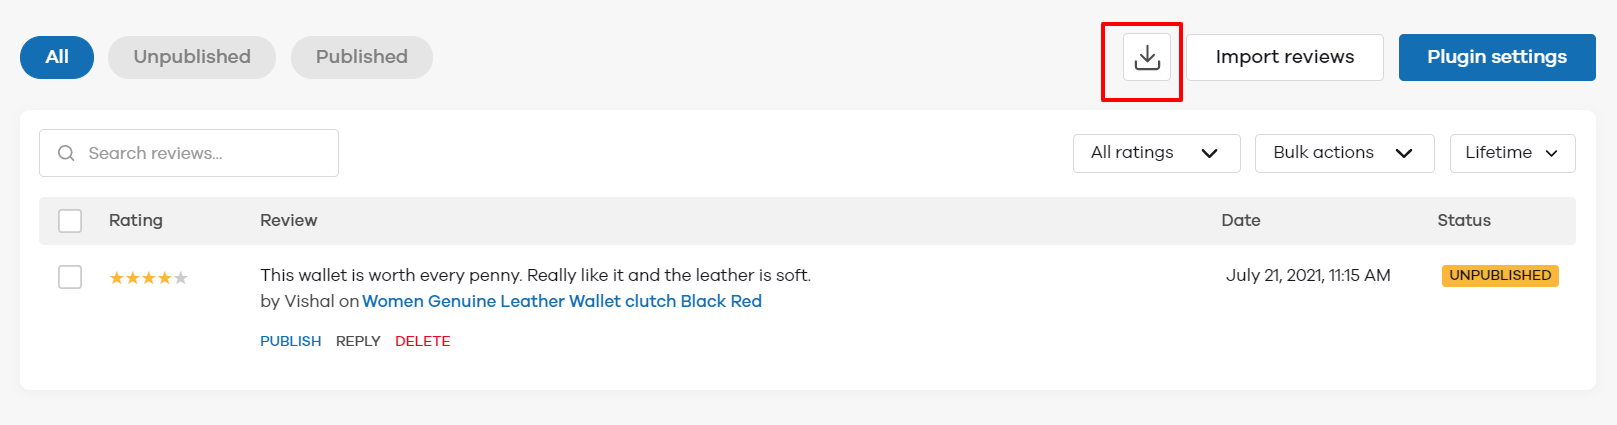
After the plugin is installed you can see the below dashboard. From here, you can see and manage all the reviews that you've received for your products.
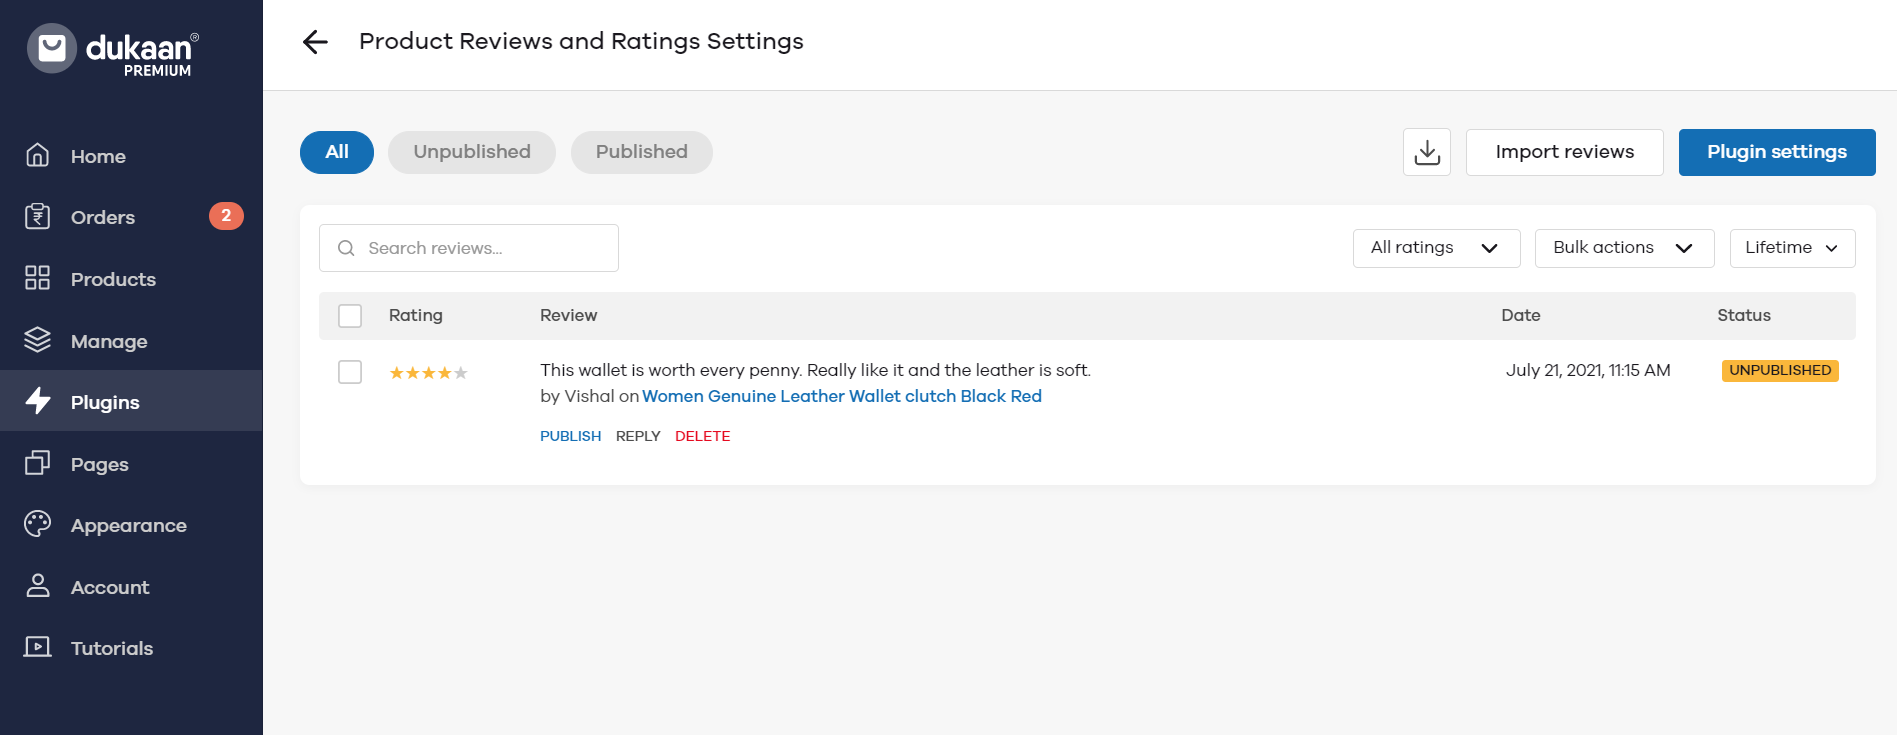
After getting a review and ratings, you can do three actions:
- Publish - When you click on this, the review will be shown on your product page.
- Reply - When you click on this, you can reply to a customer's review for further questions.
- Delete - You can also delete a review from the store or even before publishing.
You can also Download all the reviews by clicking on the button shown below.
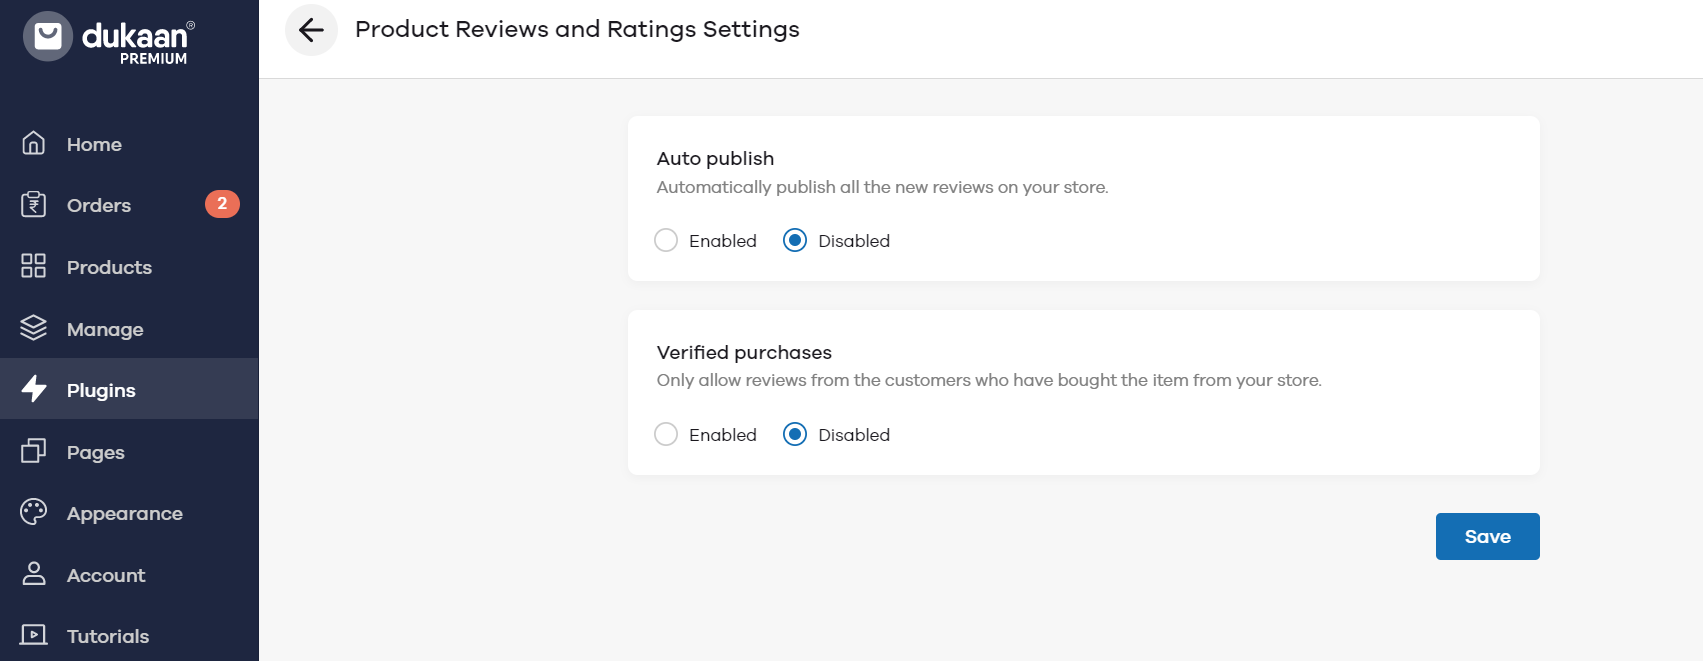
To manage the reviews settings, click on the Plugin settings button. There are two options which you can manage here:
- Auto Publish - If Auto publish is enabled, reviews & ratings will automatically be shown to your store. If you want to manually approve the reviews, Disable auto publish.
- Verified Purchases - If you enable this option, only customers who've bought from your store can leave a review and rating.
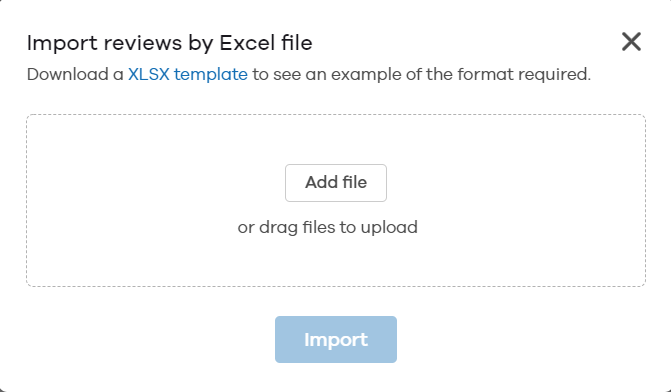
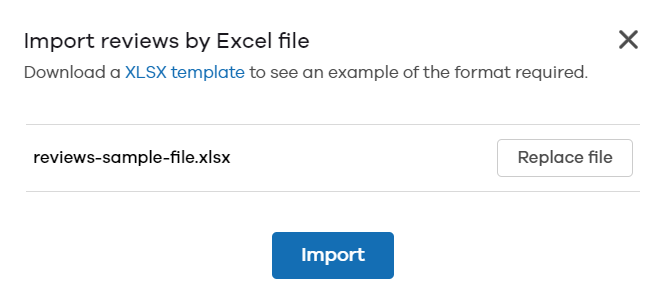
If you want to import reviews from other platforms, you can do that as well. Click on the Import Reviews button. Now, download the XLSX template to see how you can add review details before uploading to your store.
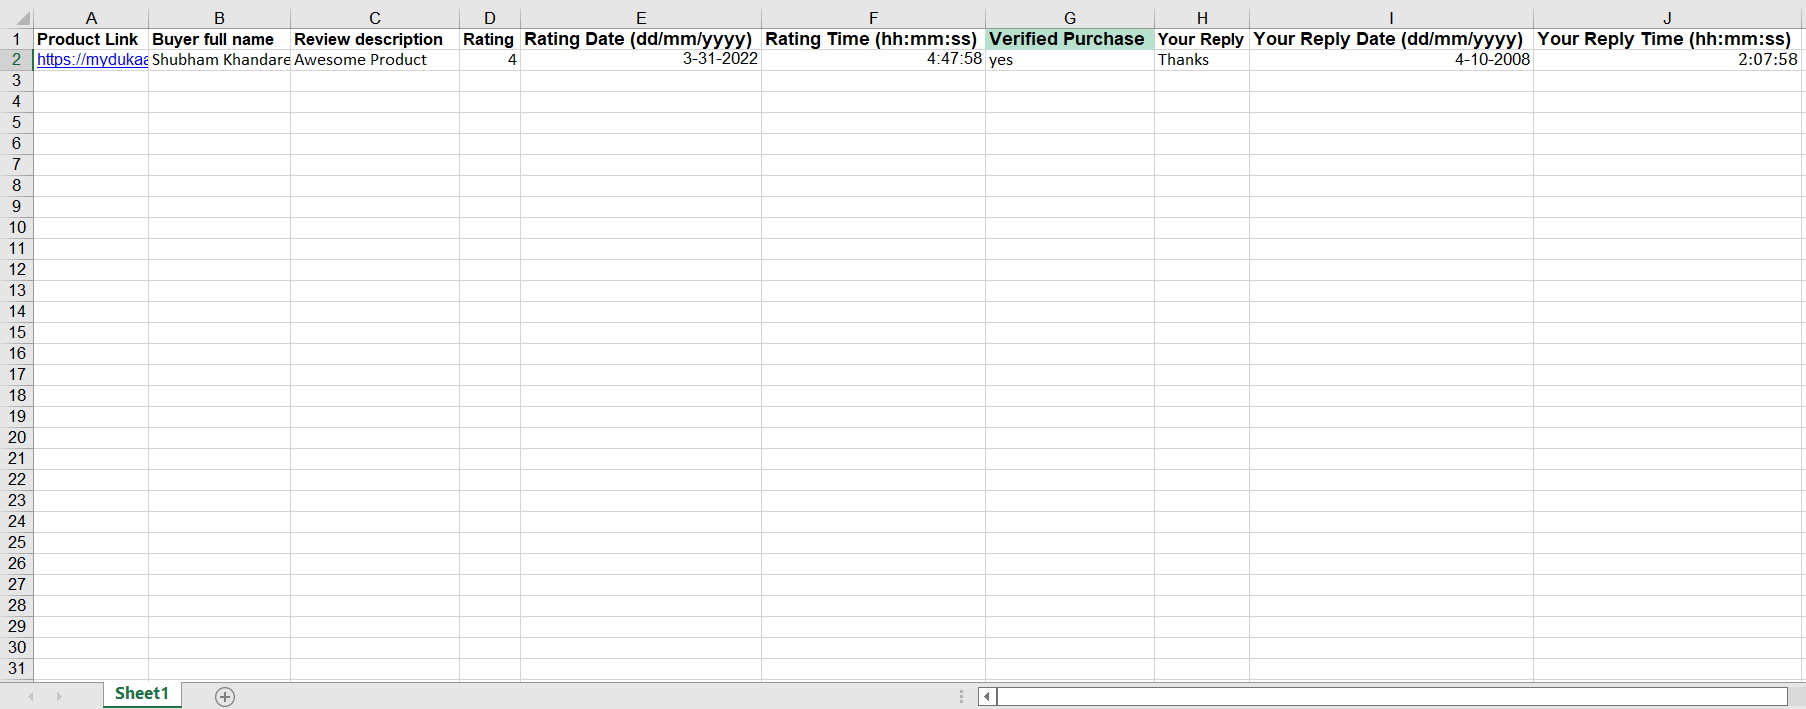
Open the template once you've downloaded it. You'll see ten columns:
- Product Link - Copy and paste the product page link for which you want to import reviews
- Buyer Full Name- Enter the buyer's name
- Review Description - Enter the product review here
- Rating - Rate the product from 1 to 5
- Rating Date - Enter the date for the review here
- Rating Time - Enter the time for the review here
- Verified Purchase - Choose from 'yes' or 'no' if the review is by customers who bought from your store
- Your Reply - If you want to add a reply to this review, add here
- Your Reply Date - If you want to add a date for when you replied to the review, add here
- Your Reply Time - If you want to add a time for when you replied to the review, add here
After adding the details, save the file. Now click on Add file button and click on Import.
You can also use the filters to sort through the reviews and can take bulk actions to publish, unpublish and delete multiple reviews with one click.