You can use this to display newly added pages, to display categories or products, to create a drop-down menu, and to direct your customers to a custom link.
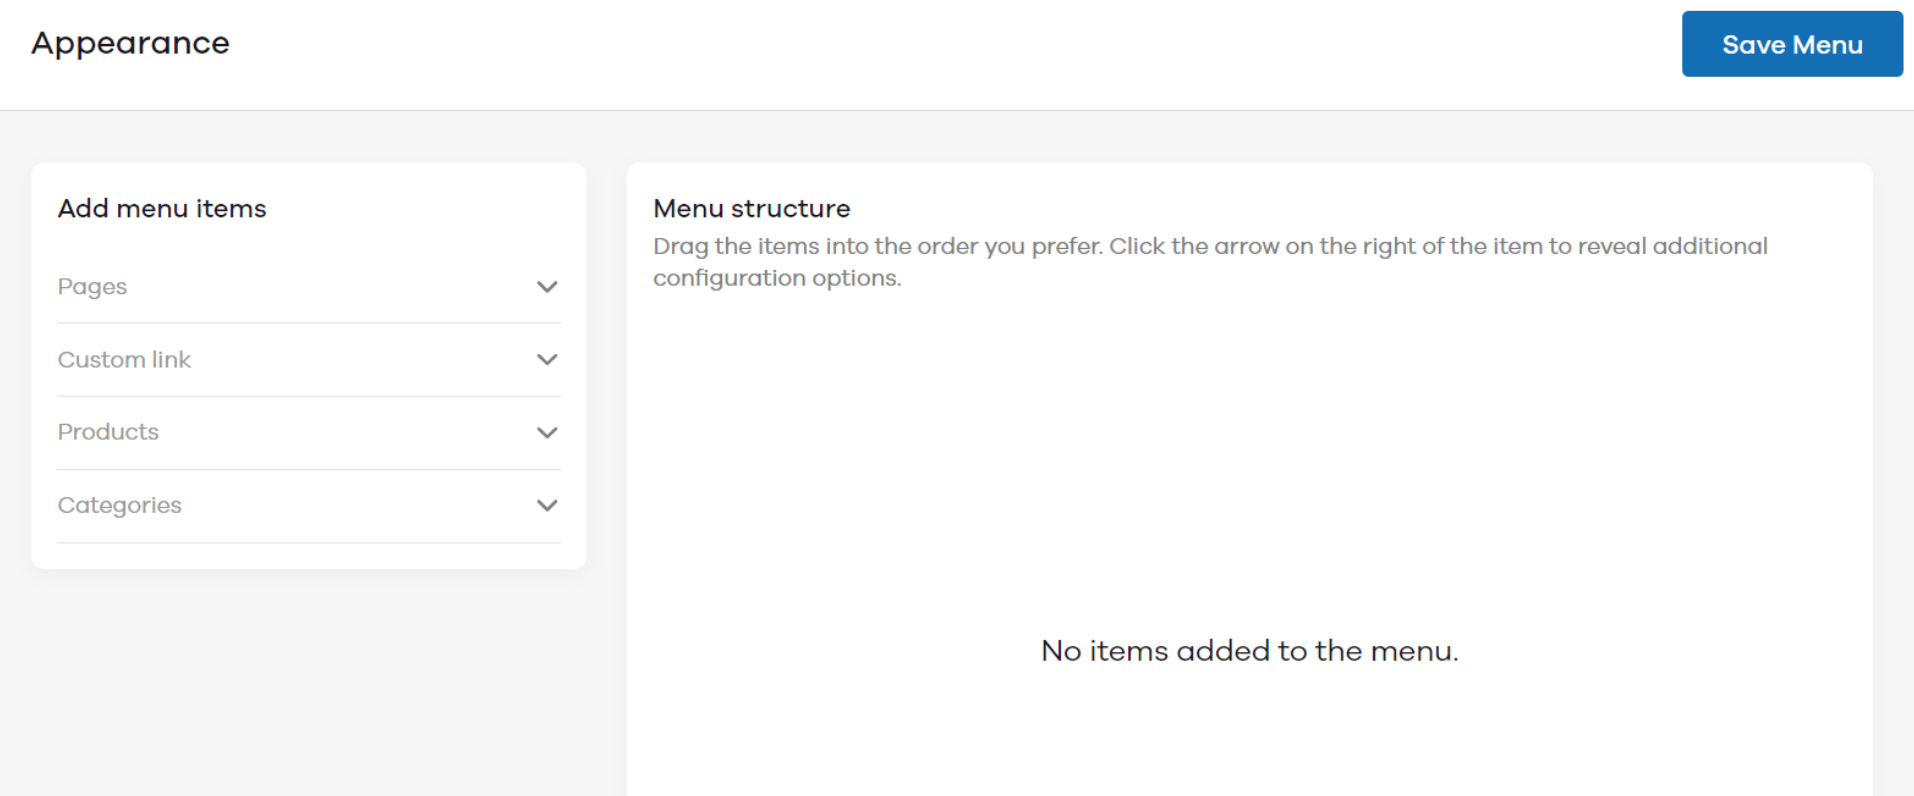
Let’s deep dive and see how all this can be done with Appearance. To begin, log in to your Dukaan Store from a laptop/desktop, click on Appearance and click on Menu.
You’ll see the below screen. Here, you can organize your navigation bar structure either through pages, custom links, products, or categories.
- Custom Link
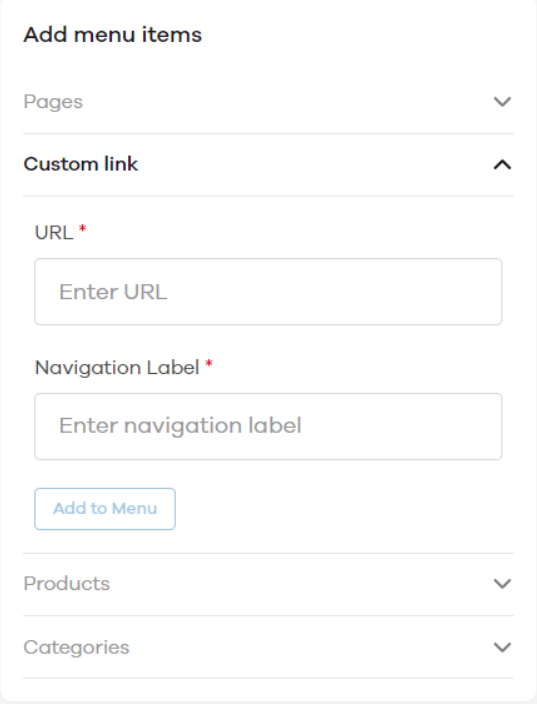
This option allows you to add any custom link to the navigation bar important for your business. Customers can click on this link and it will take them to the respective page, be it your Google Map’s location link or the brand’s video on YouTube.
To add a custom link, enter the URL (link) where you direct the customer. Now give a name to Navigation Label. This label makes it easy for customers to understand what this link is about. Once done, click on the Add to Menu button.
- Products
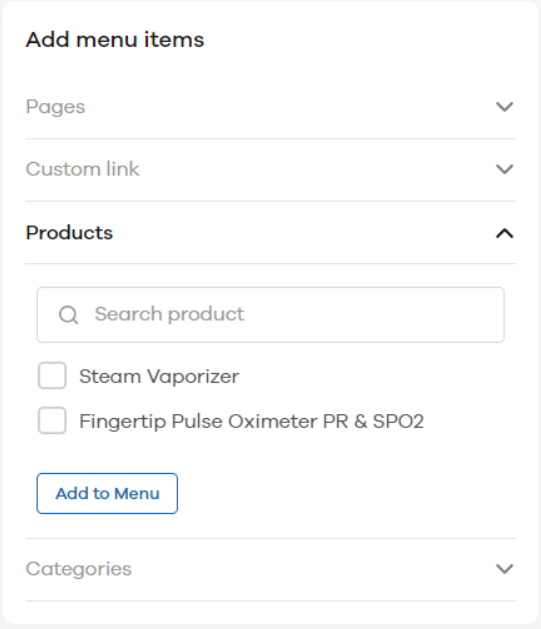
This option allows you to add products to your navigation bar. Here you can add your best-selling products or newly launched products so that customers can quickly find them without having to search for them. All the products added to your store will be shown here and you can choose among them.
To add the product to the navigation bar, click on the Products section. Select the product that you want to add (you can select multiple products). Click on Add to Menu to complete.
- Categories
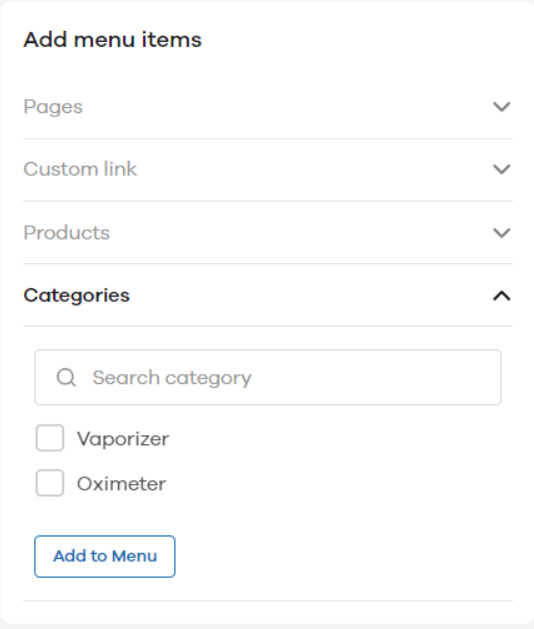
This option allows you to add categories to the navigation bar. Here you can display your top categories and can nest top products within that category to create a drop-down menu. All the categories added to your store will be shown here and you can choose among them.
To add the category to the navigation bar, click on the Categories section. Select the category that you want to add (you can select multiple categories). Click on Add to Menu to complete.
- Delete Item
If you want to delete a page, product, or category, you can do it too. For example, if you want to remove the About Us page from the navigation bar, under the Menu Structure section, click on the About Us. Now, click on the Remove button to remove it from the navigation bar.

- Nesting Items (drop-down menu)
As mentioned earlier, you can nest items under different items to create a drop-down menu. You can nest products under categories or pages under different pages to create the desired structure.
For example, we want to nest a product under the category. Here category would be a Parent item and the product would be a Child item. Now to add a product under the category, click and hold the product name and then drag it to the right under the category name. This will nest the product under the category.
- Arranging the Items
You can also set the order of items in which you want to display them on the navigation bar. To arrange any item, click and hold and then drag them up or down to change their position. For example, I want to display the page About Us first in the navigation bar. So I dragged it to the top and it’s done.
Once you’re done making changes as per your requirements, make sure to click on the Save Menu buttons to save all the changes.
How does the navigation bar look like?
Once you have saved the changes, open your Dukaan Store link to see it in action. Once you open it, you can see a black navigation bar on the top. This navigation bar displays all the items be it products, categories, pages, or custom links here.