Managing your business can be time-consuming when you have a thriving eCommerce store.
For customers to receive their orders as quickly as possible, it is essential to keep track of products, and orders and process them efficiently. Adding tags can be a great way to efficiently track the orders internally.
What is a custom tag?
A ‘Tag’ is a text label that you can add to an order product or a customer to identify and filter them based on specific tags.
It allows you to create and add custom tags to your orders, products or customers.
Tagging is a good way to organize and know details for faster accessibility.
Examples of Custom Tags:
- Order Tages: With order tags, you can tag orders based on the sales channel you’ve received the order from like ‘Offline’, ‘Instagram’, ‘WhatsApp’, ‘Anniversary Sale’, etc.
- Customer Tags: You can tag customers based on their shopping history or personal details like if you’ve a customer that you know ordered during a specific sale or is your family friend.
- Product Tags: You can tag products based on their gender like - Unisex, Male, Female, etc.
There are no limits on the number of tags you can create and assign.
Note: This tag is only for your reference and is not visible to the customer.
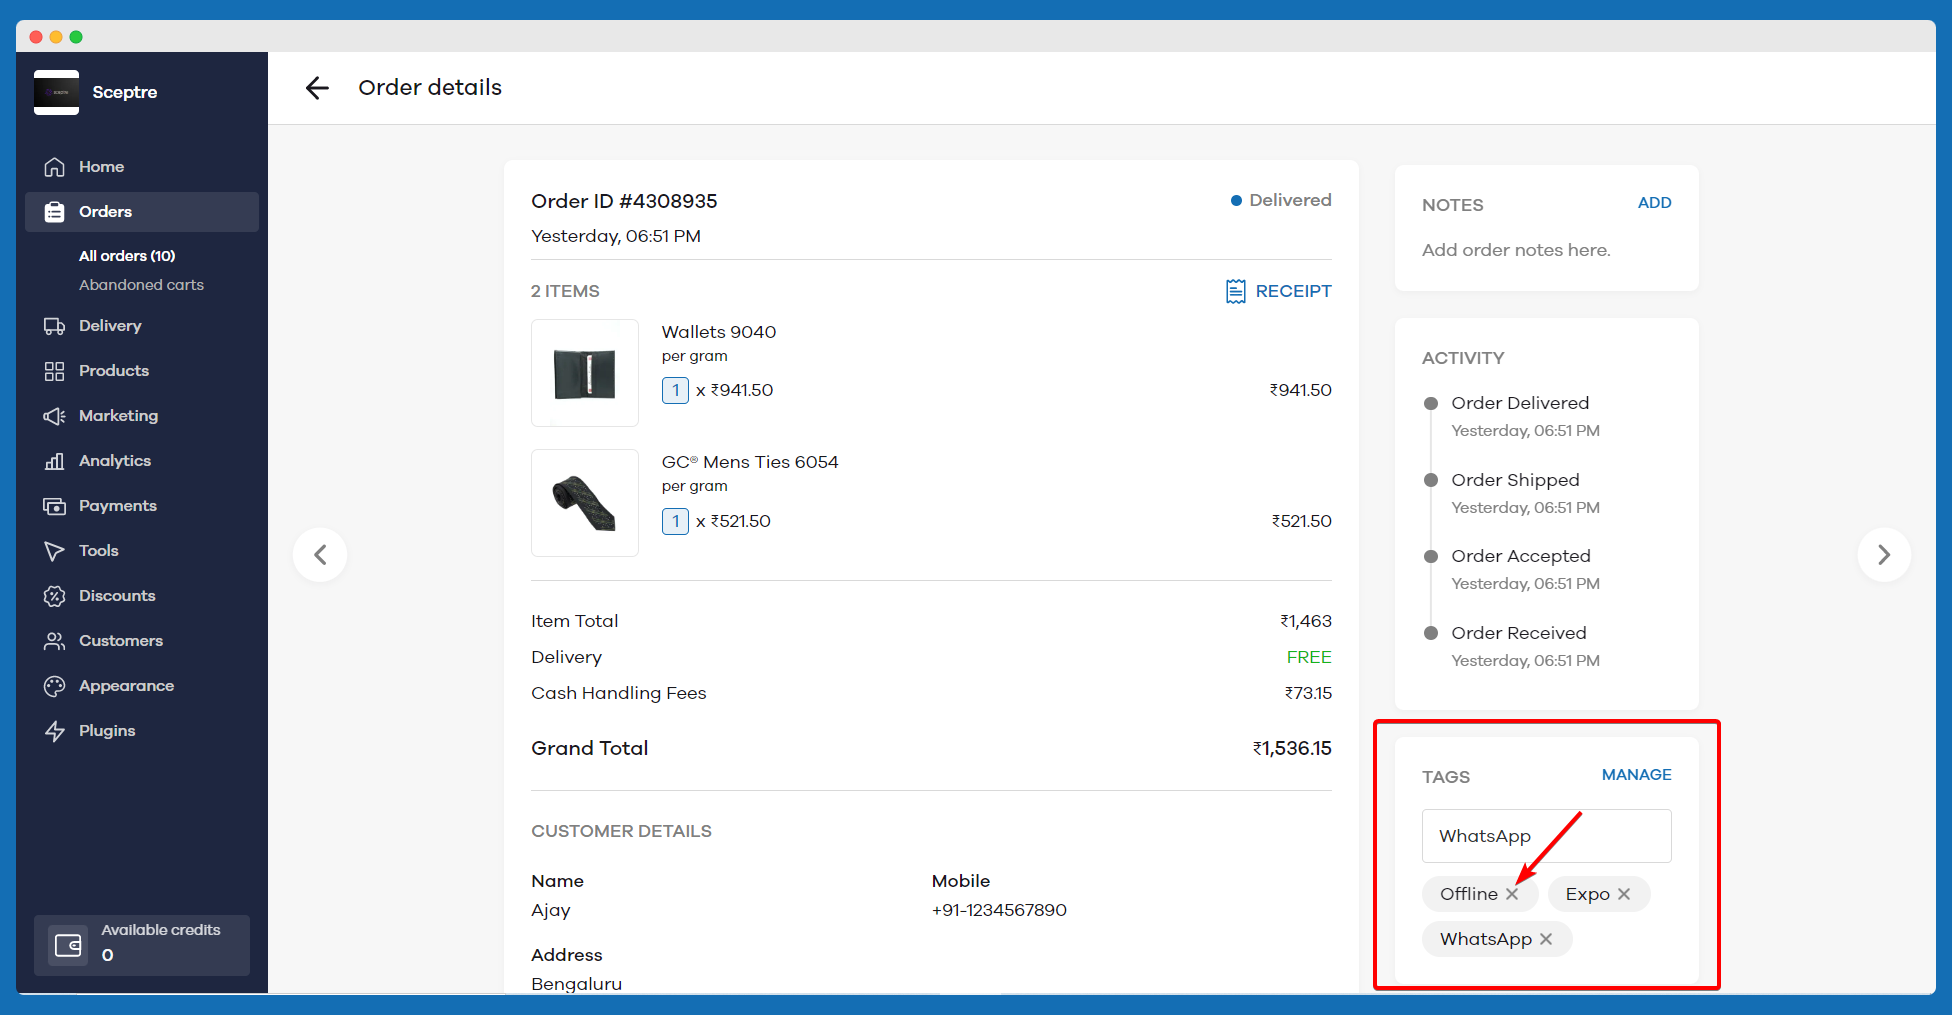
How to add custom tags to orders?
1. First, open the order you’d like to add a tag.
2. Next, in the Tags section, enter your desired tag name and click on the “Add” button.
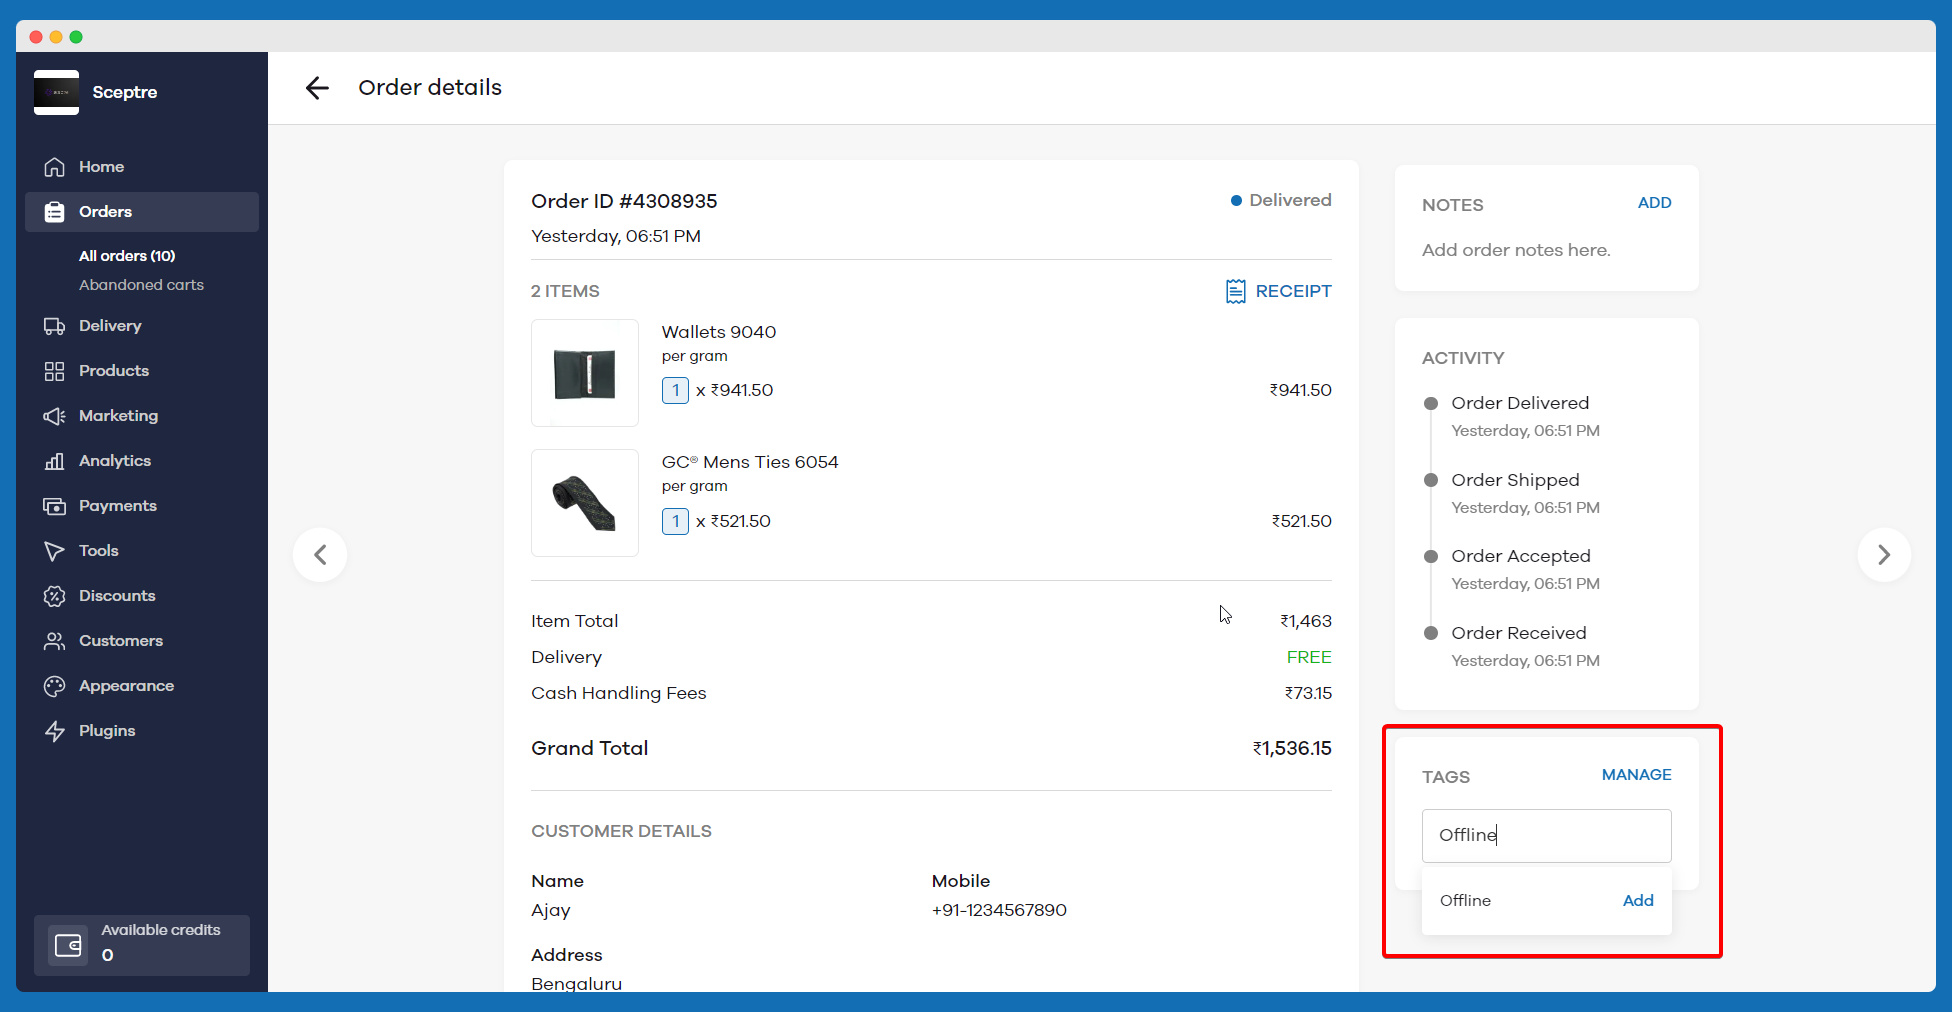
3. You can add multiple tags by repeating the same above step.

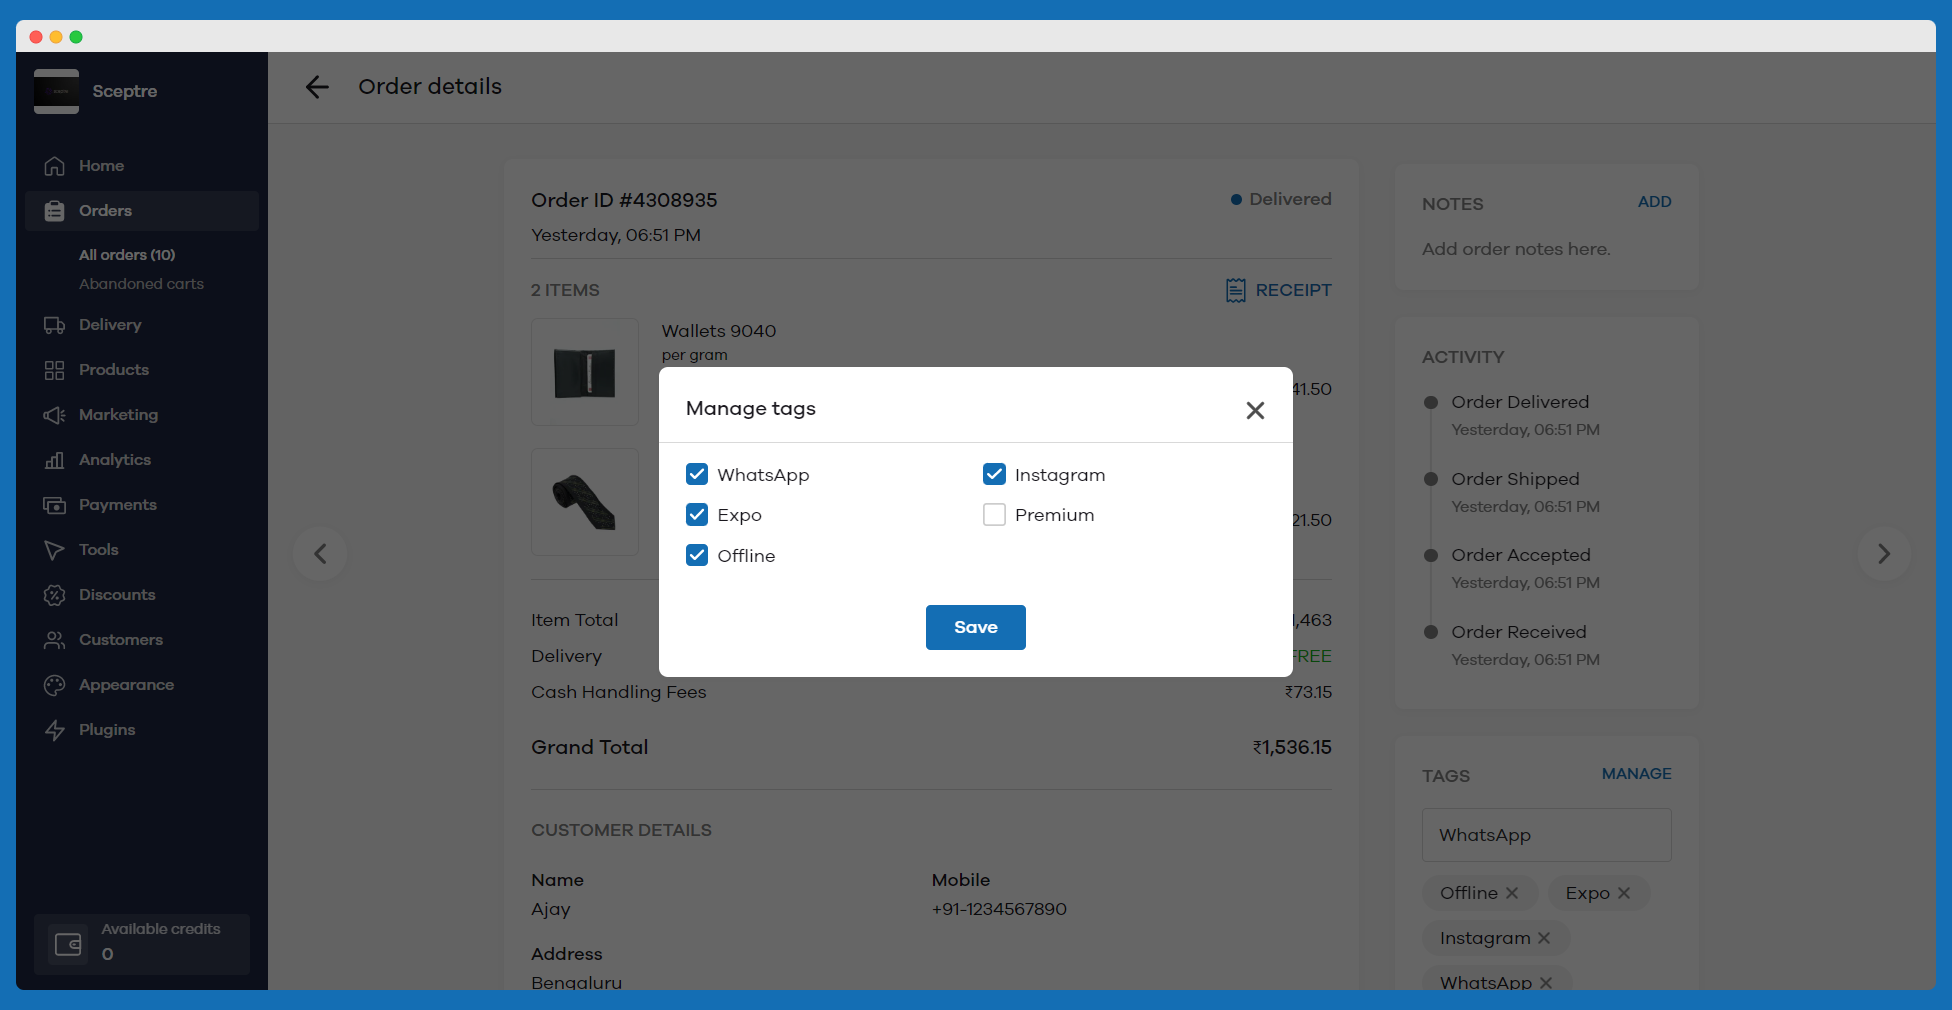
4. Once the order tag has been created, you can always click on “Manage” section and add multiple tags to the order.
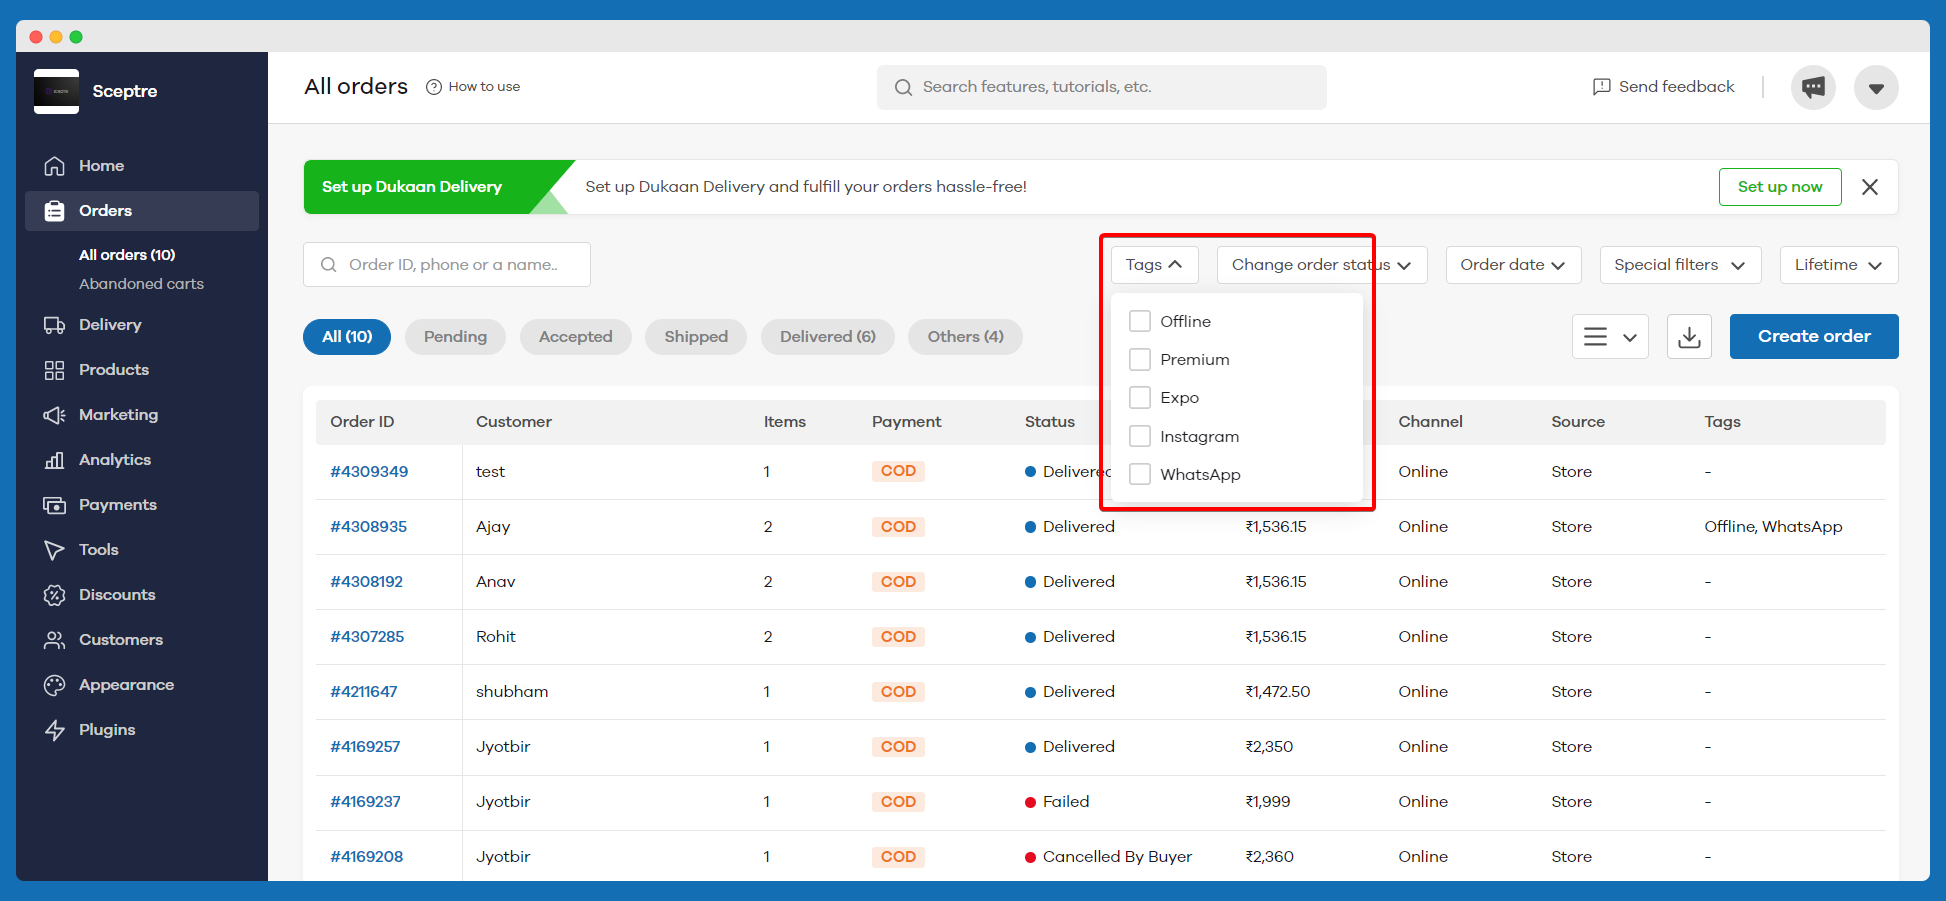
You can now filter the orders based on the tags that you've assigned from the orders page as shown in the below screenshot.
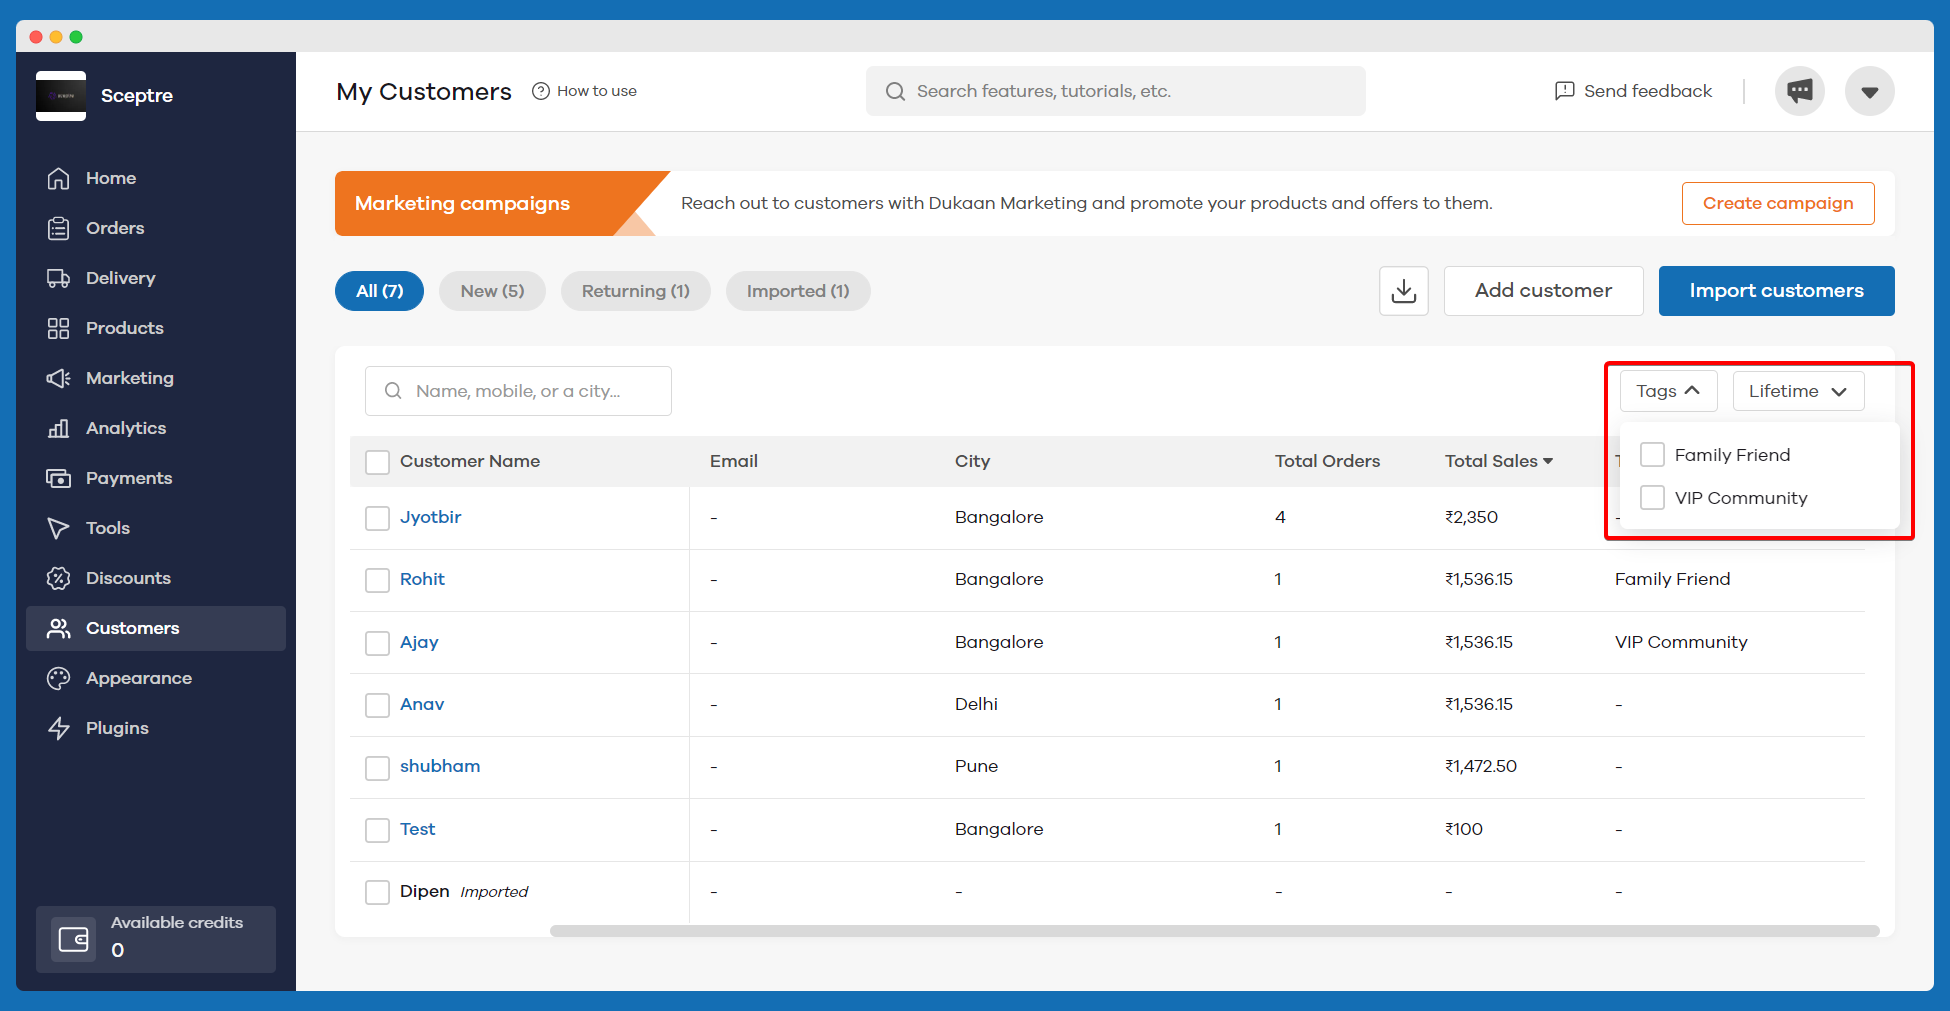
How to add custom tags to customers?
1. First, go to the “Customers” section and select the customer you’d like to add a tag to.
2. Next, in the Tags section, enter your desired tag name and click on the “Add” button.
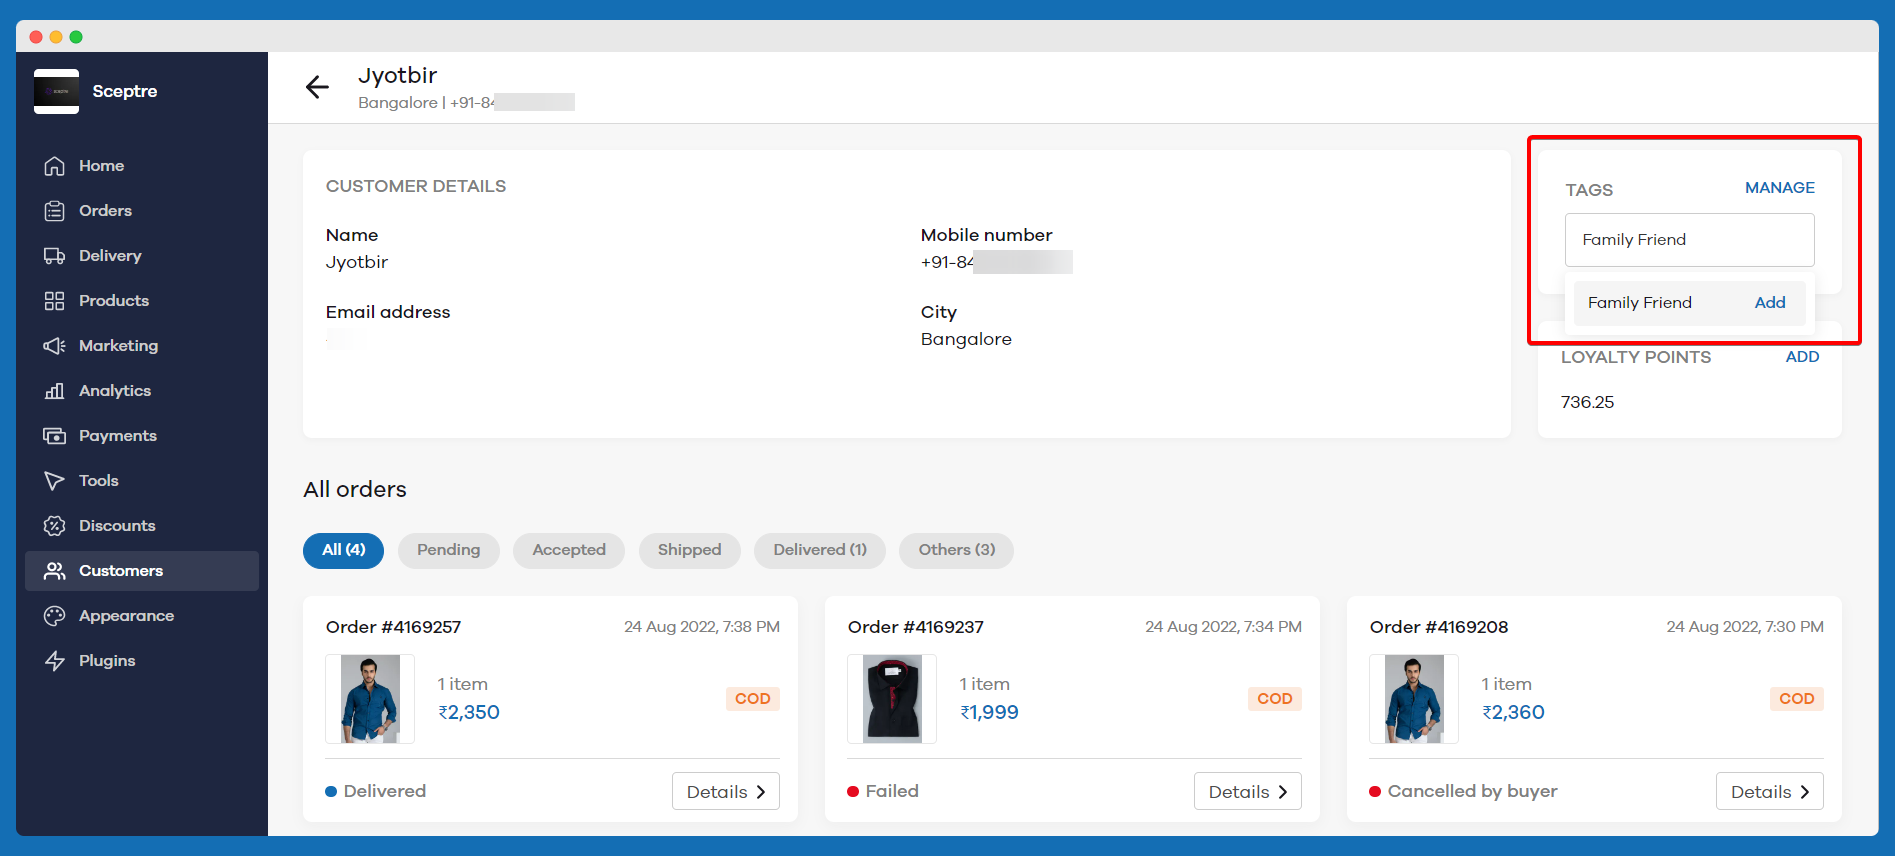
3. You can add multiple tags by repeating the same above step.
4. Once the customer tag has been created, you can always click on the “Manage” section and add multiple tags to the customer.
You can now filter customers based on the tags that you've assigned from the customer's page as shown in the below screenshot.

How to add custom tags to products?
Note: If you’re unable to see this option kindly enable the Advanced Catalogue feature from Store Settings.
1. First, go to the “Products” section and select the product you’d like to add a tag to.
2. Next, in the additional information section go to Tags and enter your desired tag name
3. Click on the “Add” button to confirm adding the custom product tag
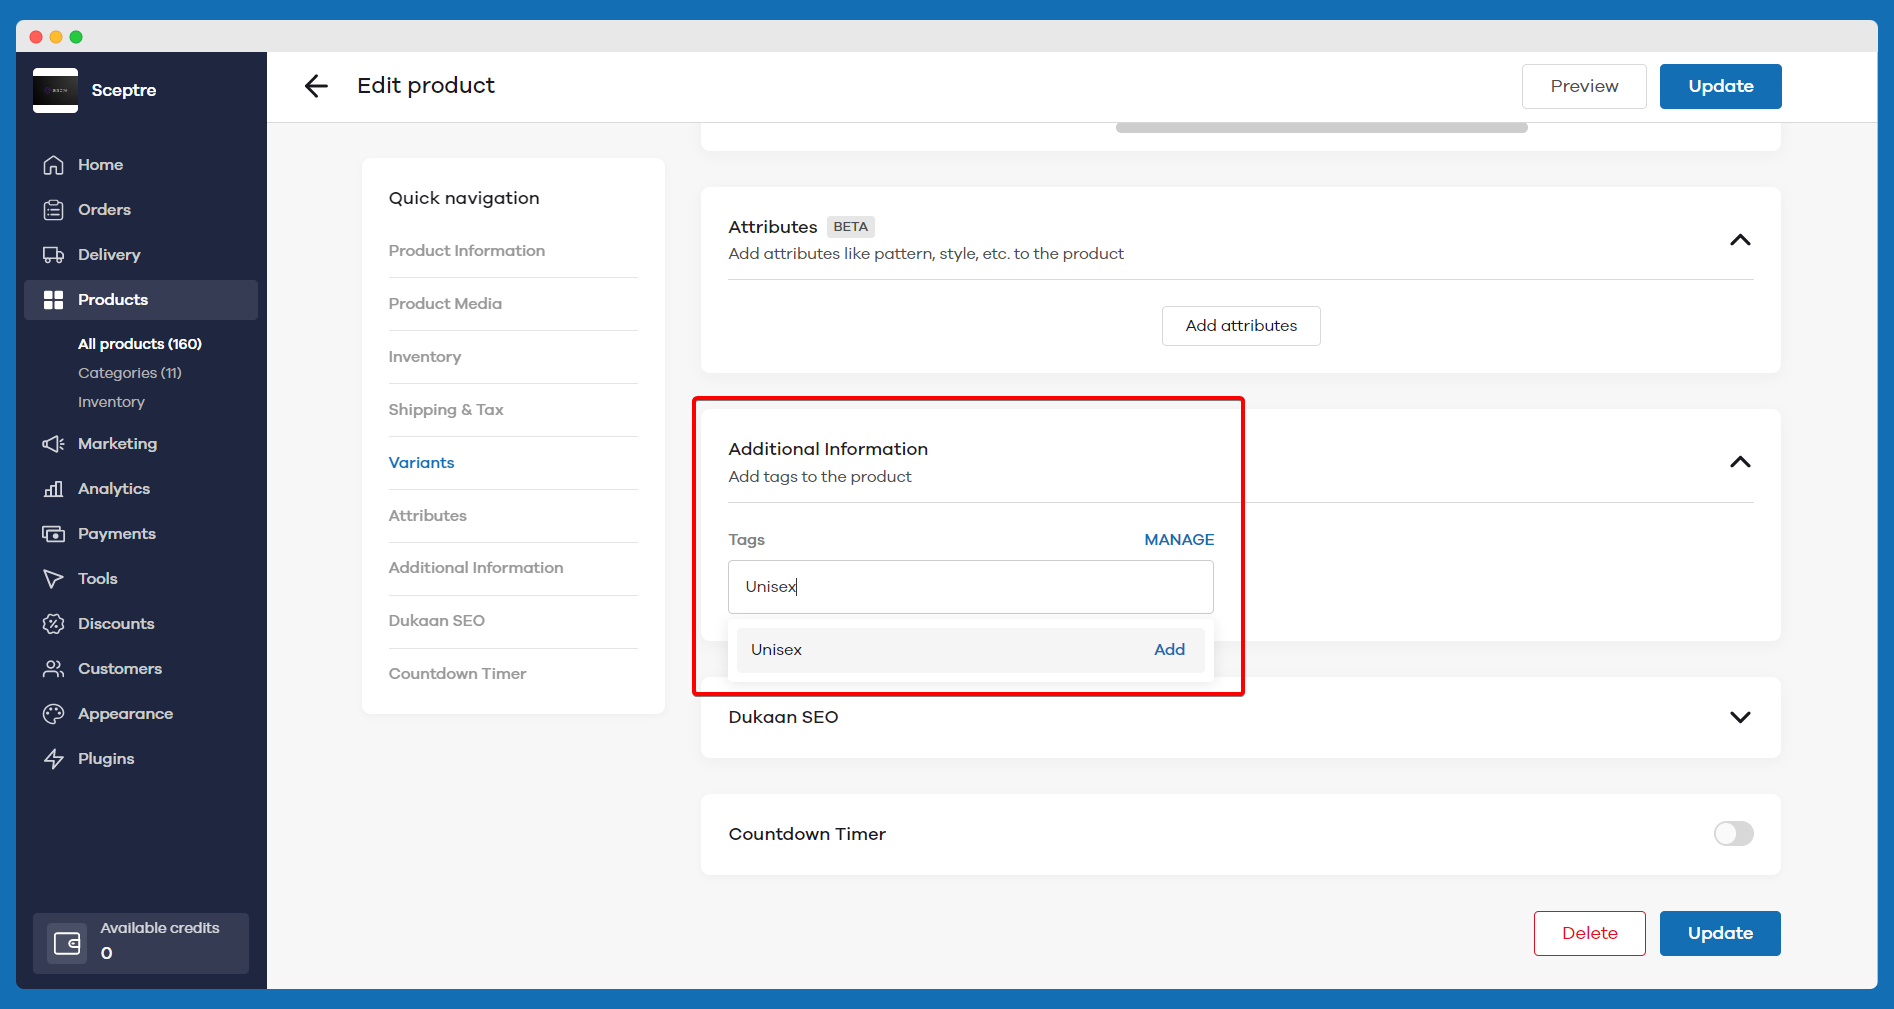
4. You can add multiple tags by repeating the same above step.
5. Once the product tag has been created, you can always click on “Manage” section and add multiple tags to the product.
How to remove a custom tag?
Click on the “X” cross icon near the tag and it’ll be removed or you can also click on “Manage” section to uncheck the tags you’d like to remove.
Read more