Smart lists are an essential tool for managing your CRM contacts. Think of them as the beating heart of your contact management system, where all of your contacts will live and breathe. With smart lists, you can sort, filter and manage your contacts with ease, making it easier than ever to keep track of your customer data. Here we will take you through the different components of smart lists, and teach you how to create them. By the end of this article, you'll be armed with the knowledge you need to use smart lists to improve your contact management process, and ultimately, take your business to the next level.
NOTE: Depending on your user permissions, you may not have access to all of the components.
Creating New Smart Lists
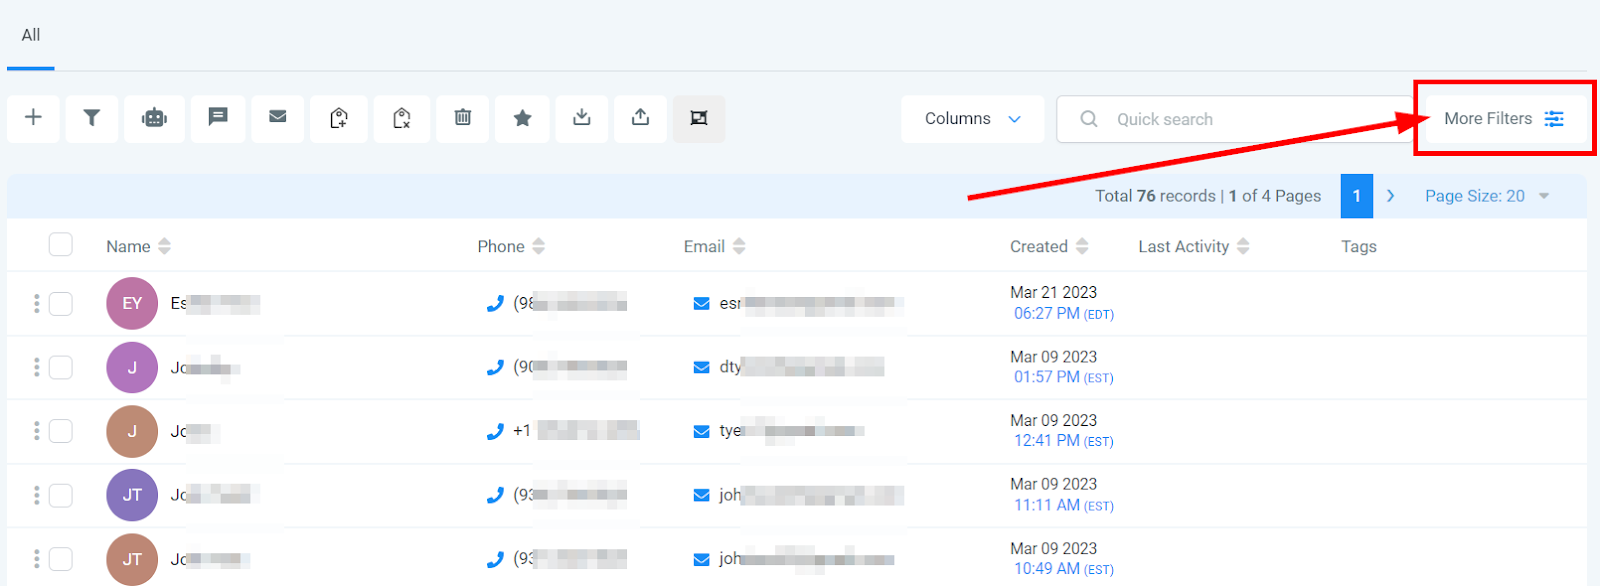
Creating smart lists is a crucial step in efficiently managing your contacts. By segmenting them according to their position in the sales process or their interactions with your company, you can easily target specific groups with personalized content.
To do this, you’ll need to add filters which can be found by clicking on the More Filters button on the top right of your contacts list. These filters serve as a tool to refine the criteria for your smart lists, making them more relevant and useful. With defined smart lists, you can save time and focus on reaching out to the right people at the right time, ultimately improving your lead generation and conversion rates.
Saving Your New Smart List
Once you have selected your filters, it's time to finish setting up your smart list. To do this, simply click the ‘Save as Smart List’ button located on the bottom right of the page. This button is important as it will officially save your smart list and prepare it for use.
Remember, it's important to give your smart list a proper name before you save it so that you can easily identify it in the future. A good suggestion is to create a name that reflects the filters or criteria used within the list – this will help you distinguish similar lists from each other.

Created Smart Lists
Once you’ve created and saved your new list, it will show up in the top row to make it easier for you to locate. Assessing the list has never been more convenient: just one click away from continuing with your important work. It's a great way to keep organized and make sure that all your work is still accessible anytime you need it. Furthermore, when you are returning to finish editing or adding more content, all your info is right at your fingertips! By creating and saving your new smart list within this section, it remains available for future use.
To learn how to manage smart lists and see all created smart lists, click here: Manage Smart Lists

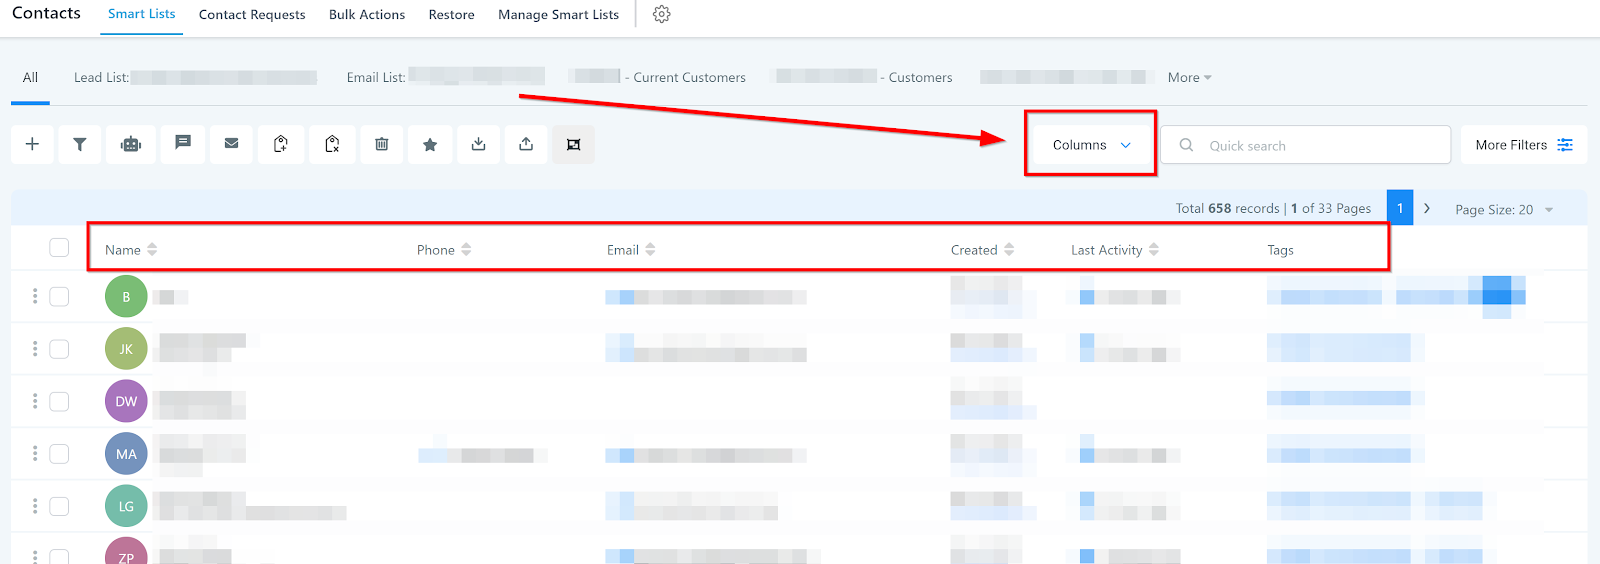
Edit Smart List Columns
To take control of the information you see in your smart lists, the Column drop-down option lets you customize and manage the data columns available to view. Located just to the top right of any contact list, simply select this drop-down icon to turn on and off functionable columns custom tailored to suit your viewing needs.
Search For Contacts
You can now search for contacts in Smart Lists easily! All you have to do is make use of the search bar on the top right, which allows you to search using contact name, business name, tags, email or phone number. It's important to keep in mind that searching with the minimum of 3 digits/characters is required. That way you'll be able to get more relevant results from your searches. With this improved feature, you'll be able to find contacts quickly regardless of different criteria. Don't worry about tough searches any more; use the new and improved Smart List search bar for all your contact searching needs!
