Automation- Title- video
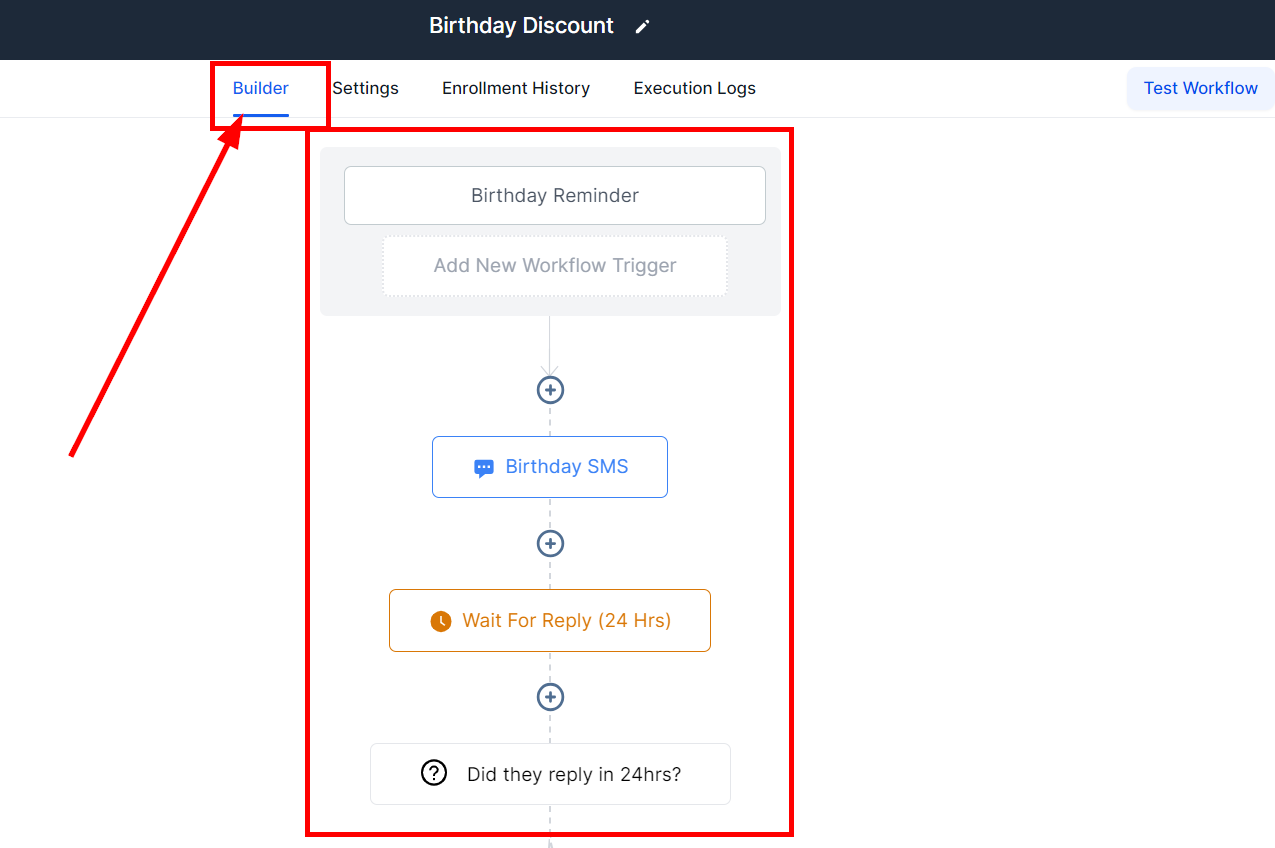
Builder Tab
To learn more about workflows and how to build them, check out the "Workflow Training" section under the "Advanced Training" help center menu!
Actions
The workflow Builder section allows you to create automated workflows triggered by tasks. Here, deciding which action is necessary for triggering certain outcomes will heavily depend on the process or goal in mind. Once the set of automated processes to achieve the intended concern is detailed, workflows can be easily implemented with the click of a mouse.
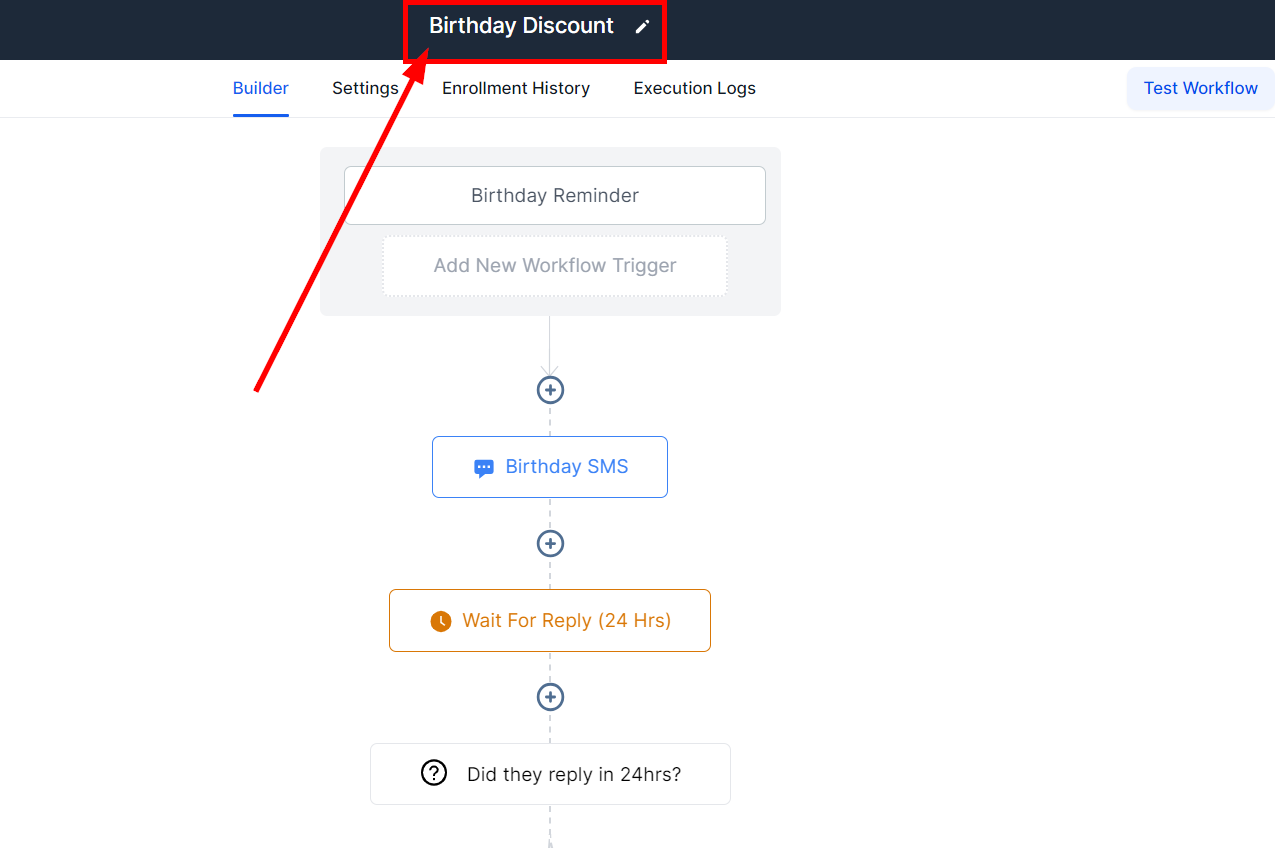
Workflow Name
You will see the name of your workflow at the top of the page. Here you can edit the name according to the actions the workflow is completing. For example, if your workflow sends a message to a missed call, you could name it ‘Missed Call Text-Back.’
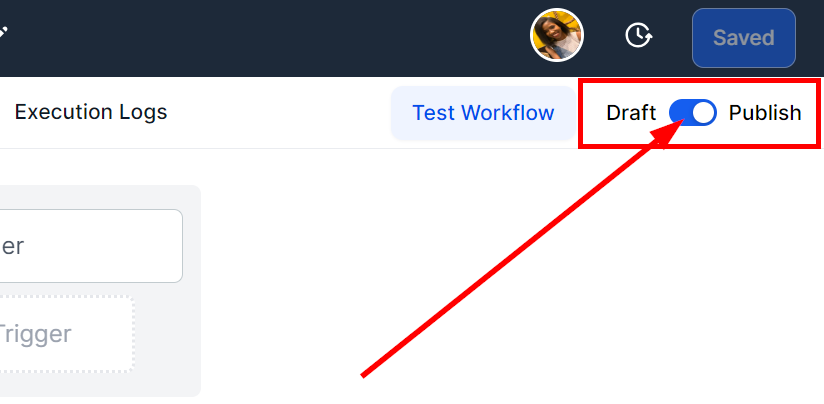
Draft vs. publish
Workflow creation can be put in one of two states: draft mode or publish mode. To change the setting, simply look to the top right corner and toggle the button. With this switch, you can easily activate or deactivate your workflow with a single click! Turning on that toggle button is all it takes to course-correct any workflow timestamp.
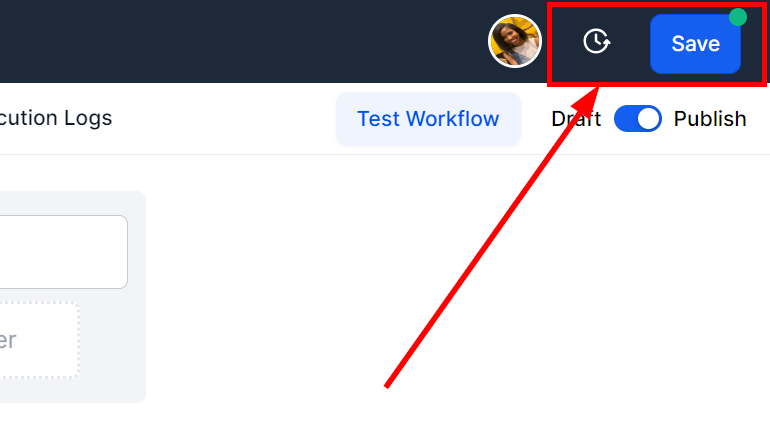
Update and Save
Now that you have finished customizing your workflow actions, it is time to save your changes by clicking the Save button on the top right side of the page.
Once clicked, a timestamp will be tagged to acknowledge when these amendments were finalized and will construct an accurate logbook, ensuring you do not lose any information along the way.
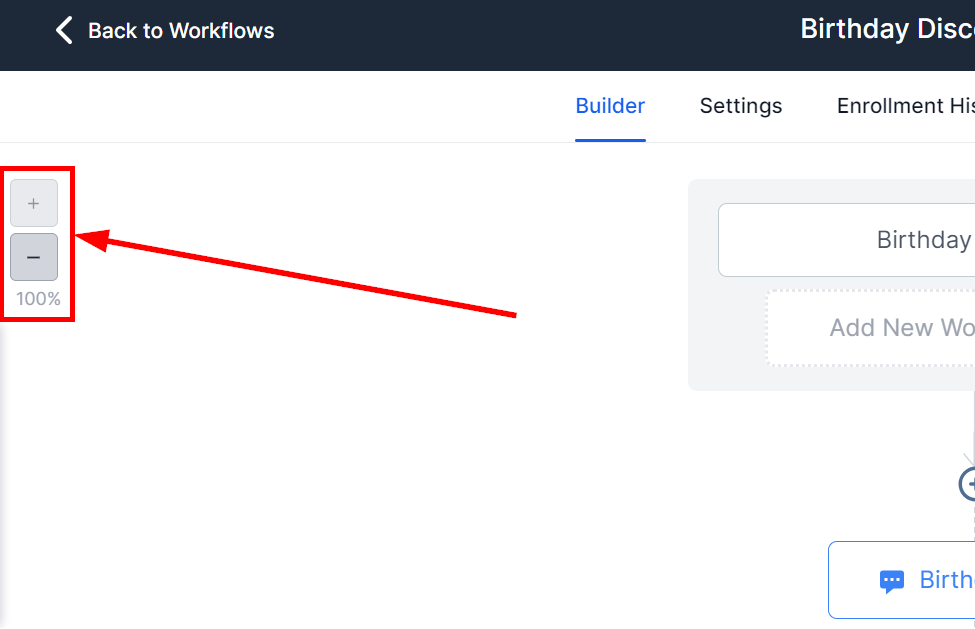
Zoom
Zoom in and out of the workflow or a particular workflow area by clicking this icon.
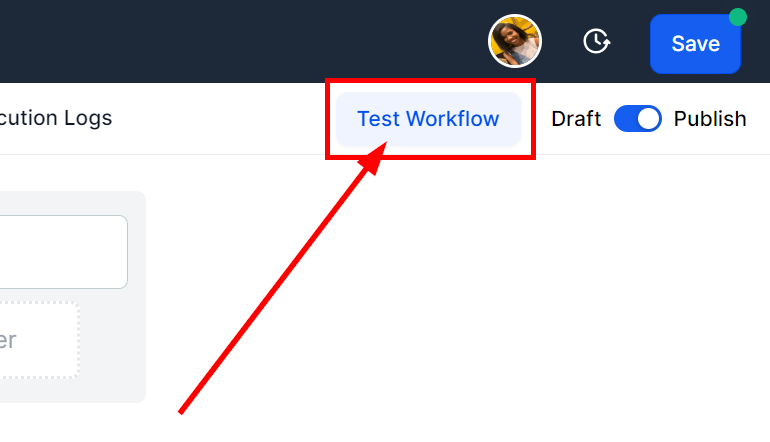
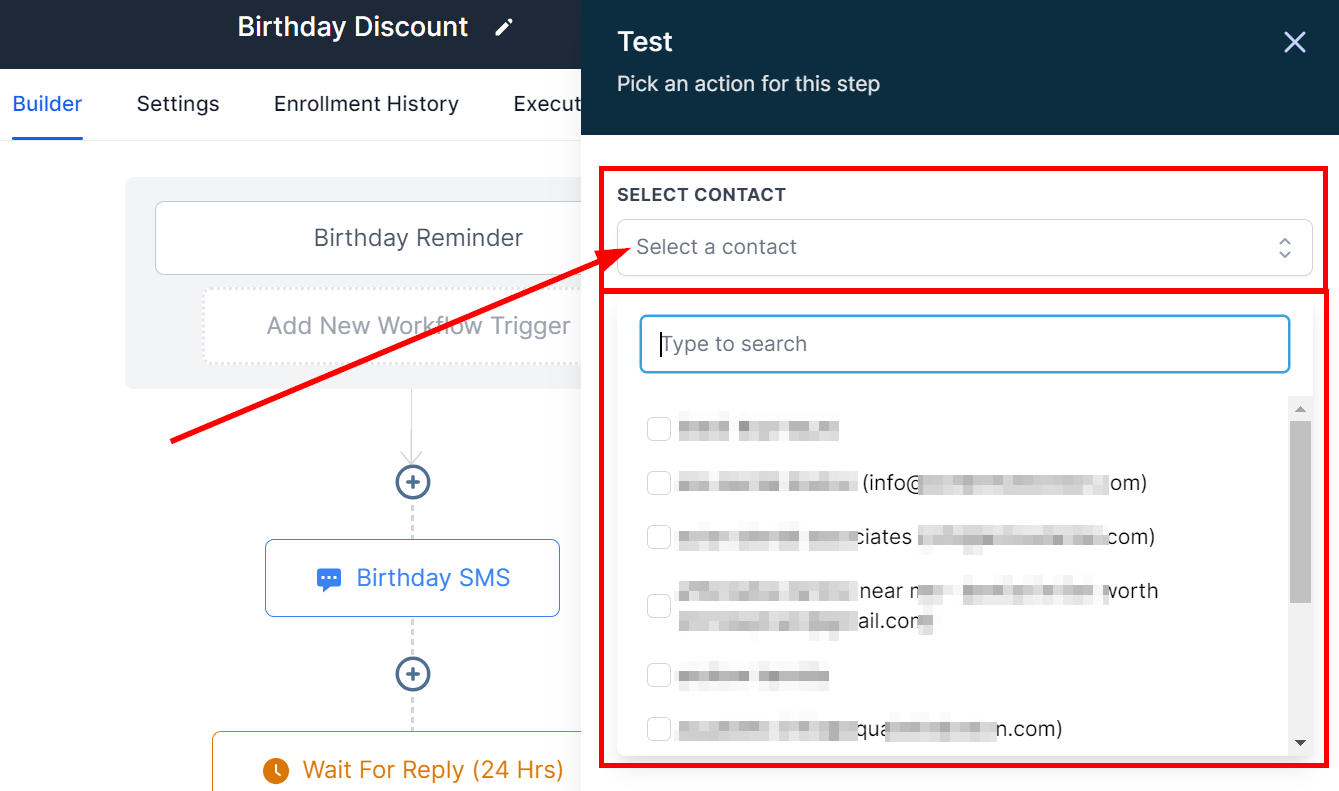
Test Workflow
Once your workflow is created, you can run a test to ensure everything runs smoothly. Simply click the Test Workflow button on the top right of the page and select the test contact you want to run through the workflow.