Incorporating blog posts into your website or sales funnel is a breeze, thanks to the user-friendly blog post list element. This feature simplifies the process of adding and organizing your blog content, enhancing your online presence and keeping your audience engaged.
Add a Funnel or Website with the Blog Post List Element
Please Note: This funnel or website page will be your main Blog page which contains all your blog posts that have been added to the Blogs section.
Create a new Funnel / Website or add a step/page to an existing one
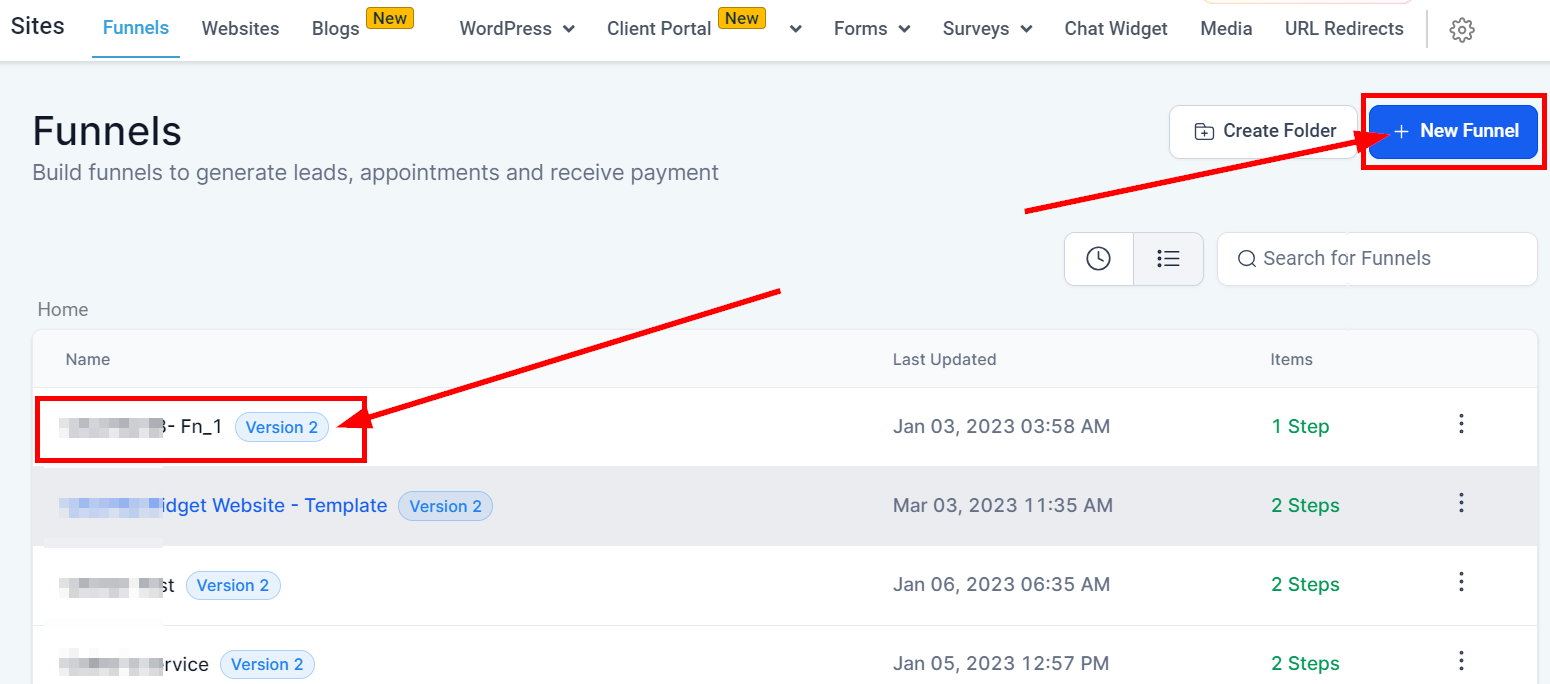
To start, launching Sites and selecting Funnels will bring up a window for you to click Add New Funnel. Similarly, if you're interested in updating an existing funnel, simply click on the desired one and decide whether you'd like to add a new step or page.

Once the funnel step is added, click the edit button to land on the editor.

Blog Post List
Once inside, select the Blog Post element and customize it according to specific requirements. There are a couple of settings one can opt for – Blog type to choose between standard or compact columns, Pagination settings to choose the number of posts displayed on screen, as well as several options for customizing button text such as renaming the More stories button.
Please Note: Adding a Header (Navigation menu) and Footer links to your main blog page is recommended.


Add Domain
If you haven't already done so, go to Funnel/Website Settings in the Funnel or website to add your domain.
You might decide to have your blog page open by default when a user enters your domain with no path – e.g., instead of blog.hubspot.com/home they come straight to blog.hubertopspot.com when they hit enter. To achieve this result, head over to Settings then into Domains where you can Edit Domain and select the blog page as the default home page prior to saving the changes.
