What is a product attribute?
A product attribute can be defined as a property that describes a product. For example; If my product is a Sweater, the attributes of the product can be,
- Color
- Material
- Pattern etc.
Using attributes will help the customers filter through all the products and make their overall shopping experience much more efficient.
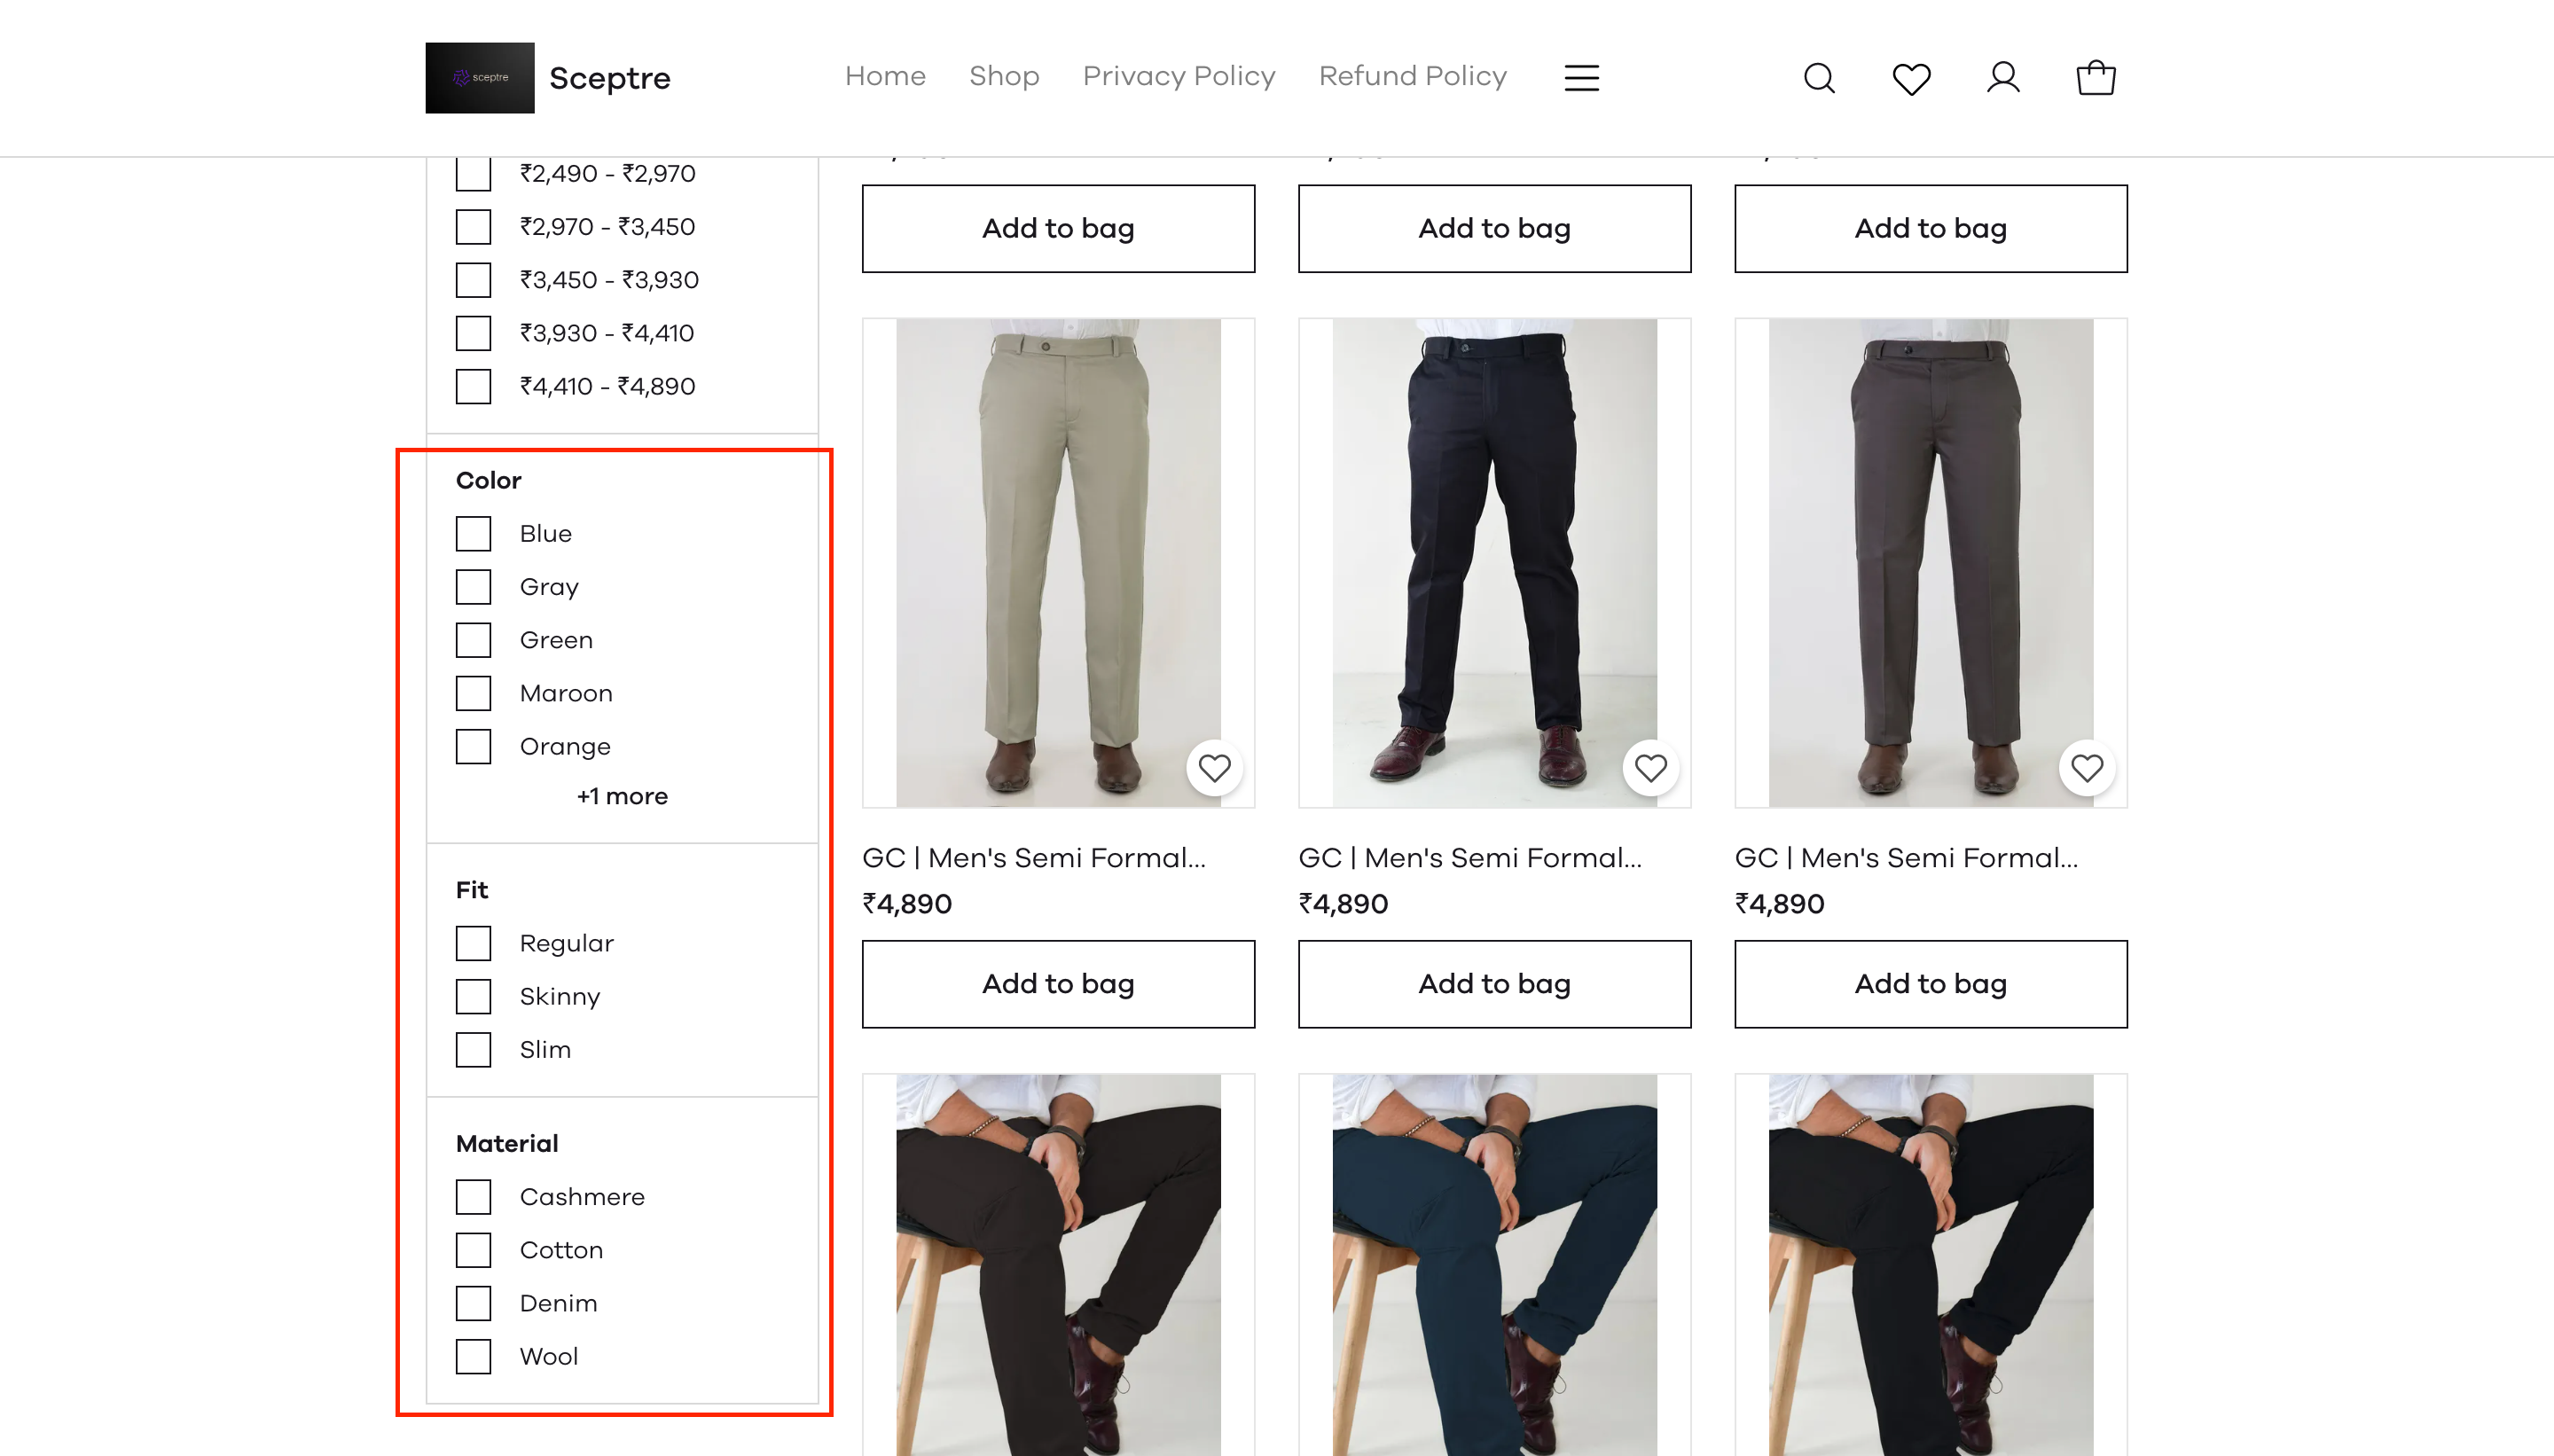
The highlighted region will be visible on your storefront after you've added attributes to your products.
How to install the product attributes plugin?
To install the plugin, first, go to the plugins page and search for Product Attributes, when the plugin appears click on Install plugin. Once the plugin has been installed, click on Settings.
Upon clicking on settings, you will be taken to the product attributes dashboard. Here you will be able to create attributes for your products.
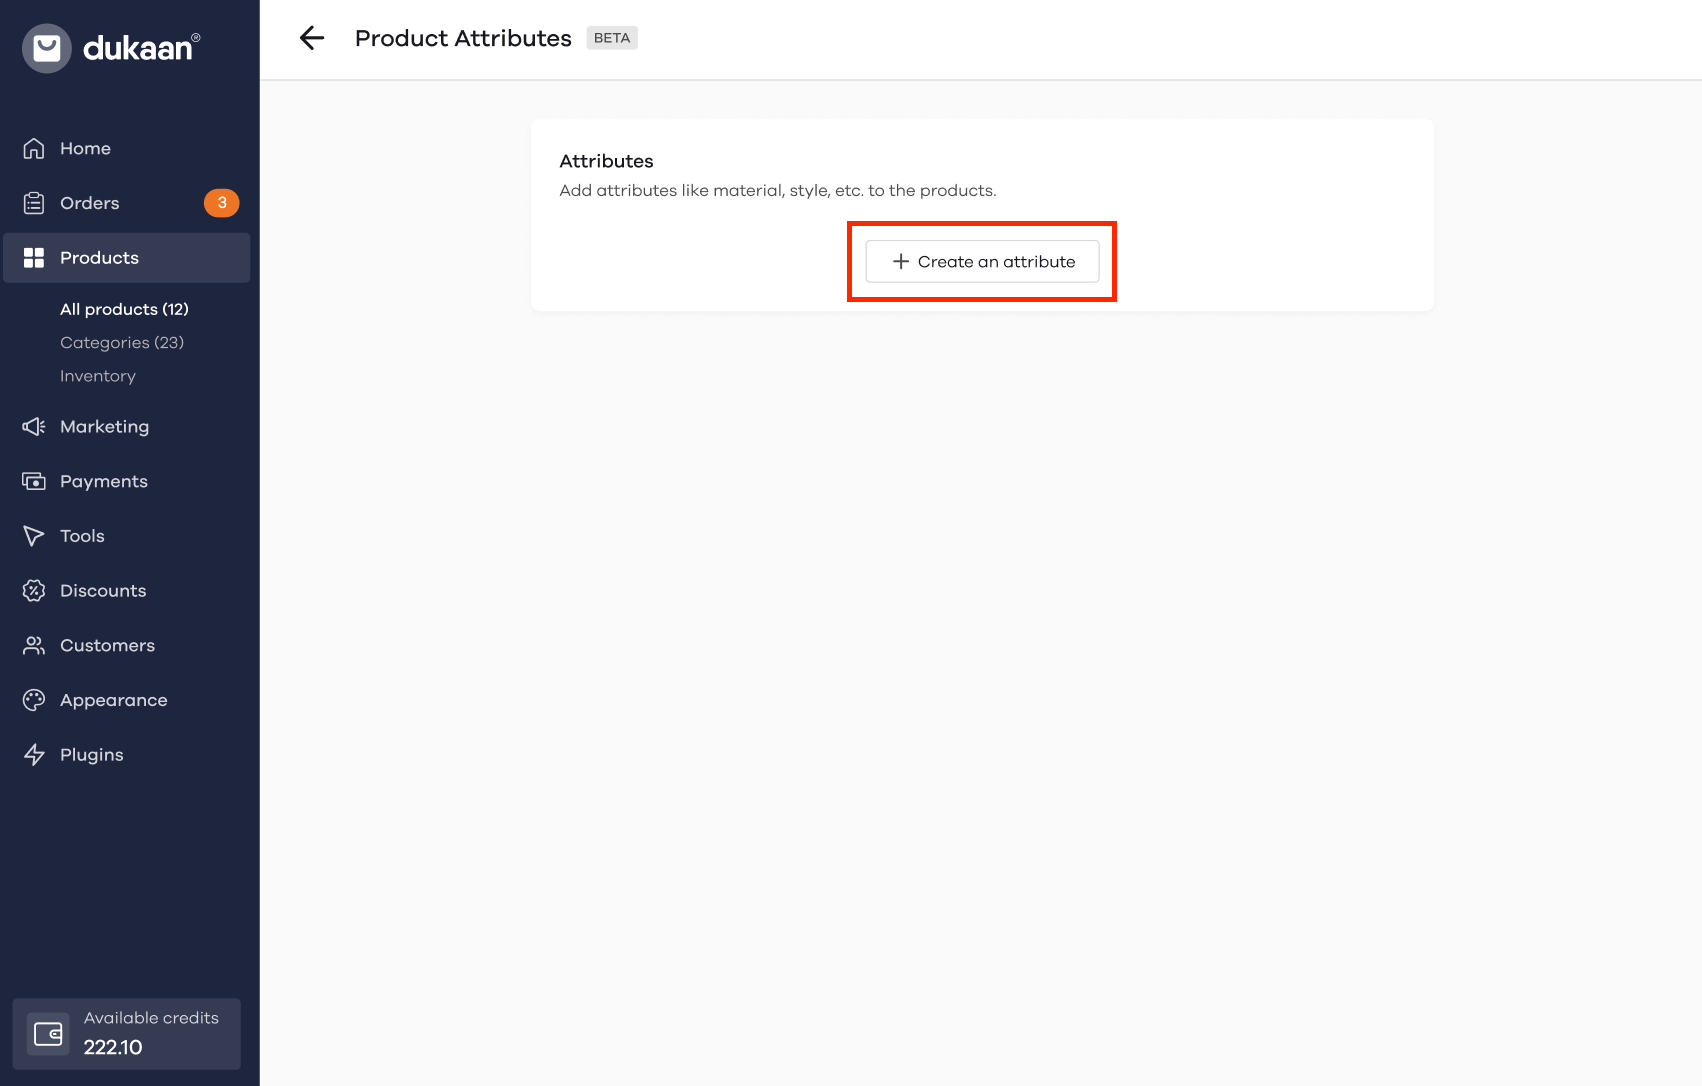
To create an attribute, click on Create an attribute, upon clicking the button you will need to enter the name and the values of the attribute you want to create.
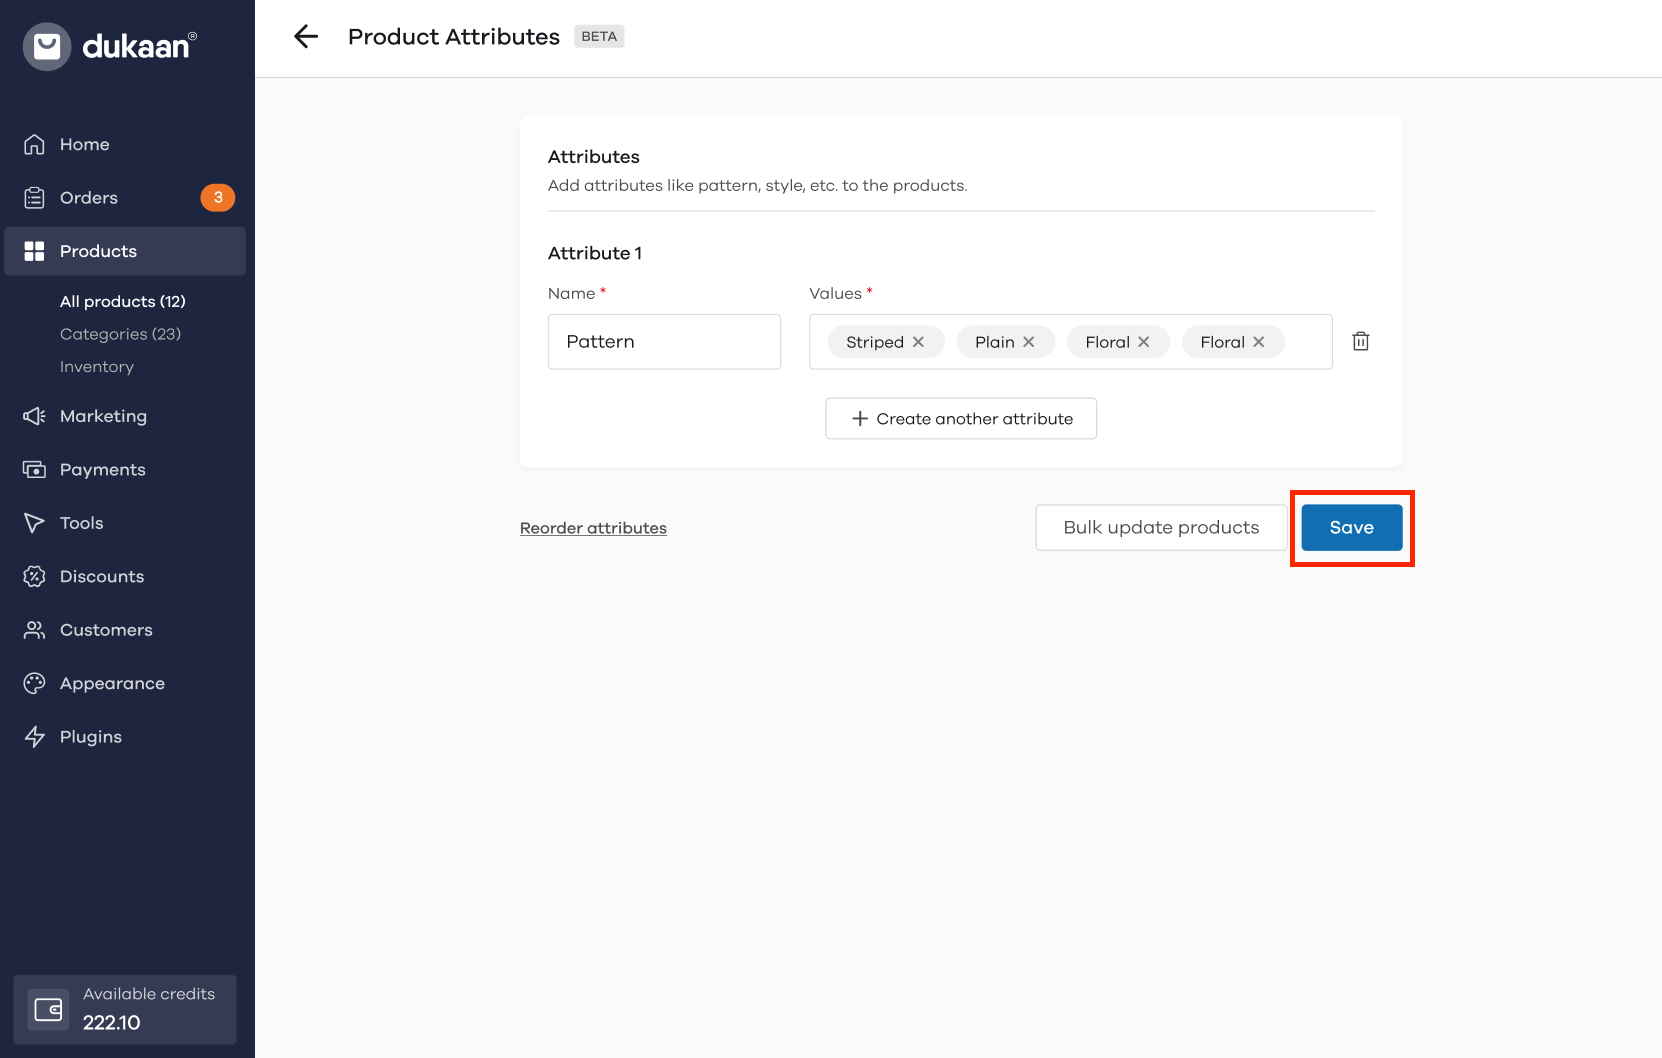
Steps to create an attribute:
- Enter the name of the attribute in the textbox below Name.
- Add the attribute values in the text box given below Values.
To add more attributes click on Create another attribute. After you've added the attributes, click on Save.
How to Reorder Attributes?
To reorder the attributes first, go to the product attributes dashboard. Then click on Reorder attributes.

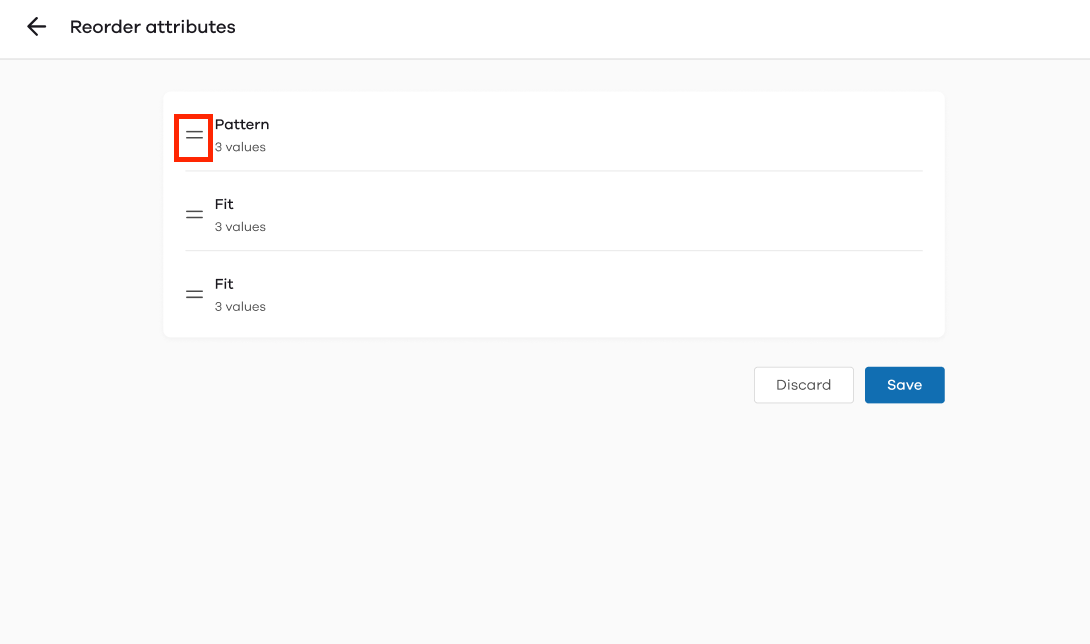
To reorder the attributes click and drag the 2 lines beside the name of the attribute and place it in the position you desire. After you've reordered the attributes, click on Save.
How to add attributes at a product level?
The product attributes plugin also allows you to add attributes to your products at the product page.
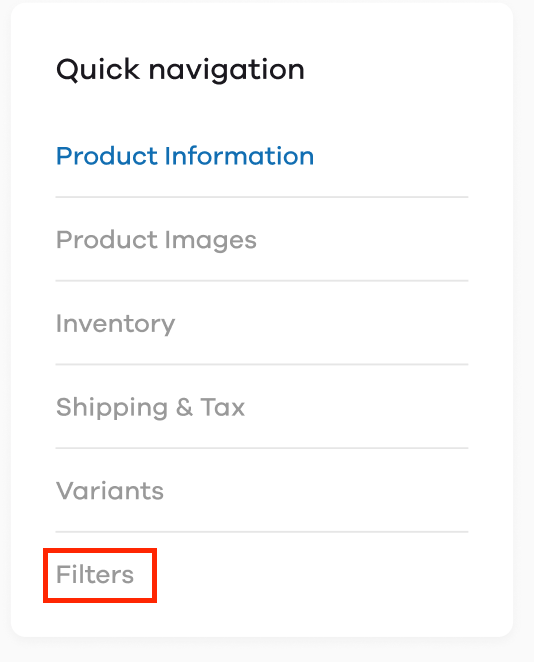
To add attributes within the product, click on any of the products in the All products section. When the product information opens, (if your plugin has been activated) either scroll to the bottom of the page or click on Filters (If you've activated the advanced catalog function) or Attributes (If the advanced catalog function has not been activated) in the quick navigation menu.
Here you can select the desired attributes or create a new one as per your requirement.
To add an attribute for a product, click on Edit or add attributes.
Upon clicking this button you will be able to select the attributes.
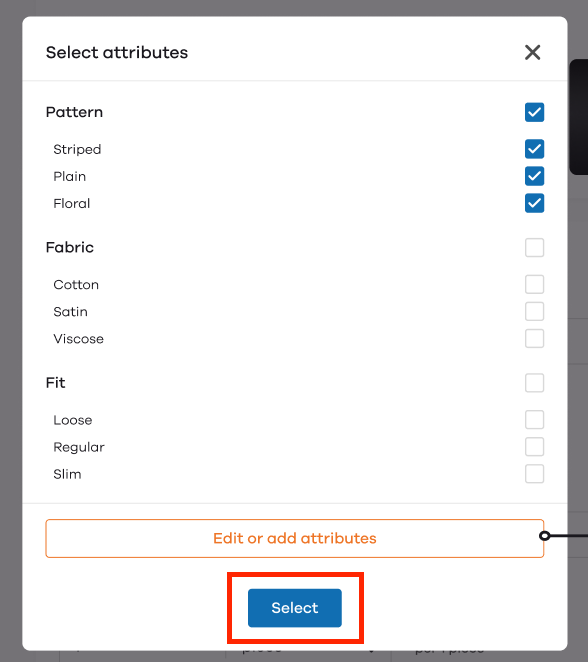
After you've selected the attributes, click on Select. If you want to add more attributes, click on Edit or add attributes. Clicking on this button will redirect you to the plugin dashboard.
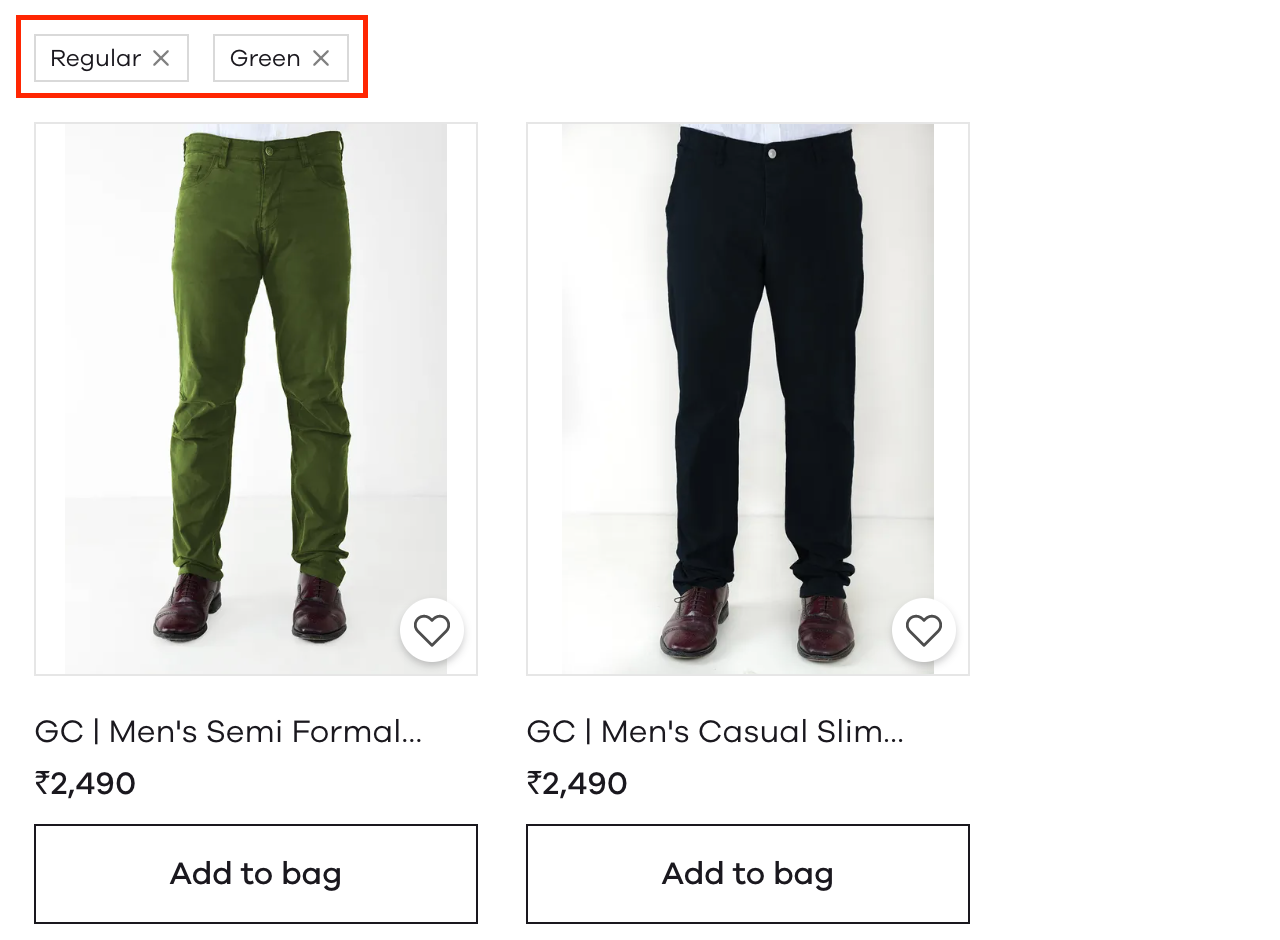
After assigning attributes to the products, this is how your storefront will look.

The highlighted region consists of the attributes you've provided. The customer can select any of the attributes you have provided. Upon selecting the desired attributes, the customer will be shown a filtered result.
In the below image, the highlighted region consists of the chosen attributes.
How to delete the attributes?
If you wish to delete attributes, click on the Delete symbol beside the attribute value.

Upon clicking the button, the following screen will appear. Here a disclaimer will be stating that the attribute will be permanently deleted.
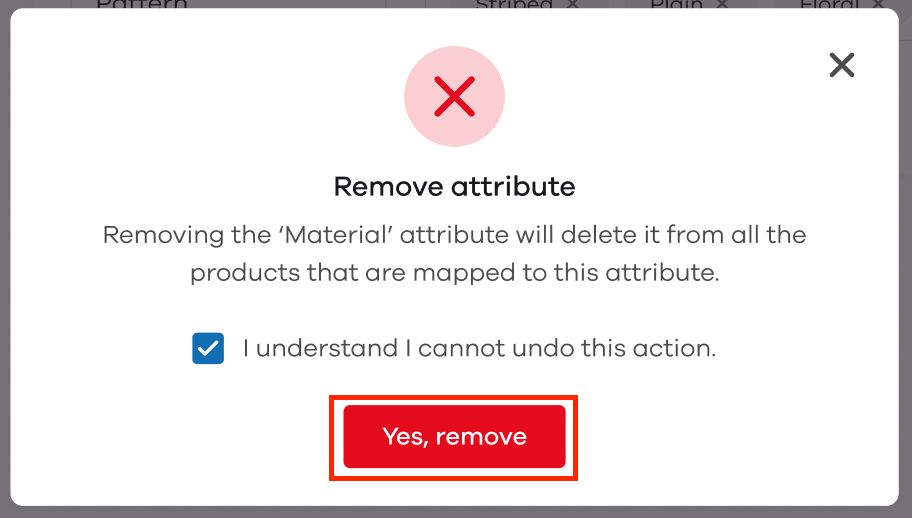
If you still wish to go ahead, click on the checkbox stating that the action cannot be undone. Then, click on Yes, remove to delete the attribute.
Read More