Agency accounts have the ability to add team members or have multiple users in their Geru account. We will go over the following:
- Add a team member
- Edit existing team member's profile
- Delete a team member
- Set a team member's permissions
Important
- When creating the team profile, make a note of the team member's username (email) and password. You must send your team member their login details to log into Geru.
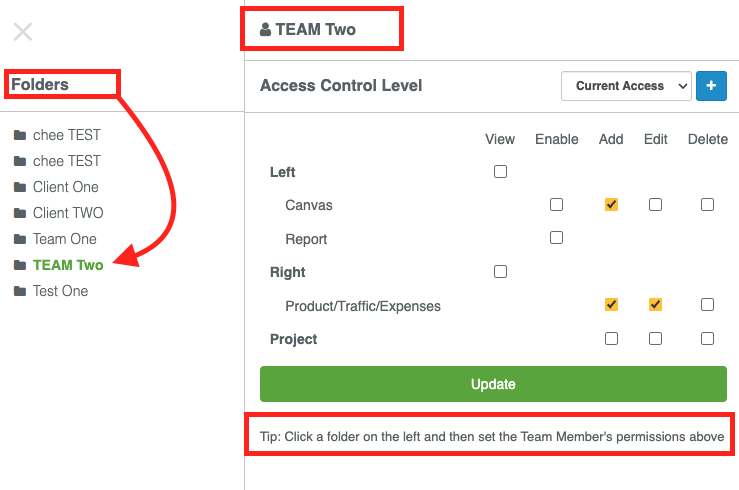
- When setting permissions, generally, the correct folder is automatically selected, however, you can also manually select the folder.
Add A Team Member
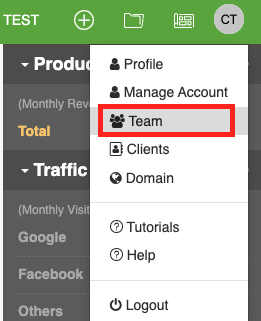
1. In your dashboard, click on the profile icon, and select teams.
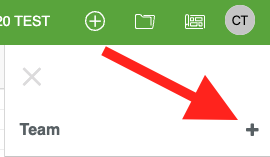
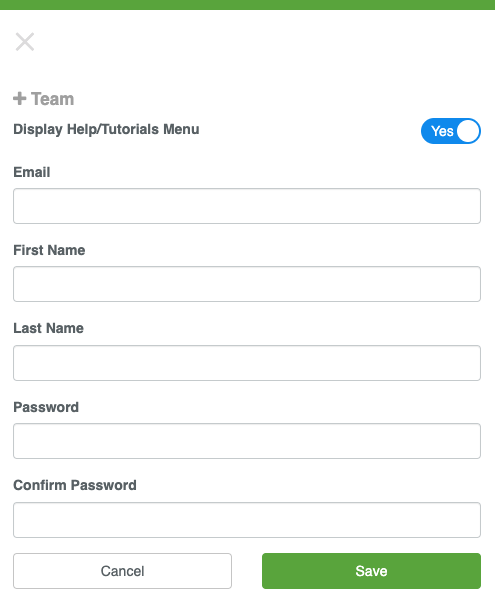
2. Click on the "+" sign to add a team member.
3. Fill in the details and click save.
Edit Existing Team Member's Profile
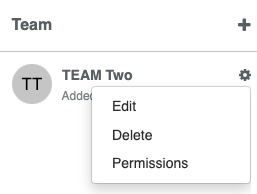
1. Hover over the team member's name, go to the gear icon and click edit.
2. Update the name, email address or password and click save.
Delete A Team Member
- Hover over the team member's name, go to the gear icon and click delete.
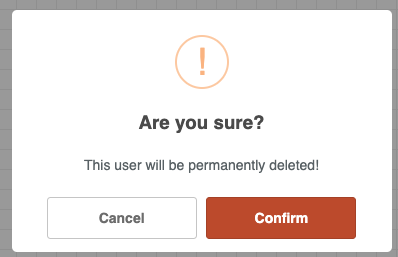
- Click the confirmbutton to delete the team member.
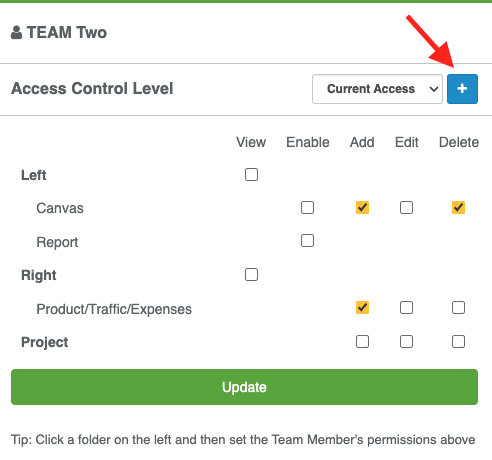
Set A Team Member's Permissions
- Hover over the team member's name, go to the gear icon and click Permissions.
- There are several ways to provide permissions. You can use a default preset, use a custom preset, or just check off the boxes you want to check off. Custom presets can be helpful when we have a lot of people we want to give the same access to.
- Default Permission Setting
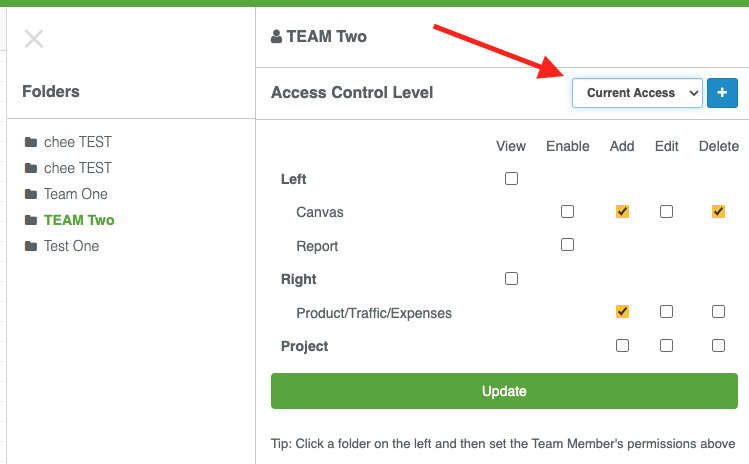
1. From the drop-down menu, select full access, limited, or read-only. You can still customize the default preset by checking and unchecking boxes.
- Custom Permission Preset
1. Click on the "+" sign.
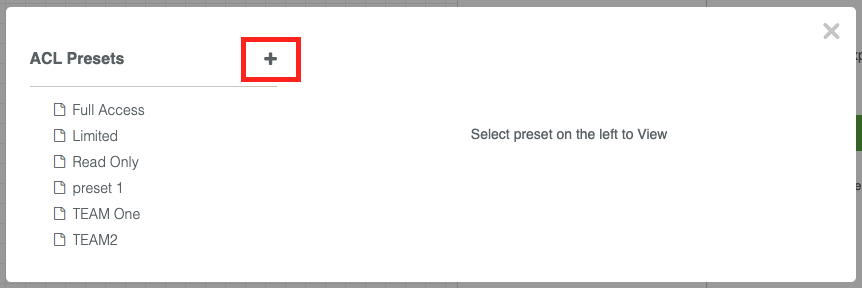
2. On the pop-up screen, click on the "+" sign again.
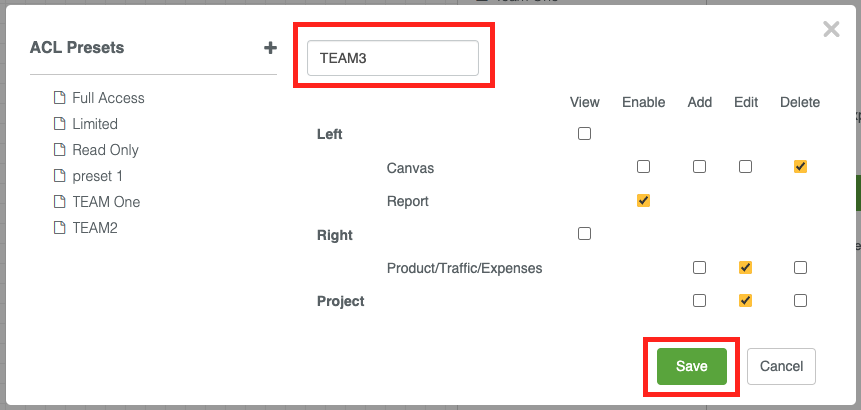
3. Give your preset a name, check off the access you wish to provide this preset, and click save.
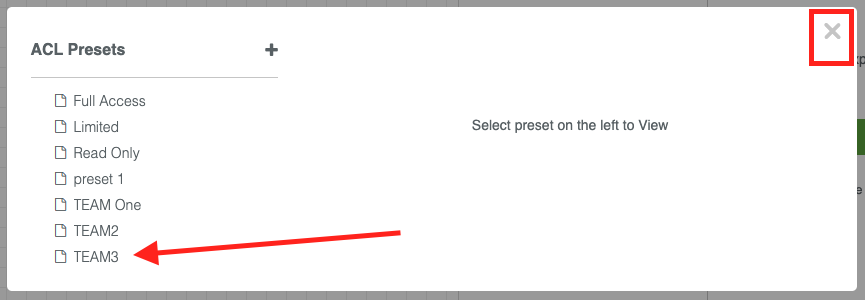
4. Your preset has been created. You can click on the preset to make updates to it. Or, click the "x" to exit the pop-up and return to your permission settings.
5. From the drop-down menu, select the preset that you have just created, and click the updatebutton.
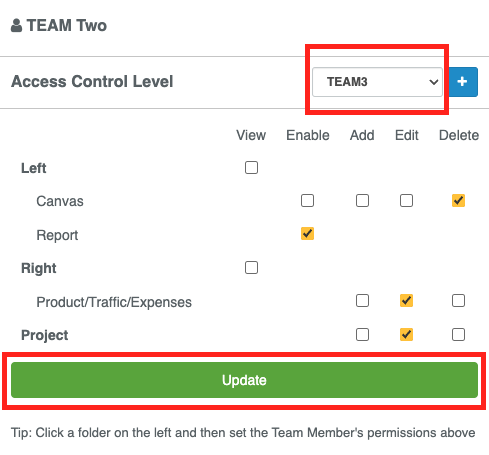
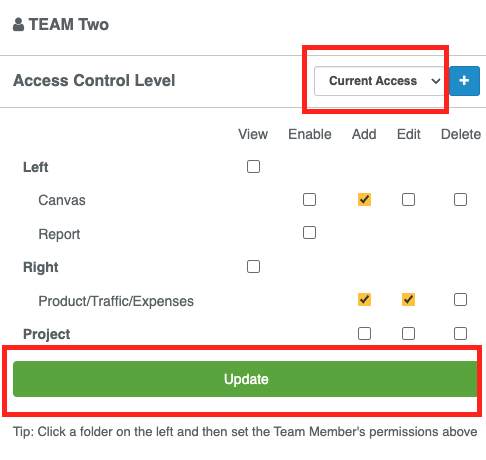
- Check Off Boxes Without Using Presets
1. Leave the Access drop-down at current access, check and uncheck the boxes to set permissions. And click update.