How do I add a Contact?
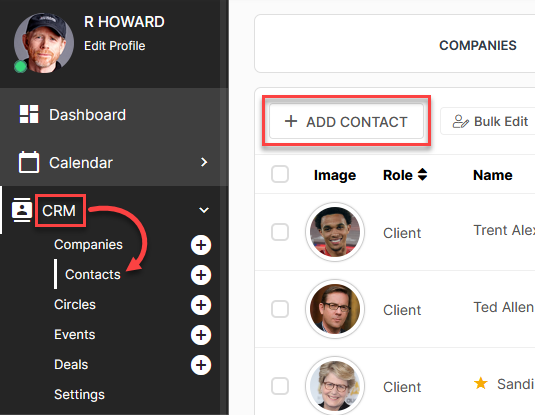
To add a Lead, Prospect, or Client, navigate to CRM > Contacts and click the +Add Contact button.
You will be presented with several fields to fill out for your Contact. You can create Secondary Clients in the same way.
CLICK HERE to learn more about Secondary Clients
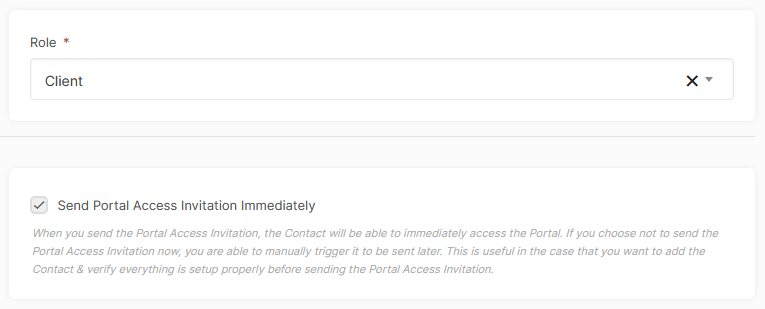
The required fields are Role, First Name, and Last Name. The Email field will also be required if the Contact is a Prospect or Client. You also have the option to assign a Company to the Contact. You can upload an avatar for your Contact and fill in other information as needed.
TIP: If you're having trouble adding a Contact read the Inactive Contacts section for the most likely explanation.
CLICK HERE to learn more about Inactive Contacts
INVITING PROSPECTS AND CLIENTS TO THE PORTAL
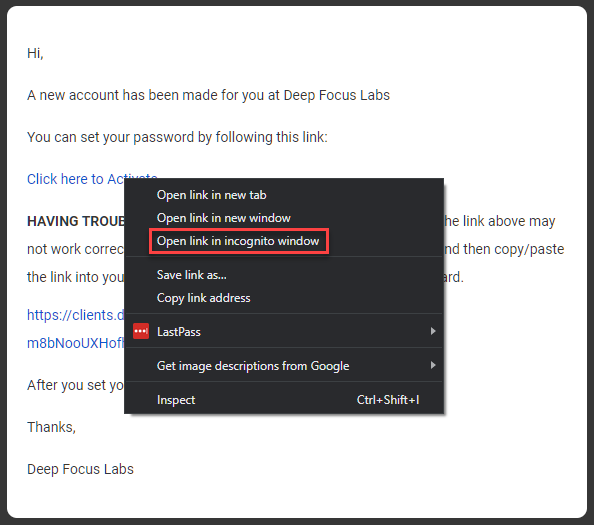
During the creation process, you will have the option of immediately sending the Prospect or Client a Portal Access Invitation. This email will contain a link to activate their account. They will be required to choose a password before gaining access to the Portal. If you would prefer to not send them the activation link right away, you can uncheck this option.

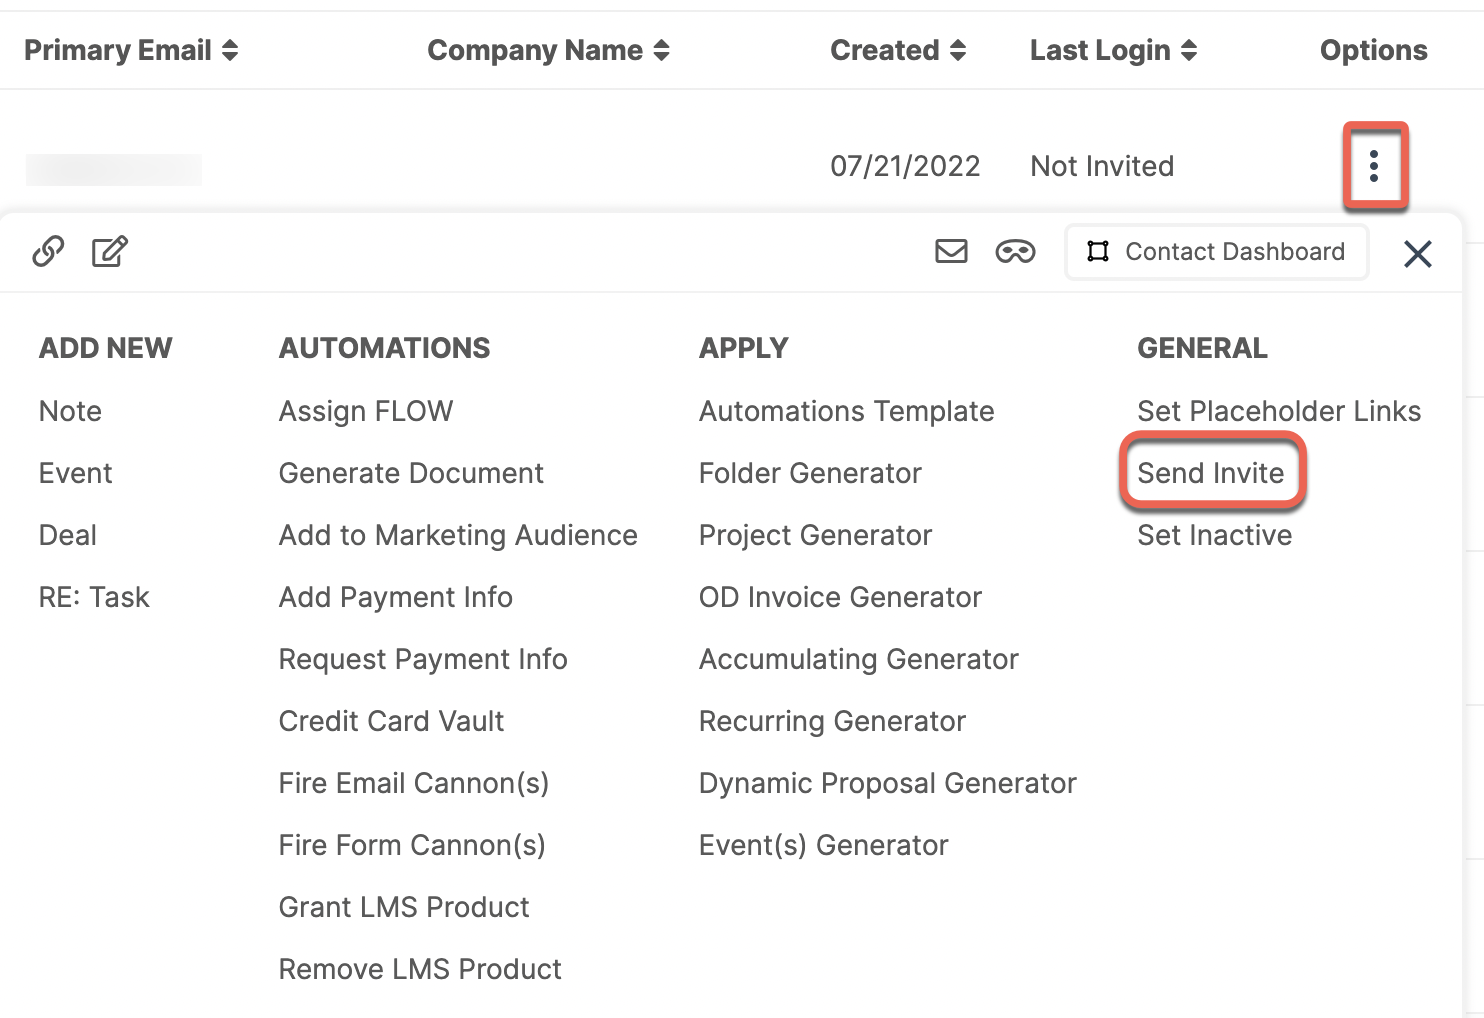
In some cases, you may want to add the Contact to the platform but not send the activation link right away. While the Contact is in "Not Invited" status, you have the freedom to build the resources that you intend for them to see. While in this status, a Contact will be unable to access the portal and will not be sent any email notifications for created or assigned content. Once you are prepared, you can select Send Invite from the Options menu button.
TIP: An exception to the rule of blocking any notification emails to a Contact in "Not Invited" status is if you have enabled the ability for Documents to be signed without logging in and you assign them a Document.
CLICK HERE to learn about Documents
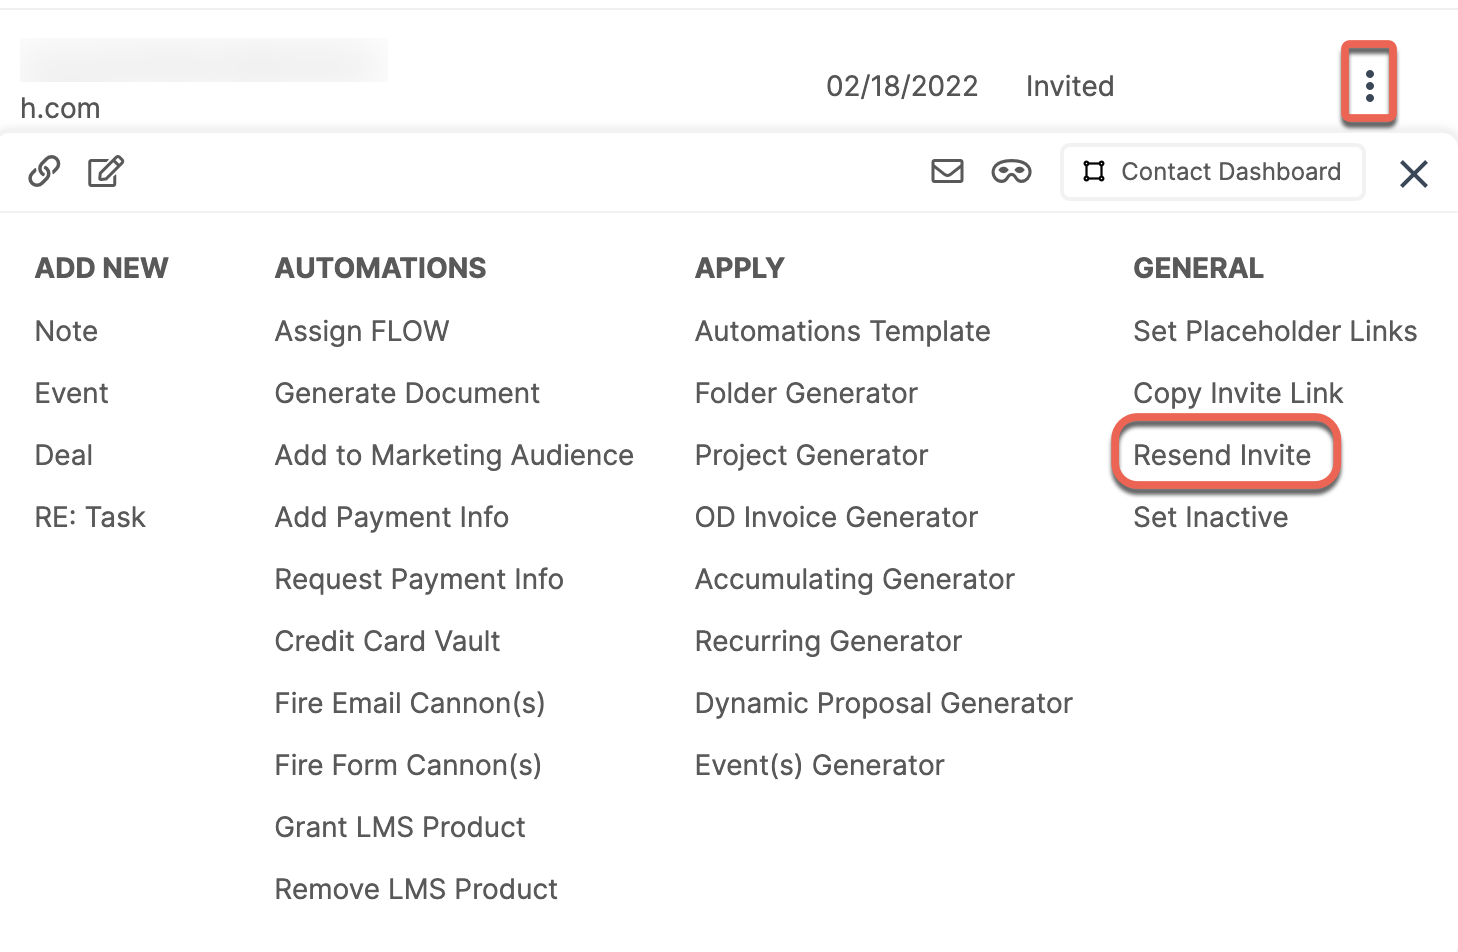
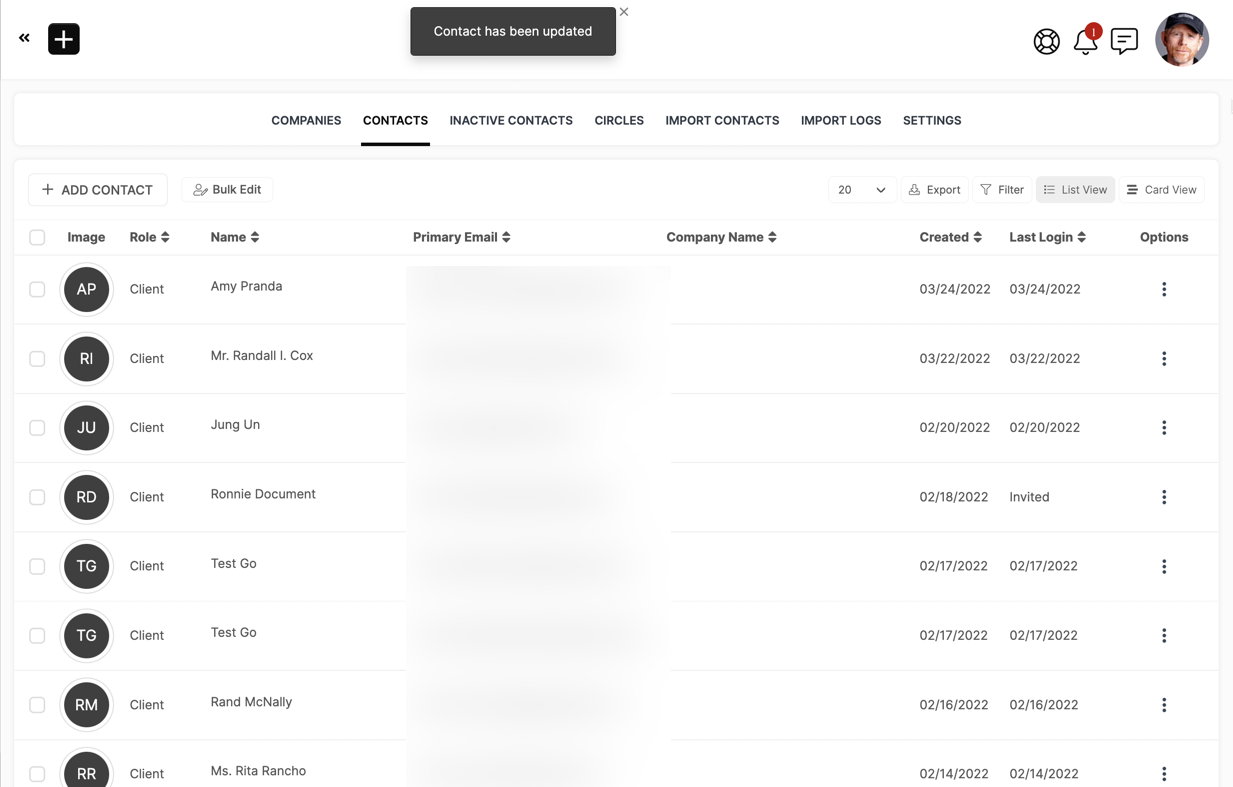
If you have chosen to send the Portal Access Invitation, your Prospect or Client will have the "Invited" Status in the CRM list under Last Login until they activate their account. While in Invited status, you can choose to Resend the Invite at any time via the Options menu button (3 dots).
TIP: The "Resend Invite" is not available for Prospects or Clients who have already activated their accounts. If they are having trouble accessing their account, they are required to change their password.
Creating a Test Client
You'll need to use a unique email - so you can use an extra email address if you have one or if you know the Google 'unique email' hack, that works here as well.
Navigate to CRM > Contacts, and click the +Add Contact button.
The following are the only required fields. In this example, the Gmail/G Suite hack is being used.
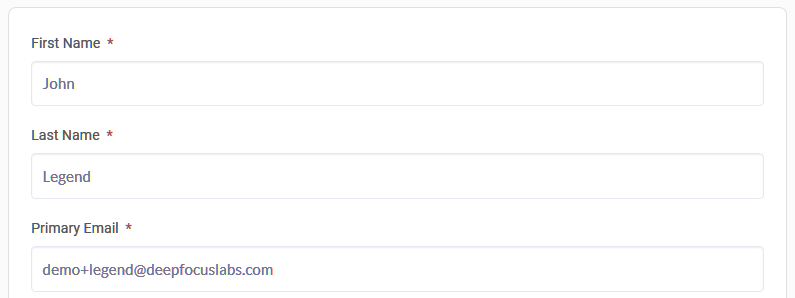
All you need to do now to activate the account is to set a password.
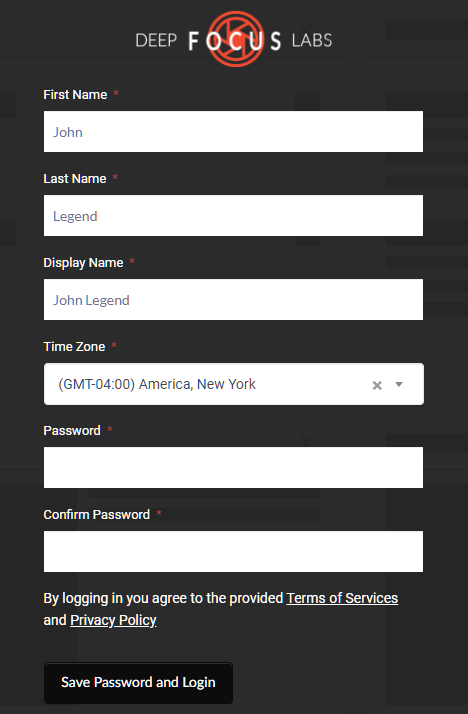
Now you can experiment by creating Client pages, sharing Files, creating Invoices, etc., to test what your Clients will see.
How do I manage my Contacts?
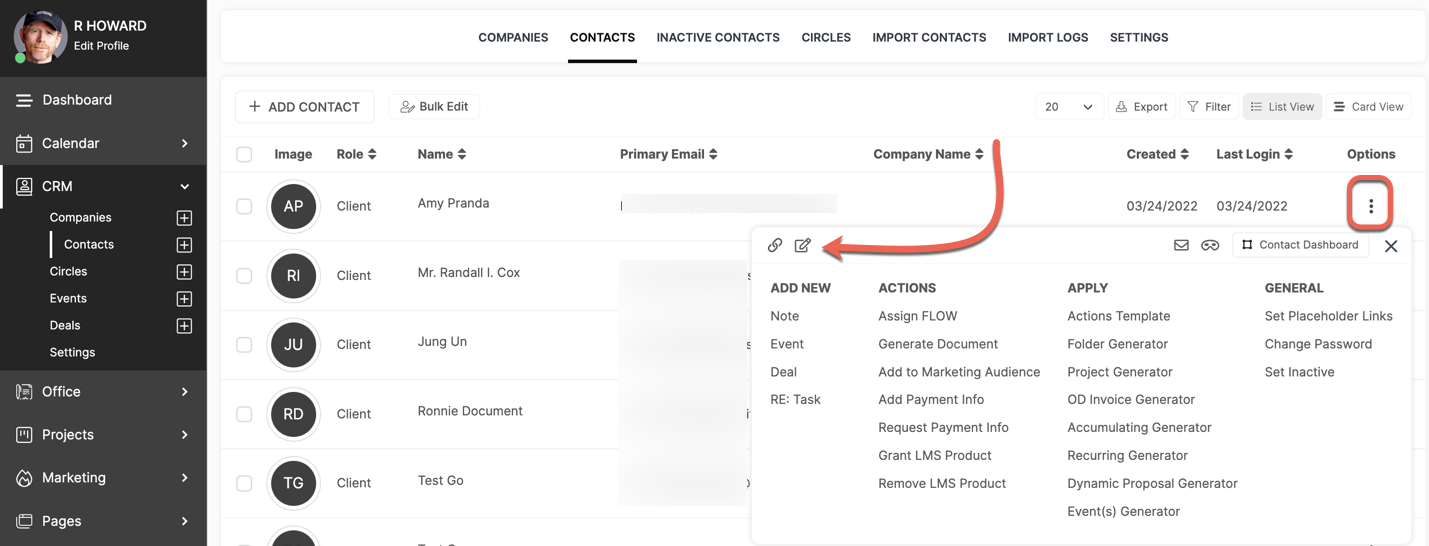
In the Contacts list, click the Options menu button of the Contact you would like to manage. This is a special menu that has a structure similar to the Flyout Menu.
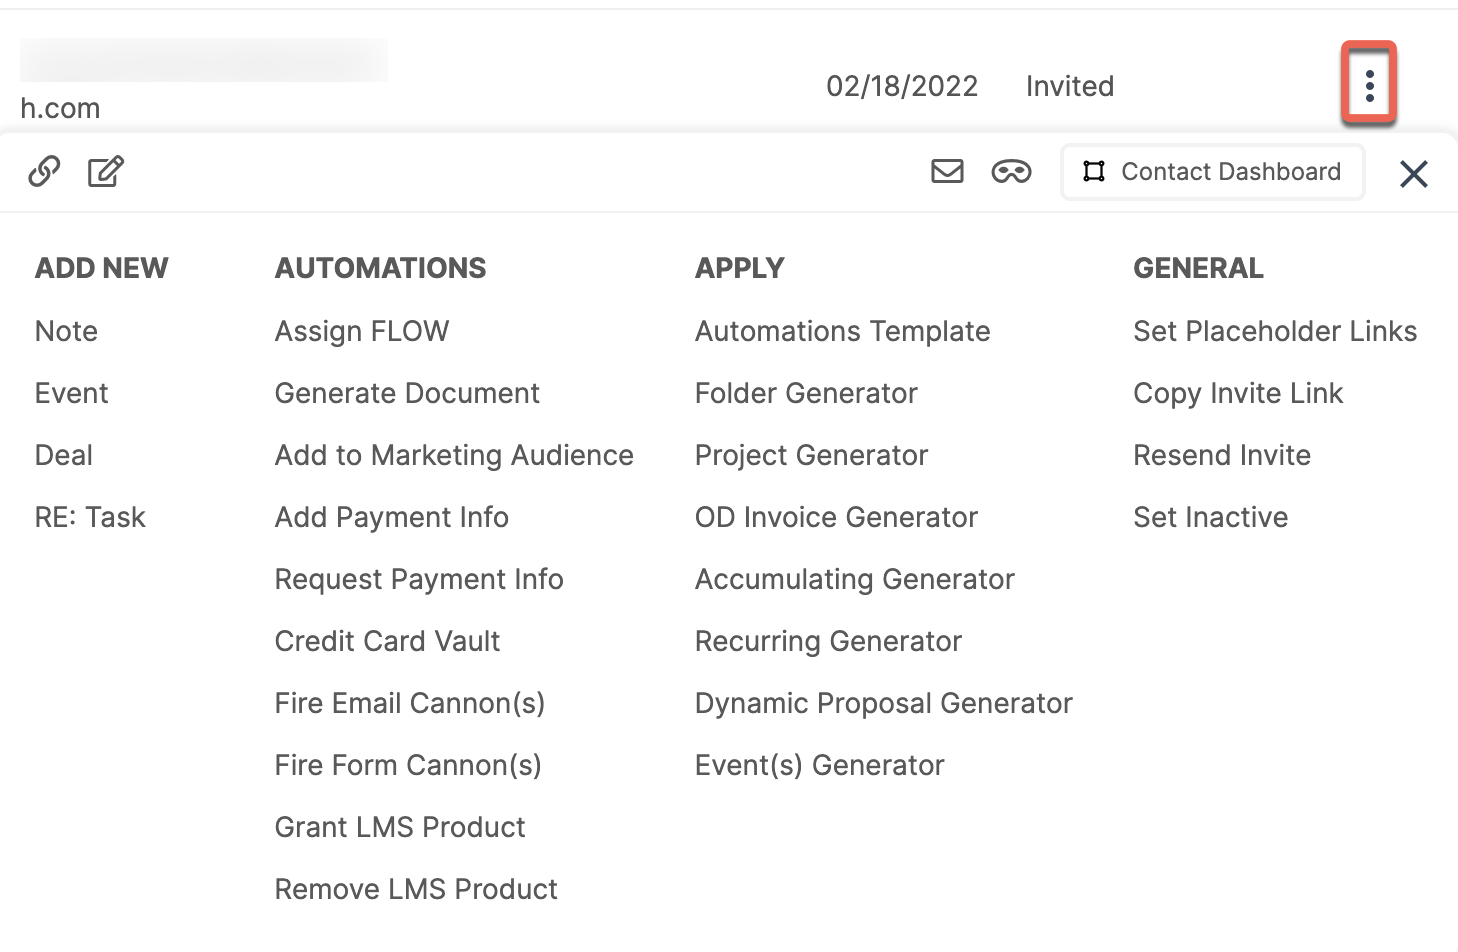
The options available will depend on several factors (Role, Status, etc.,). You'll be able to quickly accomplish many tasks right from this menu.
You can use the quick icons at the top of the menu to copy the link to the Contact's CRM Dashboard, edit the Contact's information, send a Secure Message, and Impersonate the user.
CLICK HERE to learn about the CRM Dashboard
CLICK HERE to learn about Secure Messaging
CLICK HERE to learn about Impersonating
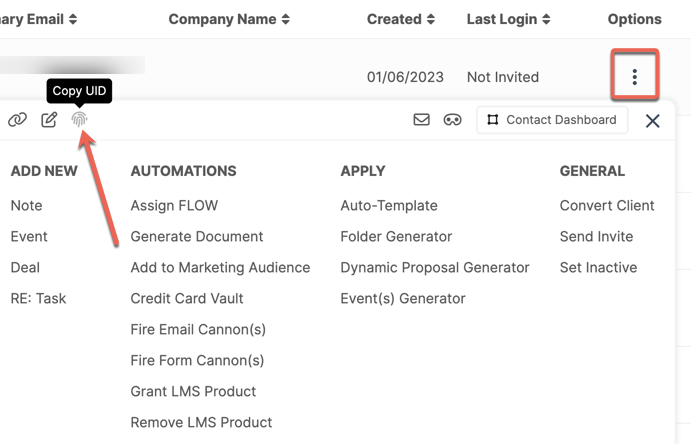
CONTACT UID
You can access the Contact UID by clicking Options. Select the Fingerprint icon to copy the UID.
How do I edit a Contact?
Go to CRM > Contacts. The first way is to click Options and select the Edit Icon.
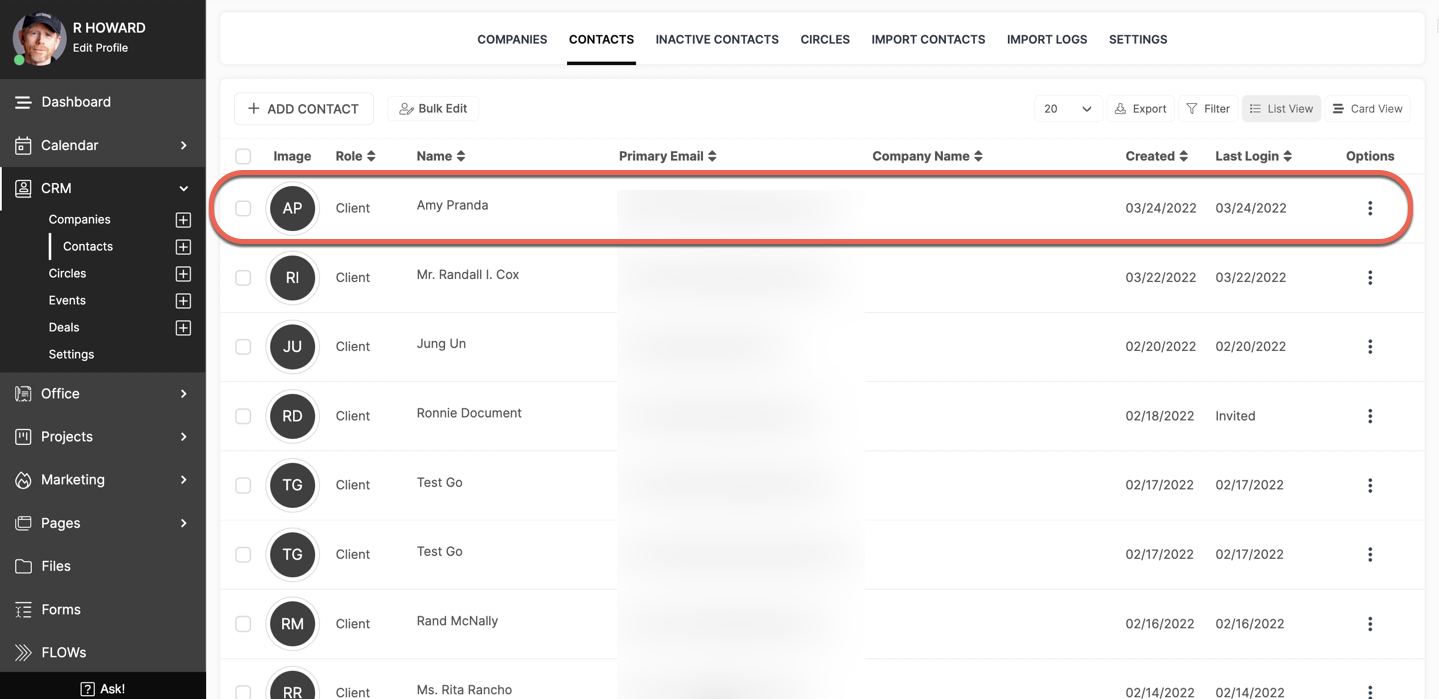
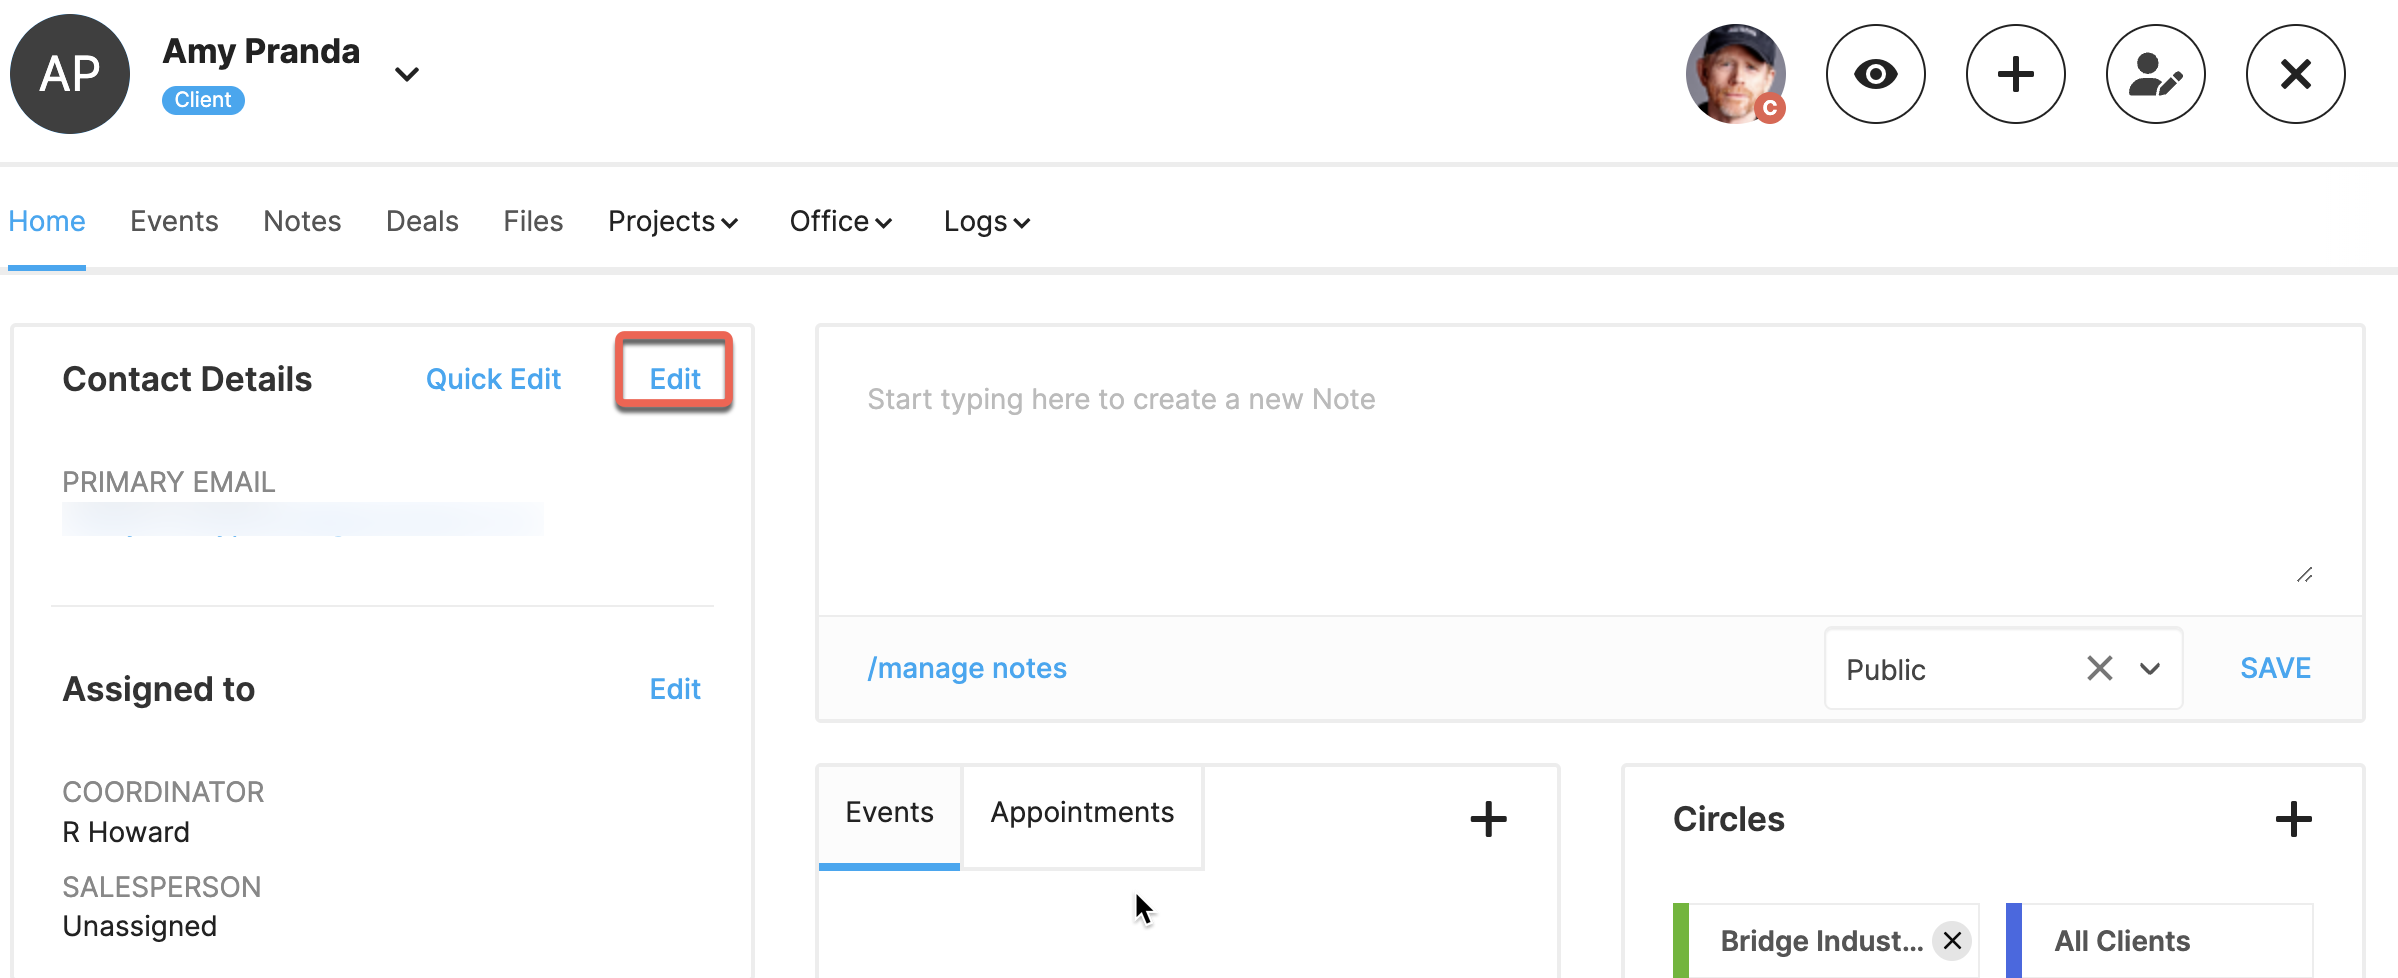
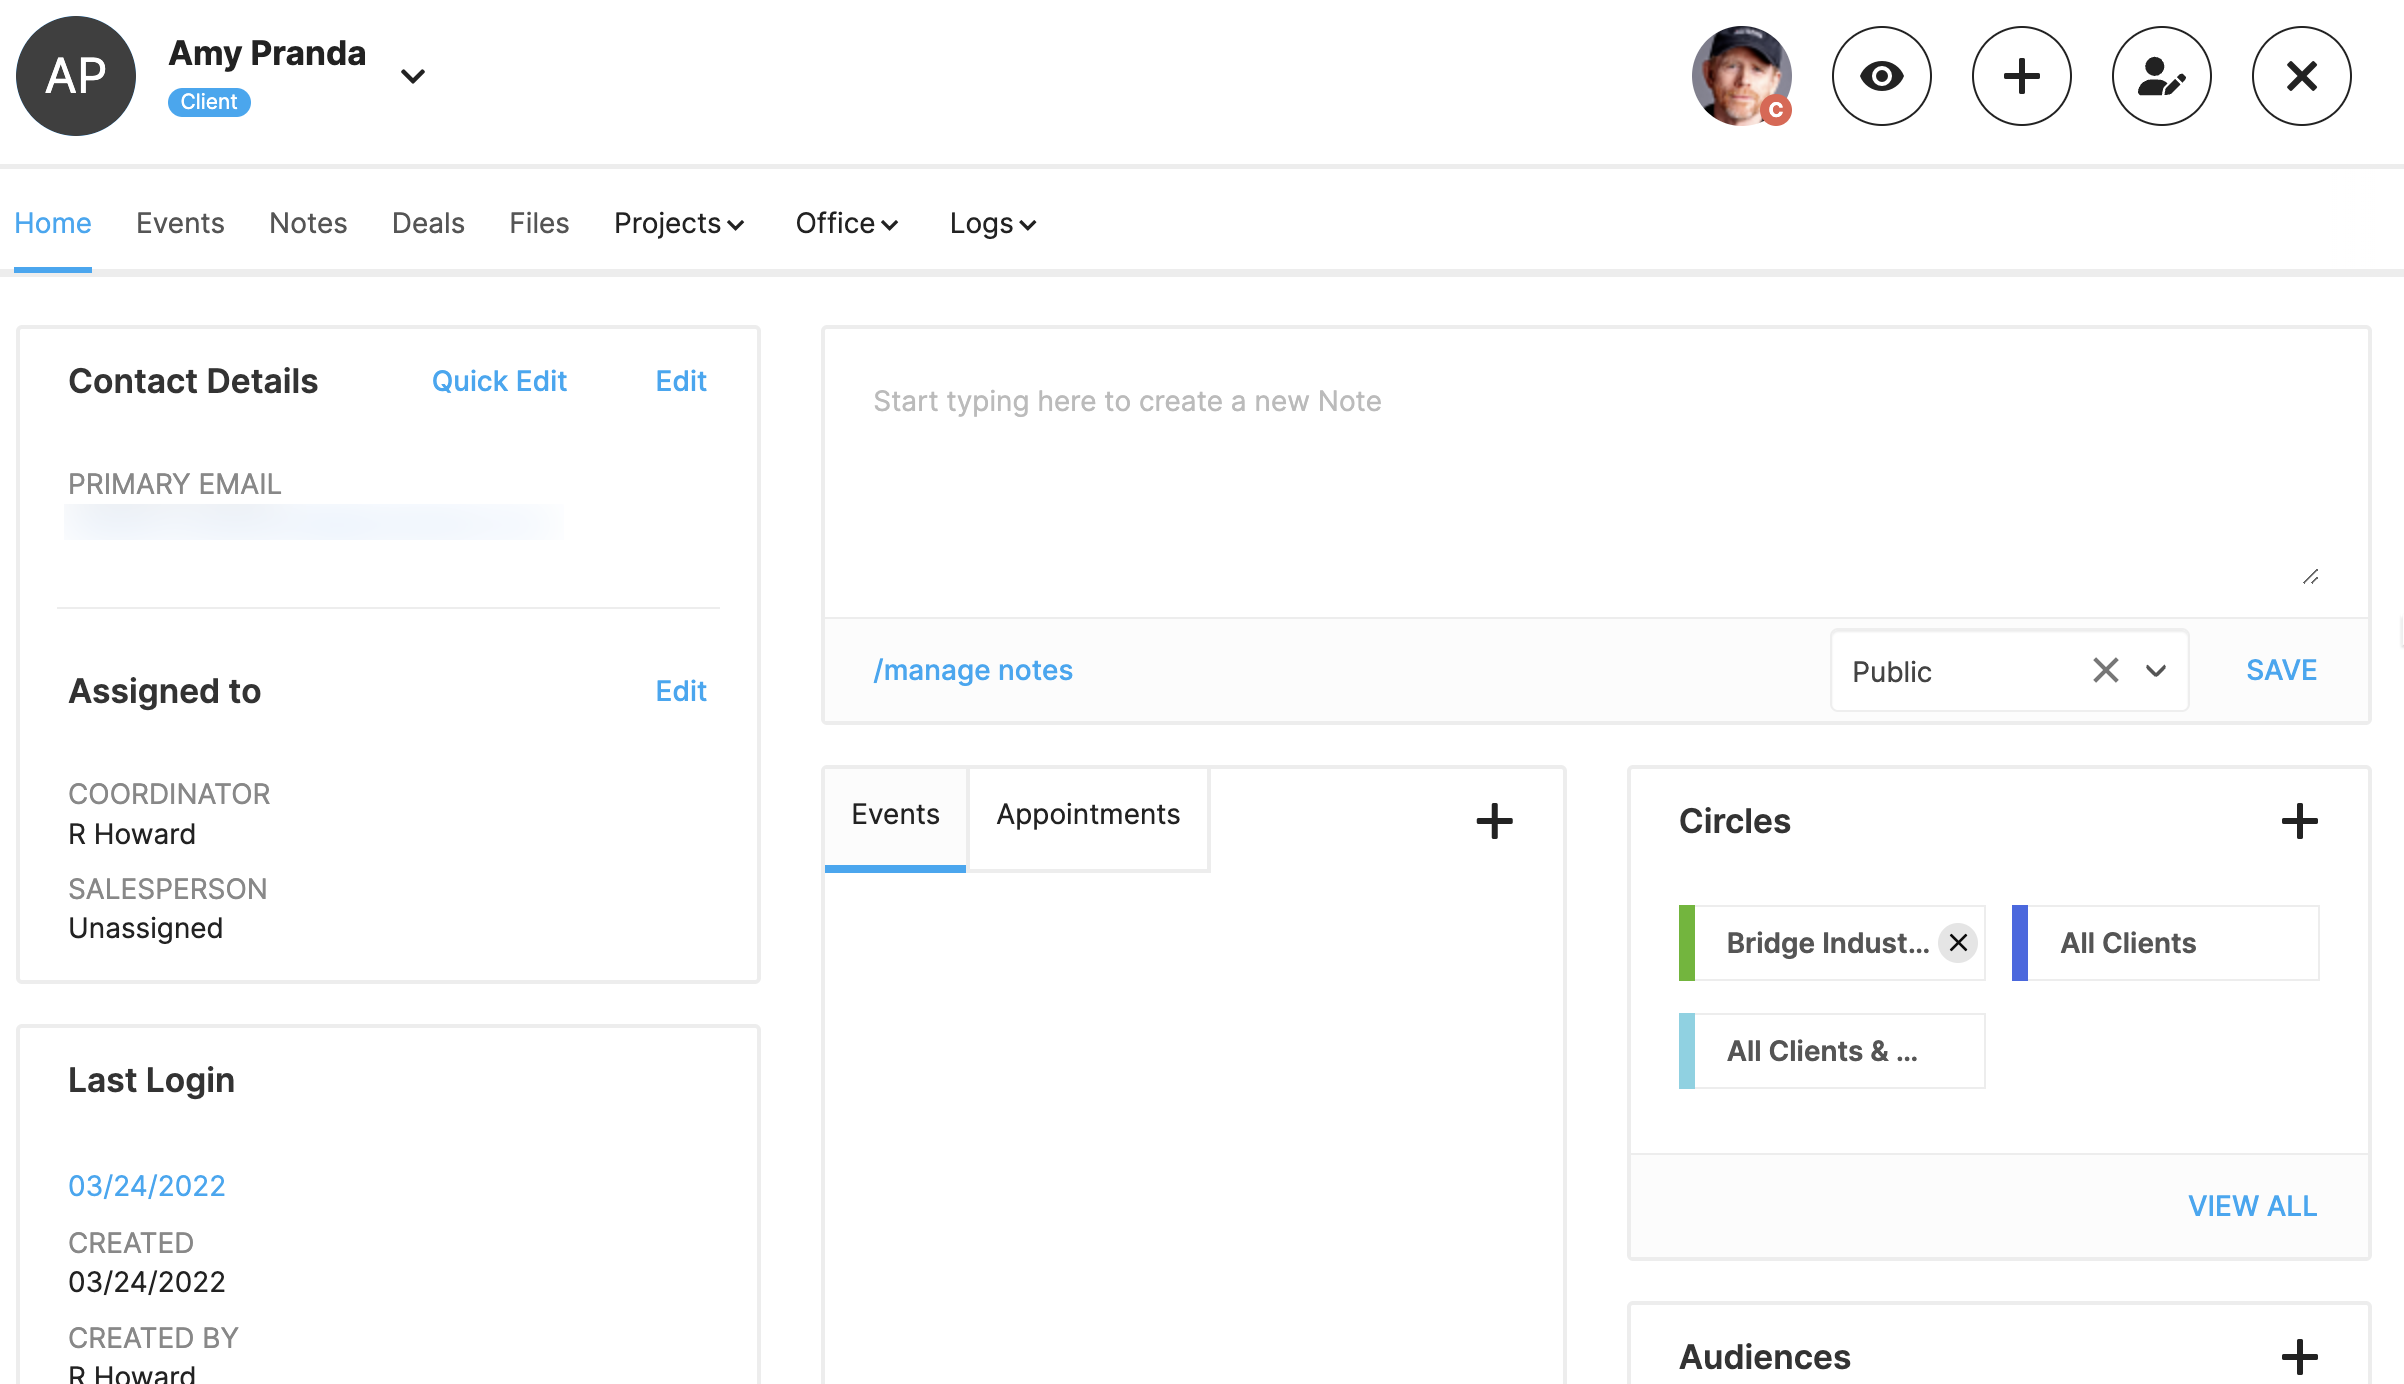
The second way is to click on the Contact you are wanting to edit from CRM > Contacts. This will take you to the Client Dashboard.
From there you will click Edit under Contact Details.
When going into Edit Mode for a Primary Contact, you also have the ability to Prevent the Primary Contact from switching into 'Individual Mode'.
Clicking this setting means that the Portal they enter and navigate is the Company Portal and they will not be able to switch to their Individual portal in the Flyout Menu.
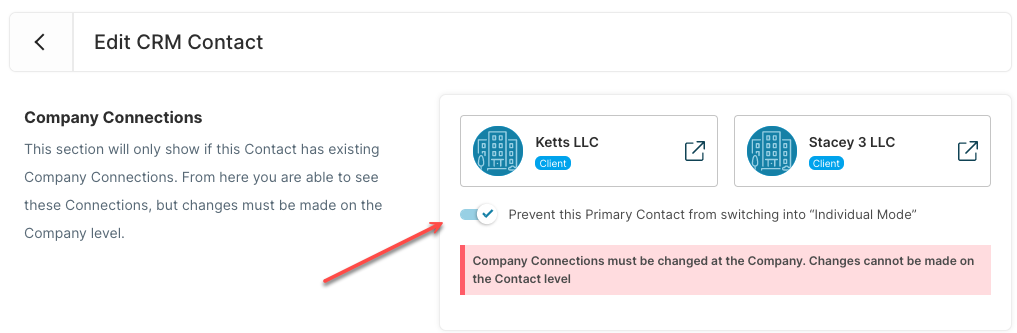
CLICK HERE to learn about Preventing Primary Contacts from switching into "Individual Mode'.
After making your Contact Edits you will see that you have 3 different Save options on the right side.
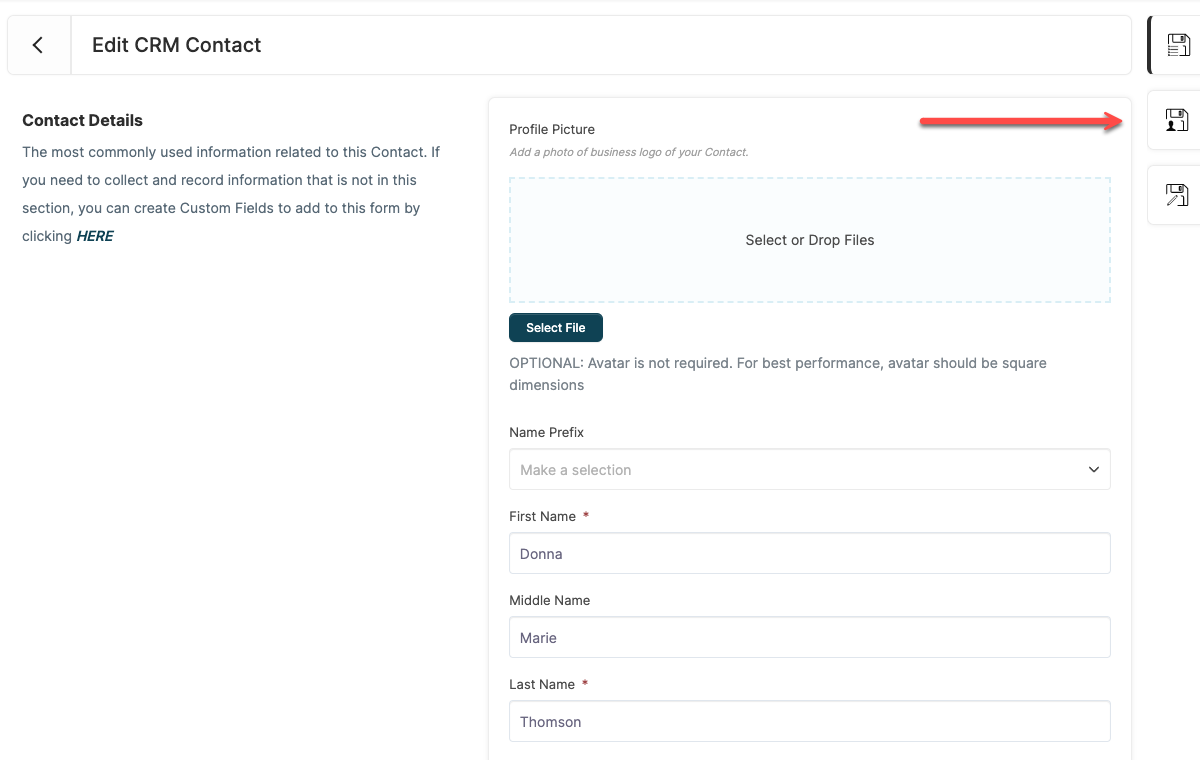
Save > List: This will save your edits and take you back to the list of Contacts.
Save > Contact: This will save your edits and take you back to that specific Contact's Dashboard.
Clear Changes: This will remove any changes you have made to the Contact. You will still need to choose a save option after clearing the changes.

How do I search for a Contact?
You can search for a Contact/Company by Filtering, the Quick Switcher or by the Search functions.
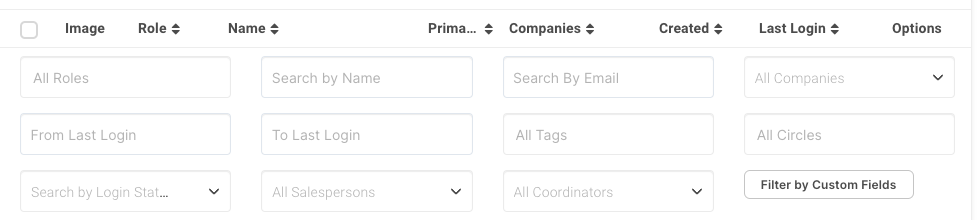
Filtering
Go to CRM>Contacts or CRM>Companies and click the Filter icon in the CRM list options.

You can then use the Filter options to find the relevant Contact/Company.
THE QUICK SWITCHER
If you are already in a Contact/Company record in the CRM, you can click the arrow next to their name to open the Quick Switcher.
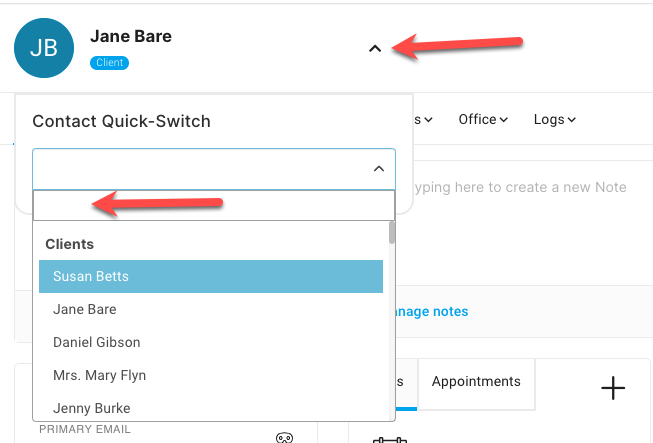
Start to type the name at the top of the dropdown box to quickly locate your Contact/Company, alternatively all of your Contacts/Companies will appear in the dropdown box.
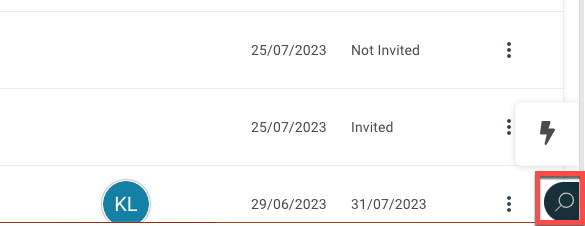
THE SEARCH/FIND BAR
From any page you can search for a Company or Contact. Click the Magnifying Glass Icon located in the bottom right of the page
Add the Contact/Company Name into the search bar and it will show both Contact and/or Company records that the name is associated with.
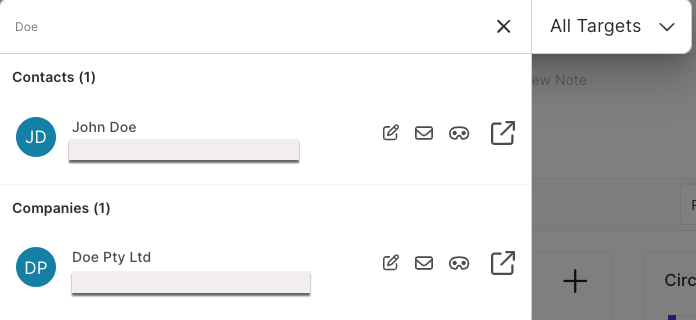
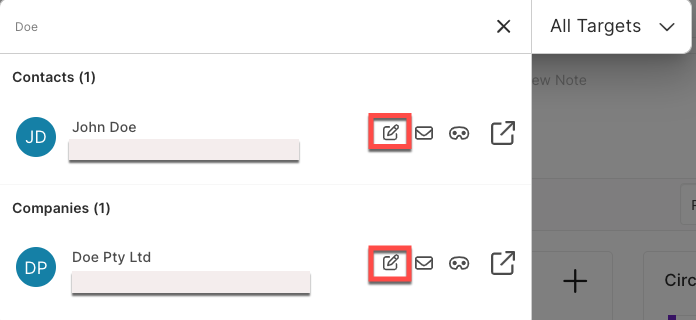
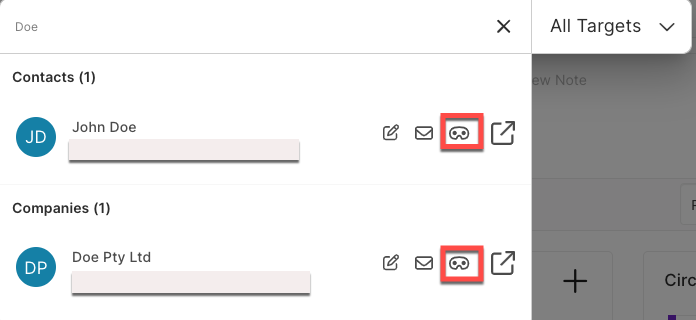
You can now use the icons to Edit, Message, Impersonate, or go to the CRM record.
Edit by clicking the Pencil icon for either the Contact or Company.
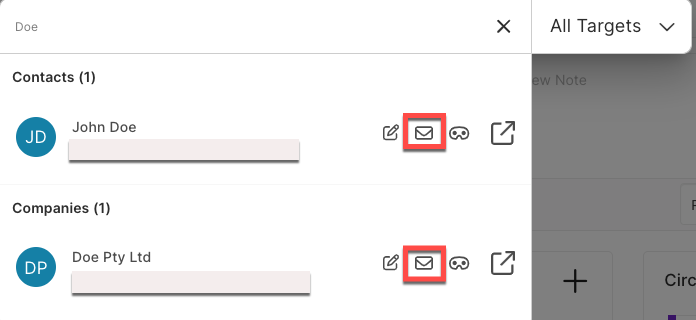
Message by clicking the envelope Icon.
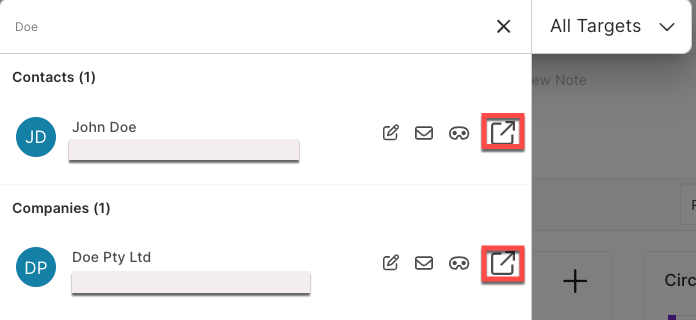
To go to the Contact/Company profile, click the arrow Icon.
TIP: You can use the keyboard short cut 'F' on any page to open the Search/Find window.