Automation- Title- video
Settings Tab
The settings tab within workflows gives you the opportunity for communication, contact, conversation, and workflow sequence management. When creating workflows, check out the settings tab to ensure communications go out at the appropriate time.
To learn more about workflows and how to build them, check out the "Workflow Training" section under the "Advanced Training" help center menu!

Contact Management
Workflows with appointment-based input triggers will accept contacts multiple times regardless of whether “Allow multiple” is turned on.
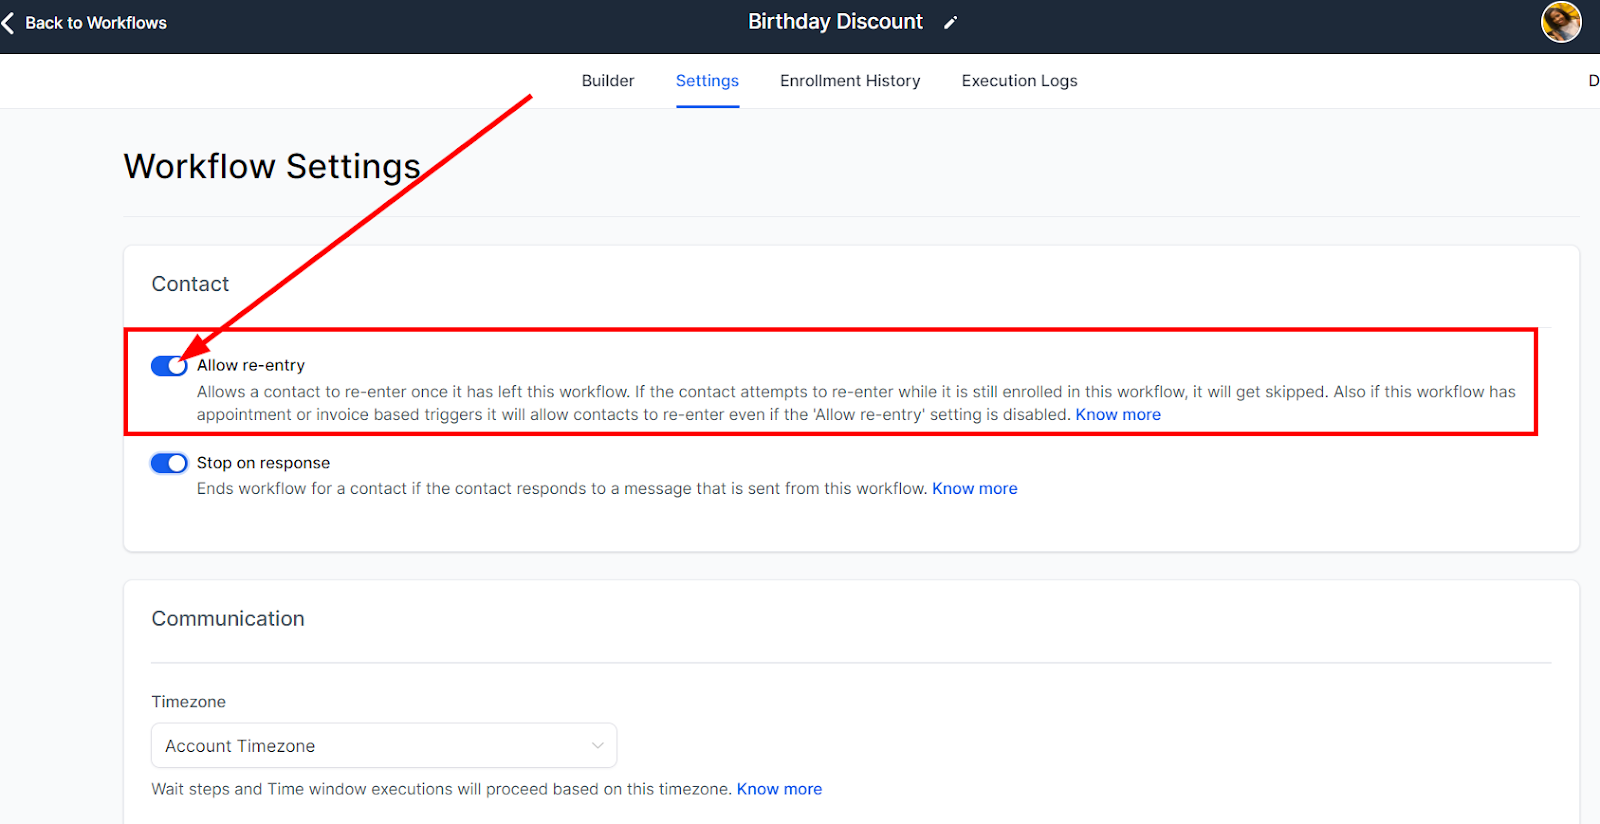
Allow Re-Entry:
This setting determines whether a contact can re-enter the workflow once completed or removed. Enabling 'Allow Re-Entry' permits a contact to revisit a workflow, provided they are inactive. It also allows a single contact to re-enter once it has left this workflow. If the contact attempts to re-enter while still enrolled in this workflow, it will get skipped.
Please Note:
Workflows that utilize an appointment or invoice-based input trigger will permit contacts to enter multiple times, irrespective of the state of the "Allow Re-Entry" setting. Even if "Allow Re-Entry" is not activated, these specific input triggers will override the setting and "Allow Re-Entry" entries of the same contact after they have gone through the workflow or been removed.
This setting is often misunderstood; it does not permit a contact to re-enter a workflow if the contact is already active. Instead, it allows for the re-enrollment of a contact that has either fully navigated through the workflow or has been manually removed.
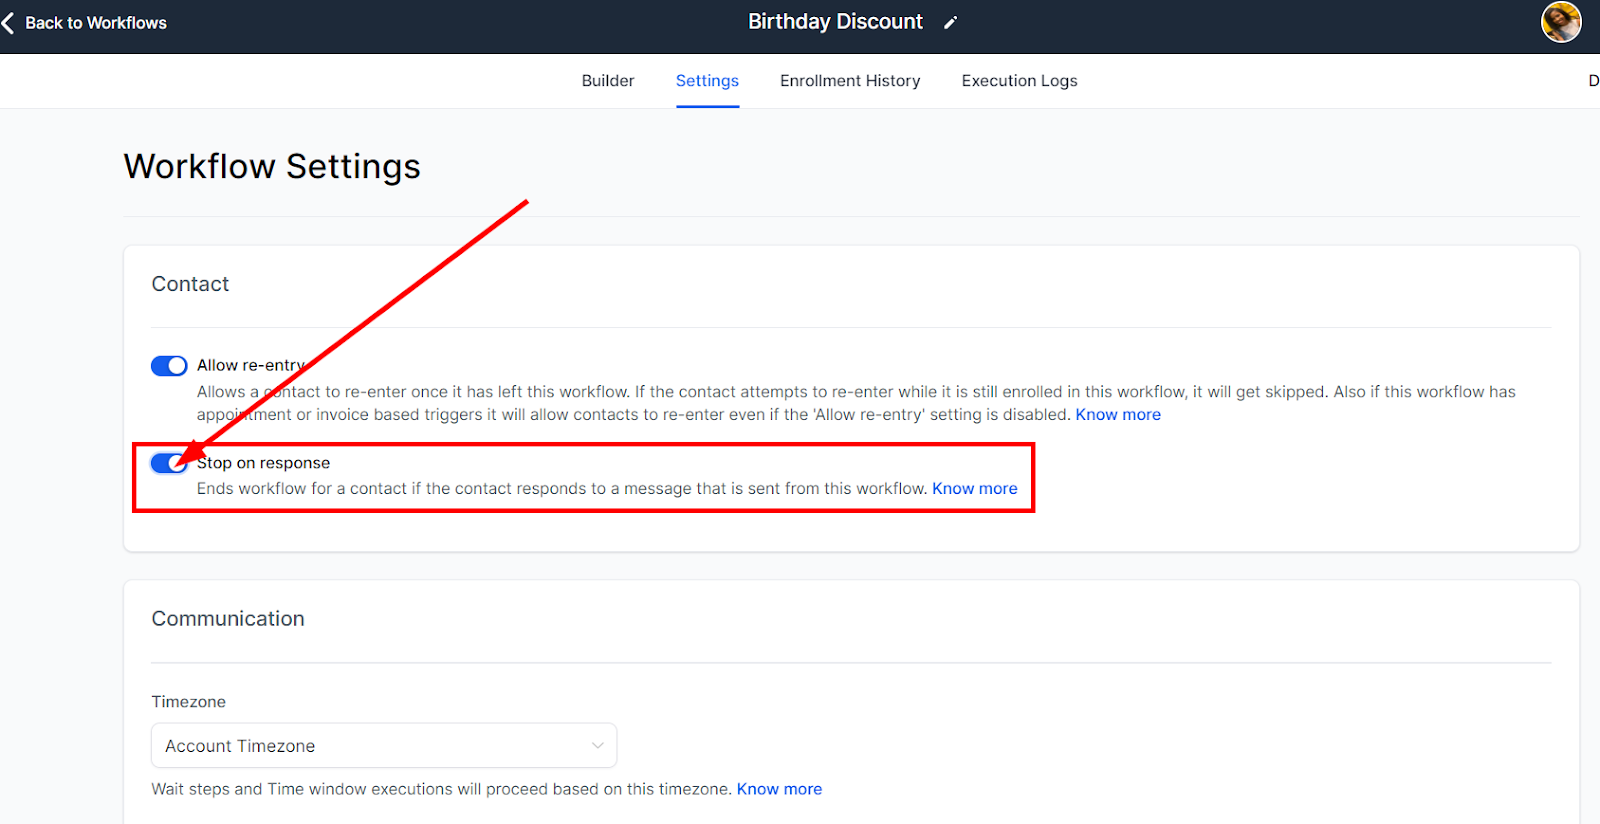
Stop On Response
When enabled, the Stop On Response button ends the workflow for a contact if they respond to a message generated by the workflow. These options provide flexibility and control for managing contacts within a workflow.
Communication Management
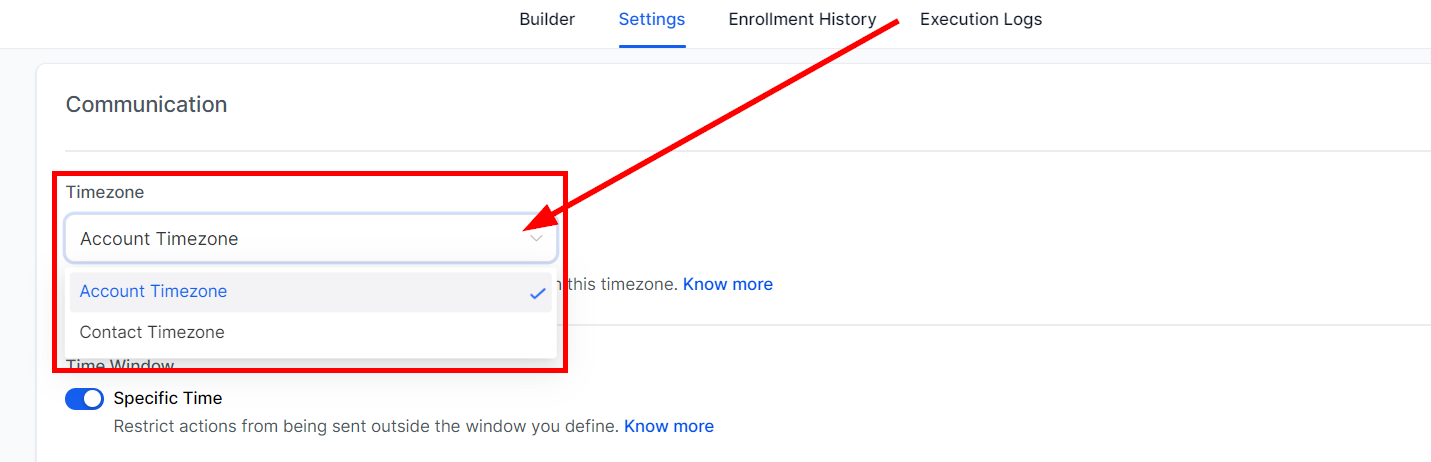
Timezone
In Workflow Settings, you will see an entry for whether an action was undertaken in the Account Timezone or Contact Timezone.
How Does Account Timezone Work?
If the Timezone is set to "Account Timezone," Then the Wait step and Time Window executions in the workflow will be processed according to the account timezone. As a result, contacts will be taken through the wait steps and time window based on the account timezone.
For instance, If you're running an event like a "Webinar or a Live Q&A" scheduled according to your business timezone, setting your workflow to the account timezone ensures that all your participants receive the reminders and follow-ups at the correct time.
How Does Contact Timezone Work?
If the Timezone is set to "Contact Timezone," then the Wait steps and Time window executions in the workflow will take each contact's timezone for execution. If the contact doesn't have a specific timezone, the workflow will use the account timezone by default.
For instance, If you're running a drip marketing campaign for a global audience, setting your workflow to Contact Timezone ensures that your customers receive the emails at an appropriate time in their timezone, thereby increasing the likelihood of engagement.
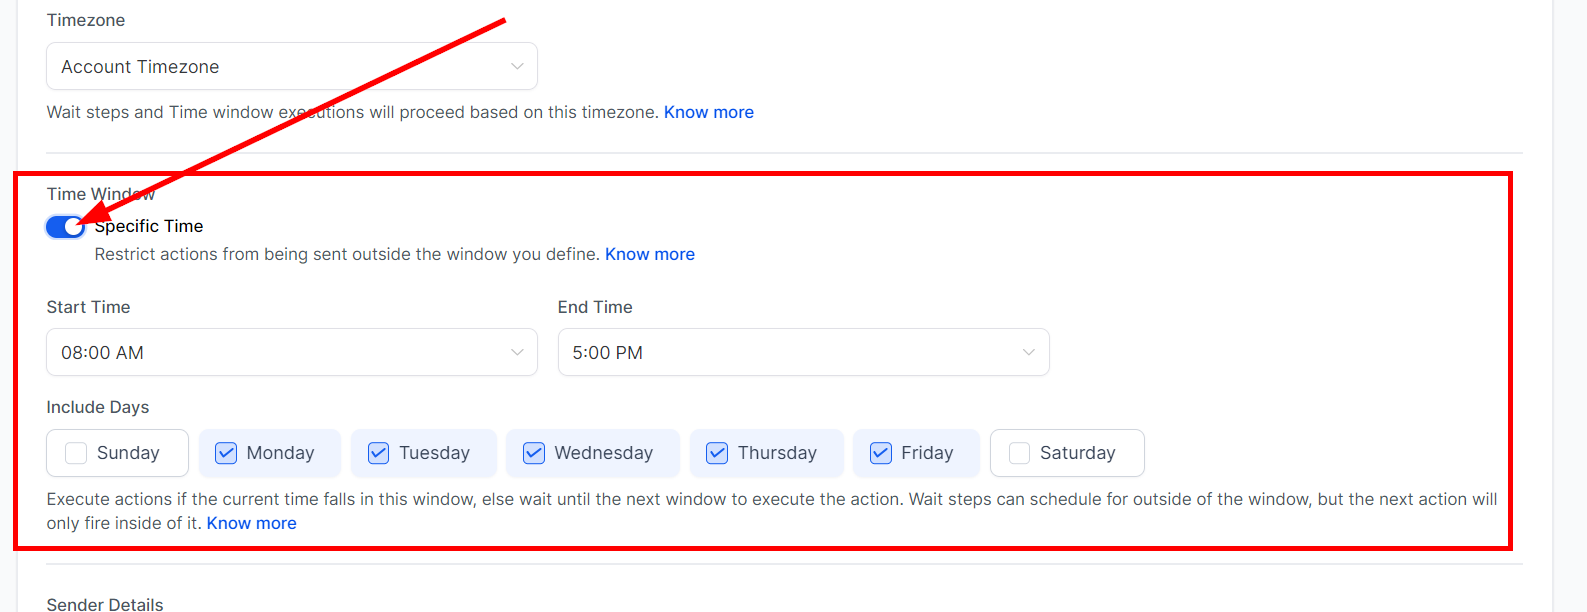
Time window
The Communication Management feature in the platform provides various options to personalize workflows. The Time Window feature lets you activate the workflow.
- Specific Time: This restricts actions from being sent outside your defined window. It executes actions if the current time falls in this window; else, wait until the next window to execute the action. Wait" steps can be scheduled outside of the window, but the next action will only fire inside.
When you toggle off the Specific time bar, it allows messages to be sent from this workflow anytime.
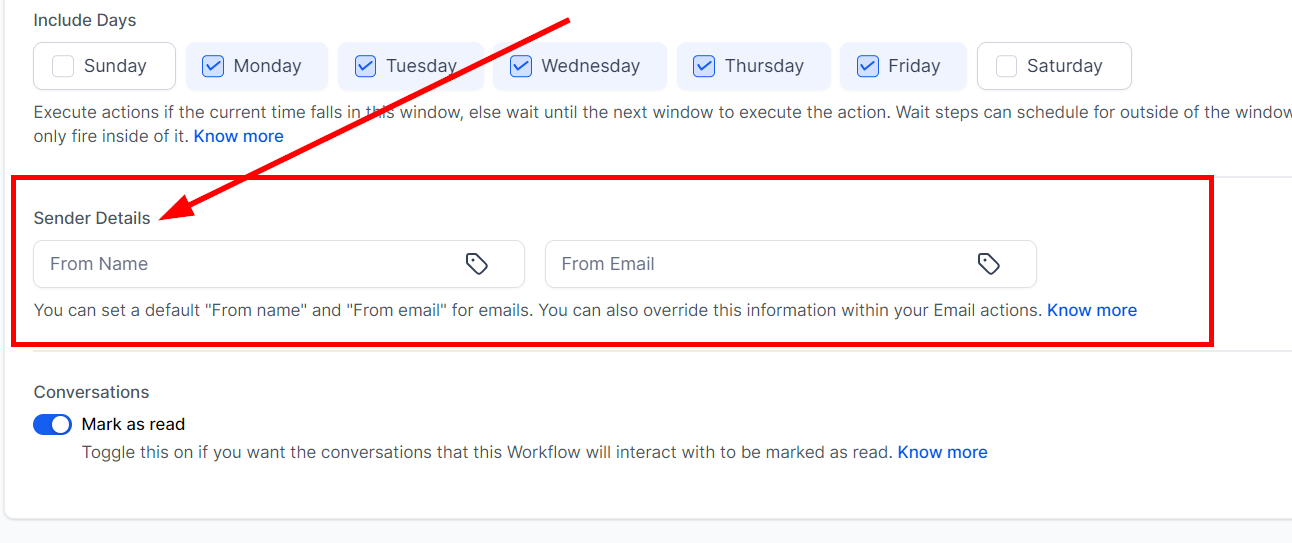
Sender Details
The Sender Address feature in the platform is used to specify the recipient's email address. This feature automatically assigns default 'From Name' and 'From Email' addresses for outgoing emails. However, these can be customized by setting the 'from name' and 'from email' fields in the email actions themselves. It can be overridden by individual email actions in the workflow if needed.
Email: You can set a default from name and email address for your emails, although this can be changed by specifying from name and email in the email actions.
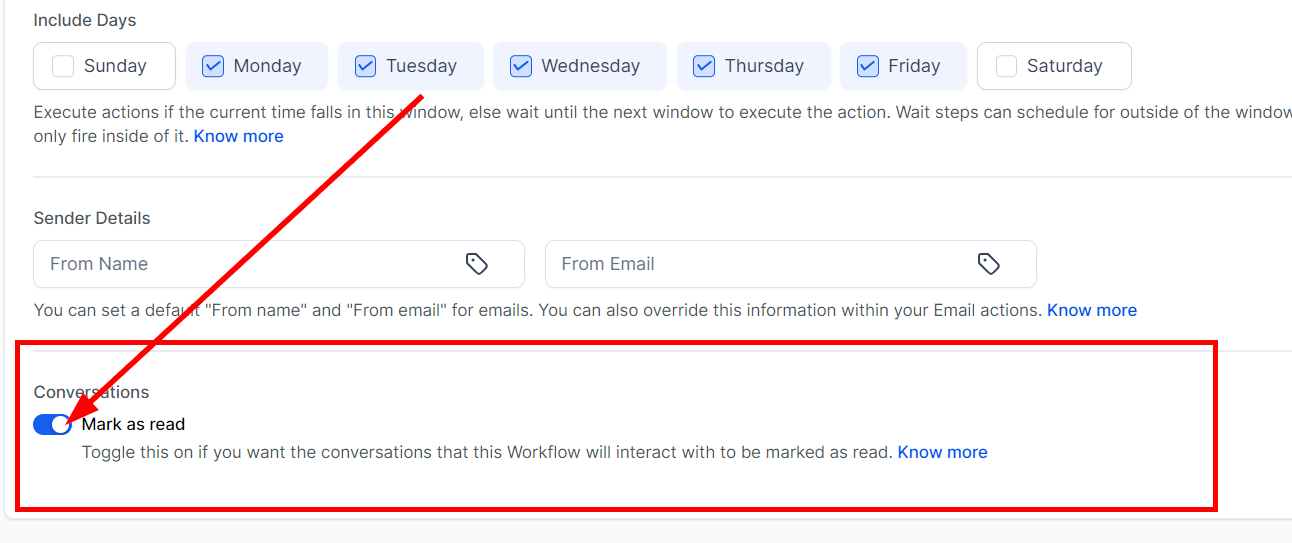
Conversation Management
Mark as Read
The Conversation Management feature in the platform offers the option to toggle the Mark as Read feature. Turning on this feature controls whether or not automated messages sent from a workflow are automatically marked as read in the conversation tab. By default, messages sent from a workflow appear as unread. If the 'Mark as Read' setting is enabled, all outgoing automated messages are automatically marked as read, helping to maintain a clean and organized conversation tab.
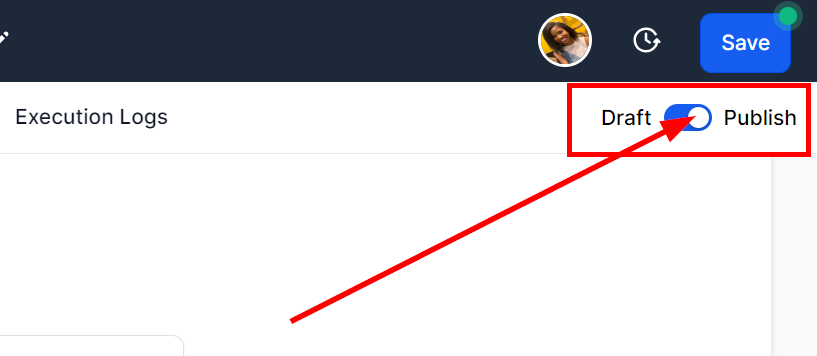
Draft vs. Publish
The Draft vs. Publish feature in the platform allows you to toggle a button to activate or deactivate a workflow as draft or publish. Toggling on the button will set the workflow to publish mode, making it available. Conversely, toggling the button offsets the workflow to draft mode, making it inaccessible.
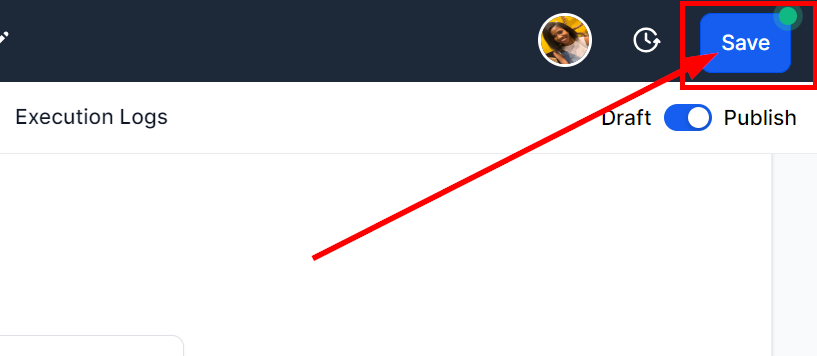
Save
The Save icon is used to save the workflow settings once you have made changes to the workflow. This feature is a crucial part of workflow management and ensures that workflows are only deployed when ready.
Workflow Latest Updated
After clicking save, the platform displays the dates on which workflows were created or last updated. This feature helps users track when their workflows were last modified, providing a useful reference for maintaining current and consistent workflow processes.
