You can incorporate an image into your page.
The image element provides a convenient way to incorporate visuals into your funnel or website page, enhancing the overall user experience. By integrating images that complement your content, you can create a more engaging and aesthetically pleasing site, capturing the attention of visitors and effectively conveying your message.
General Settings
When editing the image element on your funnel page, most adjustments can be made in the General Settings section located to the left.
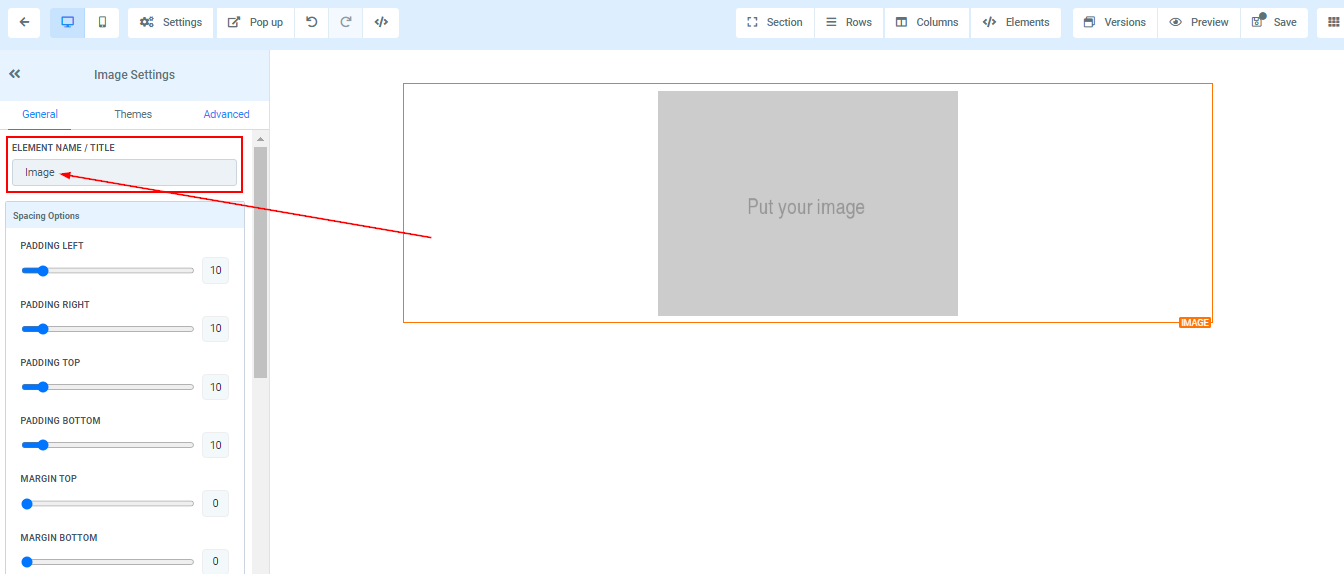
Element Name/Title
At the top of this section, you'll see the element name/title, which is the default name/title of the edit option you're working on. You can choose to leave it as is or rename it to make it easier to identify later on when building out your funnel page.
Spacing Option:
The spacing options in the General Settings section allow you to adjust padding and margins for your image content.
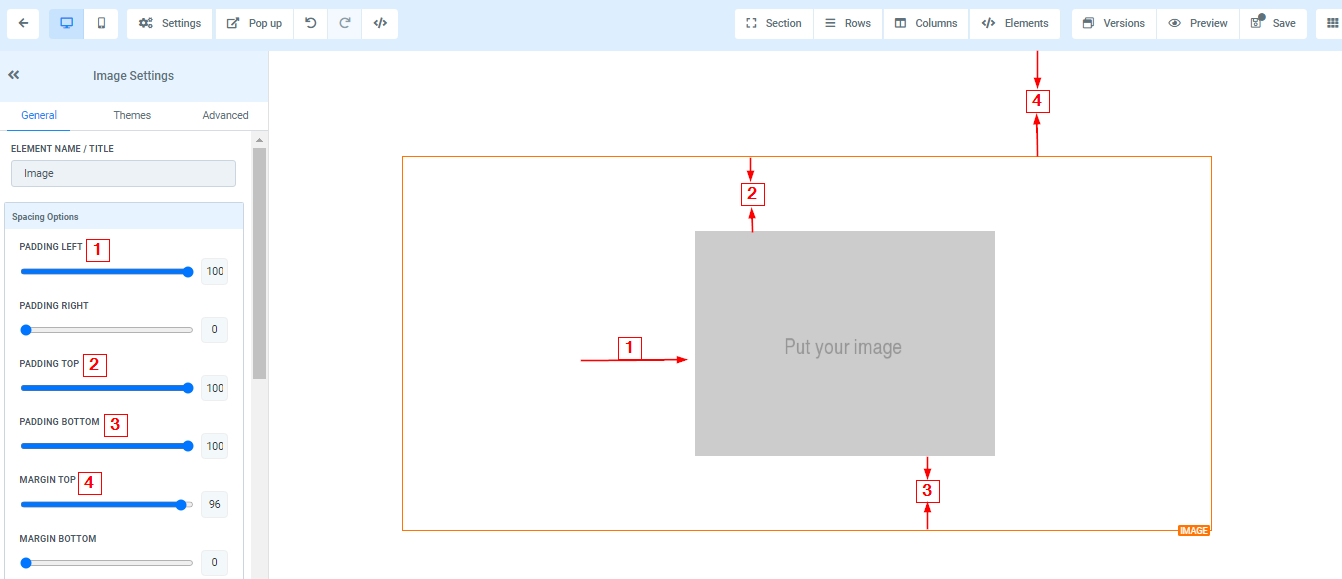
- Padding Left, Right, Top, and Bottom
This Four (4) different toggle bar moves the content to either the left, right, top, or bottom depending on the toggle bar you click on.
- Margin Top and Bottom
You can adjust the top or bottom margin of your content by toggling its bars.
Background Color
To change the background color of your image element, simply click on the content area you want to adjust and select a color from the options provided or add a custom color code to match your branding.

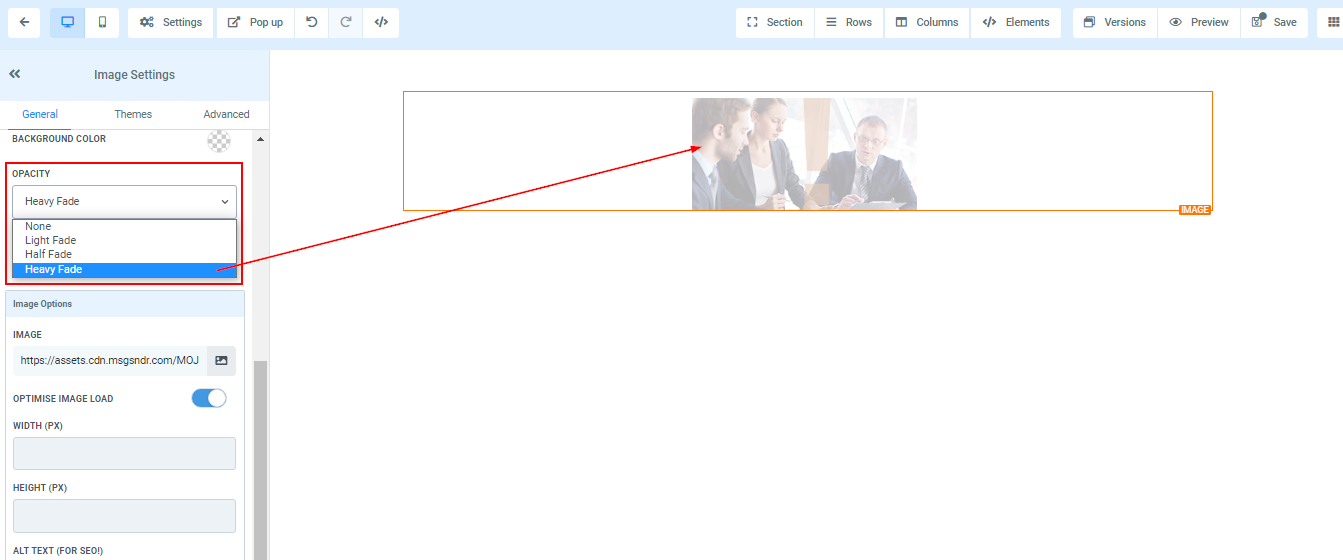
Opacity
You can decide the extent to which you want your text/content to fade in each element box. the opacity varies from None, Light, Half, to Heavy fade.
Align
You can move your text in different positions as you deem fit, you can position it to the Left, Center, Right, or as Justified.

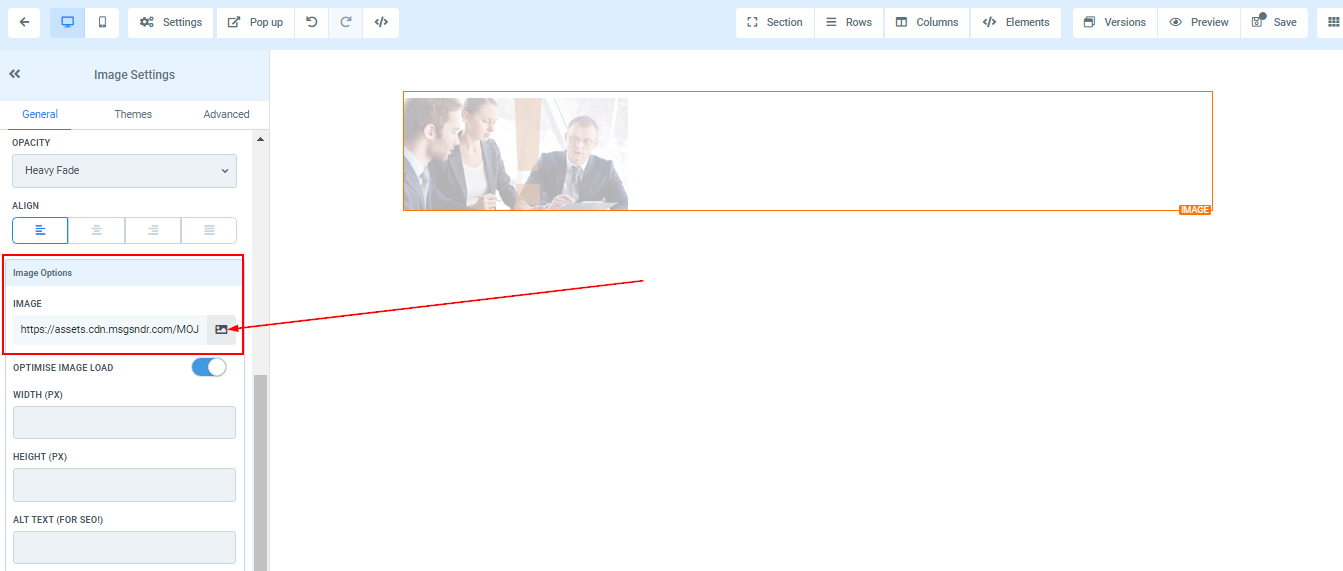
Image Option
- Image
When you click on the image icon on the right side of the space provided, it directs you to the storage page where you can upload the image you want to use. Once you've uploaded the image, click on the image, and then click on the "copy to clipboard" icon on the right upper corner of the page, beside the "delete" icon to copy the image URL.
Click on the "Back" button to return to the Editors' page, then paste the URL in the space provided your image will appear on the editor's space.
- Optimize Image Load
To optimize image load, simply toggle it off. It comes with a warning, if you are sure you want to turn it off click "Ok"
Warning: If you turn off image lazy loading, it might affect your page speed. Optimizing images for your website can reduce your total page load side by up to 80%.

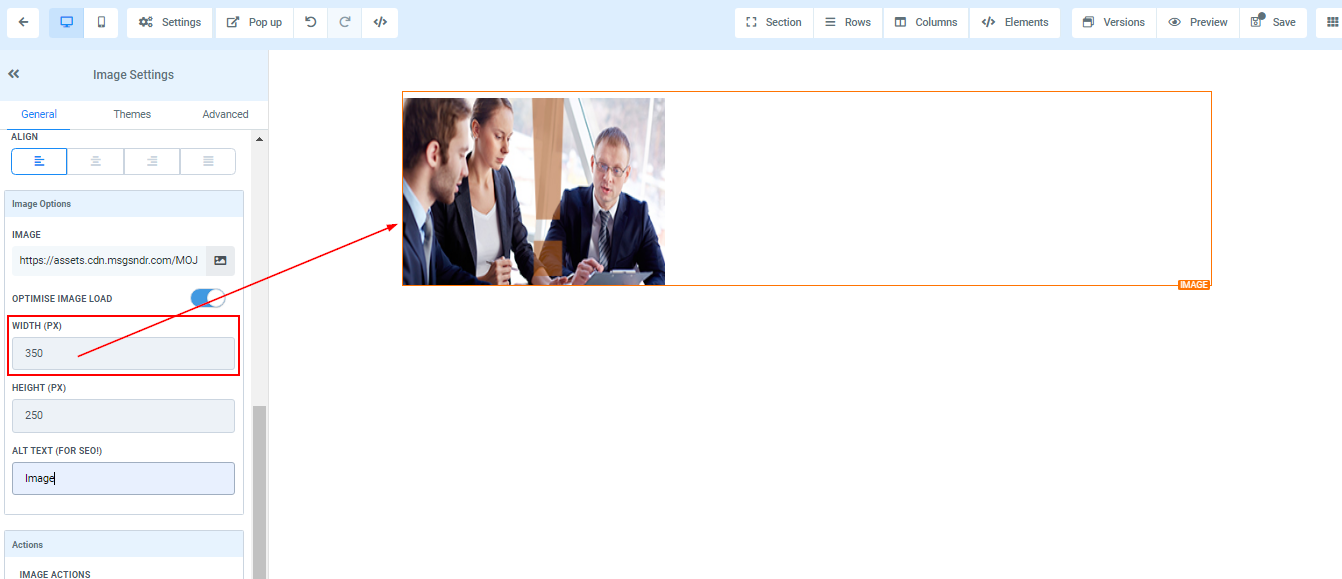
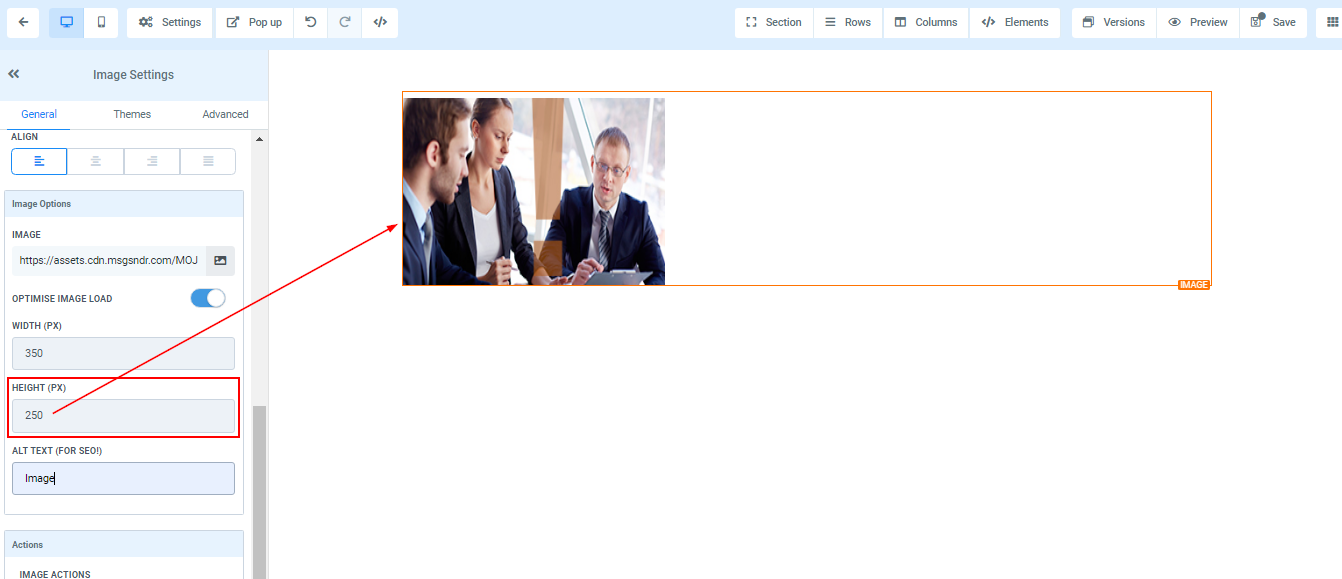
- Width and Height (PX)
You can decide the width and Height here by inputting your desired size in the space provided.
- Alt Text (For SEO!)
Make sure to add alt text for SEO purposes by quickly describing the image you added.

Image Actions
With Image Actions, you can select either the Open the popup or the go to website URL.
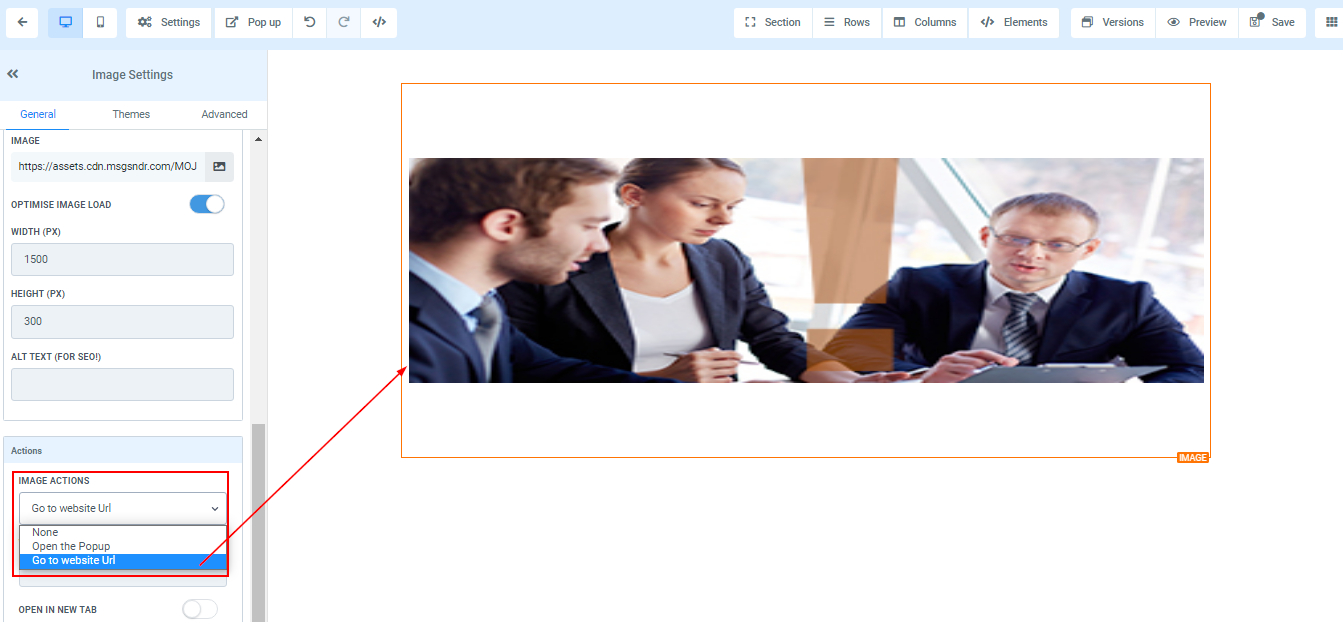
- Website
When you select "Go to website URL" in the "Image Action" icon, it will require you to select which website page you will be settings.
- Open In New Tab
You can toggle to have the URL you added open in a new tab by toggling the option on below the URL field.
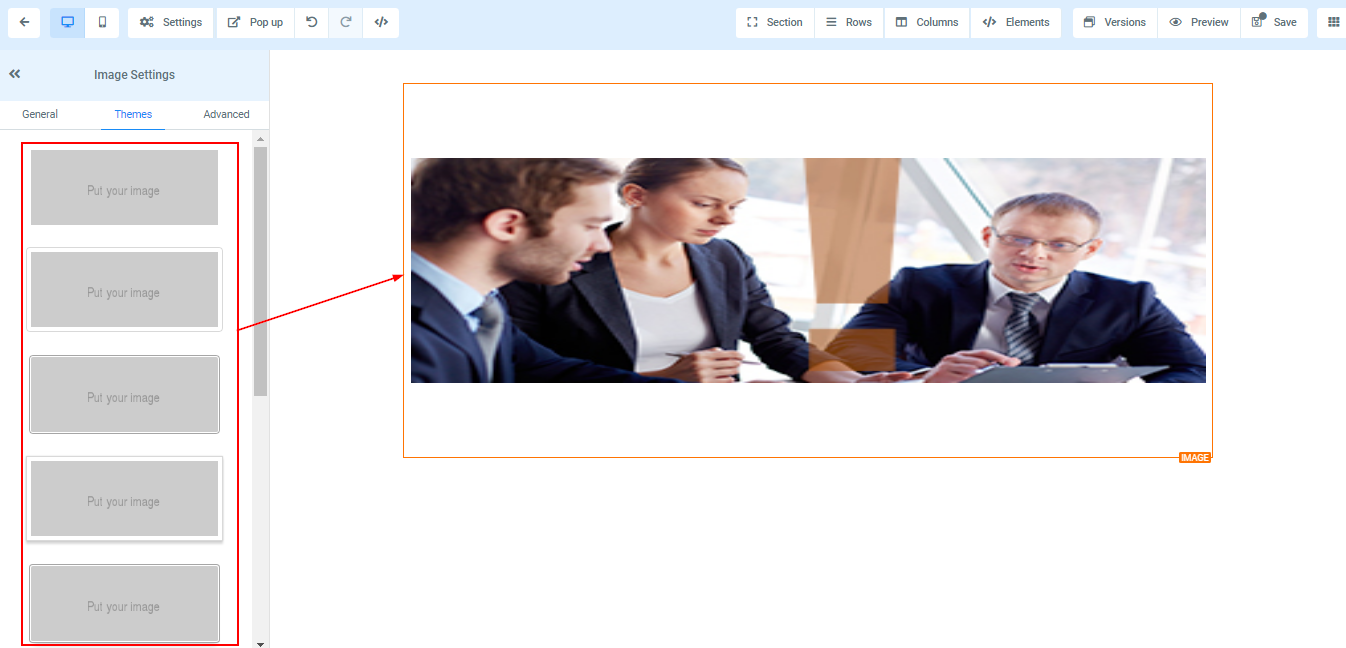
Theme
In the Themes tab, you can select a theme for your video element.
Note that once you click on one of these theme options, you lose all of the previous edits to borders and colors that you did in general settings. If you click on one and want to revert back to what you had previously designed, simply click the undo icon on the top left of the page.
Advanced Settings
Under the Advanced Settings tab, you have additional customization options such as adding border radius, adjusting visibility, adding a custom class, and copying the CSS code for later use.
Image Radius
The Border Radius dropdown gives you the option to have your image show as uploaded, as a circle, or as an oval.

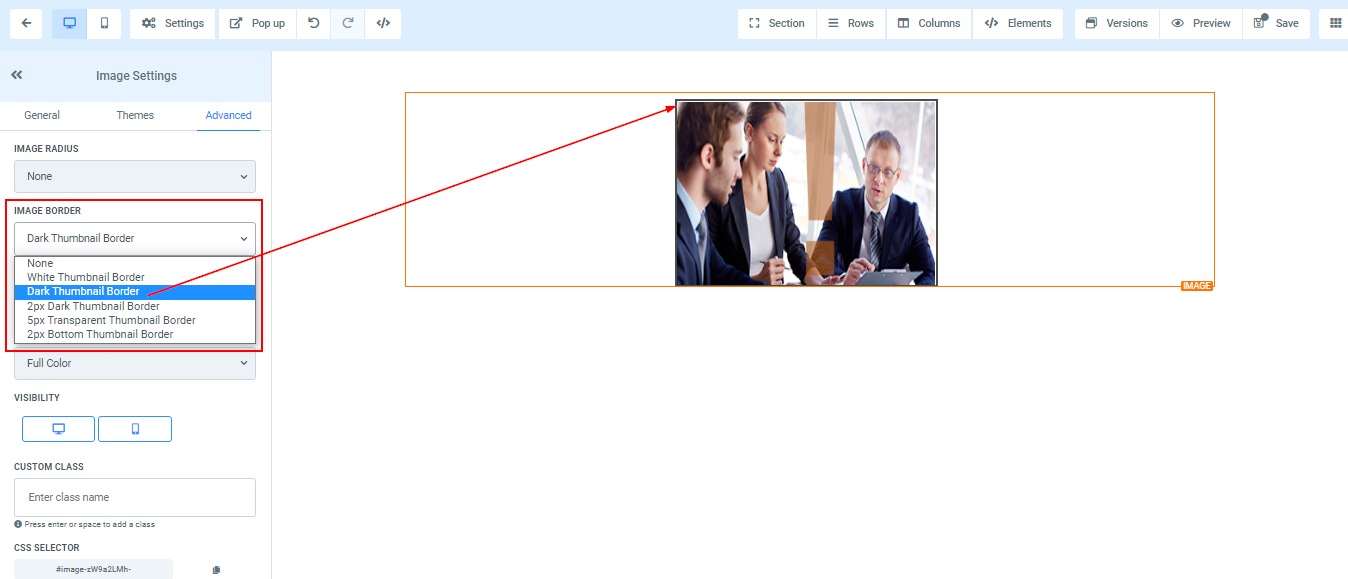
Image Border
You can choose the type of border you want. Once you select any of the border types, the settings for the border pop up;
Button Shadow
You can add a border shadow to your image by selecting the border shadow dropdown and selecting from the drop shadow or inner shadow options.

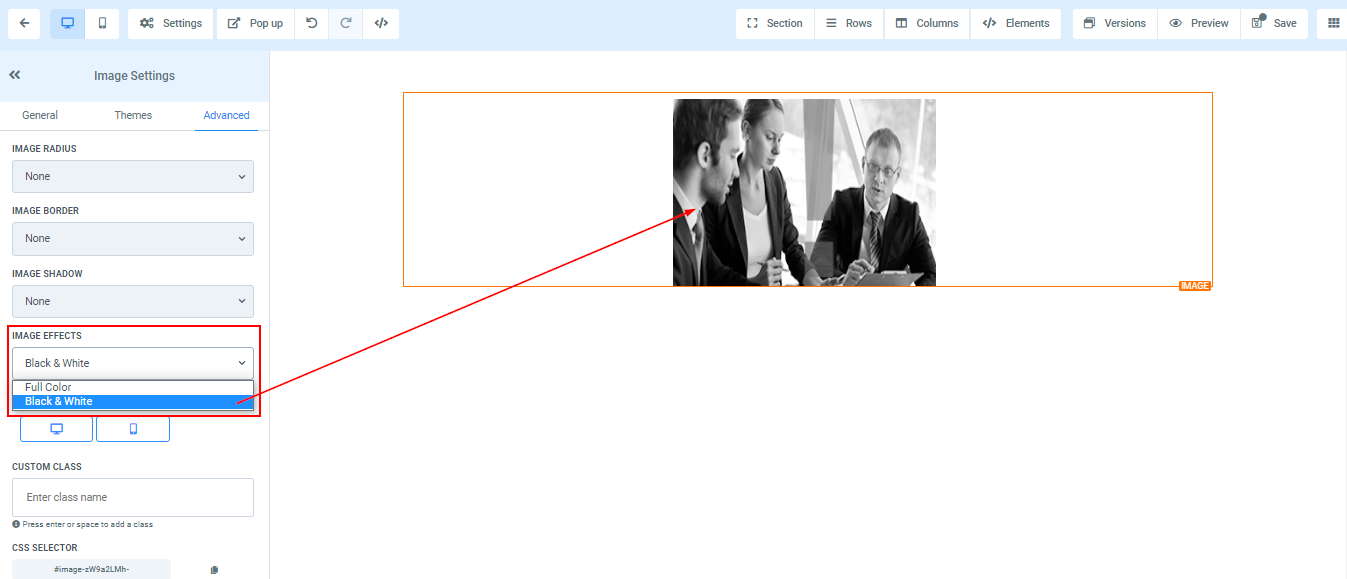
Button Effect
You can add an effect to your button by simply selecting your choiceIf you would like to make your photo show in black & white instead of color, you can do so in the image effects dropdown.
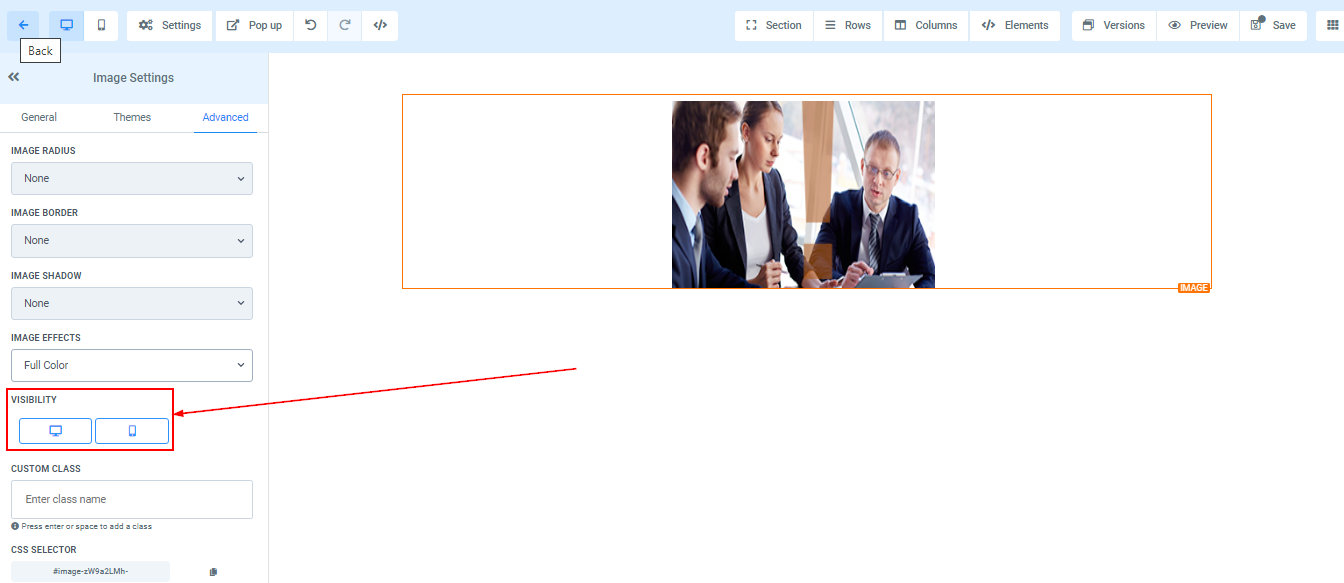
Visibility
The Visibility section allows you to toggle the visibility of your image element to only desktop or mobile, depending on your needs. You can preview your changes using the desktop and mobile options in the top left of the funnel builder to see how it looks.
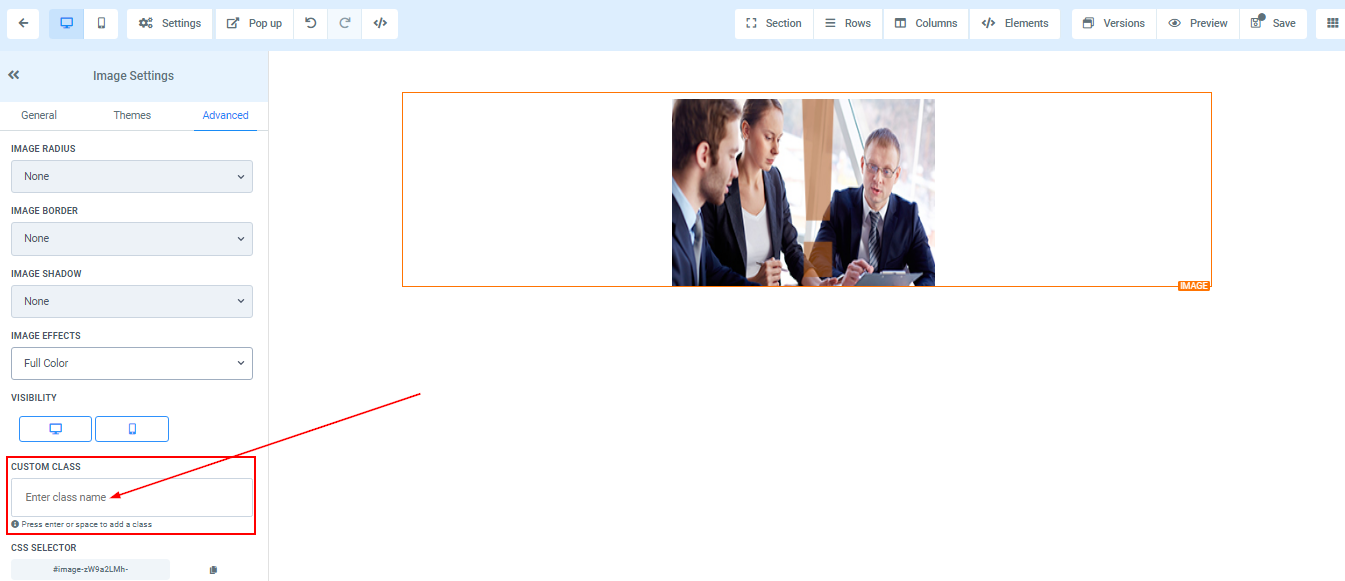
Custom Class
Simply type or paste in your Custom Class code.
CSS Selector
You can copy a CSS Selector by clicking on the "copy" icon on the right side of the reference number you want to copy