Before delving into the seamless connection between iCloud Calendar and your software, it's essential to highlight a few key points:
- The iCloud Calendar integration is exclusive to Class Booking, Round Robin, Collective, and Service Calendar. Simple calendar integration with iCloud is not supported.
- This integration operates as a "One-way" sync. Events created in your CRM software app will be pushed to the iCloud calendar. Changes made in the software’s calendar for these appointments will be reflected in iCloud. However, changes made in iCloud events won't be reflected in the software’s Calendar.
Example Scenario:
Consider an appointment "Hair Cut" booked in the software; it syncs to iCloud. Modifications or deletions made in either app will be reflected in both calendars. Conversely, an appointment like "Pick John from school" created in iCloud will be shown in the software, but changes in iCloud won't affect the software.
Two-way Sync Capability:
While the current integration is one-way, envision a future where events created in the software are automatically synced to iCloud, and vice versa. This two-way sync ensures seamless updates, making manual adjustments obsolete.
Connecting Your iCloud Calendar with your CRM software :
Step 1: Obtain Your App-Specific Password from Apple:
- Visit https://appleid.apple.com/.
- Enable two-factor authentication under Security if not already done.
- In App-Specific Passwords, choose 'Generate Password.'
- Label it (e.g., "My CRM’s Calendar") and click 'Create.'
- Copy the generated password for Step 2.
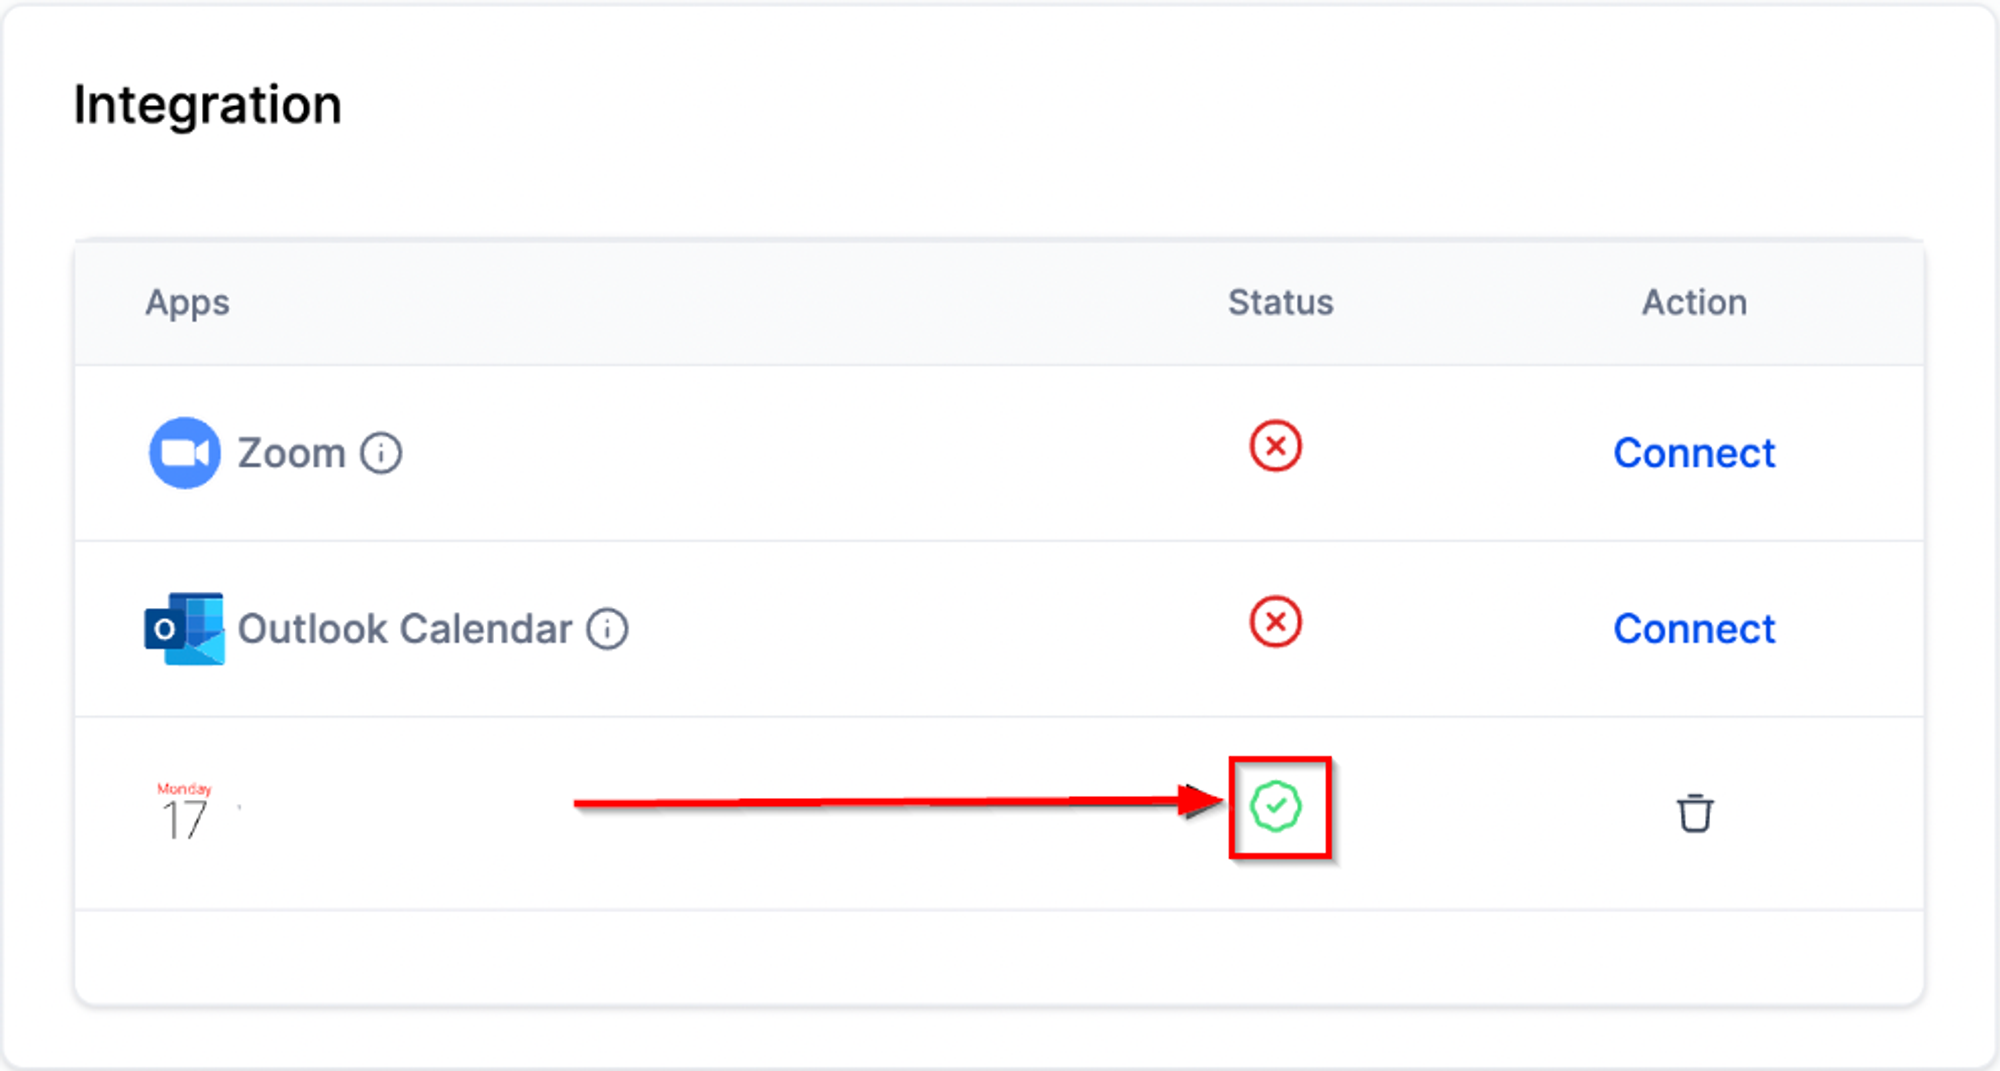
Step 2: Integrating iCloud with your software’s Calendar:
- Navigate to Settings > My Profile > Integrations.
- Click 'Connect' next to iCloud Calendar.
- Enter your iCloud Email Address and the app-specific password obtained in Step 1.
- Connection successful.
Step 3: Configure Primary and Check for Conflict Calendars:
Primary Calendar:
- In My Profile, click on Calendar Configuration.
- Edit Primary Calendar, selecting the account integrated with the software.
- Save to set up your Primary Calendar.
Check for Conflicts:
- In Calendar Configuration, edit Check for Conflicts.
- Select additional calendars to avoid double bookings.
- The software’s calendar considers events from these calendars when checking for availability.