This is the one of last steps to getting your calendar up and running! Once you've configured your confirmations, your clients will find it very easy and straightforward to book appointments with your team.
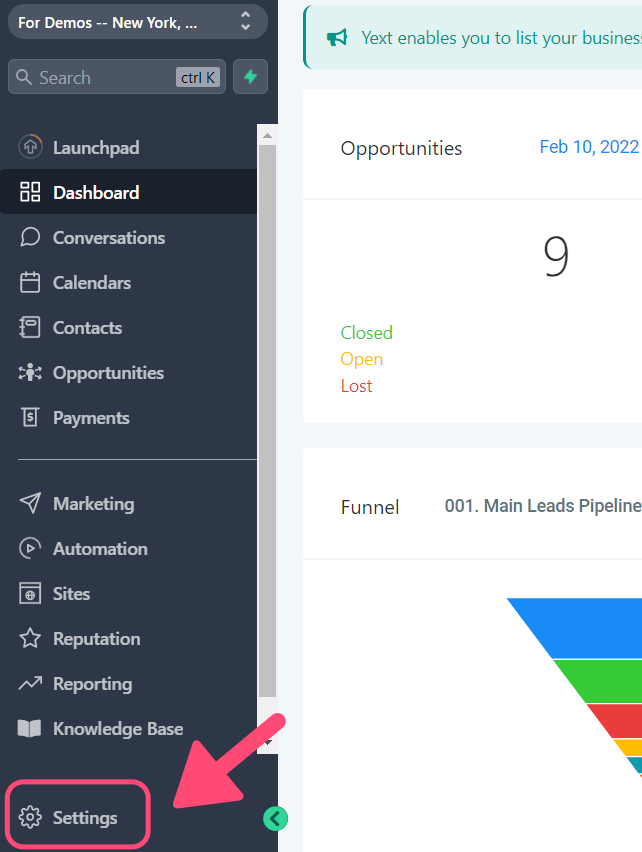
Go to Settings
Click on the "Settings" menu.
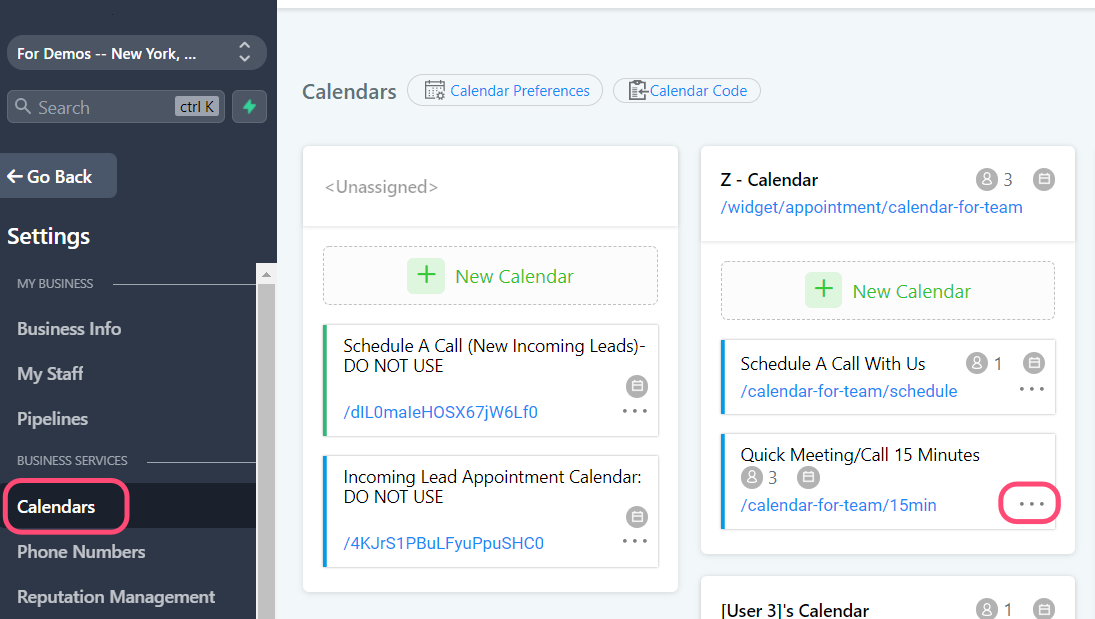
Go to Calendars
Go to "Calendars". Choose the calendar you want to edit by clicking on the ellipsis ... next to the calendar's name.
Go to "3. Confirmation"
Go to "3. Confirmation" clicking on the top menu.
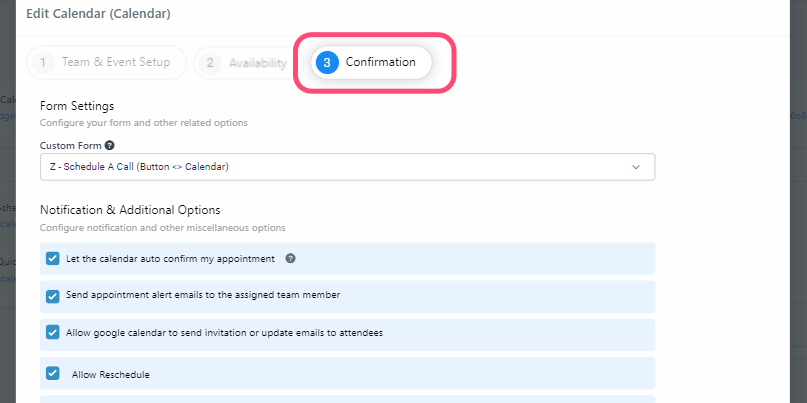
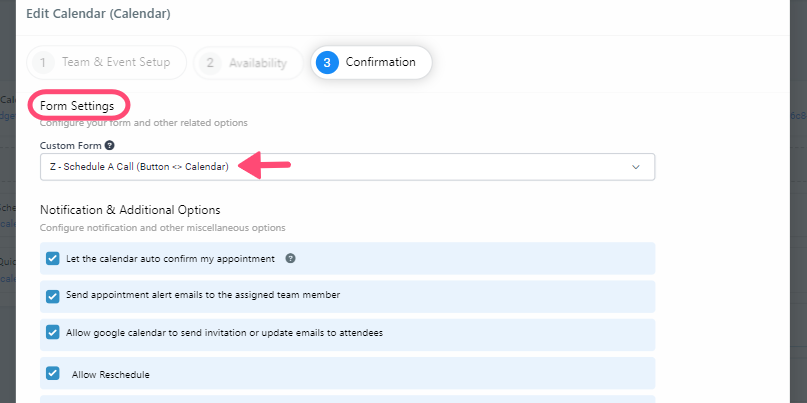
Form Settings Section
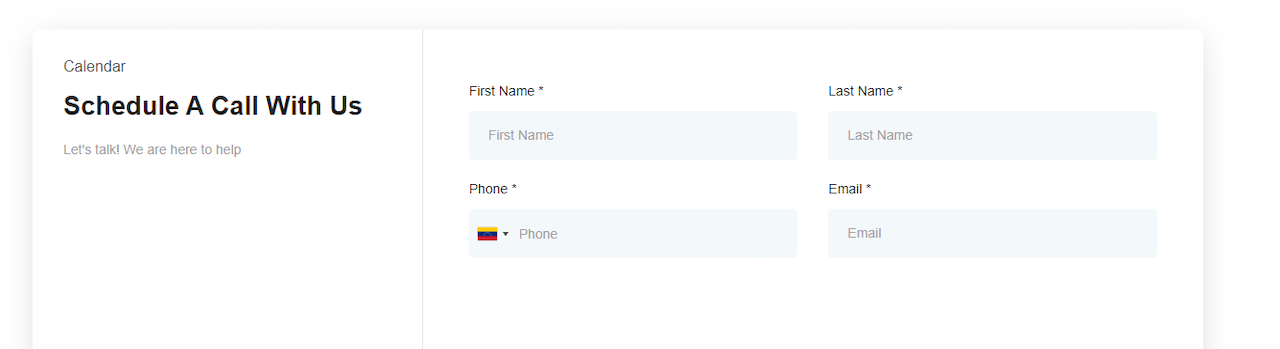
In "Form Settings" you can leave the default form you have there and this option will show a very basic contact form (full name, email & phone number) once someone books a time.
You can also use any form from the form builder to gather more information from your clients.
Edit Notification & Additional Options
Choose the notification options in "Notification & Additional Options". We recommend you leave all of them on, especially the "letting the calendar autoconfirm" option.
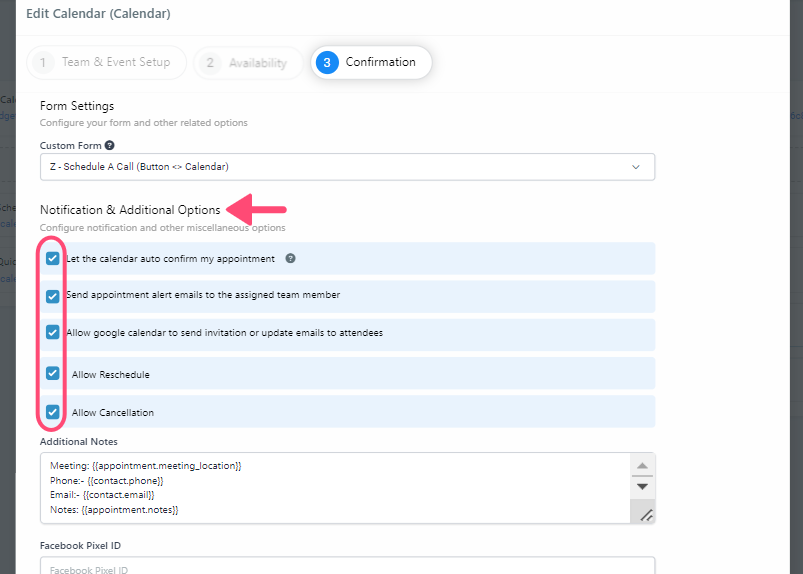
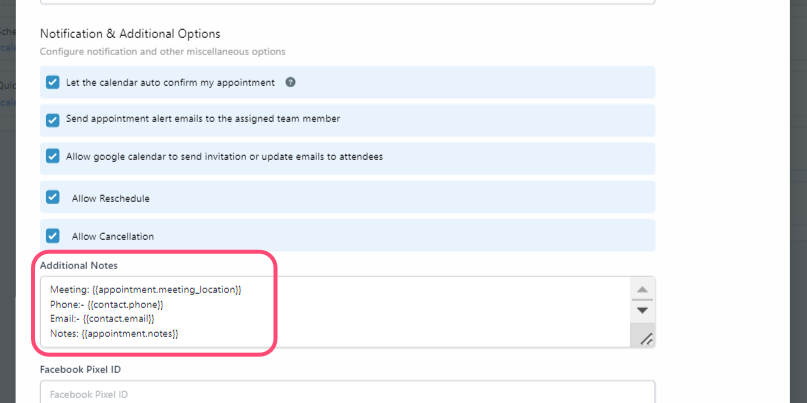
Edit Additional Notes
Customize your "Additional notes", you can add more info for your reference.
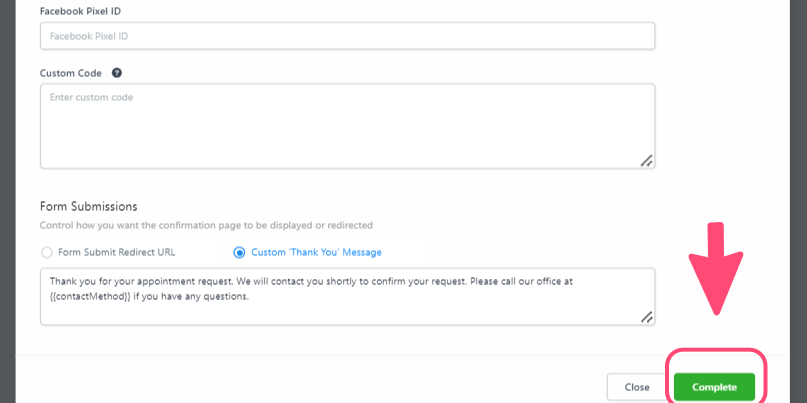
Edit Thank You Message
You can choose between having the default thank you message or a custom one.
- Click on the "Custom Thank You Message" button.
- In the text box below, type in the message your clients will see after they schedule a time on your calendar.
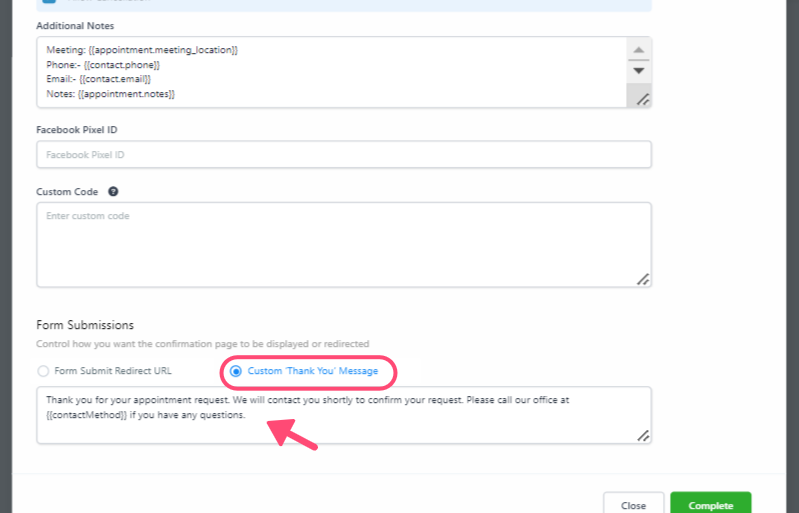
Save the Changes
Click on "Complete" after you've finished editing to save the changes.
And you're all set! Any time you want to edit or update your calendar preferences, follow these 3 simple steps.