In this guide, we will explain how to set up card payment authorization on your website using Version 2 of the system. This process allows you to temporarily deduct a specific amount from a customer's bank account to ensure they have enough funds before proceeding with the purchase. Once authorized, the system refunds this amount. This feature is useful for subscription and payment plans.
Understanding Card Payment Authorization
Card payment authorization is not automatically enabled and requires additional setup steps. Here's how it works:
- The system temporarily deducts the "authorized amount" from the customer's bank account.
- If the customer doesn't have sufficient funds during authorization, they won't be able to continue with the purchase.
- Once the authorization is approved, the system refunds the deducted amount.
- If your plans include trial days, they will start after card authorization.
- The refunded funds may take up to 5 business days to return to the customer's bank account.
- Card payment authorization only works with subscription and payment plans.
Setting up Card Payment Authorization
Let's go through the steps to set up card payment authorization on your website:
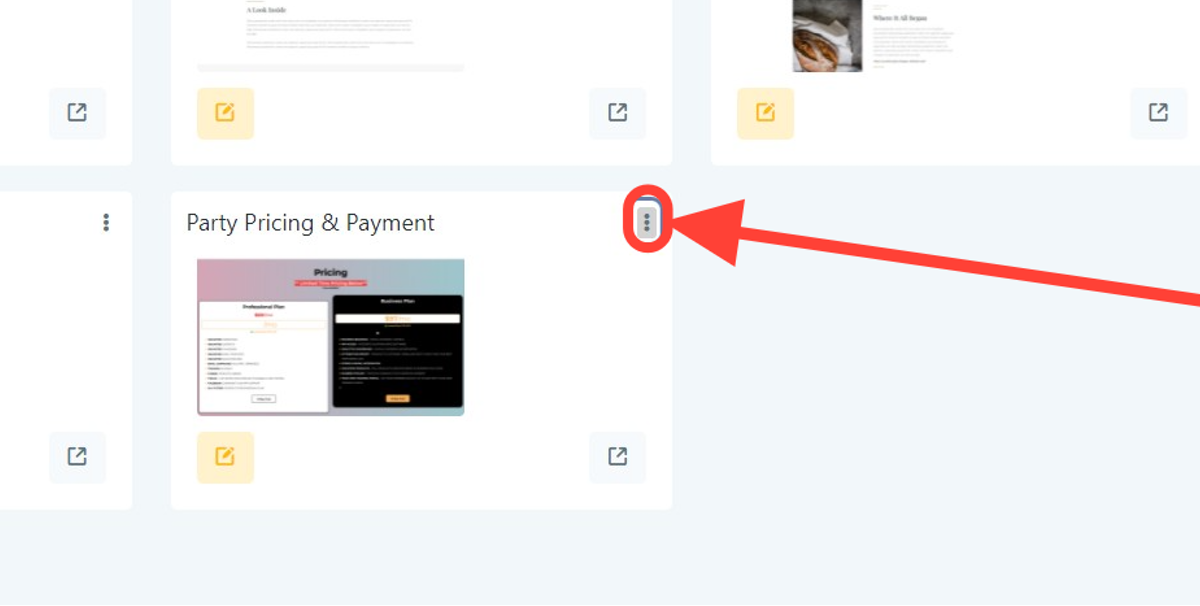
Step 1: Go to your website and locate the section where the order form is placed.
Step 2: Click on the "3 dots" to access more options.
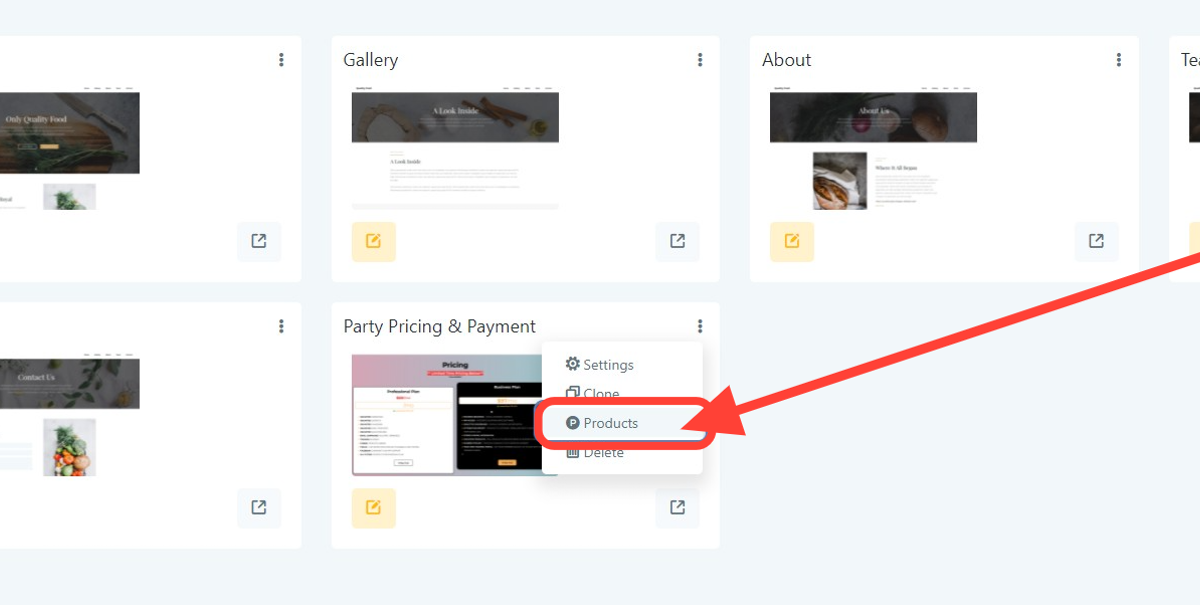
Step 3: Click on "Products." If you don't see any products on your page, you need to add them first.
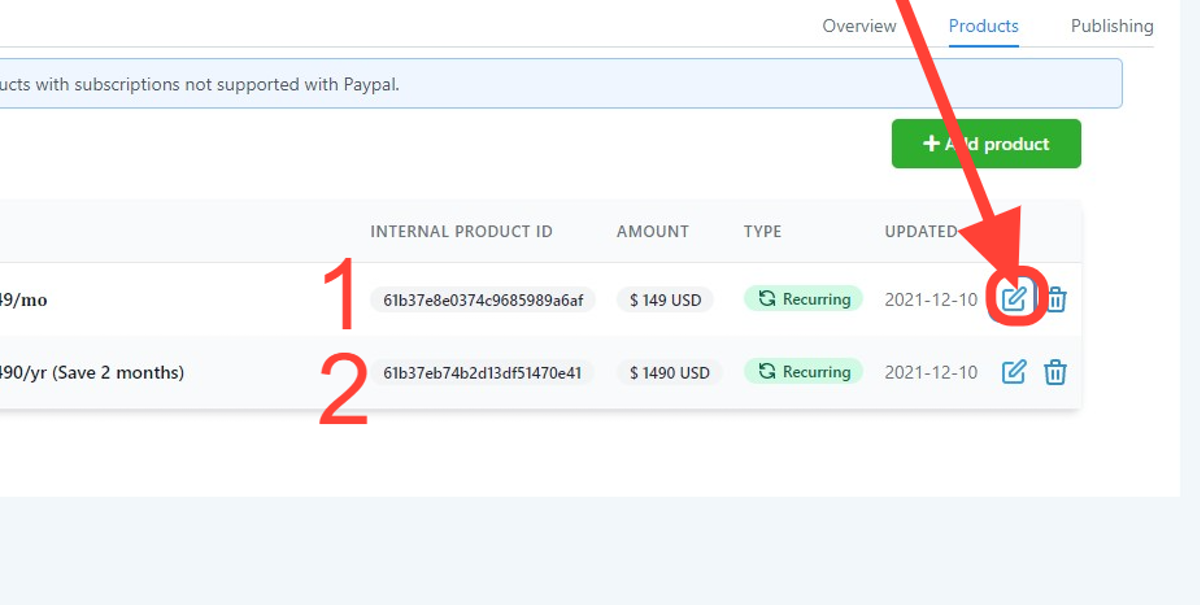
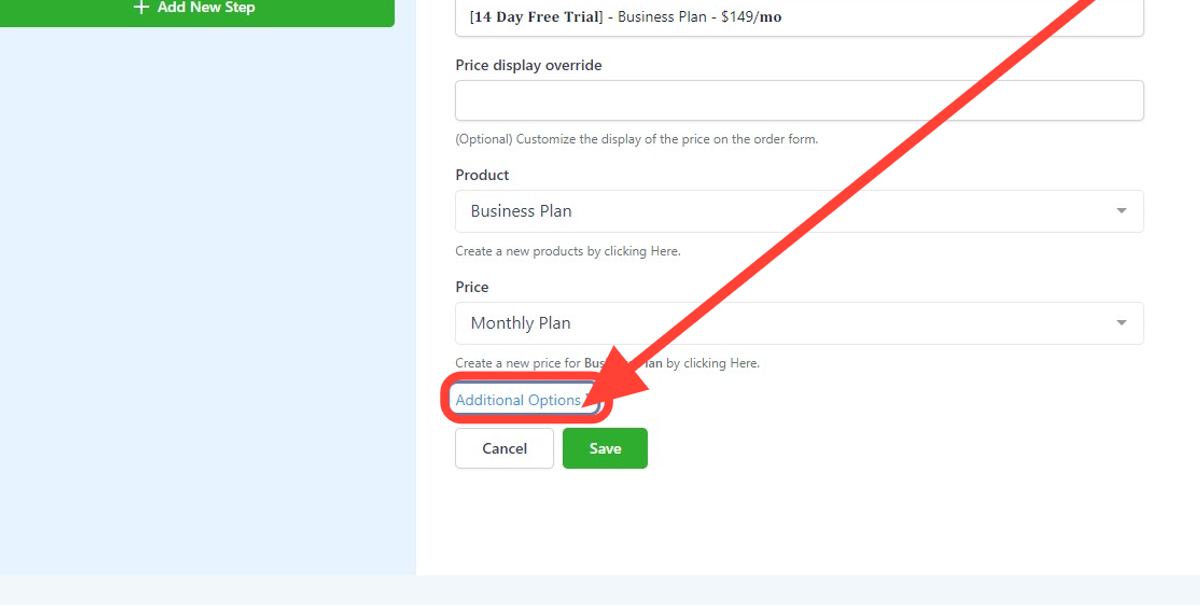
Step 4: Click on the "Edit" icon for the product you want to enable authorization for. For this example, we have two plans: a monthly plan for $149 and an annual plan for $1490.
Step 5: Scroll down and click on "Additional Options."
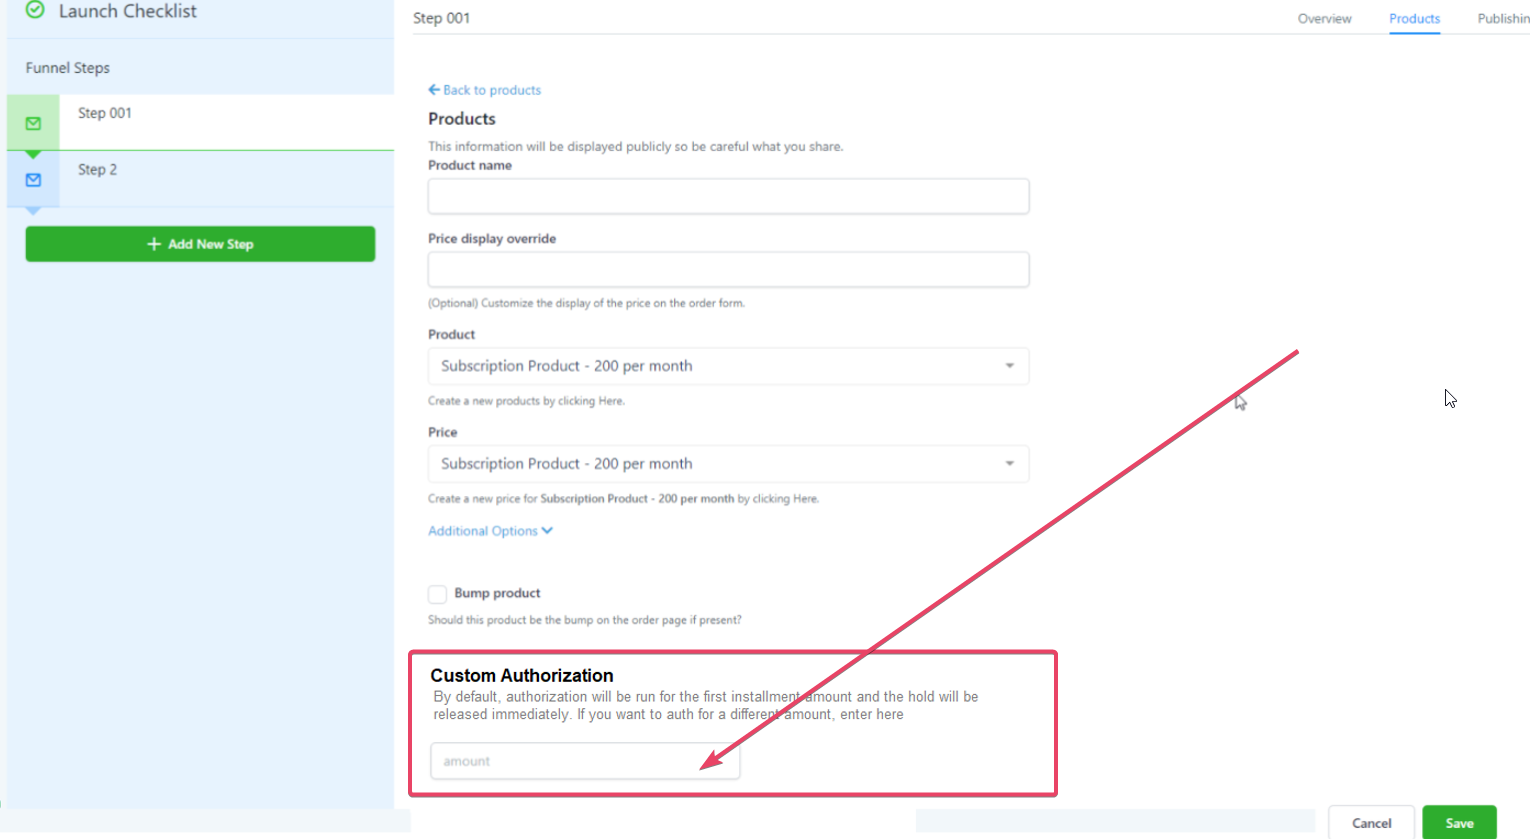
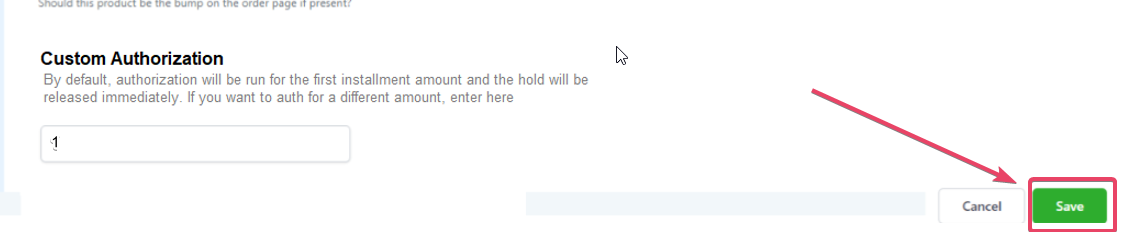
Step 6: Select "Custom Authorization" and specify the amount you want to authorize. Remember, this amount will be temporarily deducted from the customer's account. It should be a positive number, equal to or more than 1, with exactly two decimals.
Step 7: Don't forget to click on the "Save" button to save the authorization settings for the selected plan.
Step 8: If you have multiple plans, return to Step 4 and repeat the process for each plan that requires authorization.
Please Note:
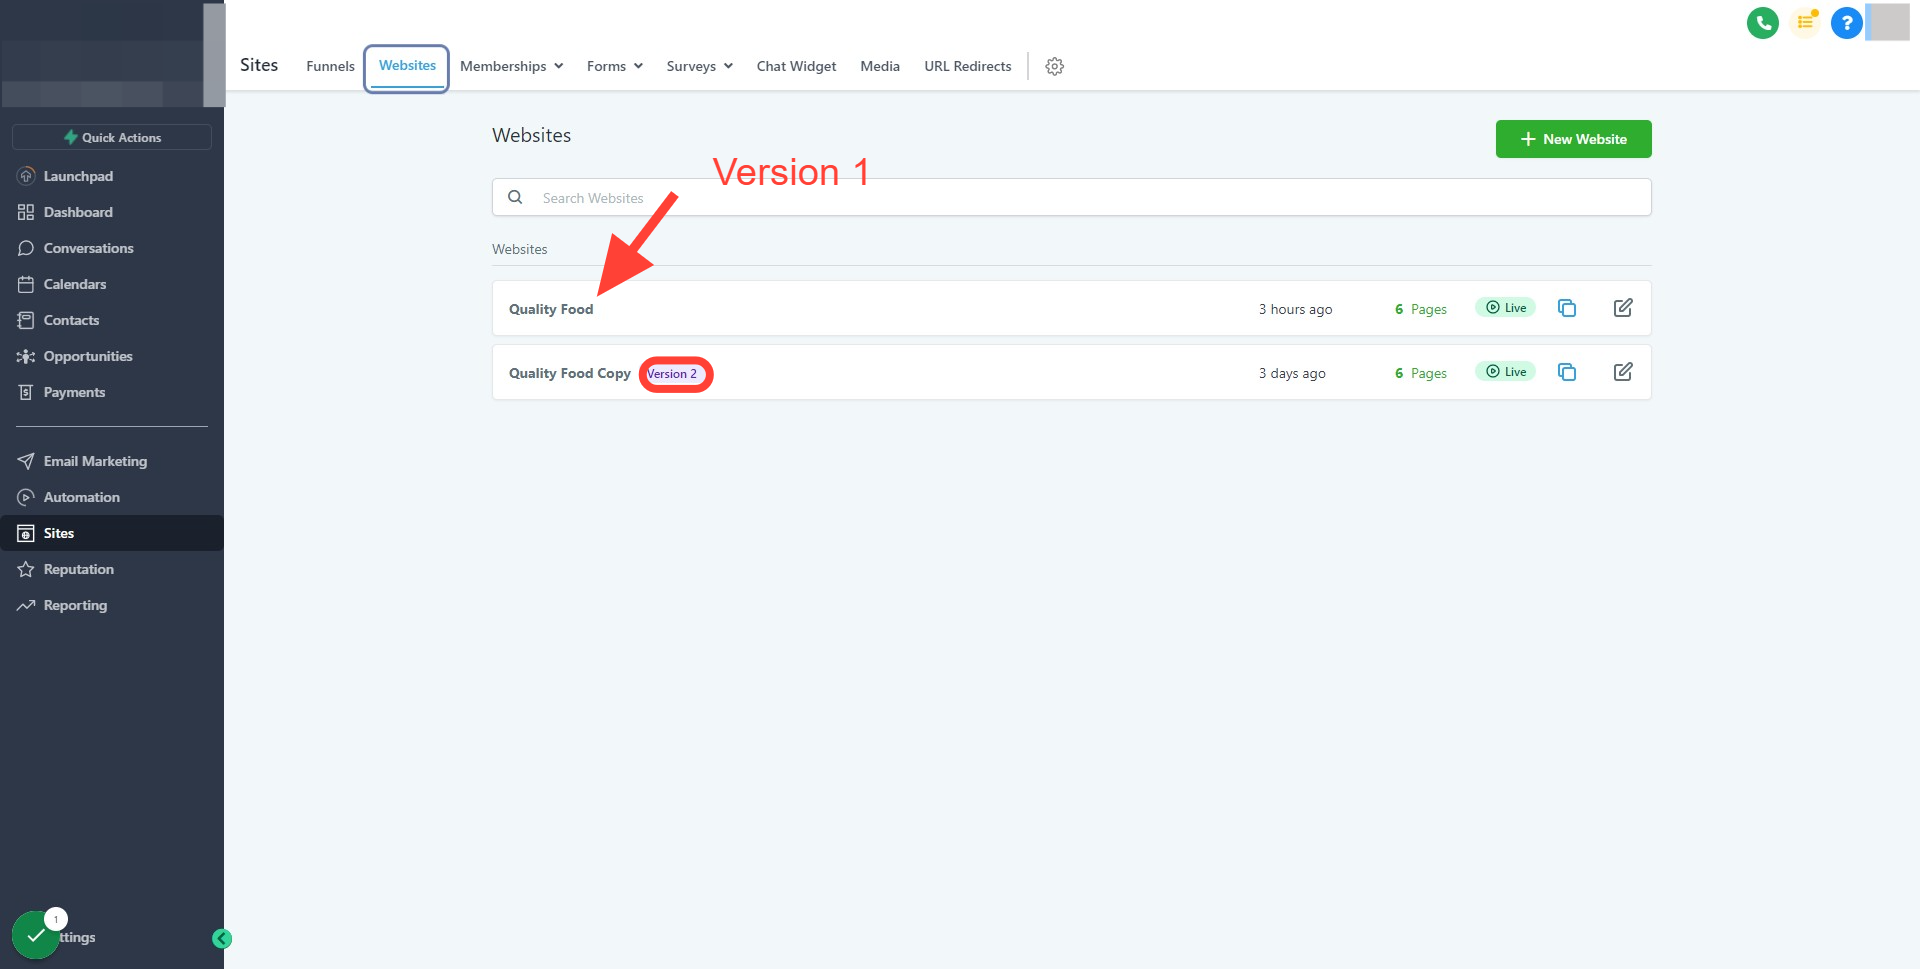
If you want to authorize payment before purchase for all your plans, you will need to repeat this process for each plan attached to the payment form. This authorization feature is specific to Version 2 of the website builder. If you're using Version 1, different instructions apply.
This guide simplifies the process of setting up card payment authorization, making it accessible both to professionals and tenth-graders looking to enhance their website's payment options.