If you are looking to properly separate text, images, and buttons, then dividers can be a great and infinitely useful tool! Not only do they add structure to your design, but they make all elements it contains stand out so that it has maximum impact. Additionally, dividers can help distinguish and set Parameters for the different sections of your page which is immensely helpful for readers trying to collect information easily.
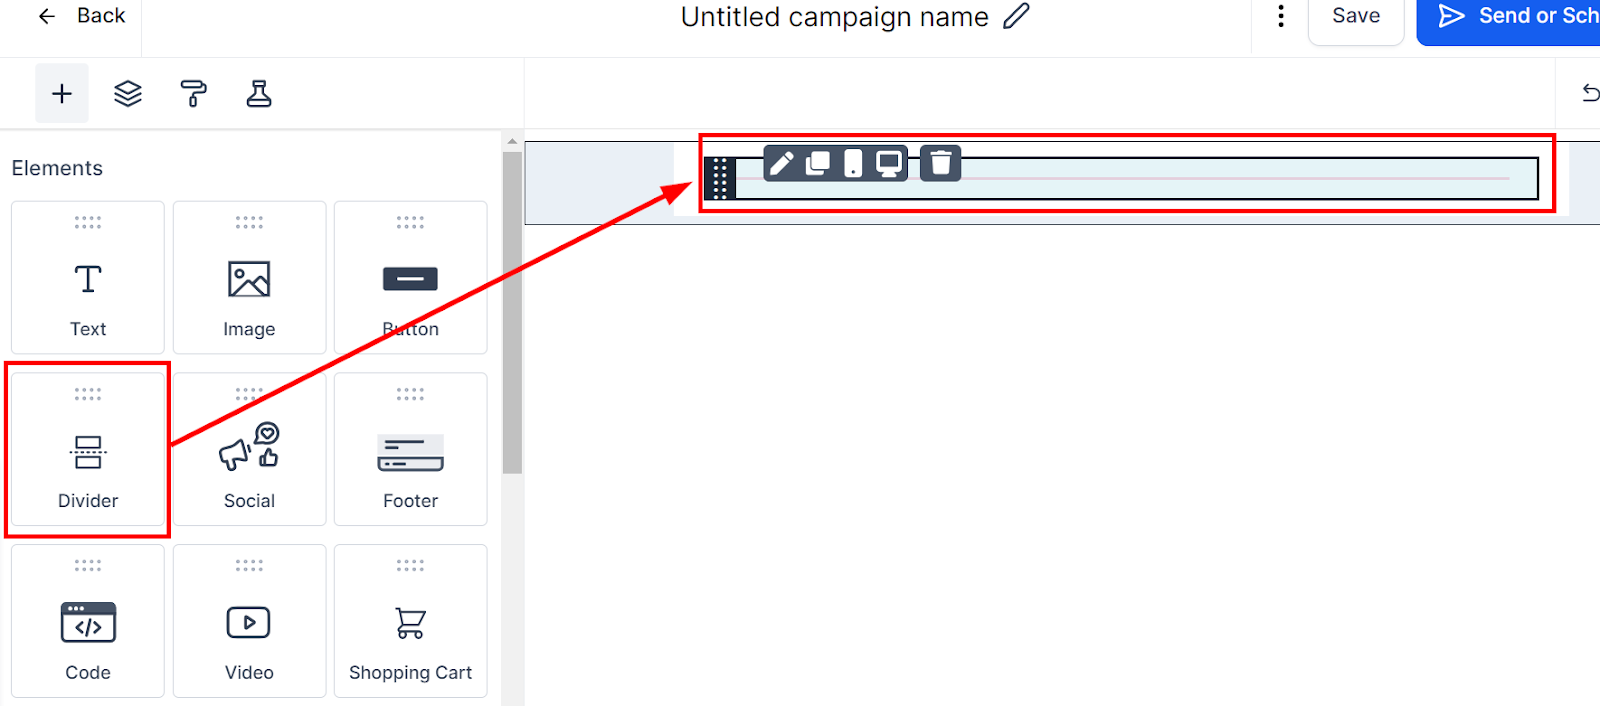
Adding Divider Element
Effortlessly establish divisions within your email using the Divider element. To begin, simply drag and drop this feature right below the preceding section in your email editor. By incorporating dividers, you can create a visually appealing and well-organized email layout that enhances readability and ensures your content is easily understood by your recipients.
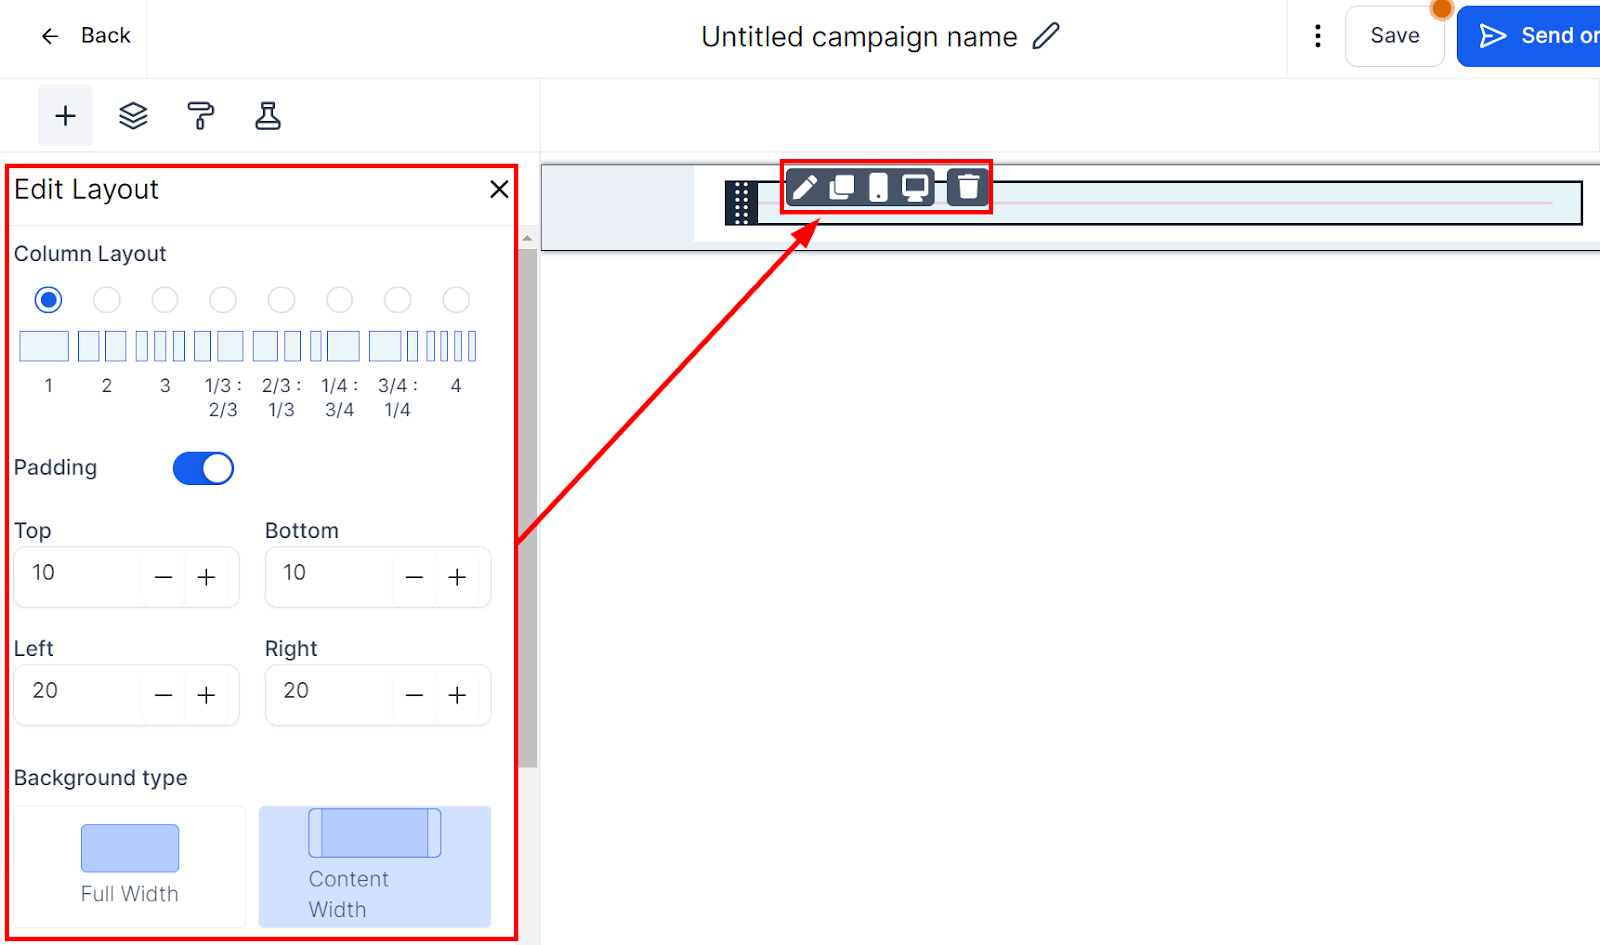
Editing Divider Element
Once add the divider element, clicking on the pencil icon in the Divider element reveals several options for customizing. This allows you to edit the height & width of the line and adjust its alignment accordingly.
Furthermore, you can modify its line type from solid (default), dashed or dotted for better visibility and also decide between multiple colors to make it more eye appealing.
Adjust padding around your divider to ensure your placement is exactly how you want it by increasing or decreasing the padding to your liking.