Countdown
When you have a promotion that runs for a set period of time, make sure to add a Countdown timer! This timer gives your visitors and clients a great visual representation of how much time they have left to take advantage of it. Knowing the end date helps them plan and make sure they don't miss out on your amazing offer! You can even use fun graphics, like an animated bomb or rocket clock, so your Countdown stands out on your site or within an email promotion. Don't let people miss out – get everyone excited with a Countdown timer now as part of your promotions!
General Settings
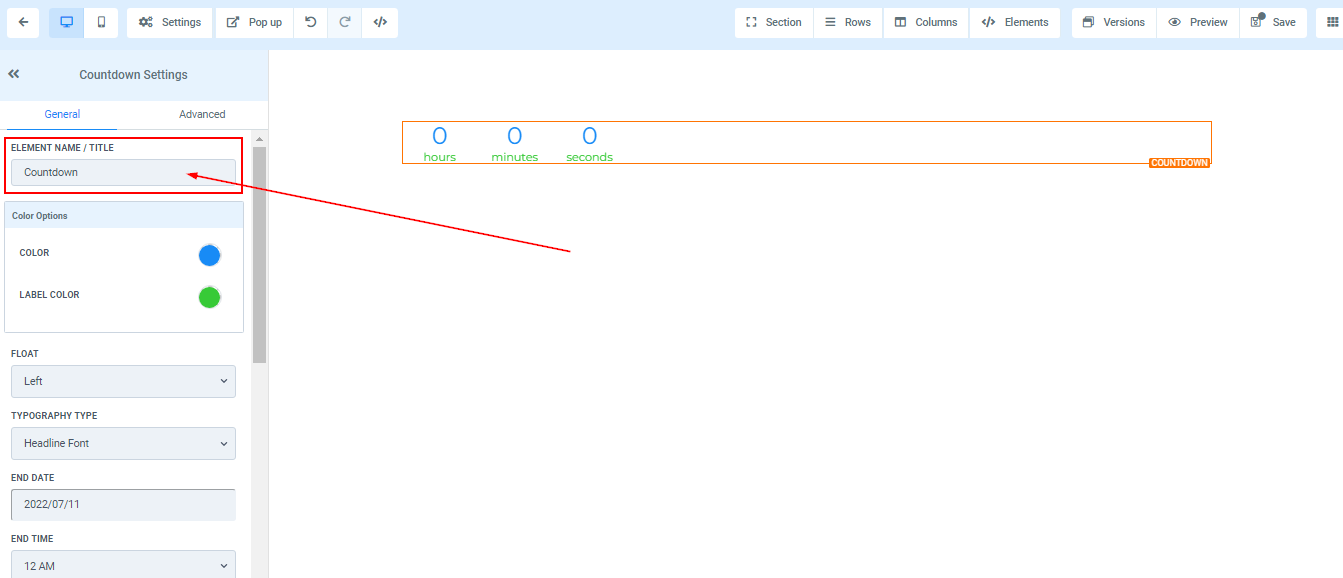
Element Name/Title
When using the General Settings feature, you will be presented with the default name/title of the currently selected Edit option. You have the ability to either leave the default name/title or modify it to better describe the element. Renaming the element is useful for when you have multiple elements in your funnel page and need to easily identify them.
Color Options
When working with the Color Options feature, you can modify the appearance of your timer.
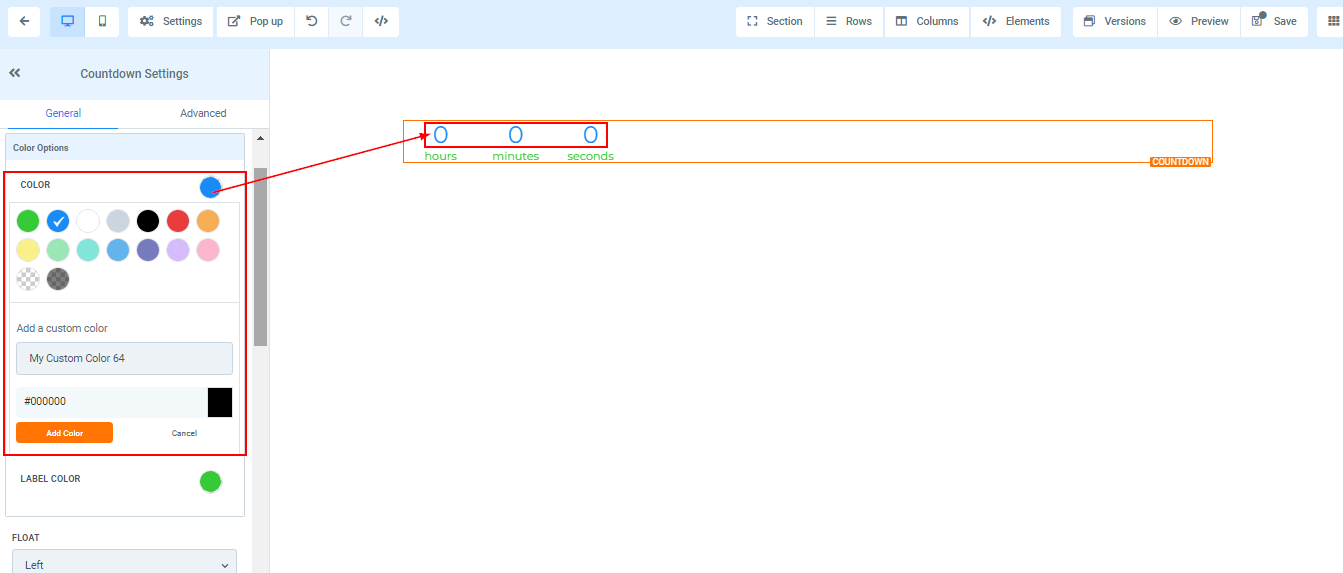
Color
To change the color of your timer, simply click on your preferred color from the color options available.
If you can't find the exact color you're looking for, you have the option to add custom colors by typing the color code in the designated space and then clicking on add color.
Label Color
Similarly, to modify the label color of your timer, you can click on the color that you prefer.
If you can't find the exact color you want, you can input the color code in the allocated field and click the add color button.

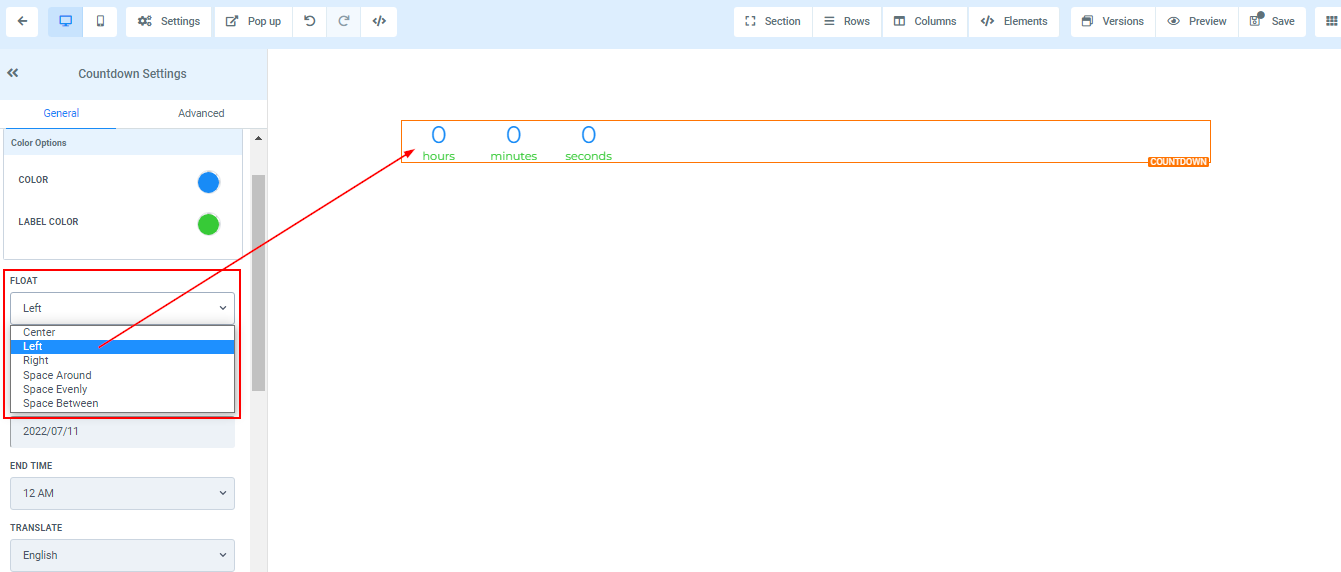
Float
The Float feature provides you with multiple options to adjust the position of your timer according to your preferences. You can move it to the Left, Center, Right, or alternatively choose to apply spacing options such as space-around, space-evenly, or space-between to achieve more balance and improve readability.
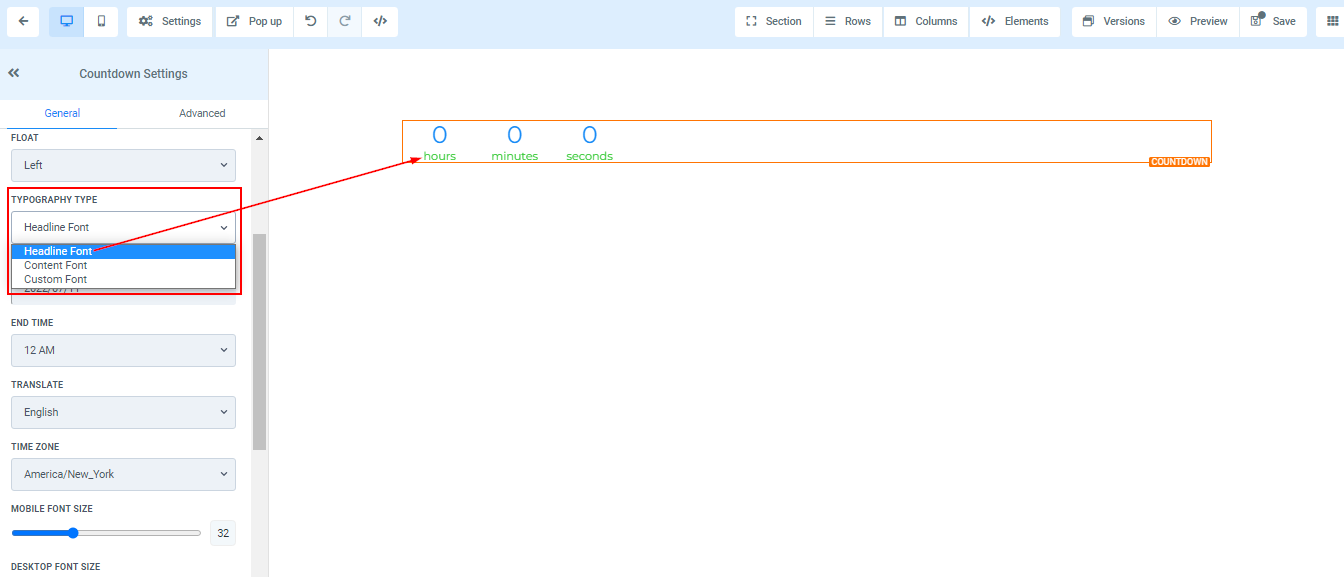
Typography Type
The Typography Type feature allows you to modify the font of your text or content. The convenient drop is available to further customize typography styles. You can select to use the heading or content font you set, or select a different font from the dropdown menu.
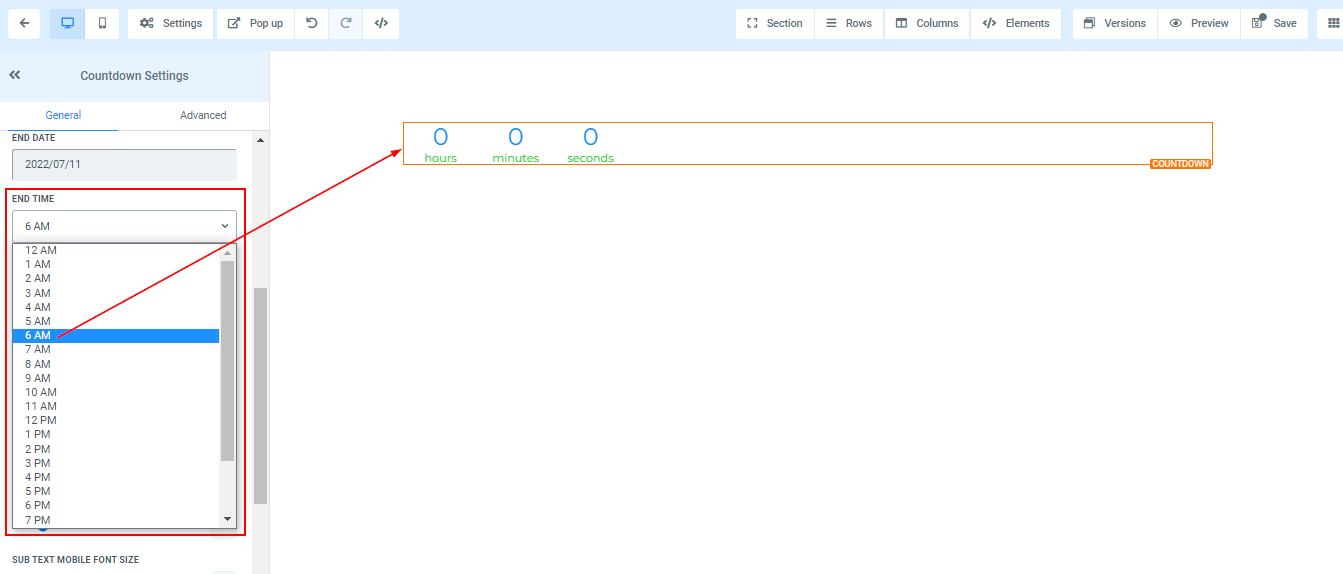
End Date and Time
By using the End Date and Time feature, you can set a specific deadline for your countdown to reach its end. You can select your desired date and time using the available options. For example, you can set the countdown to end on July 11th at 6:00 AM. Markdown formatting is also available to customize the display.

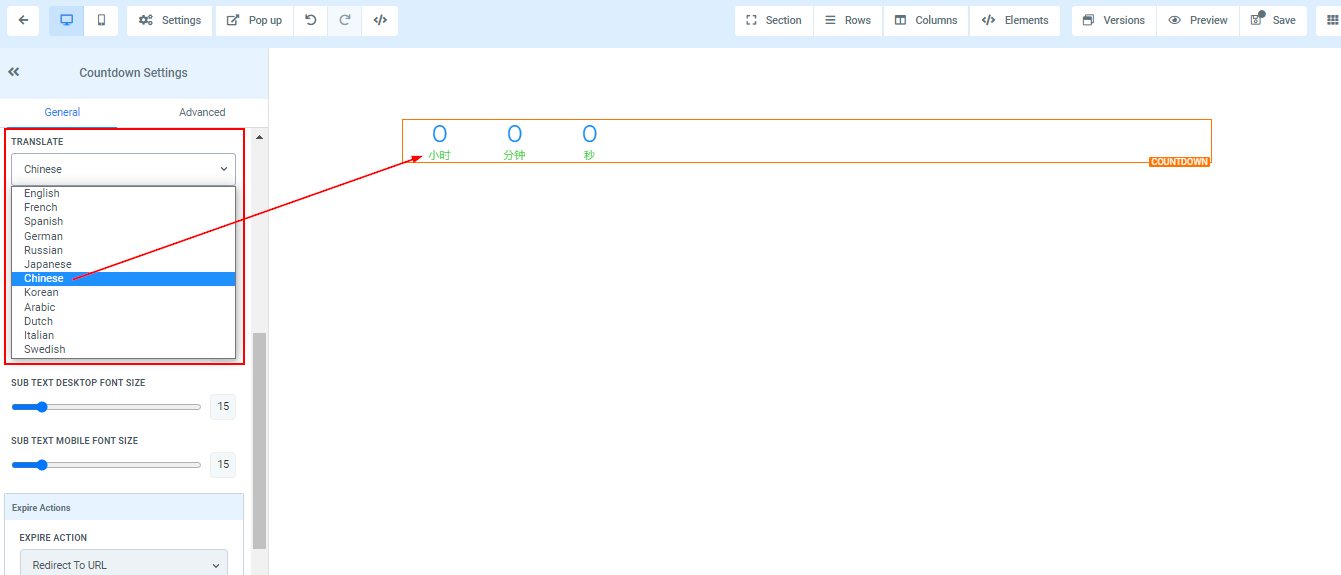
Translate
You can decide to set your timer language to your preferred language by simply selecting the language you want from the available options.
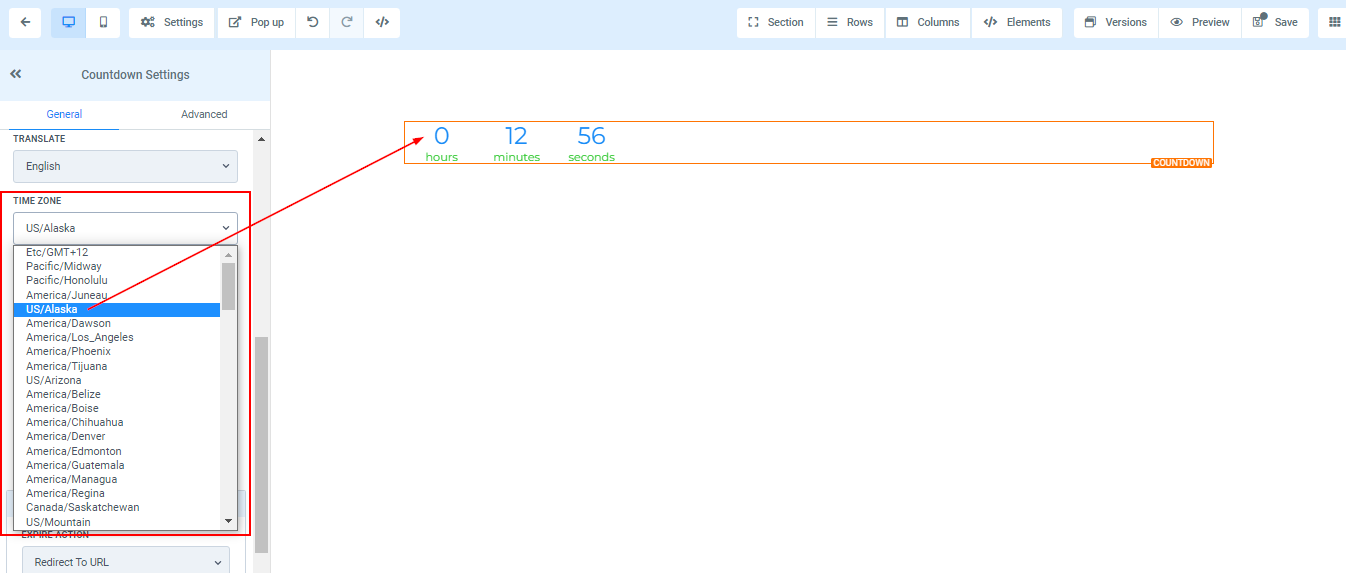
Time Zone
When setting up the countdown timer, you can choose the Time Zone that you want it to operate in. This allows you to ensure that the timer functions correctly for your location, and that it accurately counts down to the correct end time. You can select your preferred Time Zone using the available options, which include popular regions and countries. The Time Zone feature supports Markdown formatting for further customization.
Mobile and Desktop Font Size
In order to adjust the font size of your countdown timer for both mobile and desktop devices, you can use the Mobile and Desktop Font Size feature. Simply drag the size bars to increase or decrease the font size as needed. This feature also supports Markdown formatting, enabling further customization options.


Desktop and Mobile Subtext Font Size
To customize the font size for the subtext of your countdown timer on both desktop and mobile devices, use the Desktop and Mobile Subtext Font Size feature. This feature allows you to adjust the font size by dragging and adjusting the size bars as needed. You can also use Markdown formatting to customize the style of your subtext font.
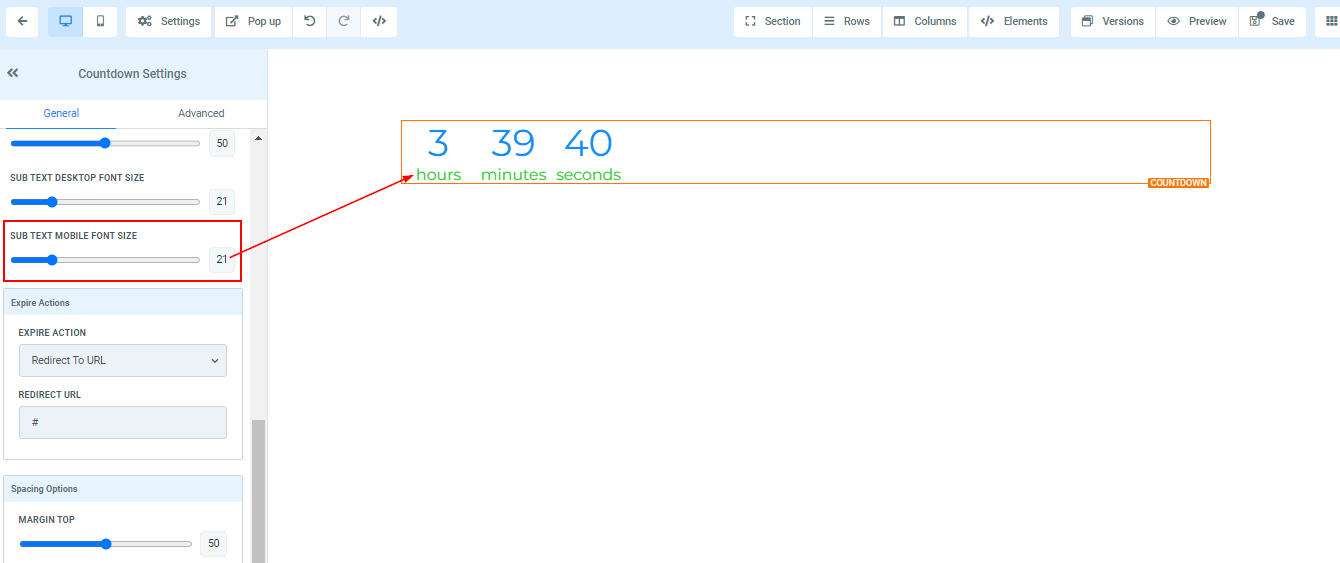

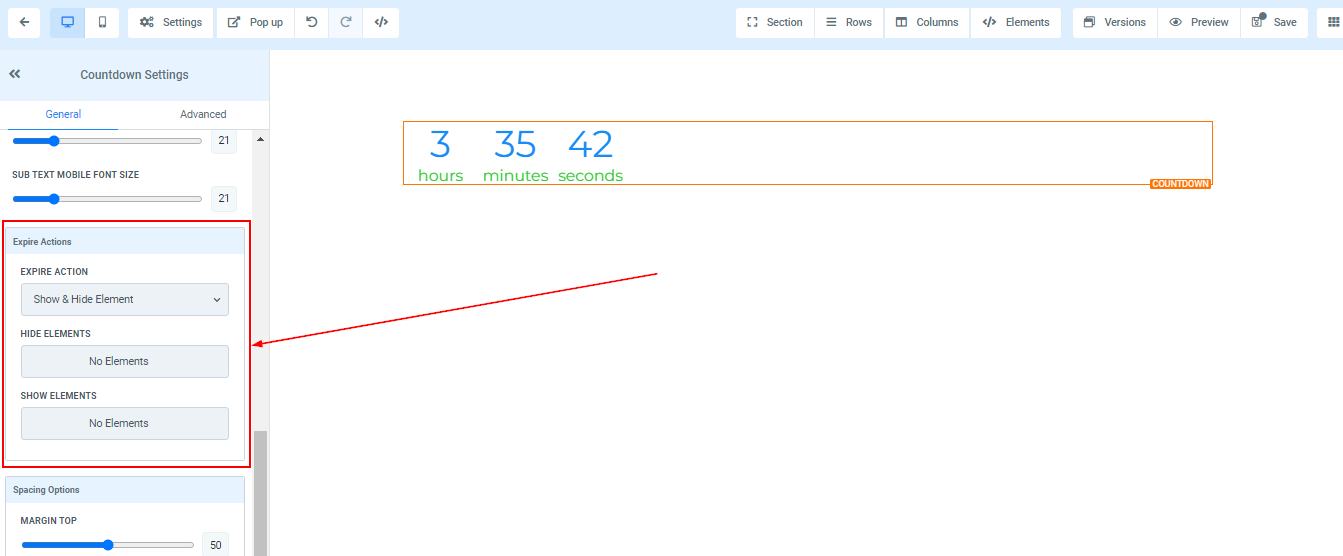
Expire Action
The Expire Action feature allows you to determine what happens after your countdown timer reaches its end.
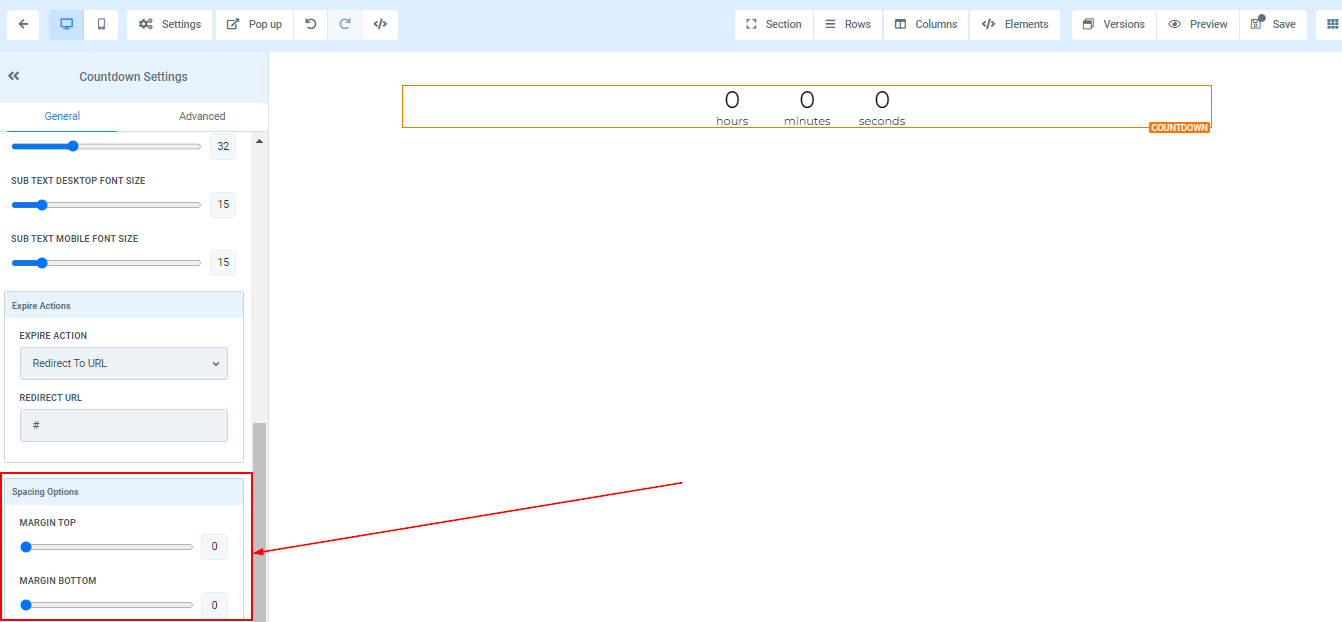
Redirected URL
One of the options is to add a Redirected URL, which specifies the page that your users will be redirected to after the timer expires. You can easily add the Redirected URL to create a clickable link.

Show & Hide Element
You can decide to hide or show your section, column, row, or element.
Spacing Options
There are different spacing options available for adjusting the top or bottom margin of your content by toggling its bars. Depending on the Edit option you are working on, the settings will only be applicable to that option. For example, if you are editing a particular Row (the BLUE box), only every content in that Row will follow the command of what settings you make.
Additional General Settings
Visibility
The Visibility feature allows you to choose whether you want the Edit option to be visible on mobile devices, desktops, or both. You can accomplish this by clicking on the icon that corresponds to your preference.

Custom Class
The Custom Class feature enables you to input your own unique class.
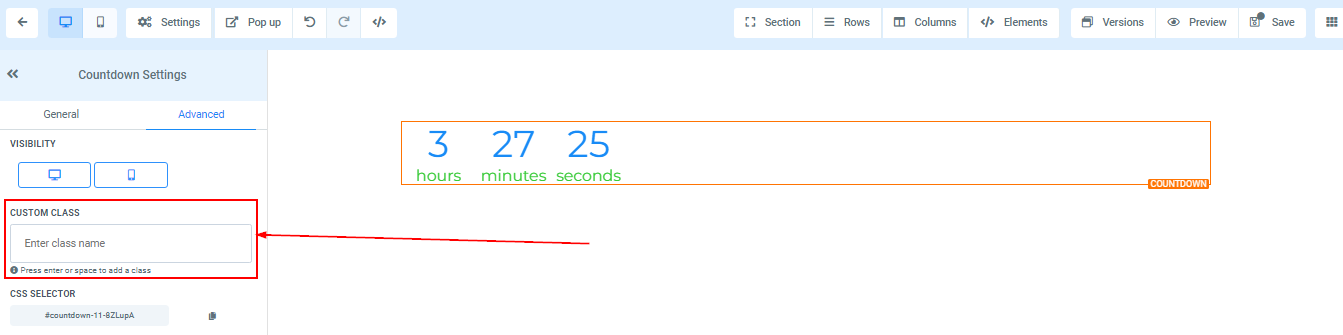
CSS Selector
The CSS Selector feature offers the ability to copy custom CSS code by clicking on the Copy icon located on the right side of the reference code.