Blogging Overview
A blog post typically covers a specific topic or query; it's educational. You can also set up blog posts to engage your visitors.
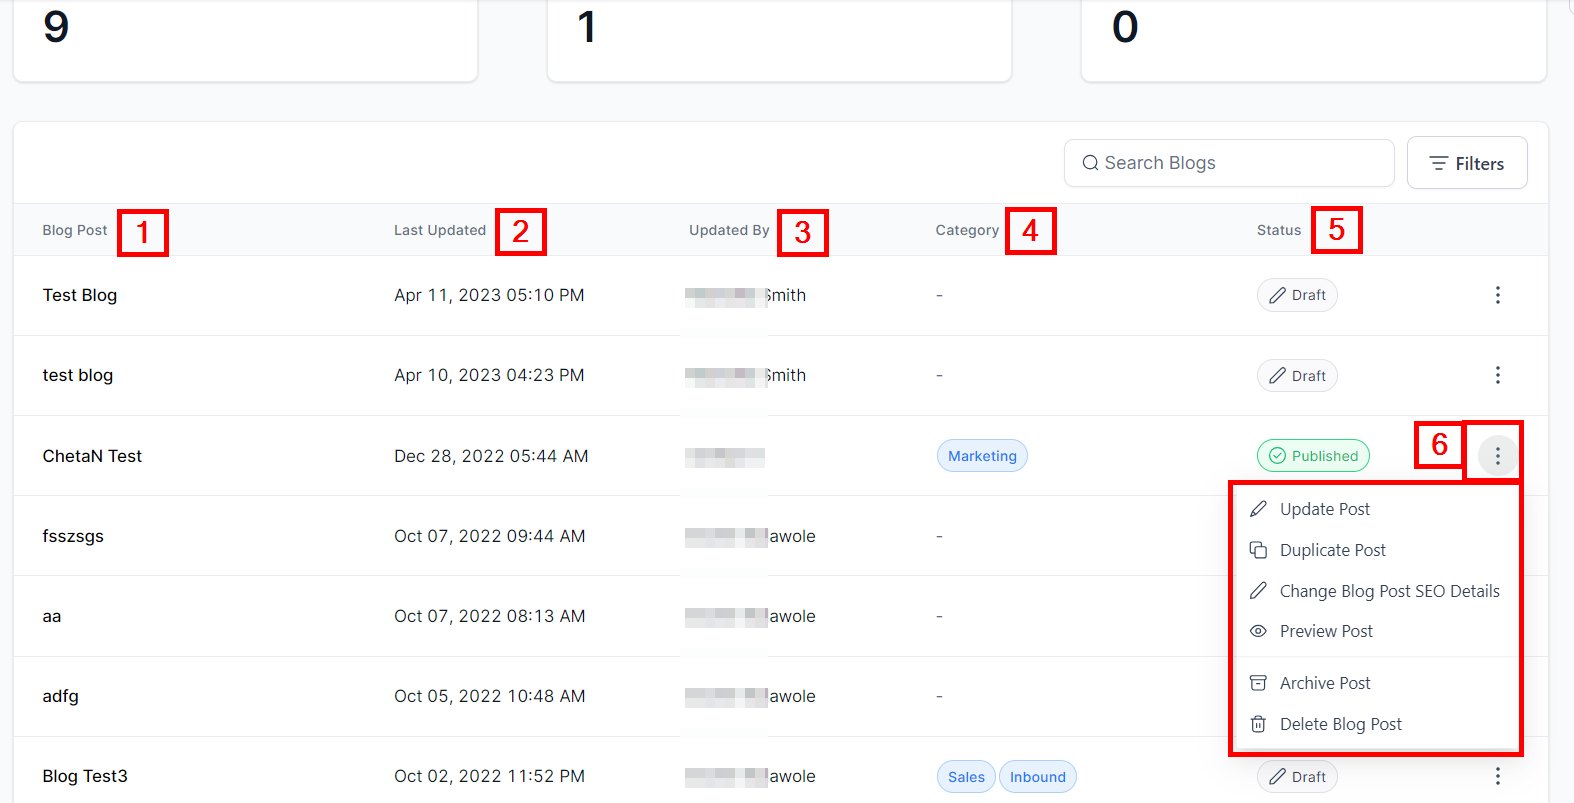
If you are new to blogging or want to start your blog but don’t know where to begin, this section will guide you on how to get started. Once you create a blog post, your page should look like this. Here you can see the edit, filter search, and blog updates.
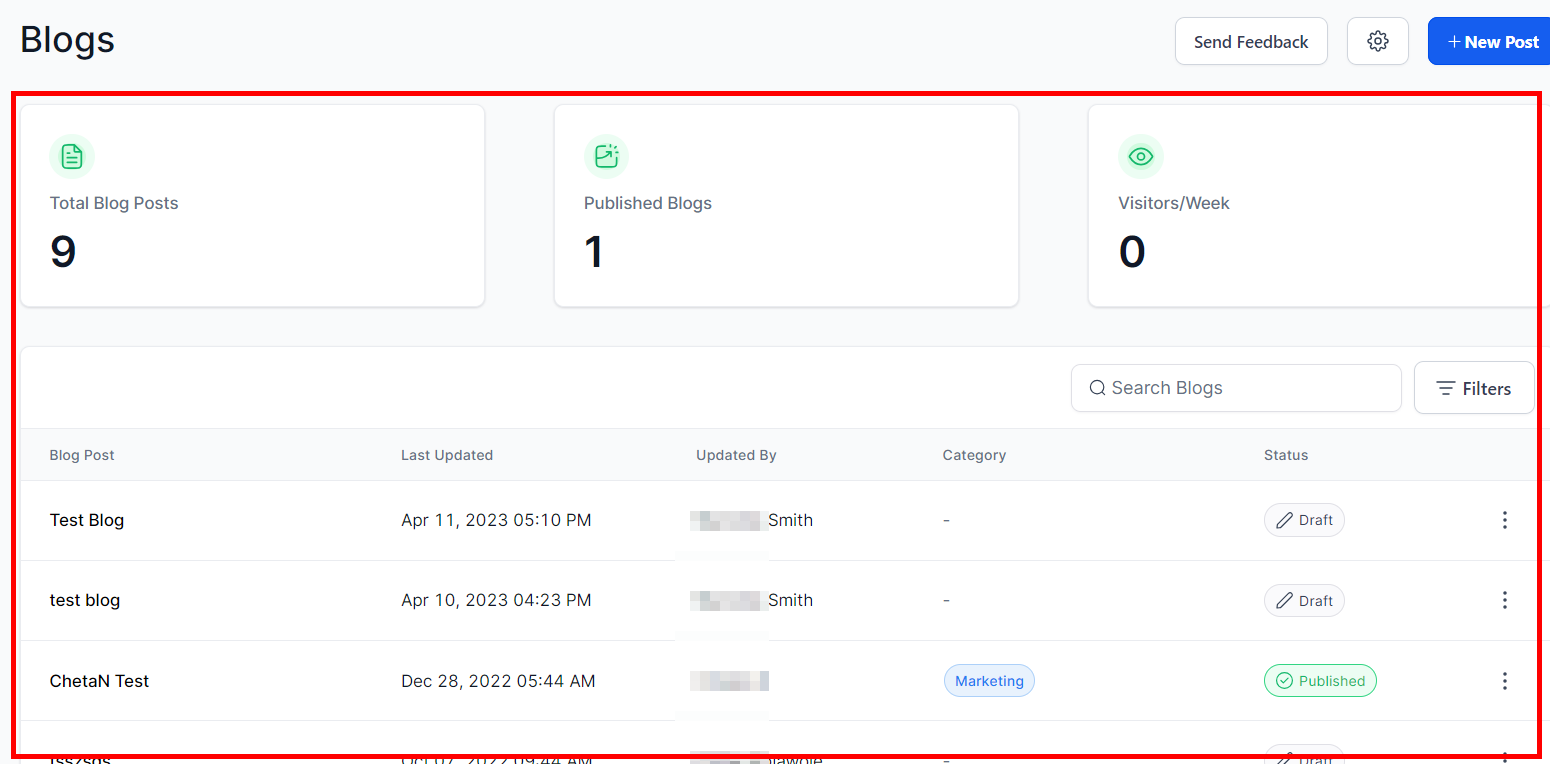
Total Blog Posts
Here you can see the total number of blog posts created. It will help you track all the blogs you and your team created.

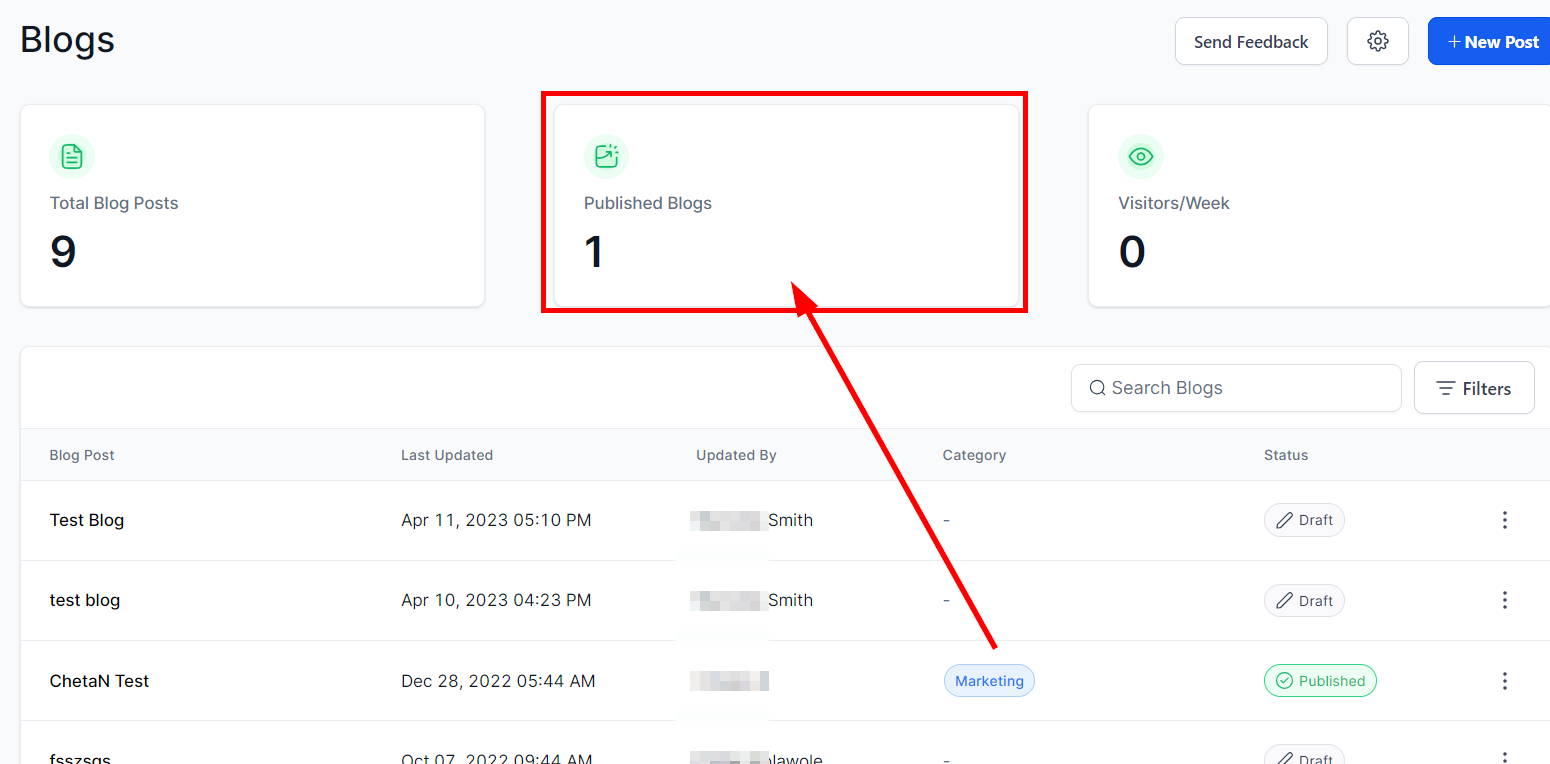
Publish Blogs
Here you will see the total number of published blog posts.
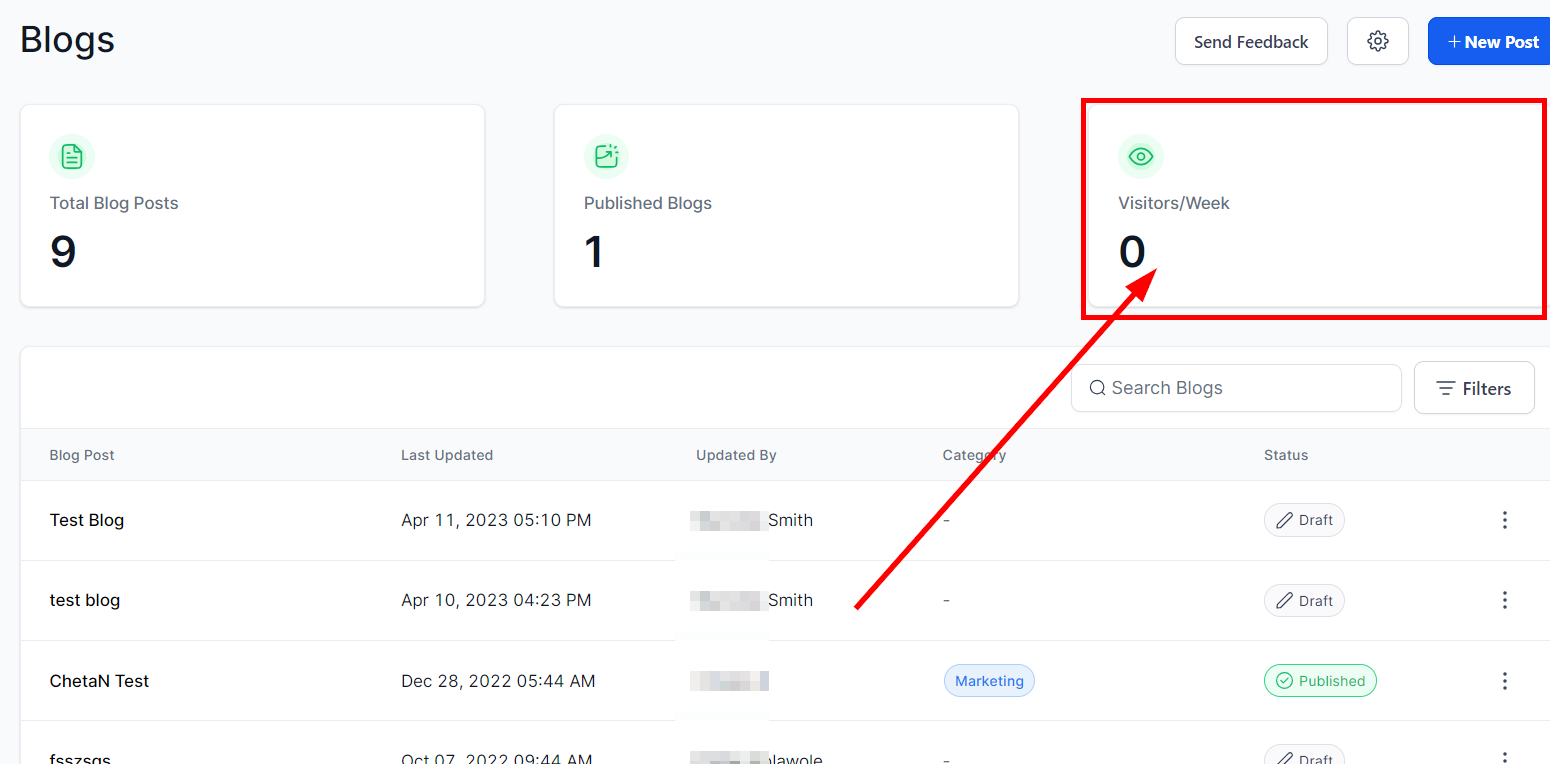
Visitors/week
This section allows you to track the number of visitors that viewed your post per week; it records all post's weekly activities.
Search Bar
When you have a long list of blogs and are looking for a particular one, you can filter your search here by name.

Blog Table
Here you can see the list of blogs;
1. Blog Post
The blog title is displayed in this column.
2. Updated On
The date, time, and the user that made the latest update on each post are displayed here.
3. Updated By
You can see the person who made the last update on the blog.
4. Category
You can see the categories that each post is in here.
5. Status
This will display either "Draft" or "Published." Here you can quickly identify which post has been published.
6. Action
In the action menu, you can;
- Edit/Update Post
You can edit/update the content of a post and set other details.
- Duplicate Post
This will create a copy of the Blog Post content.
- Change Blog Post SEO Details
You can change your blog post's title, URL, description, and image here.
- Preview Post Click here to preview your post.
- Archive Post
This allows you to hide a Blog Post.
- Delete Blog Post
Once you click on Delete, it Permanently deletes the Blog Post, so be sure you want to delete it. It's advisable to archive the post first if you are not sure.
Blog Settings
When you click on the conveniently located Settings icon on the top right of the page, it navigates you to the setting page. Once there, you have a wide range of impactful edits at your fingertips. You can freely modify the Authors, edit and create Categories, and view or manage RSS feed settings.

Authors
Here you can see the table that shows;
- Author's name,
- The date and time their details were last updated,
- The Action menu to edit,
- Delete an author.
You can also add a new author.
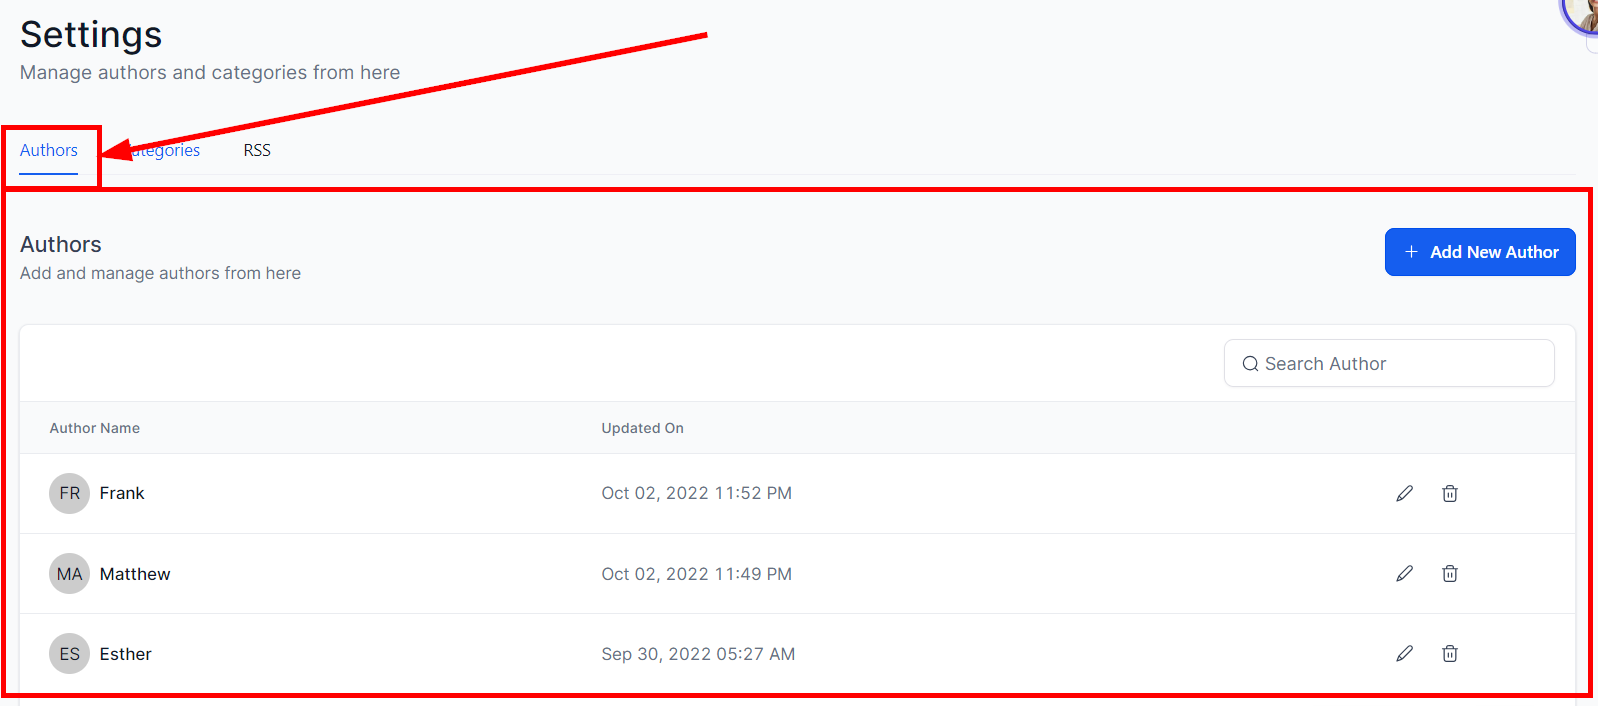
Add New Authors
To add a new author, for example, to credit the creator of a blog post, select Add New Author on the top right of the page. Subsequently you’ll be prompted to fill in additional information:
1. Author's Name Add an author's name in at least three (3) letters to avoid an error code.
2. Author's Image You can upload the author's image here by clicking on the "Change" button, which directs you to the storage page where you can upload the image you want to use. Once you've uploaded the image, double-click on the image, which will automatically add the image. To change/ replace the image, click on the "Change" button, and if you want to delete the image uploaded, just click on "Remove." The recommended size is 512px * 512px, no bigger than 10MB.
3. Image Alt Text You can add target keywords here for your image
4. Author's Description You must give a short description here for viewers to see the post. preferably between 100 - 250 characters.
5. Social Media Info You can type or paste the URL of the author's Facebook, Twitter, LinkedIn, Instagram, and YouTube accounts.

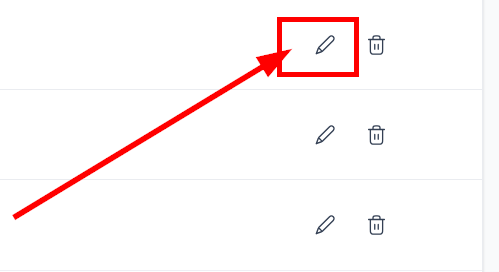
Edit Existing Authors
To edit an already existing author, click on the pencil icon to the far right. A popup will appear for you to edit the author’s details. Don’t forget to hit the blue Update Author button on the bottom right to save your changes. If you would like to delete an author, click on the trash can icon to the far right. A popup will appear for you to cancel or confirm the action. Once you hit the delete button, the author will be deleted from the list and cannot be undone.

Categories
You can view the categories for your blogs by clicking on the Categories tab.
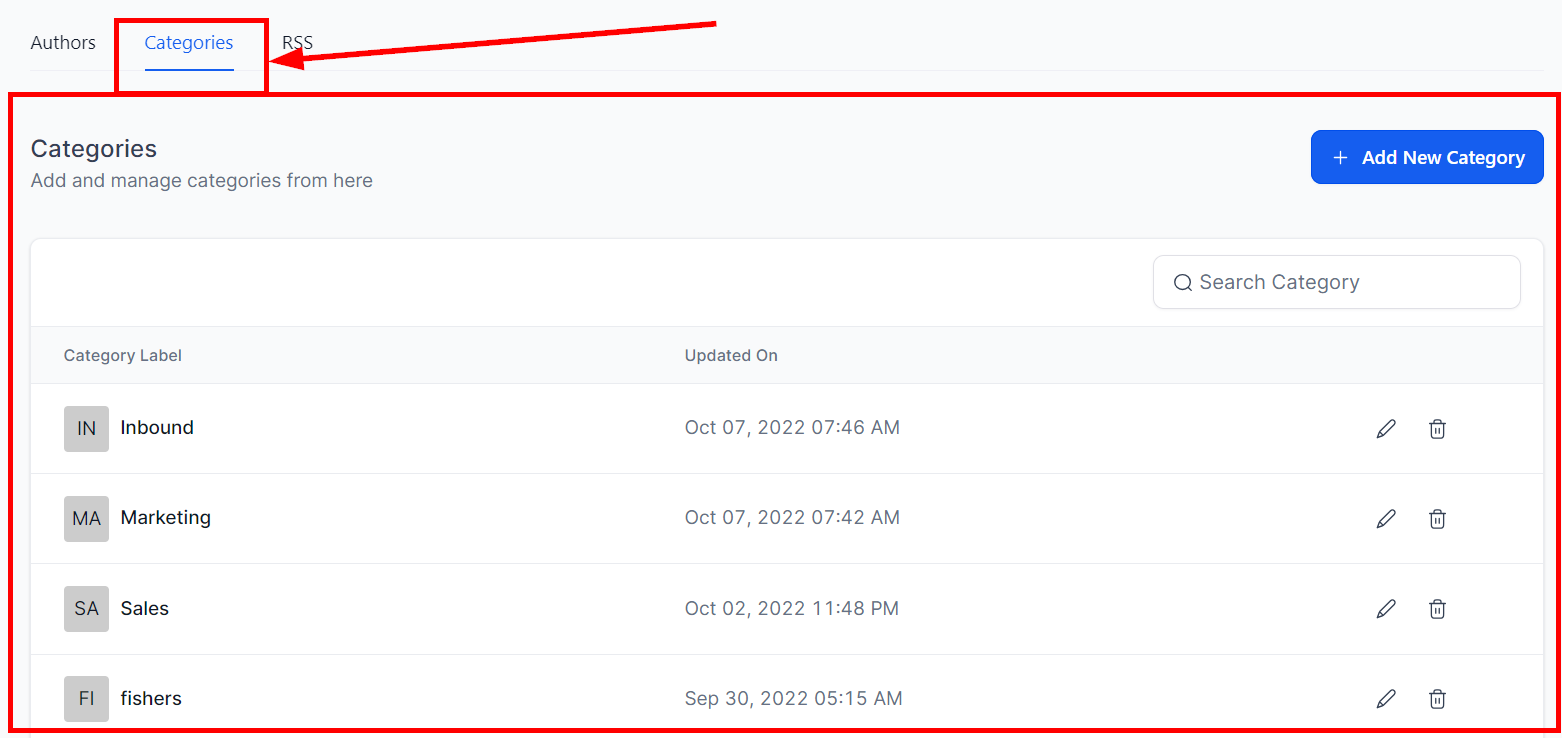
Add New Category
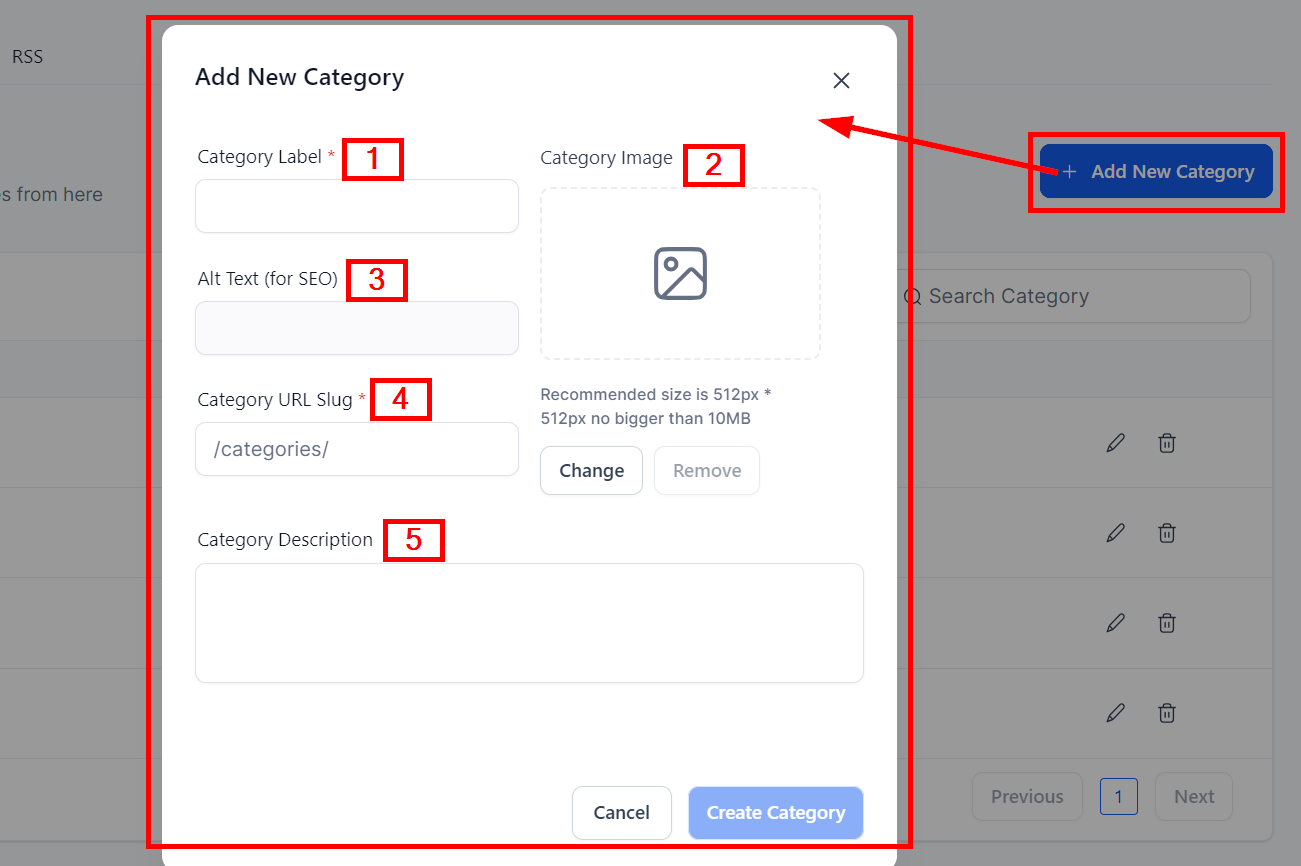
If you want to add a new category for your blog post, click "Add New Category" to set it up. When setting up, you will add;

1. Category Label When you want to add a category, you must name the categories.
2. Category URL slug You are required to fill in the path for your category.
3. Category Description Type in a description of the category to better understand what it entails.
4. Category image You can upload the image for your category here by clicking on the "Change" button, which directs you to the storage page where you can upload the image you want to use. Once you've uploaded the image, double-click on the image, which will automatically add the image. To change/replace the image, click on the "Change" button, and if you want to delete the image uploaded, just click on "Remove."
The recommended size is 512px * 512px, no bigger than 10MB.
Edit Existing Category
To edit an existing category, click on the pencil icon to the far right. A popup will appear for you to edit the category details. Remember to click the blue Update Category button at the bottom right to save your changes. If you would like to delete a category, click on the trash can icon. A popup will appear for you to cancel or confirm the deletion. Note that once deleted, the action cannot be undone.
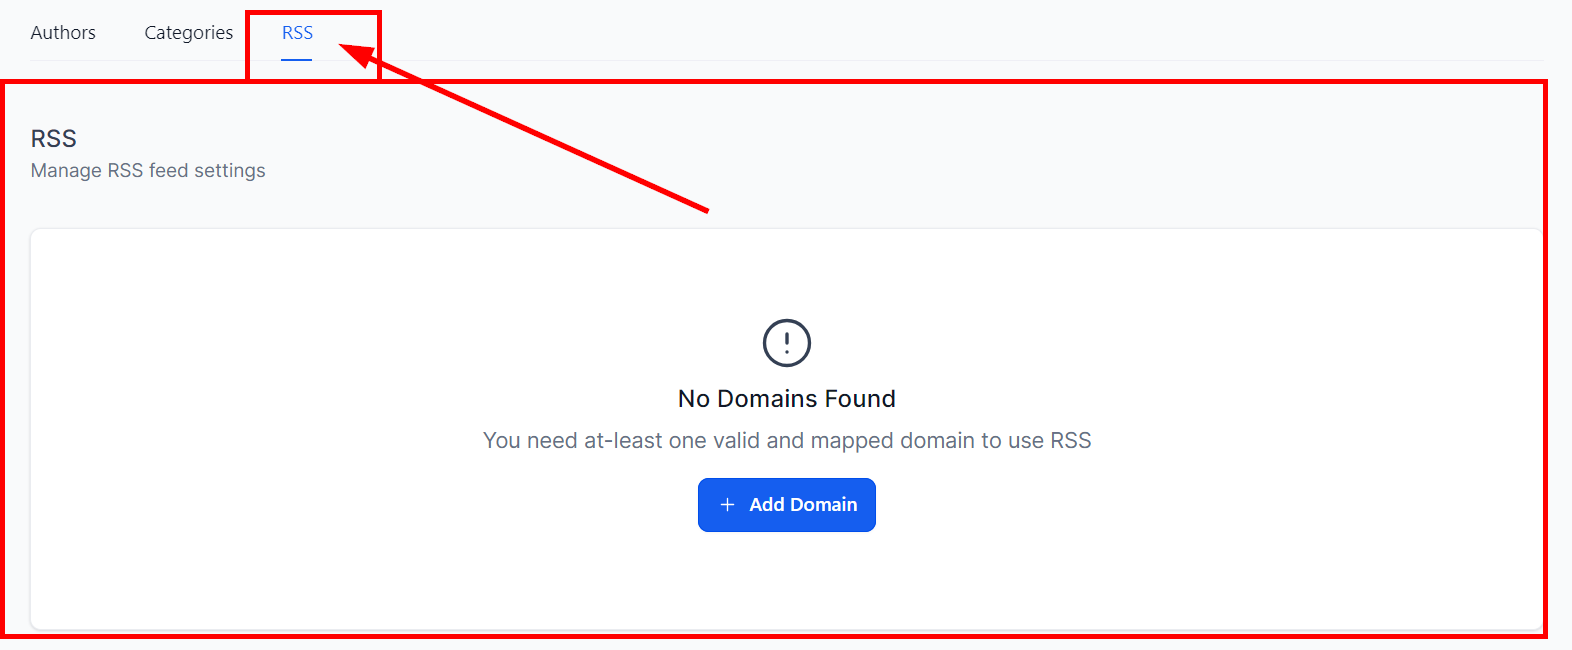
RSS
You can manage your RSS feed settings here. You have to add a Domain to use your RSS.