Steps to redirect users after booking an appointment
Create a contact flow
💡 How to create a contact flow?
Change the flow trigger.
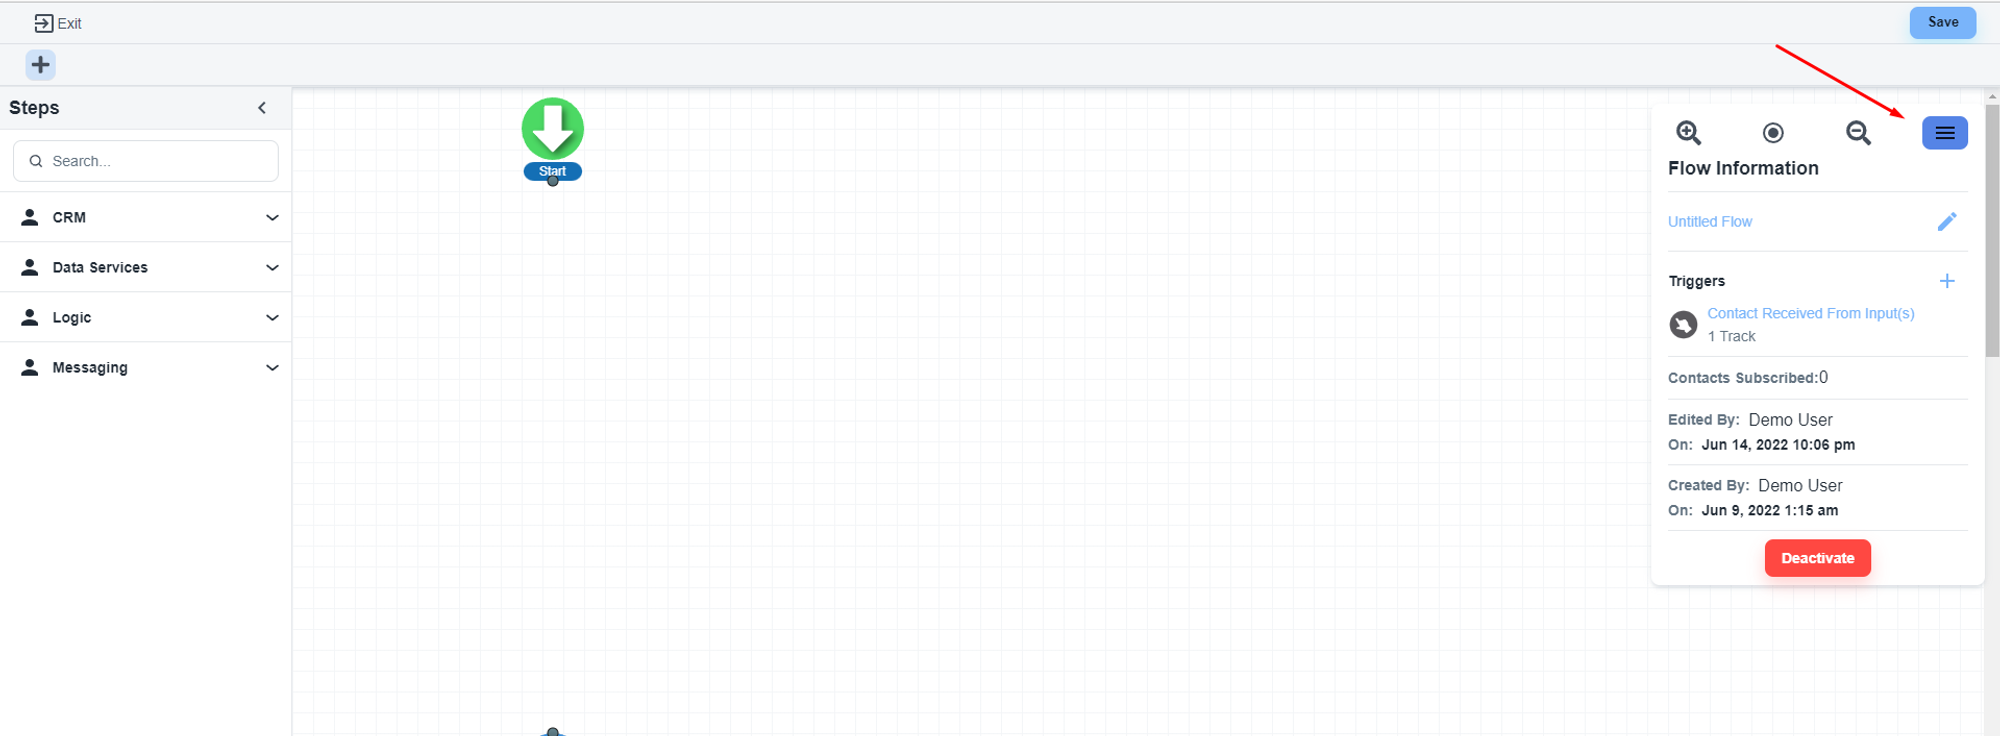
Please, open the flow editor and click on the right hamburger icon
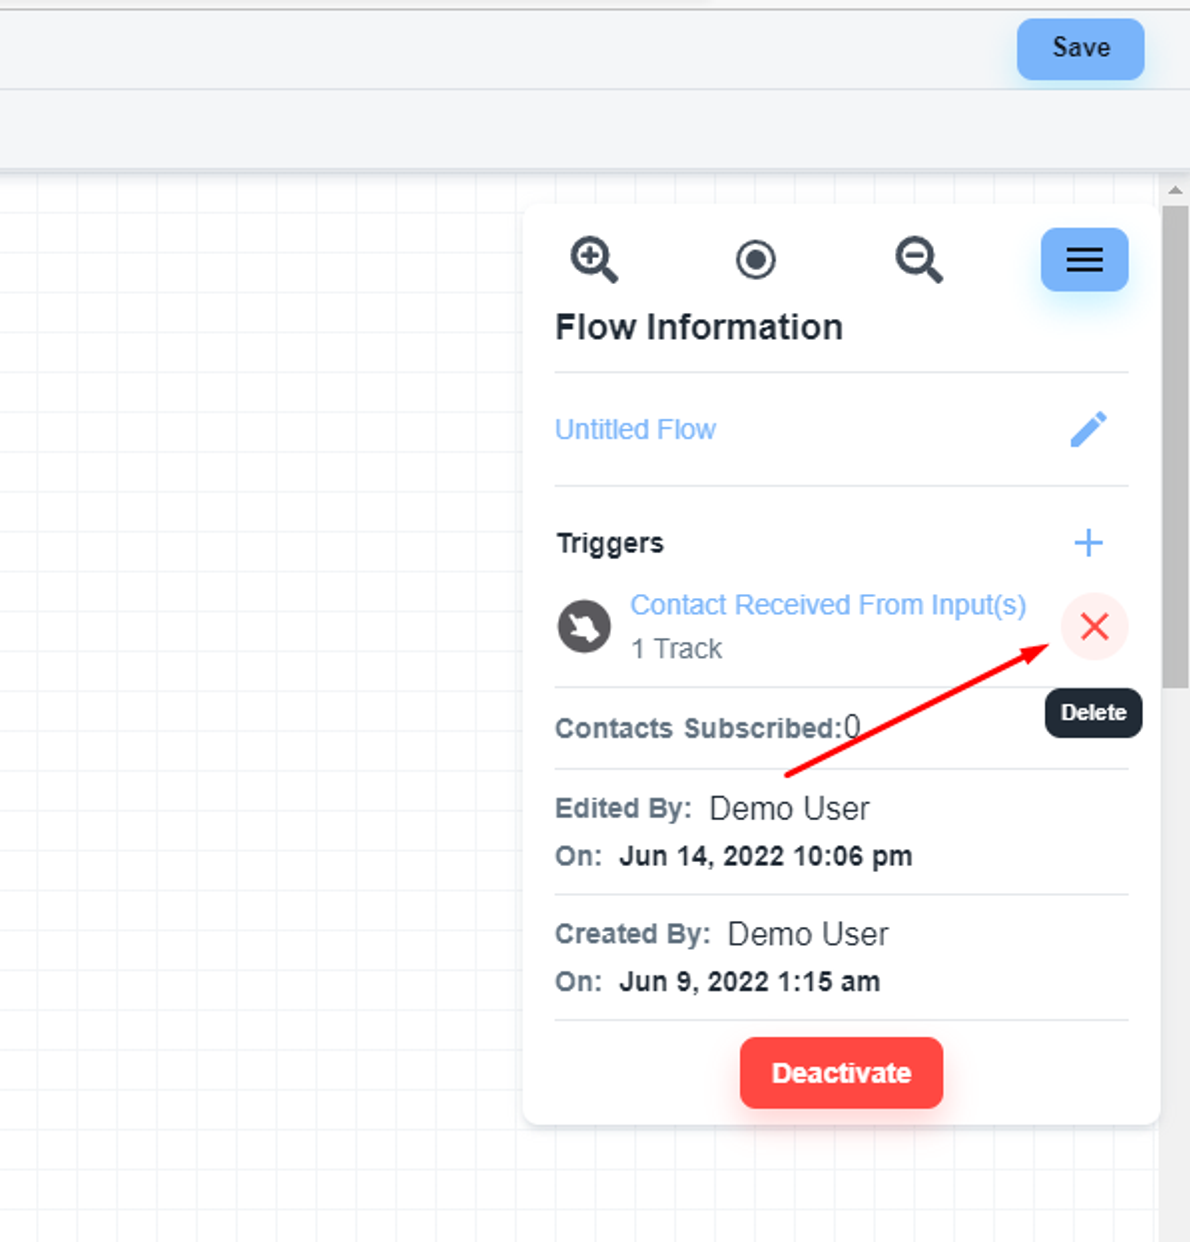
If you have existing triggers, you can remove them
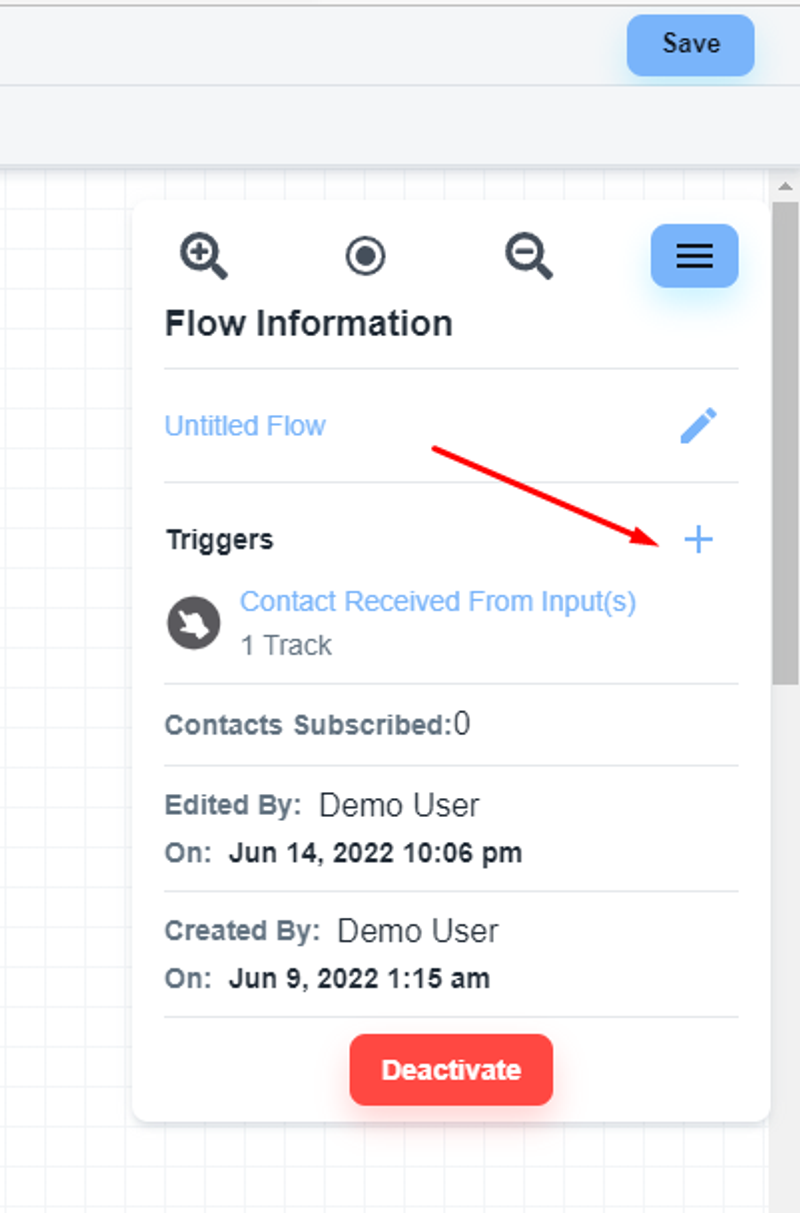
And you can add a new trigger by clicking the ‘plus’ icon
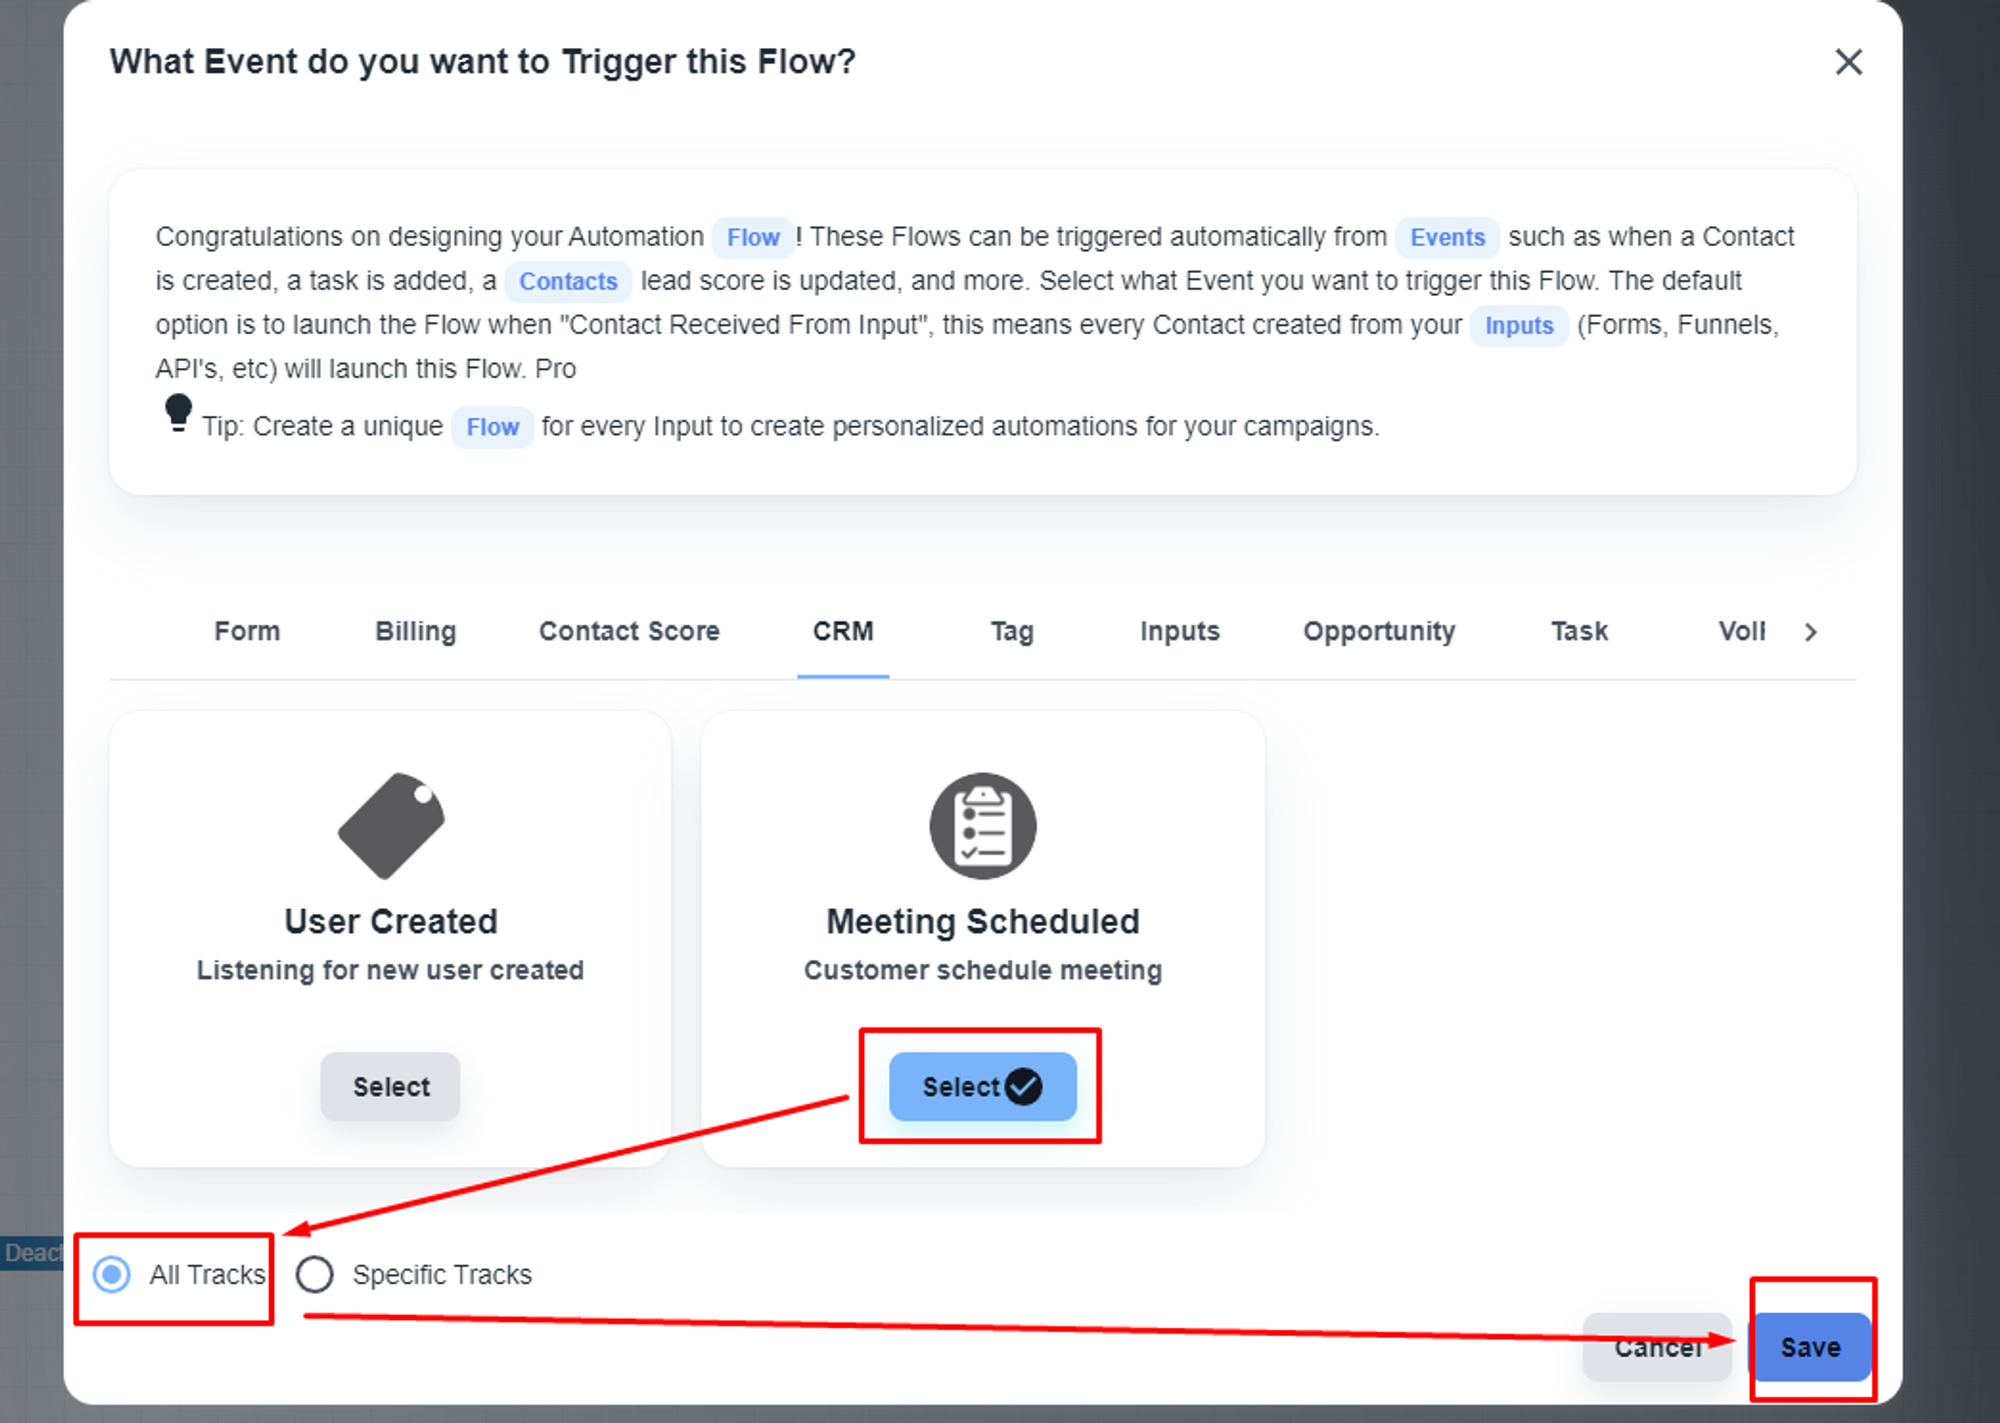
The system will show you all the available triggers inside the System. Under the ‘CRM’ tab, you will get the ‘Meeting Scheduled’ trigger.
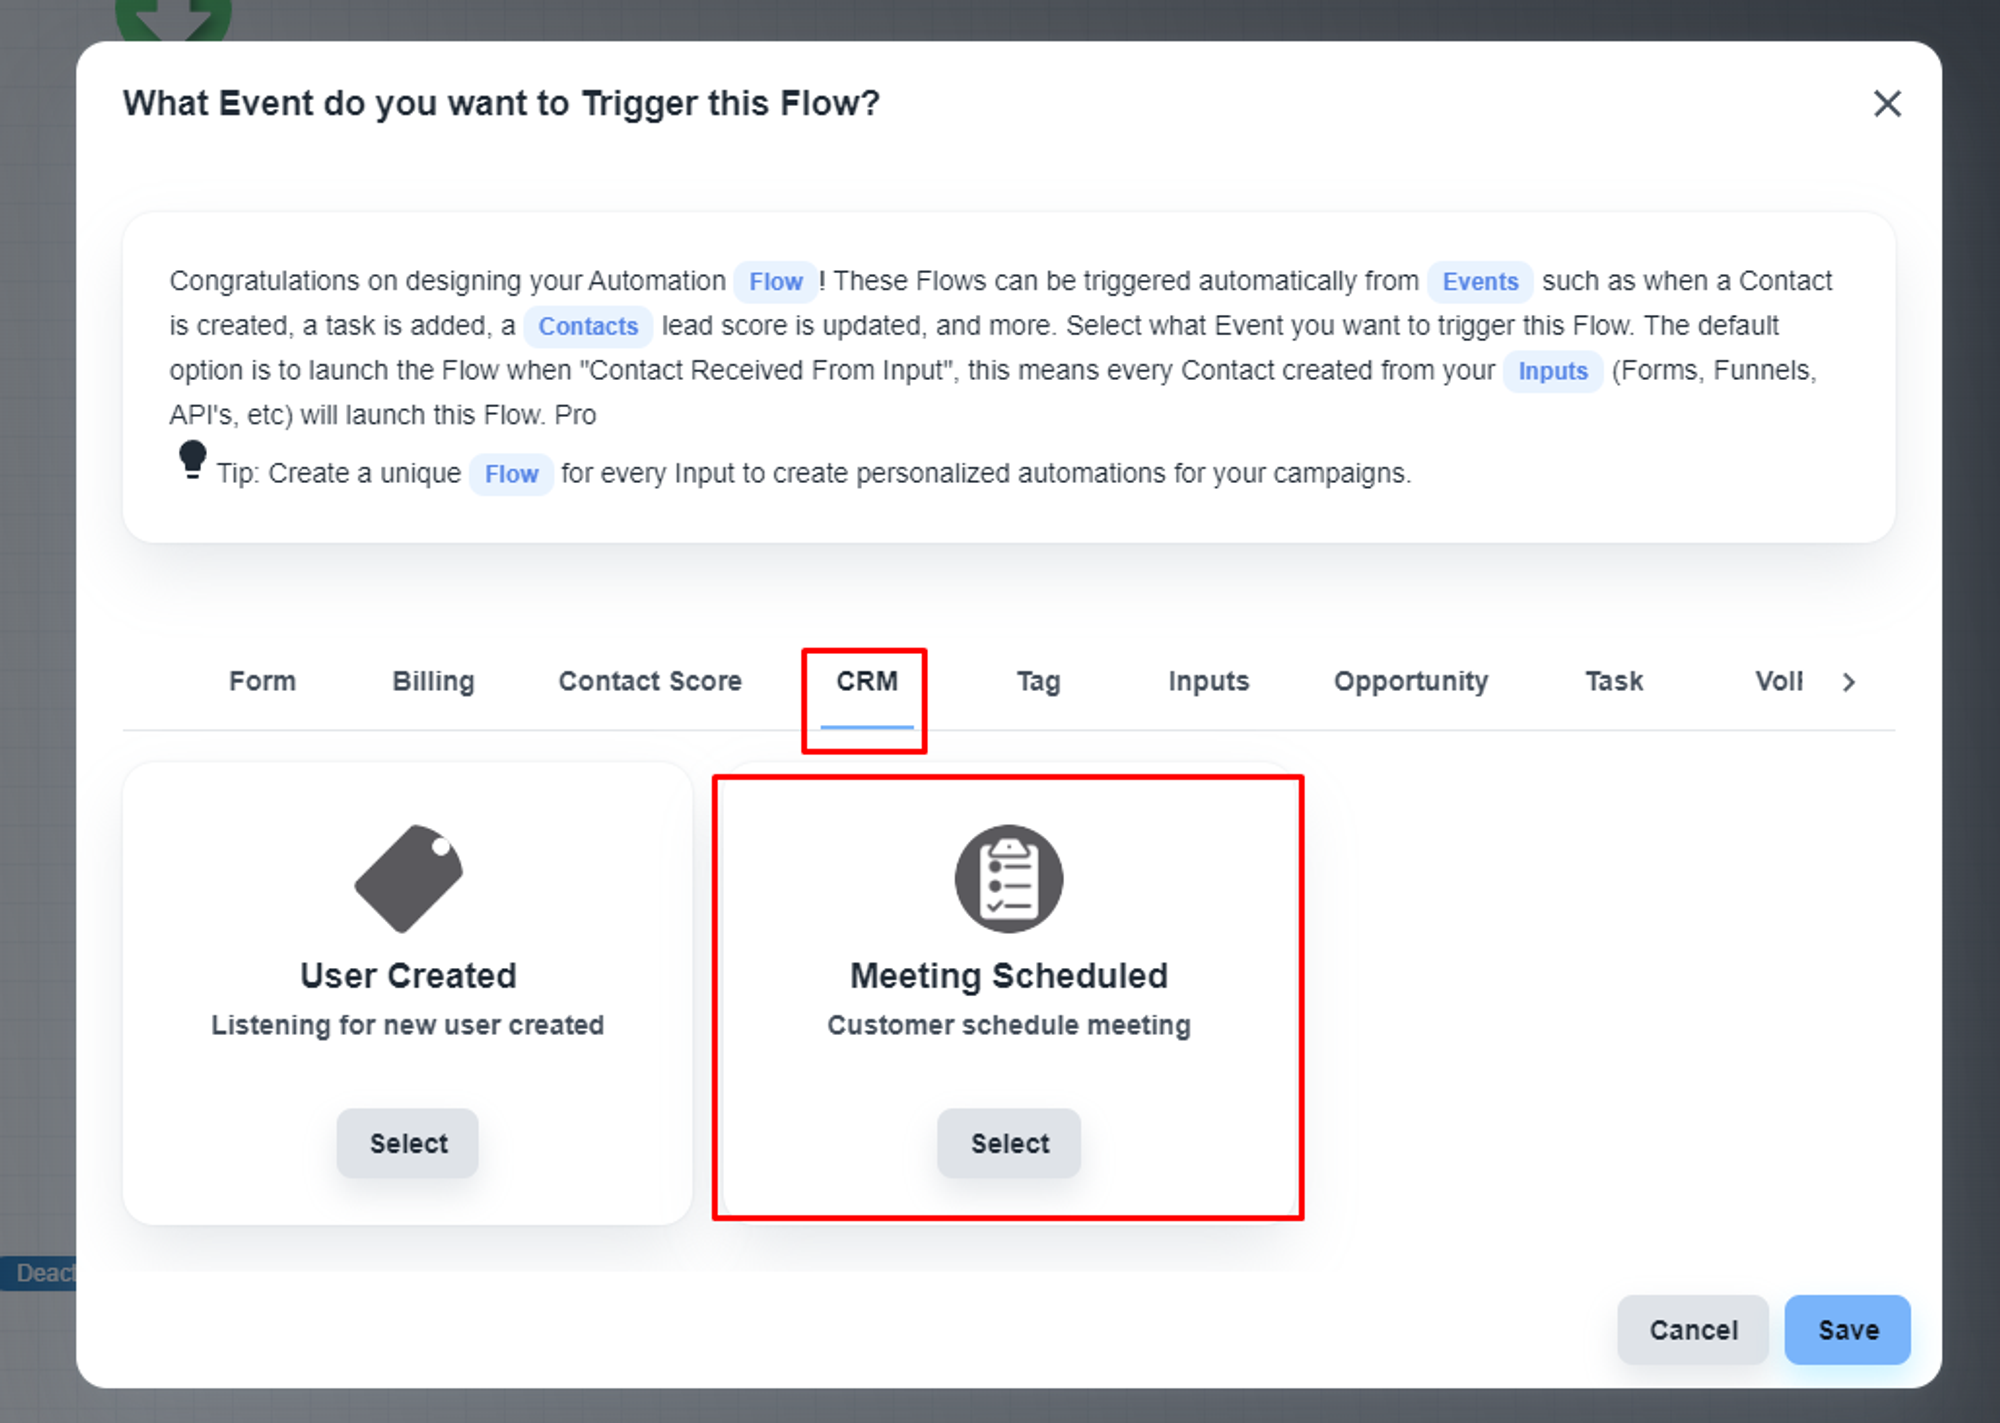
Please, select and save the setting.
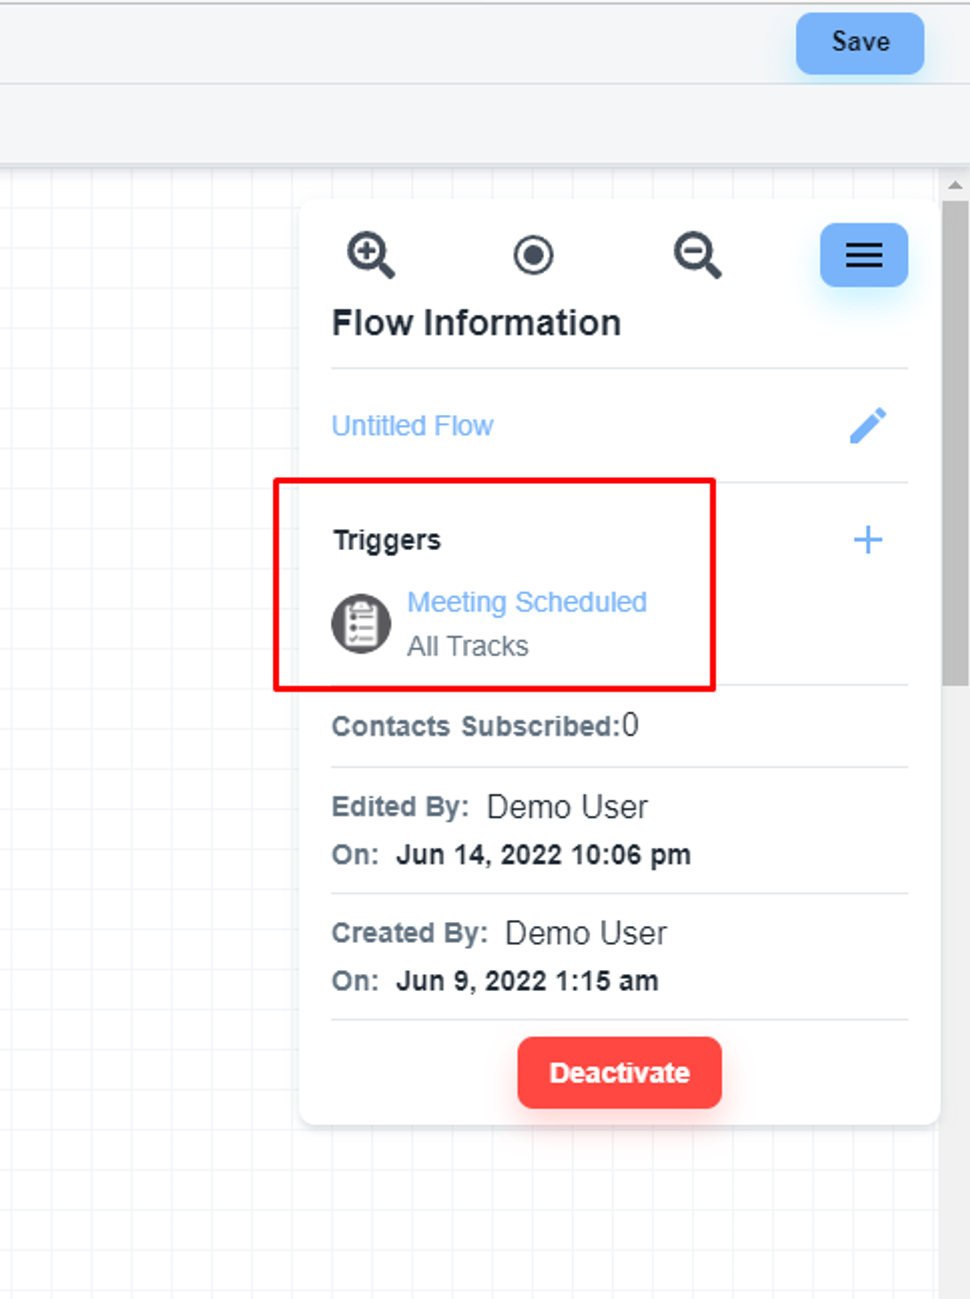
Now, you will see the ‘Meeting Scheduled’ as the trigger
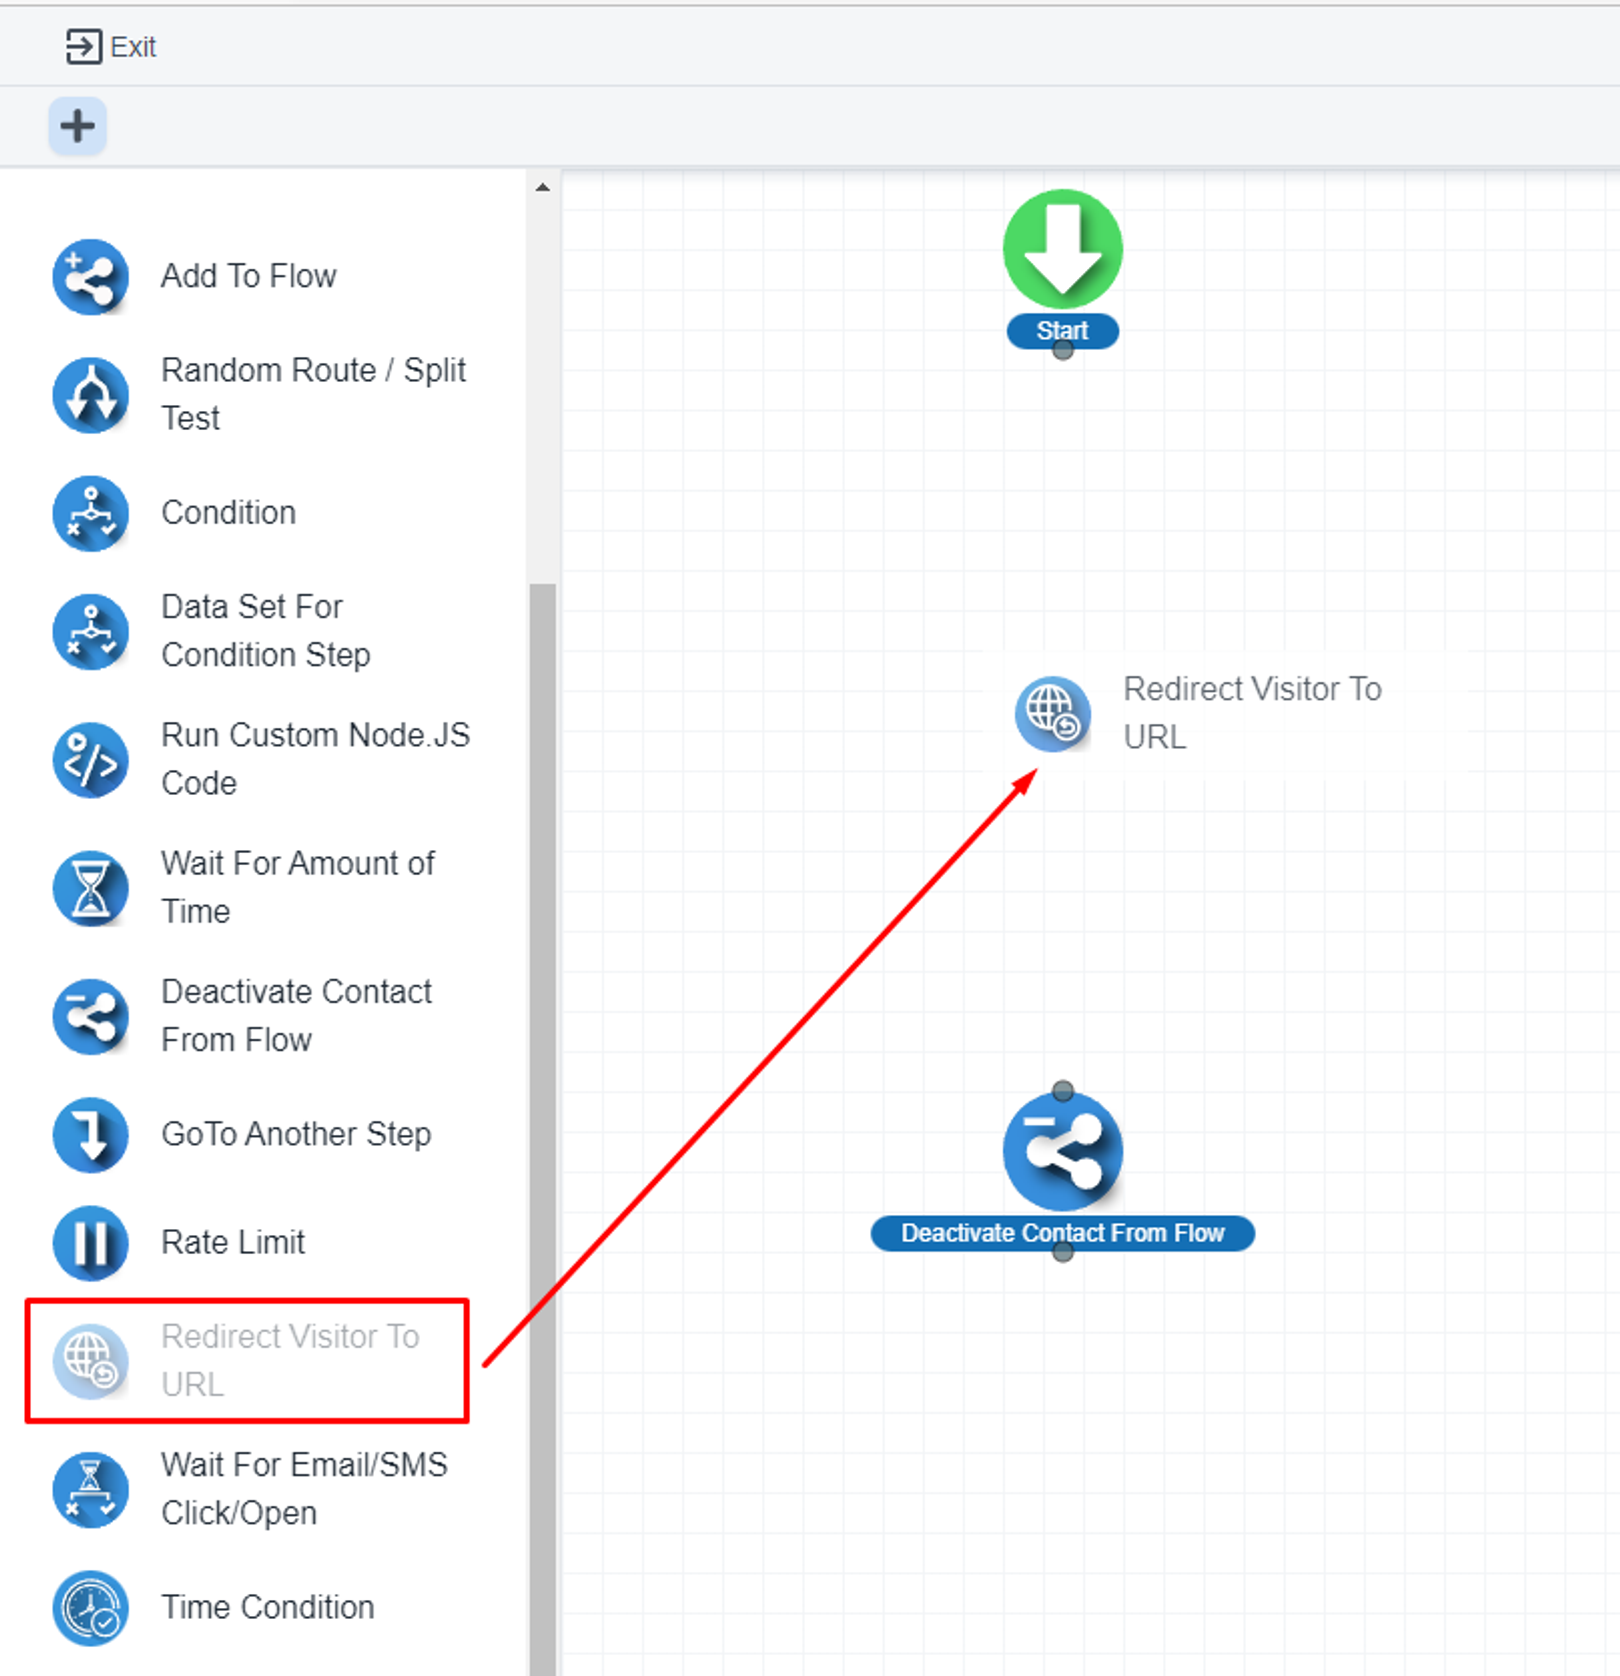
Add the ‘Redirect Visitor to URL’ step
You will get the ‘Redirect Visitor to URL’ step under the logic section
Here, you can pass the form link on the thank you page link.
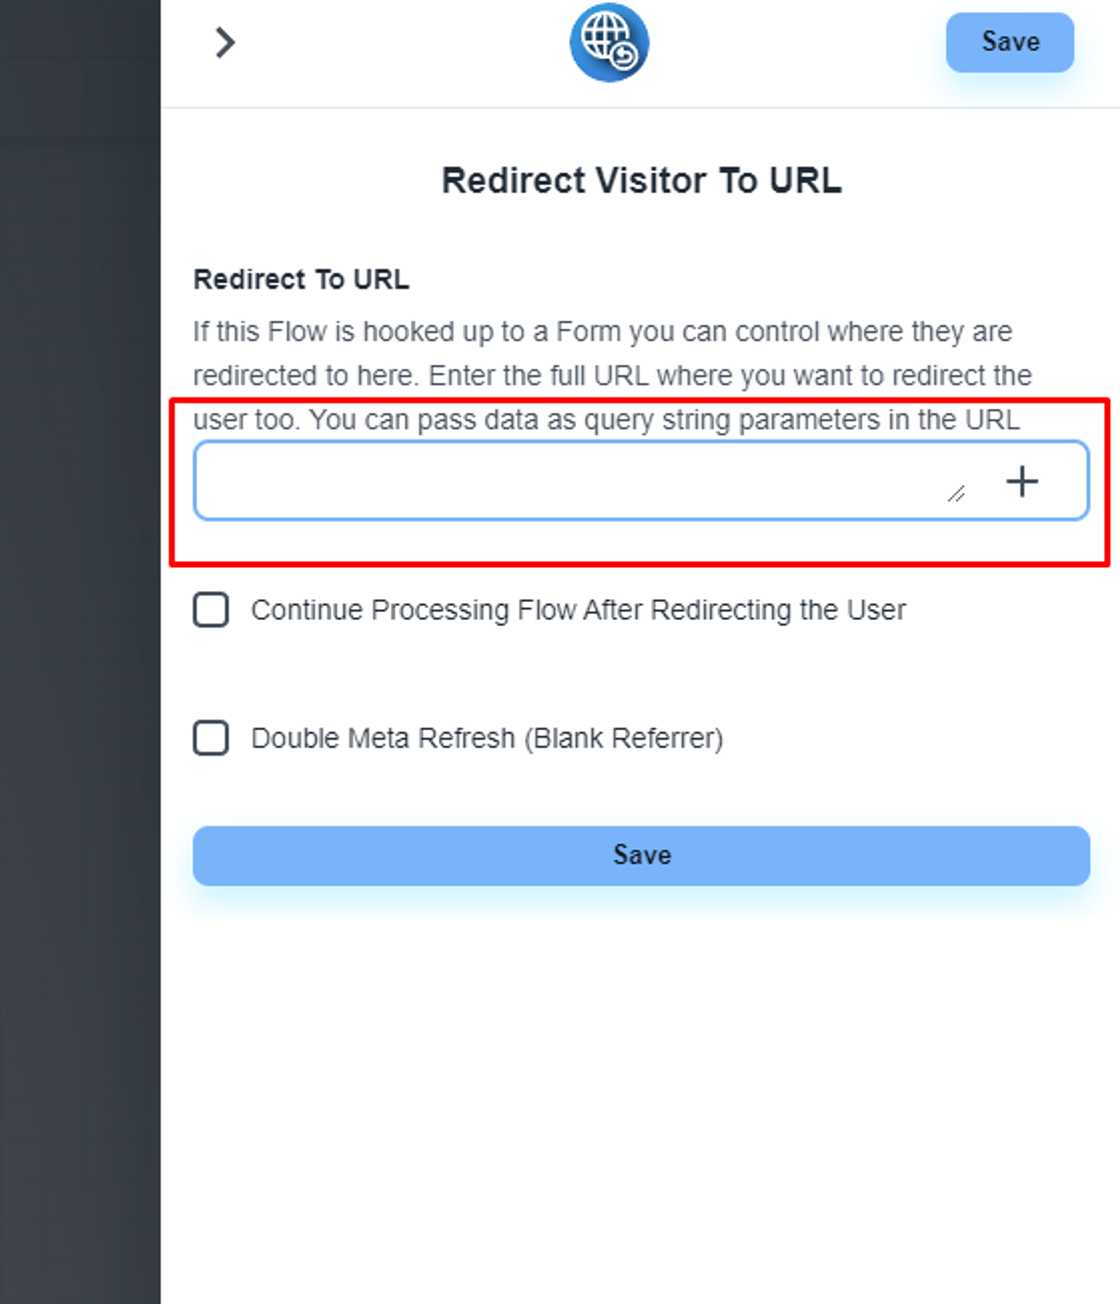
Please, save an publish the flow.