Create a New Meta Data Source Pixel
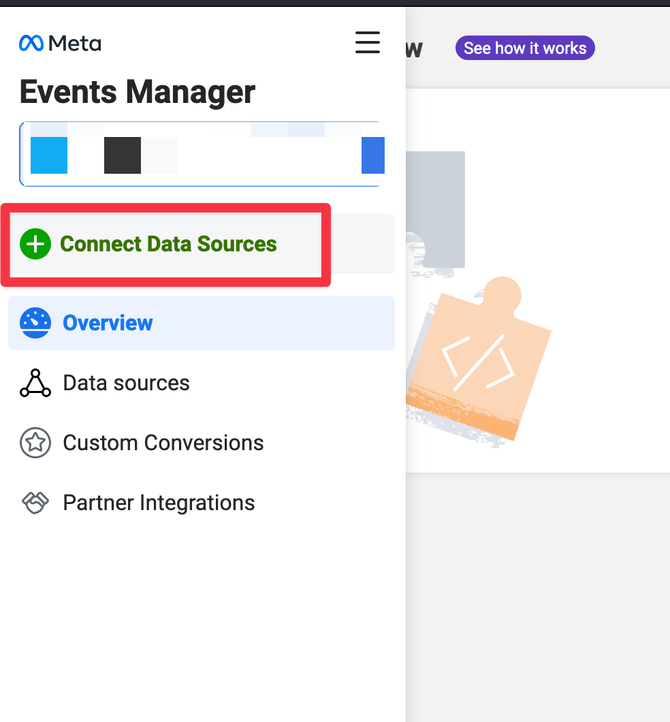
You must have a Meta Ad Manager Account. Open your Ad Manager Account and Navigate to Meta Events Manager and then click on “Connect Data Source
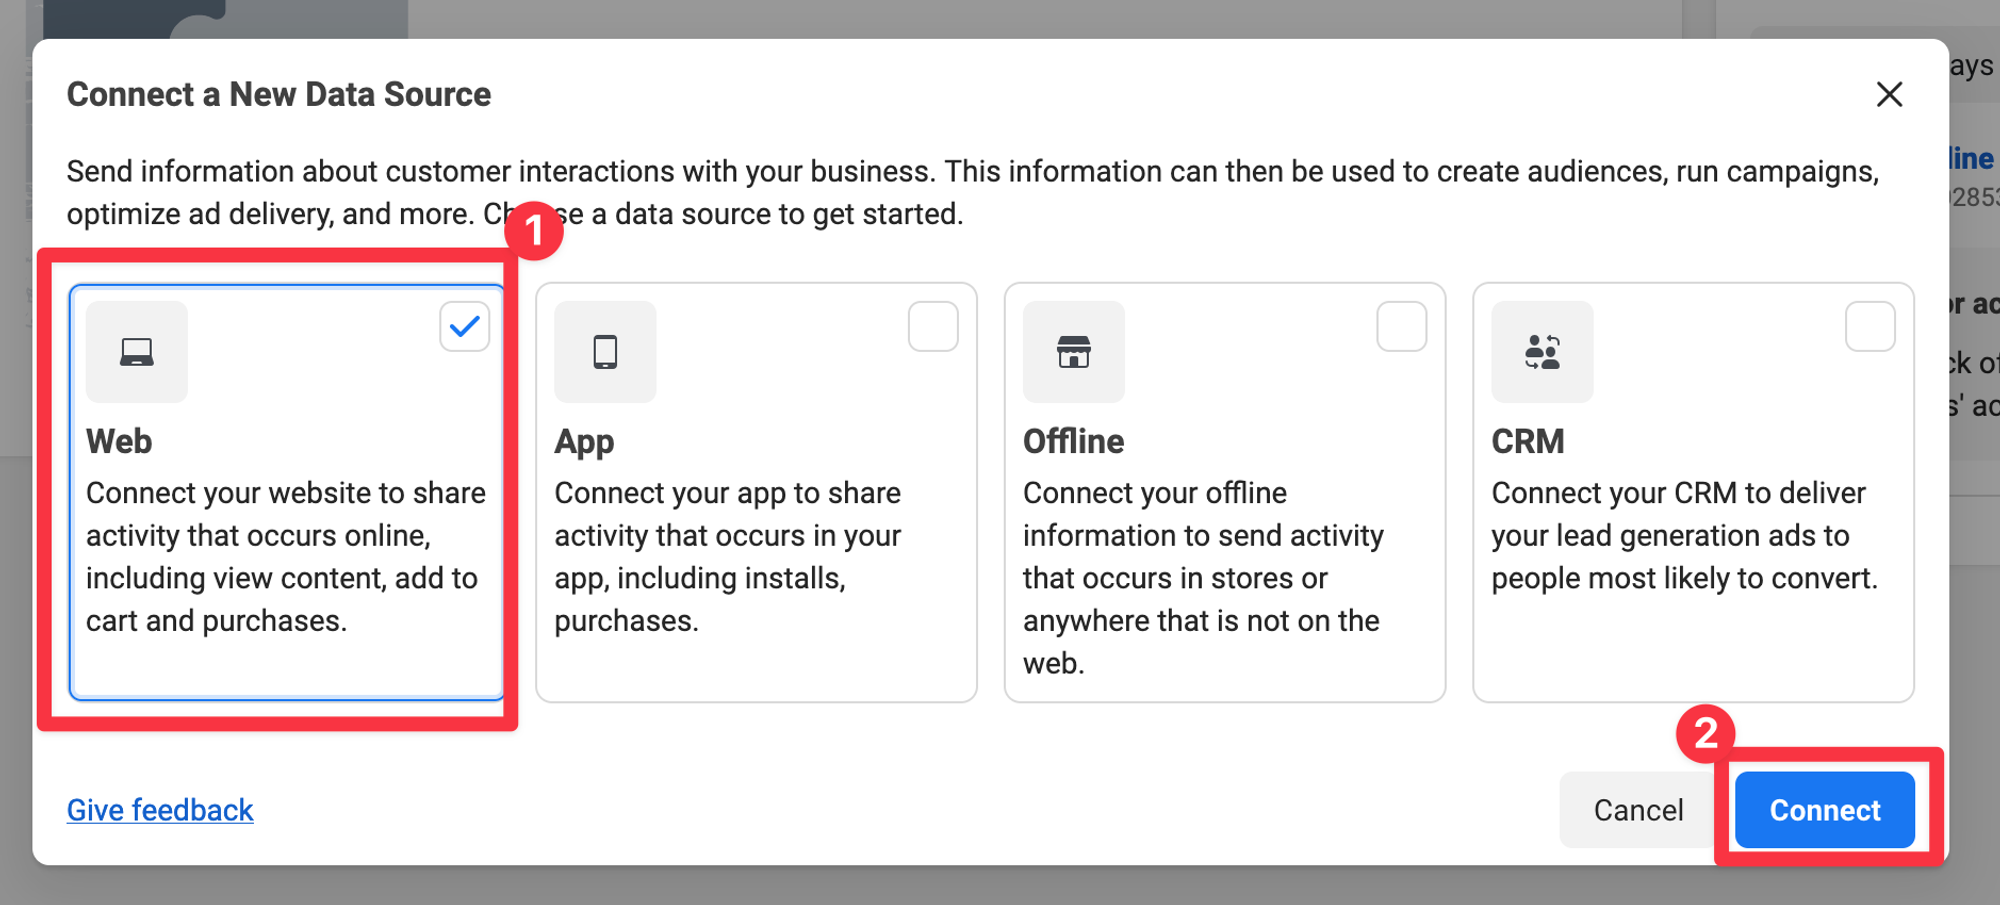
Next select “Web” and click “Continue”
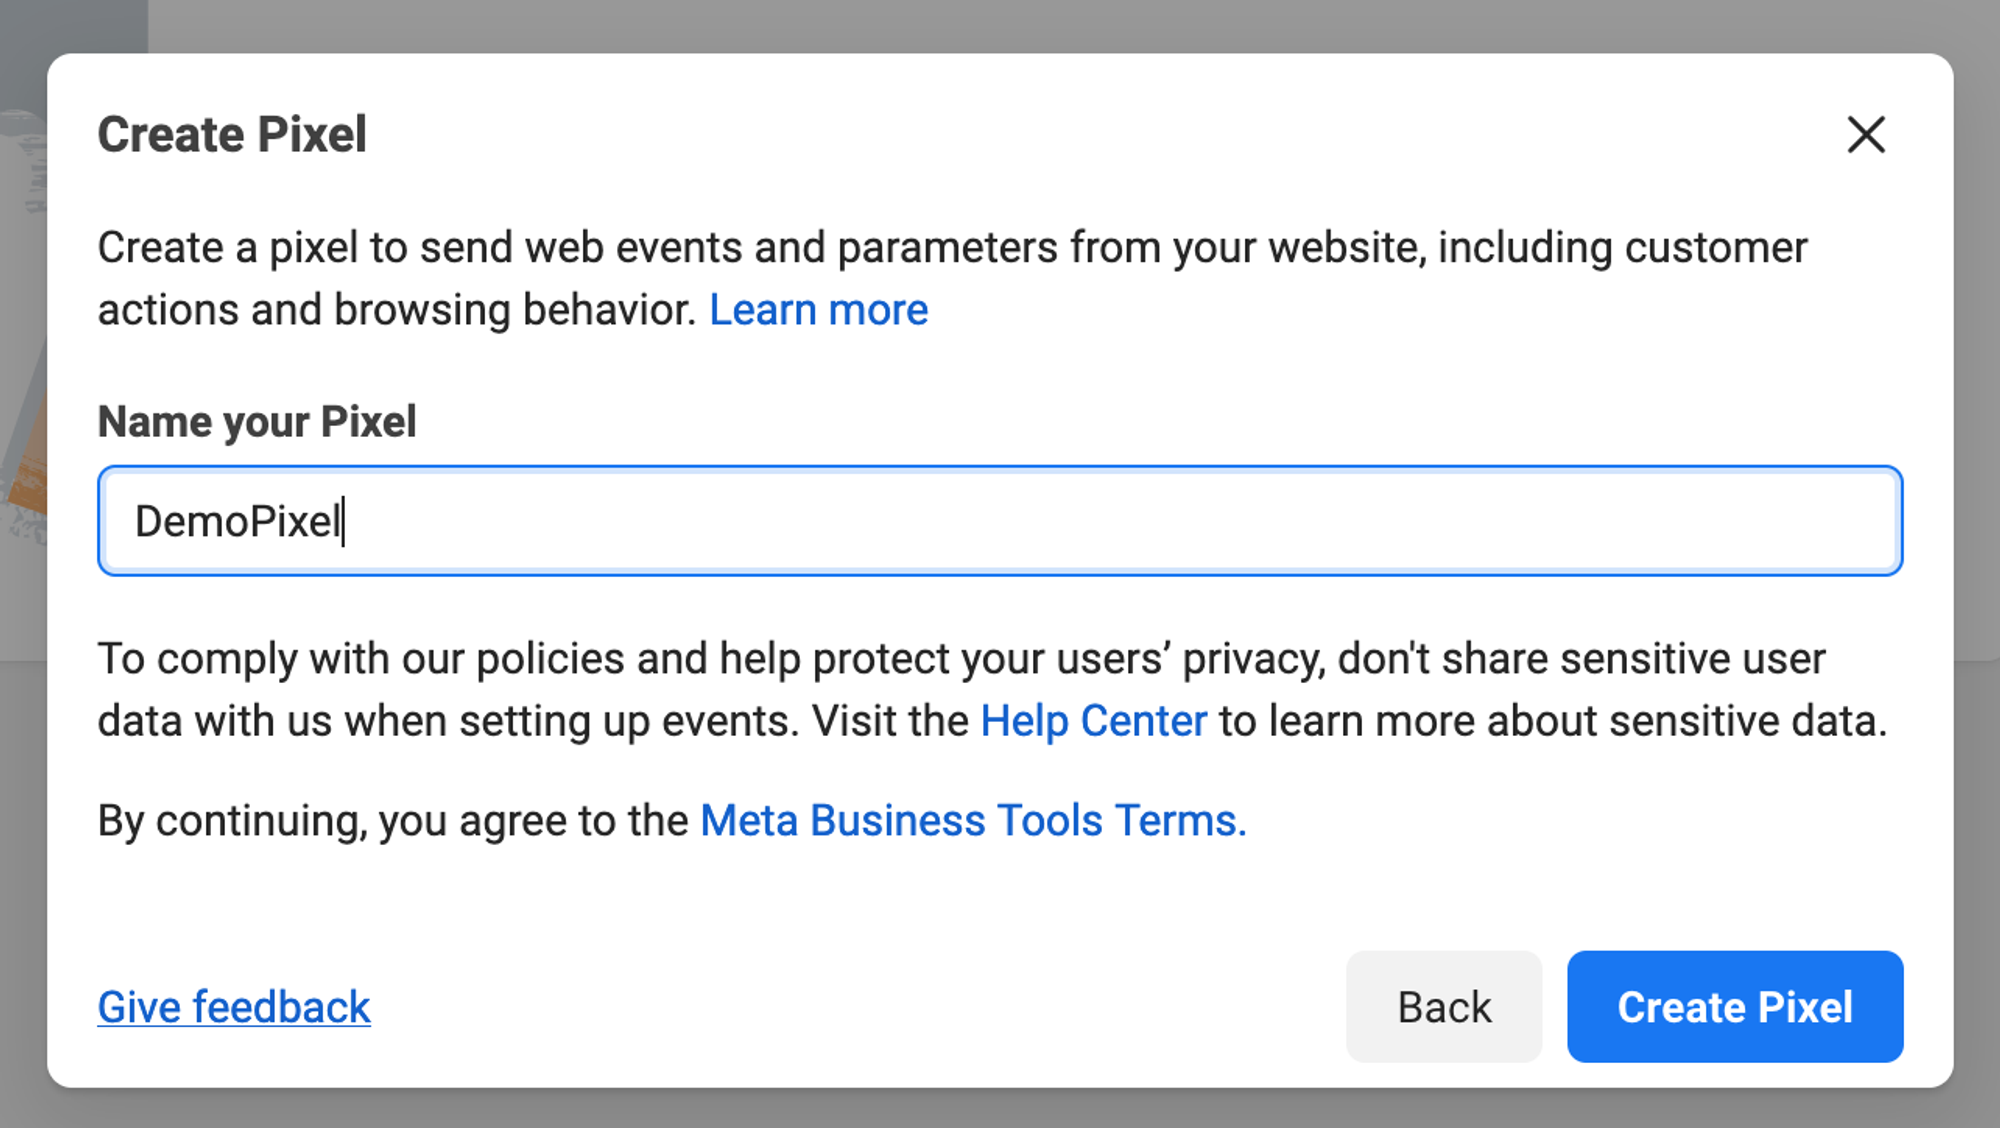
Now give your Pixel a Name
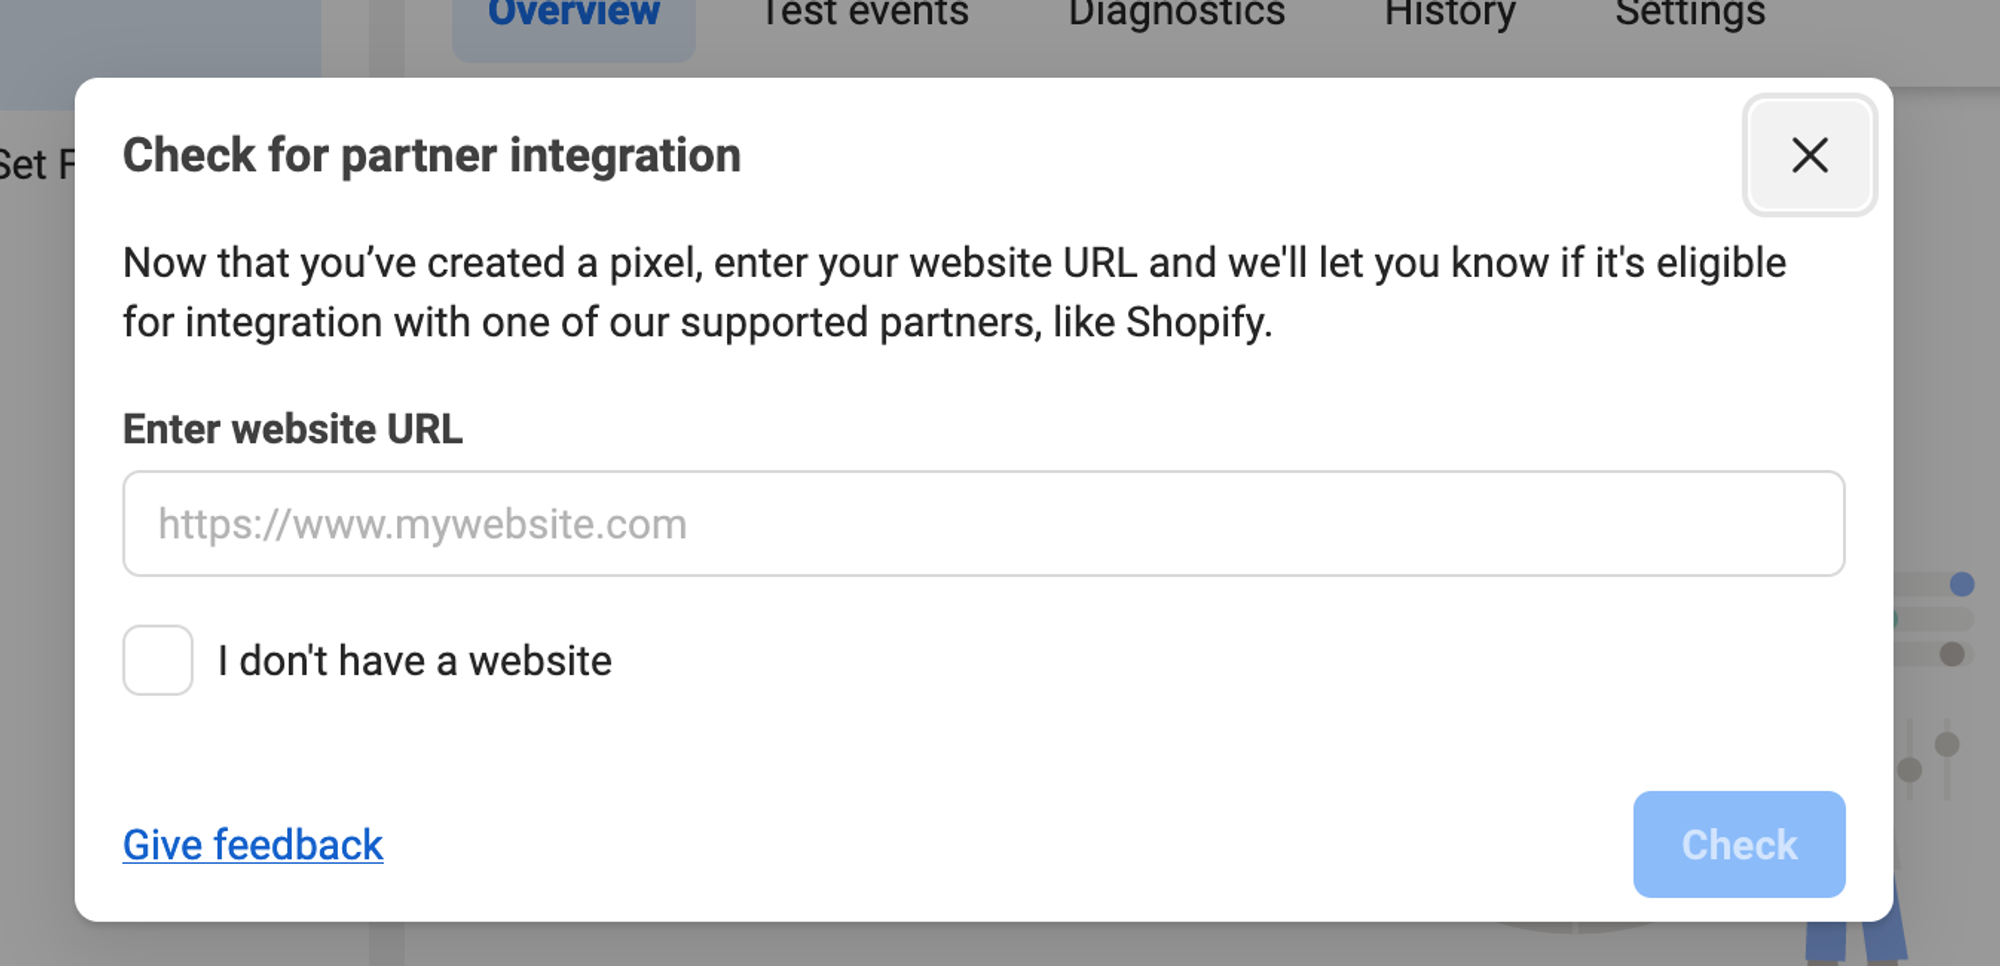
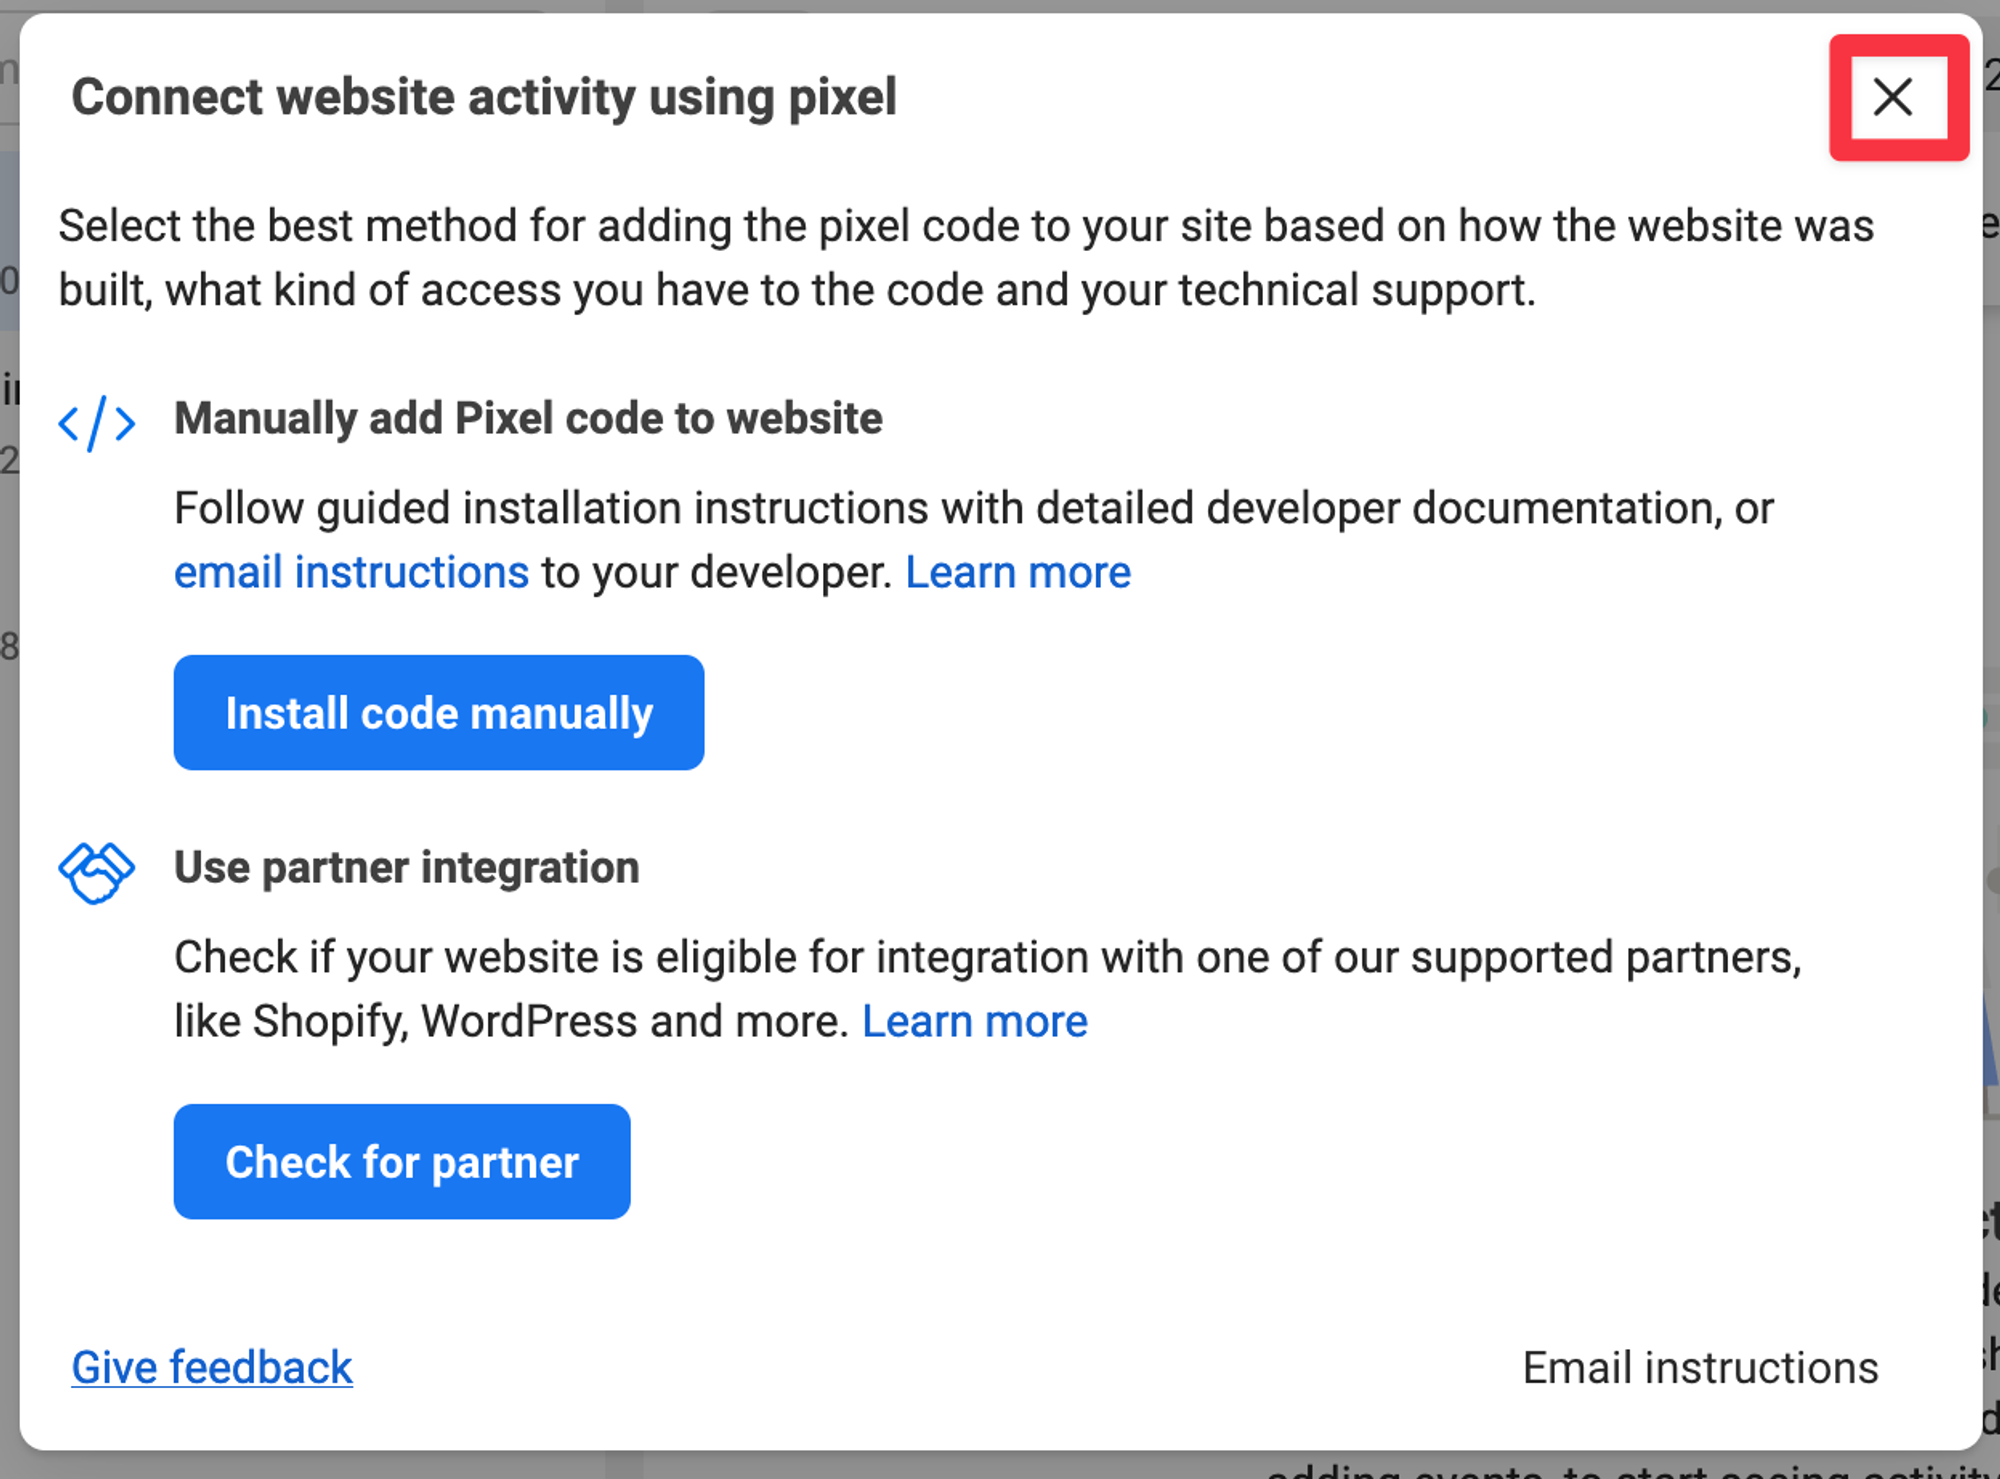
Next you will get a popup to check for a “Partner Integration”, simply close this popup
Generate Access Token For Your Pixel
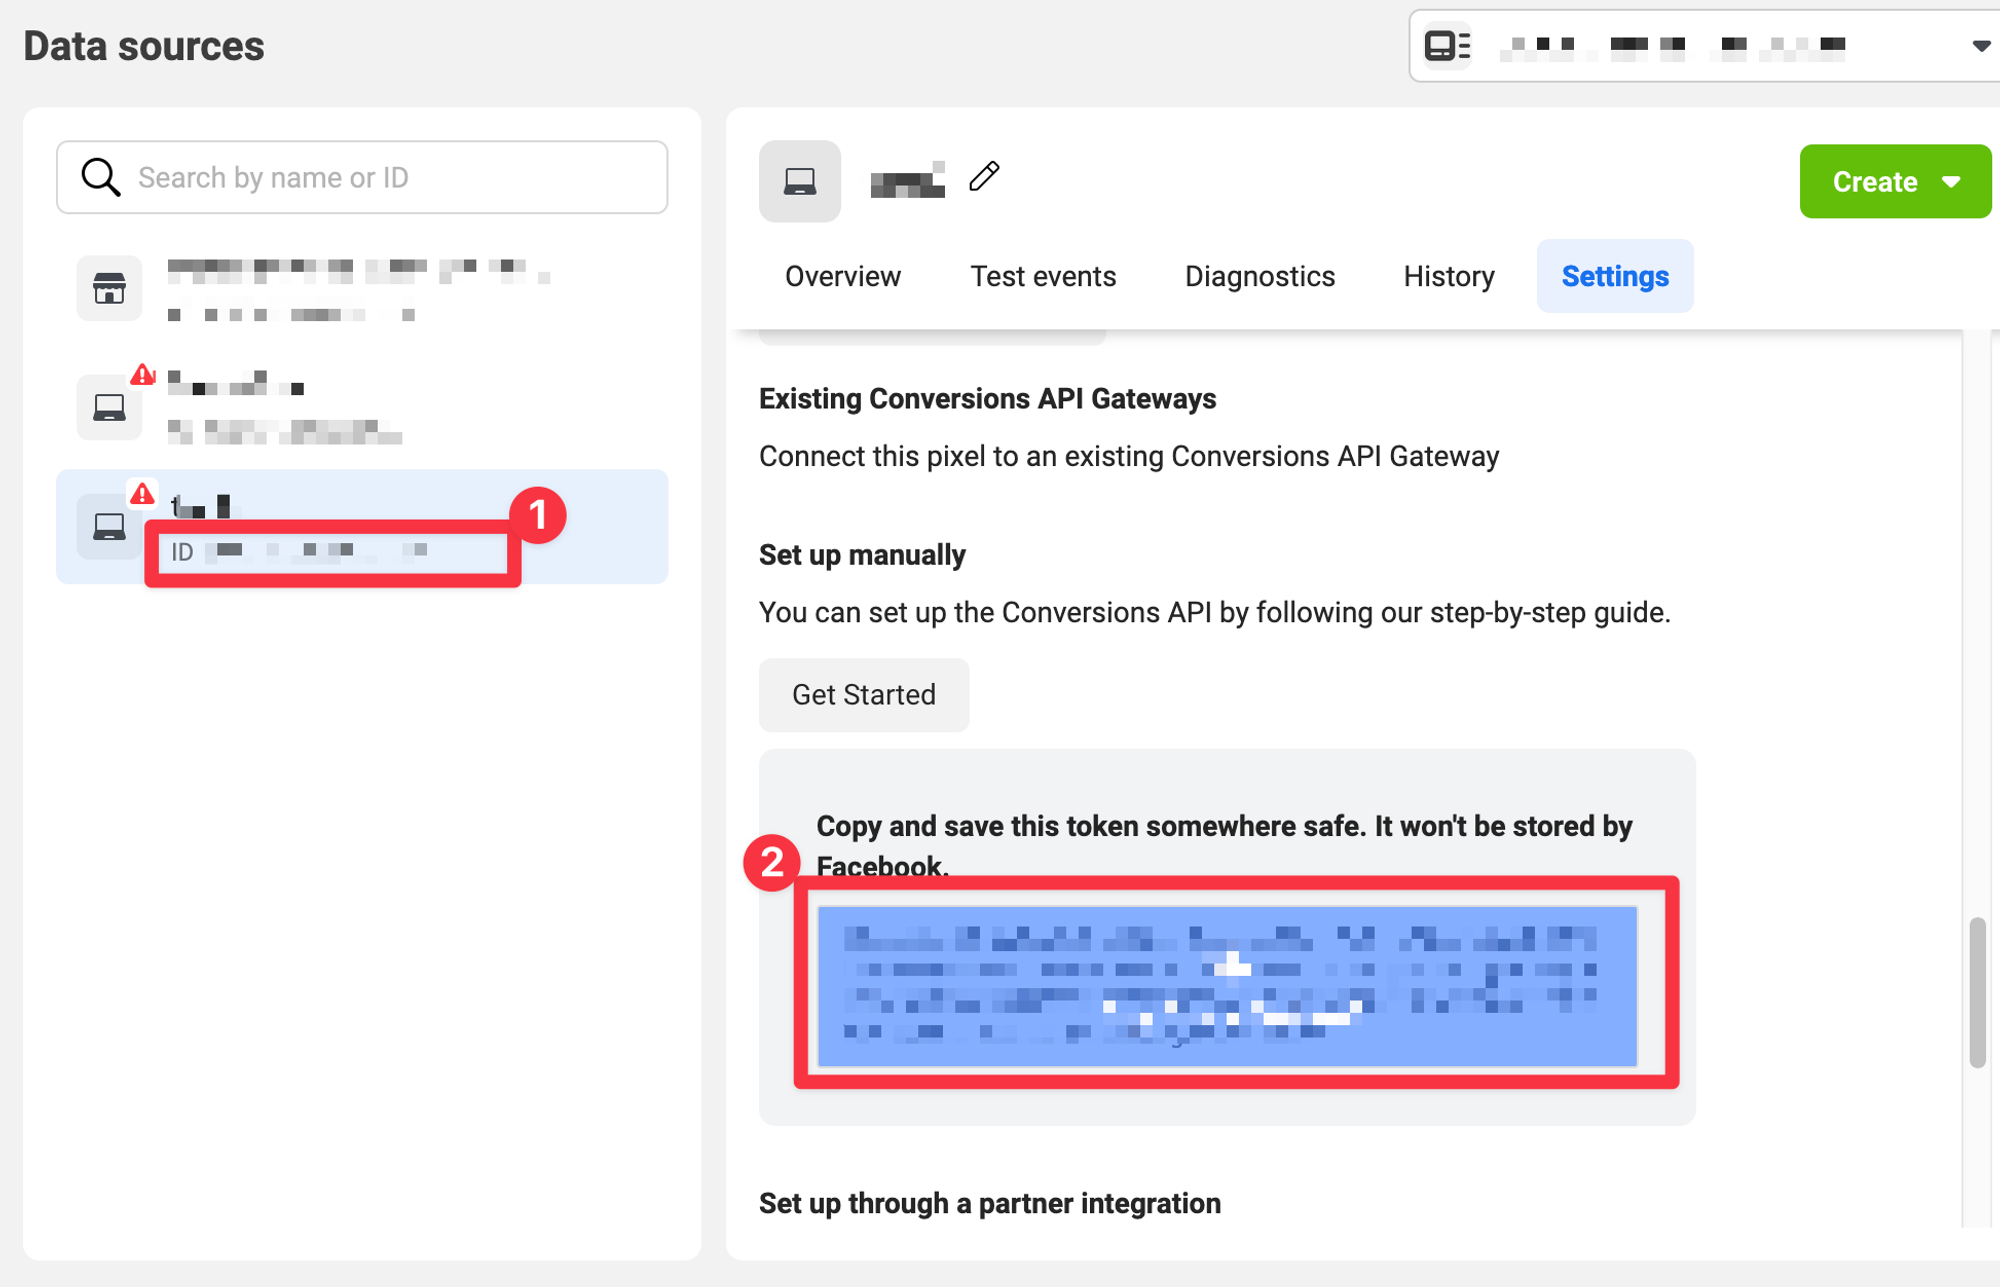
Now your Pixel is created and we can start connecting to it. First click on your new Pixel under Data Sources and then click ‘Settings” and then “Generate access token”
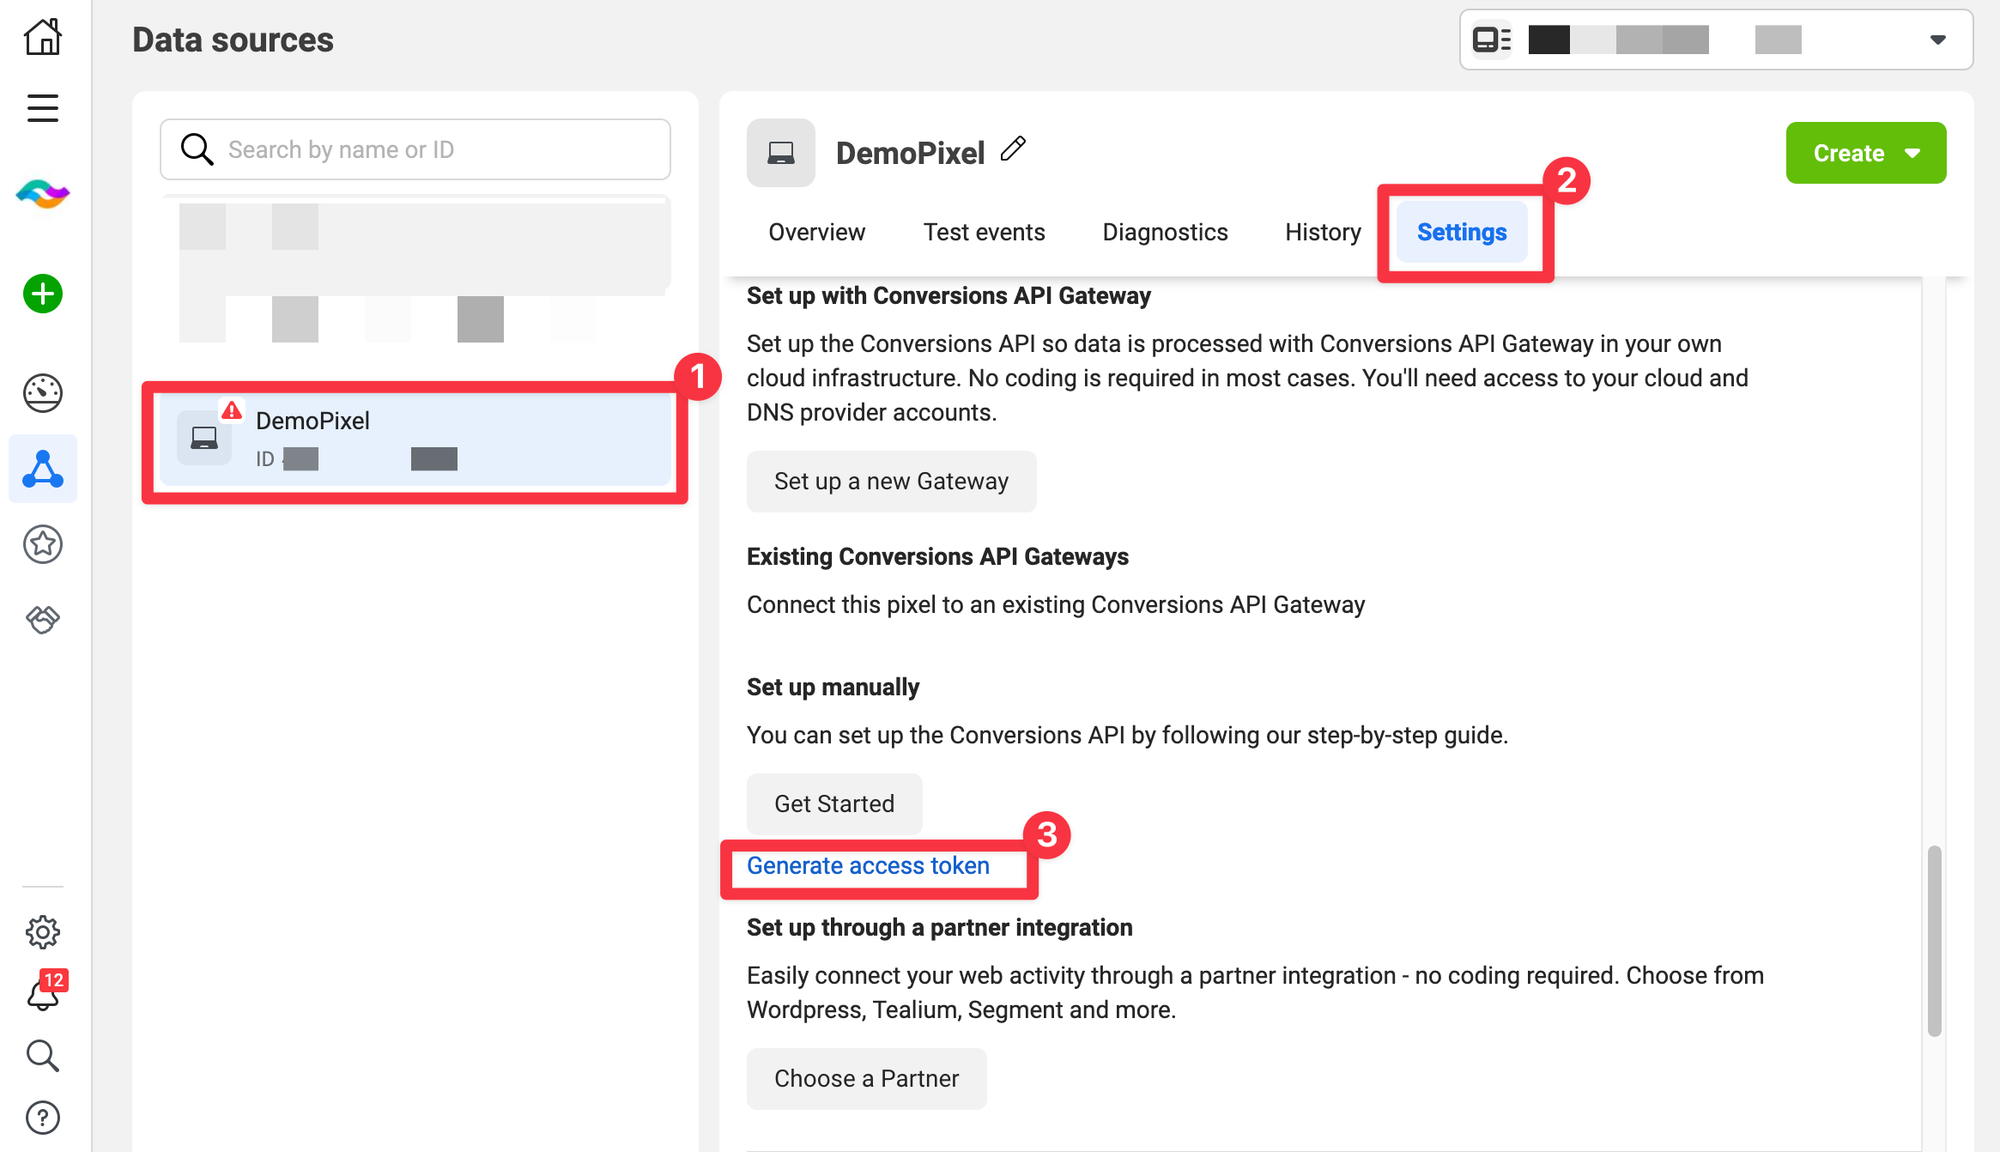
Next you will need to copy TWO things on this page we will need for later;
- The ID number of the Pixel
- The new token that was generated in the Blue Box.
Tell Meta What Conversion Events and Data to Collect With Your Pixel
Launch the Wizard
Now we have to tell Meta what type of events we want to track such as “Purchase”, “Add to Cart”, “Lead”, and more.
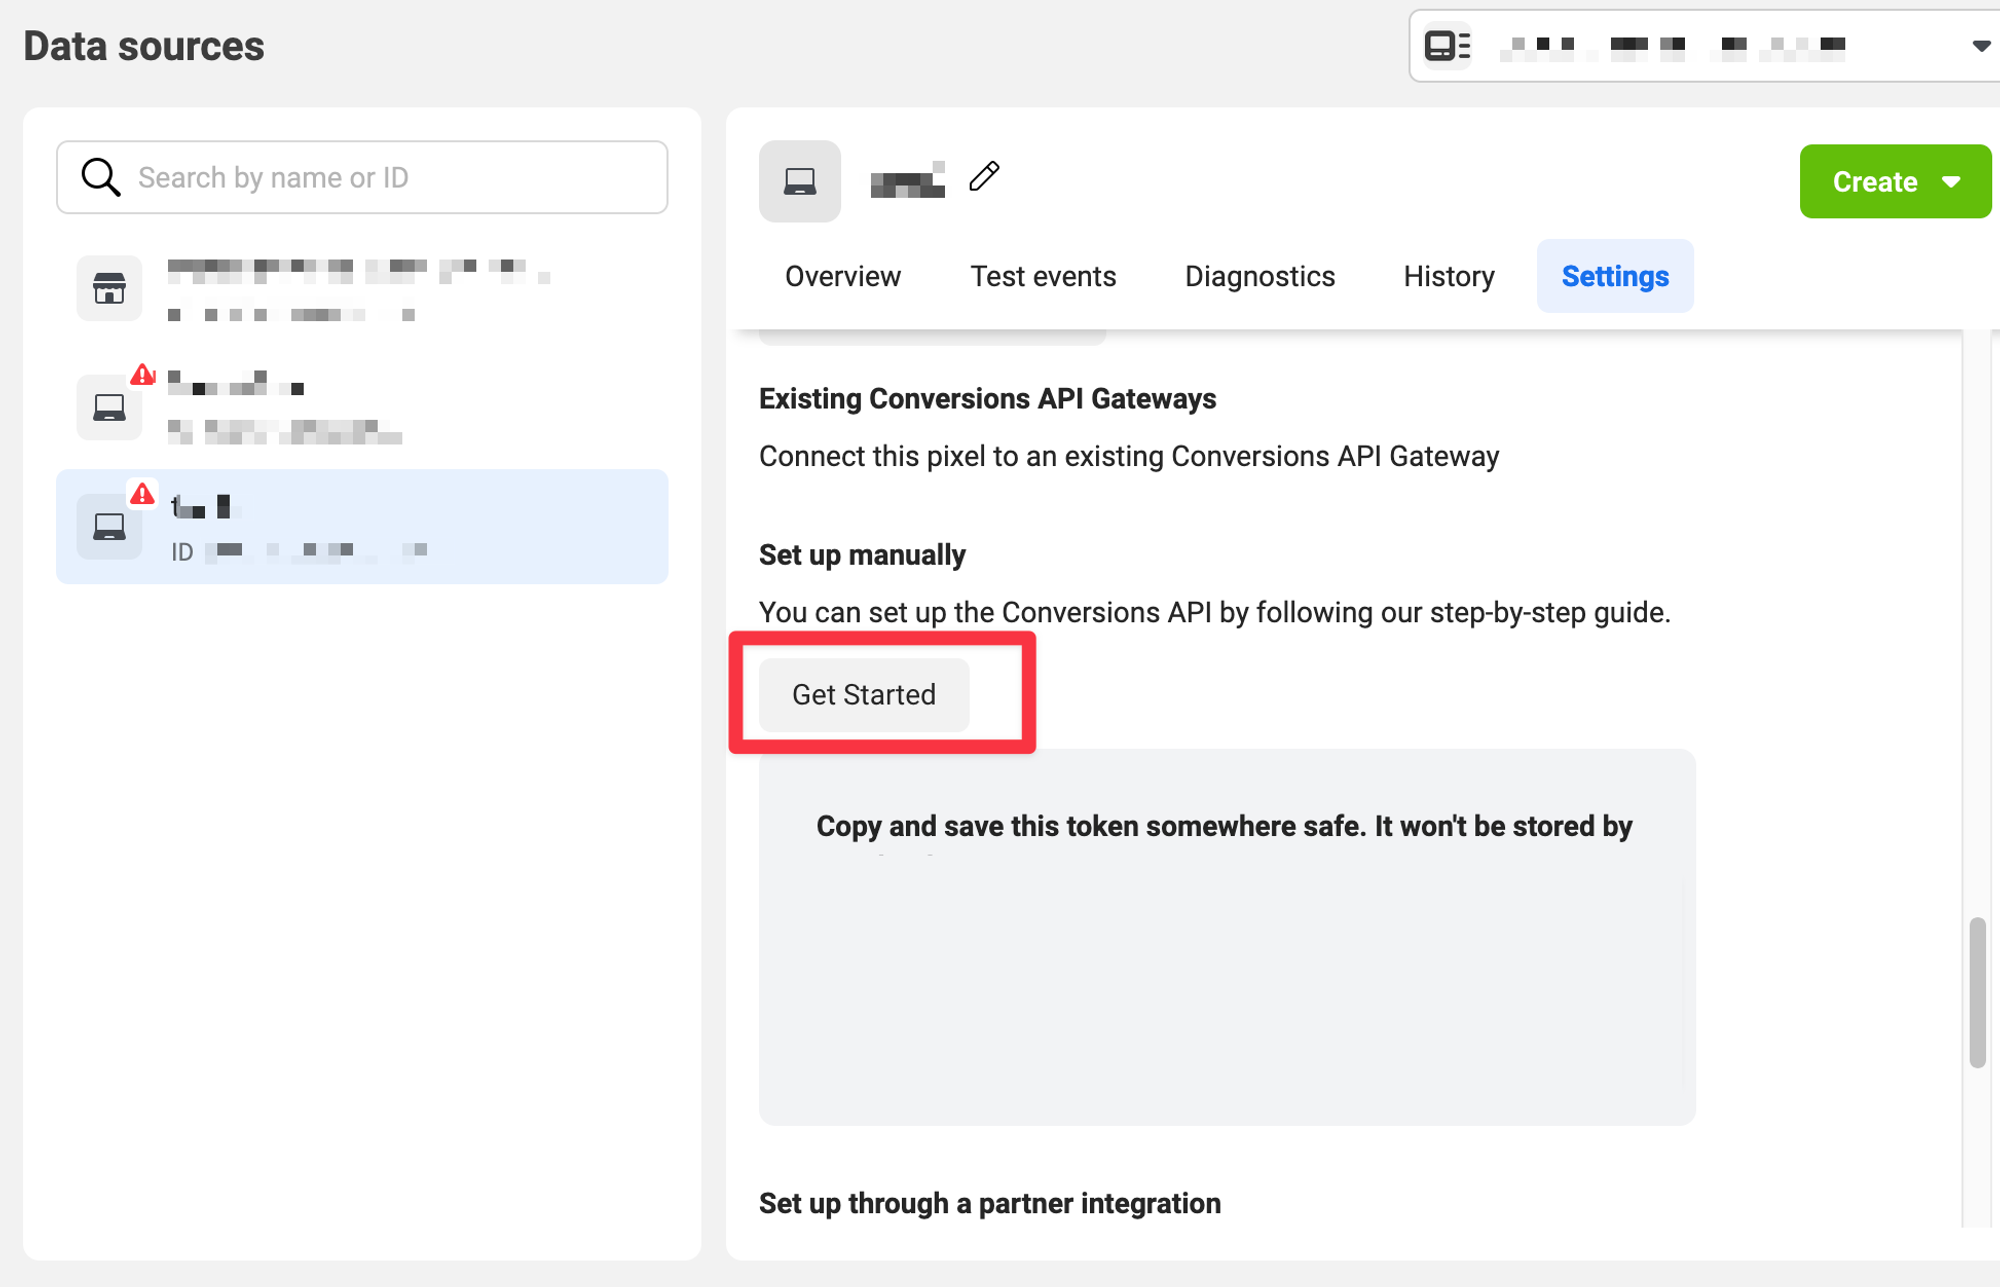
Go ahead and click on the “Get Started” button under Settings to launch the step by step wizard
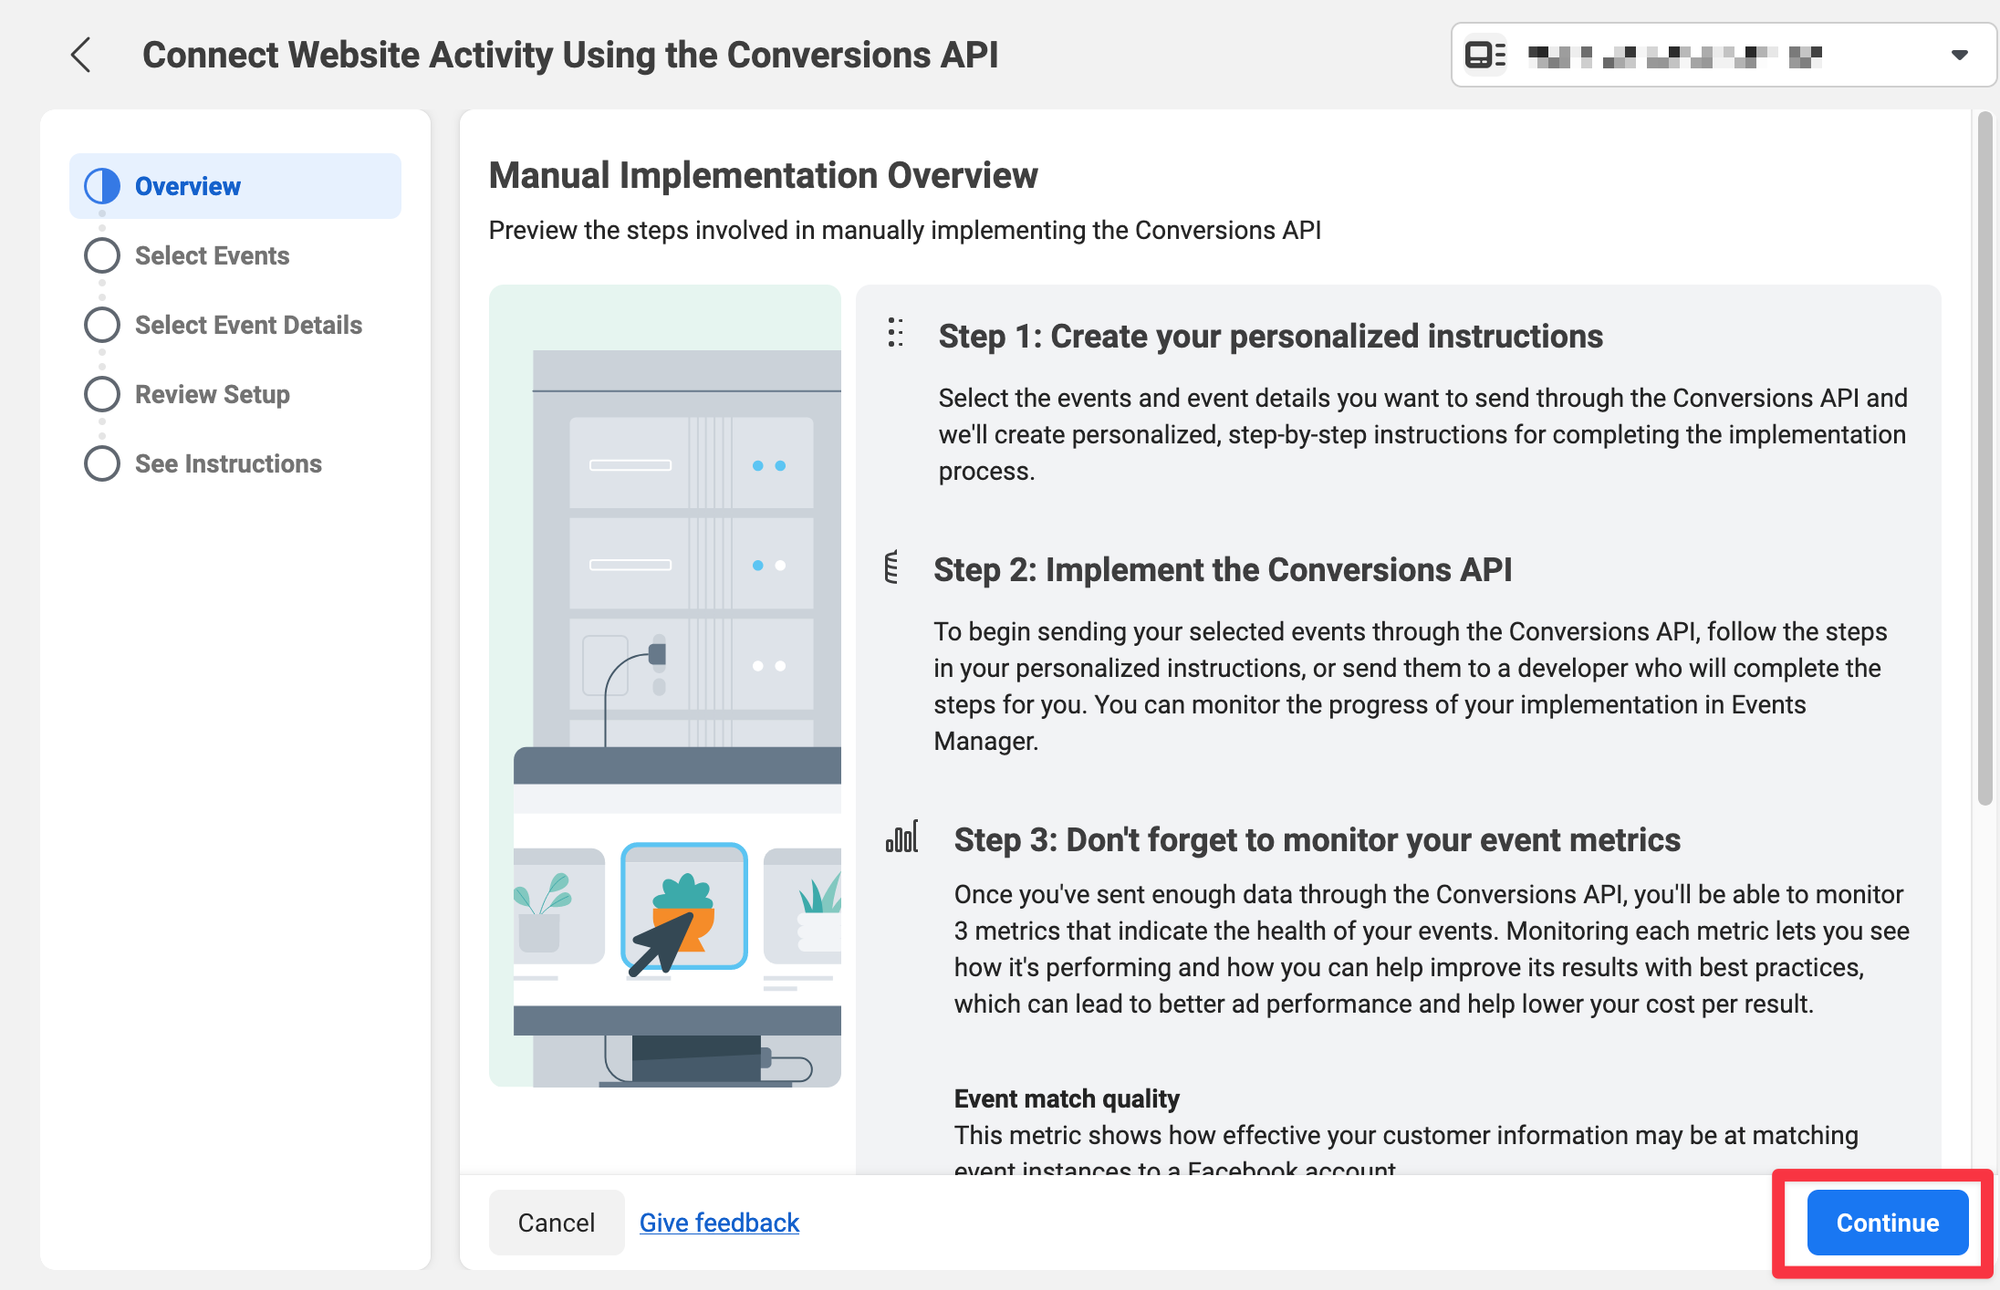
Now click “Continue”
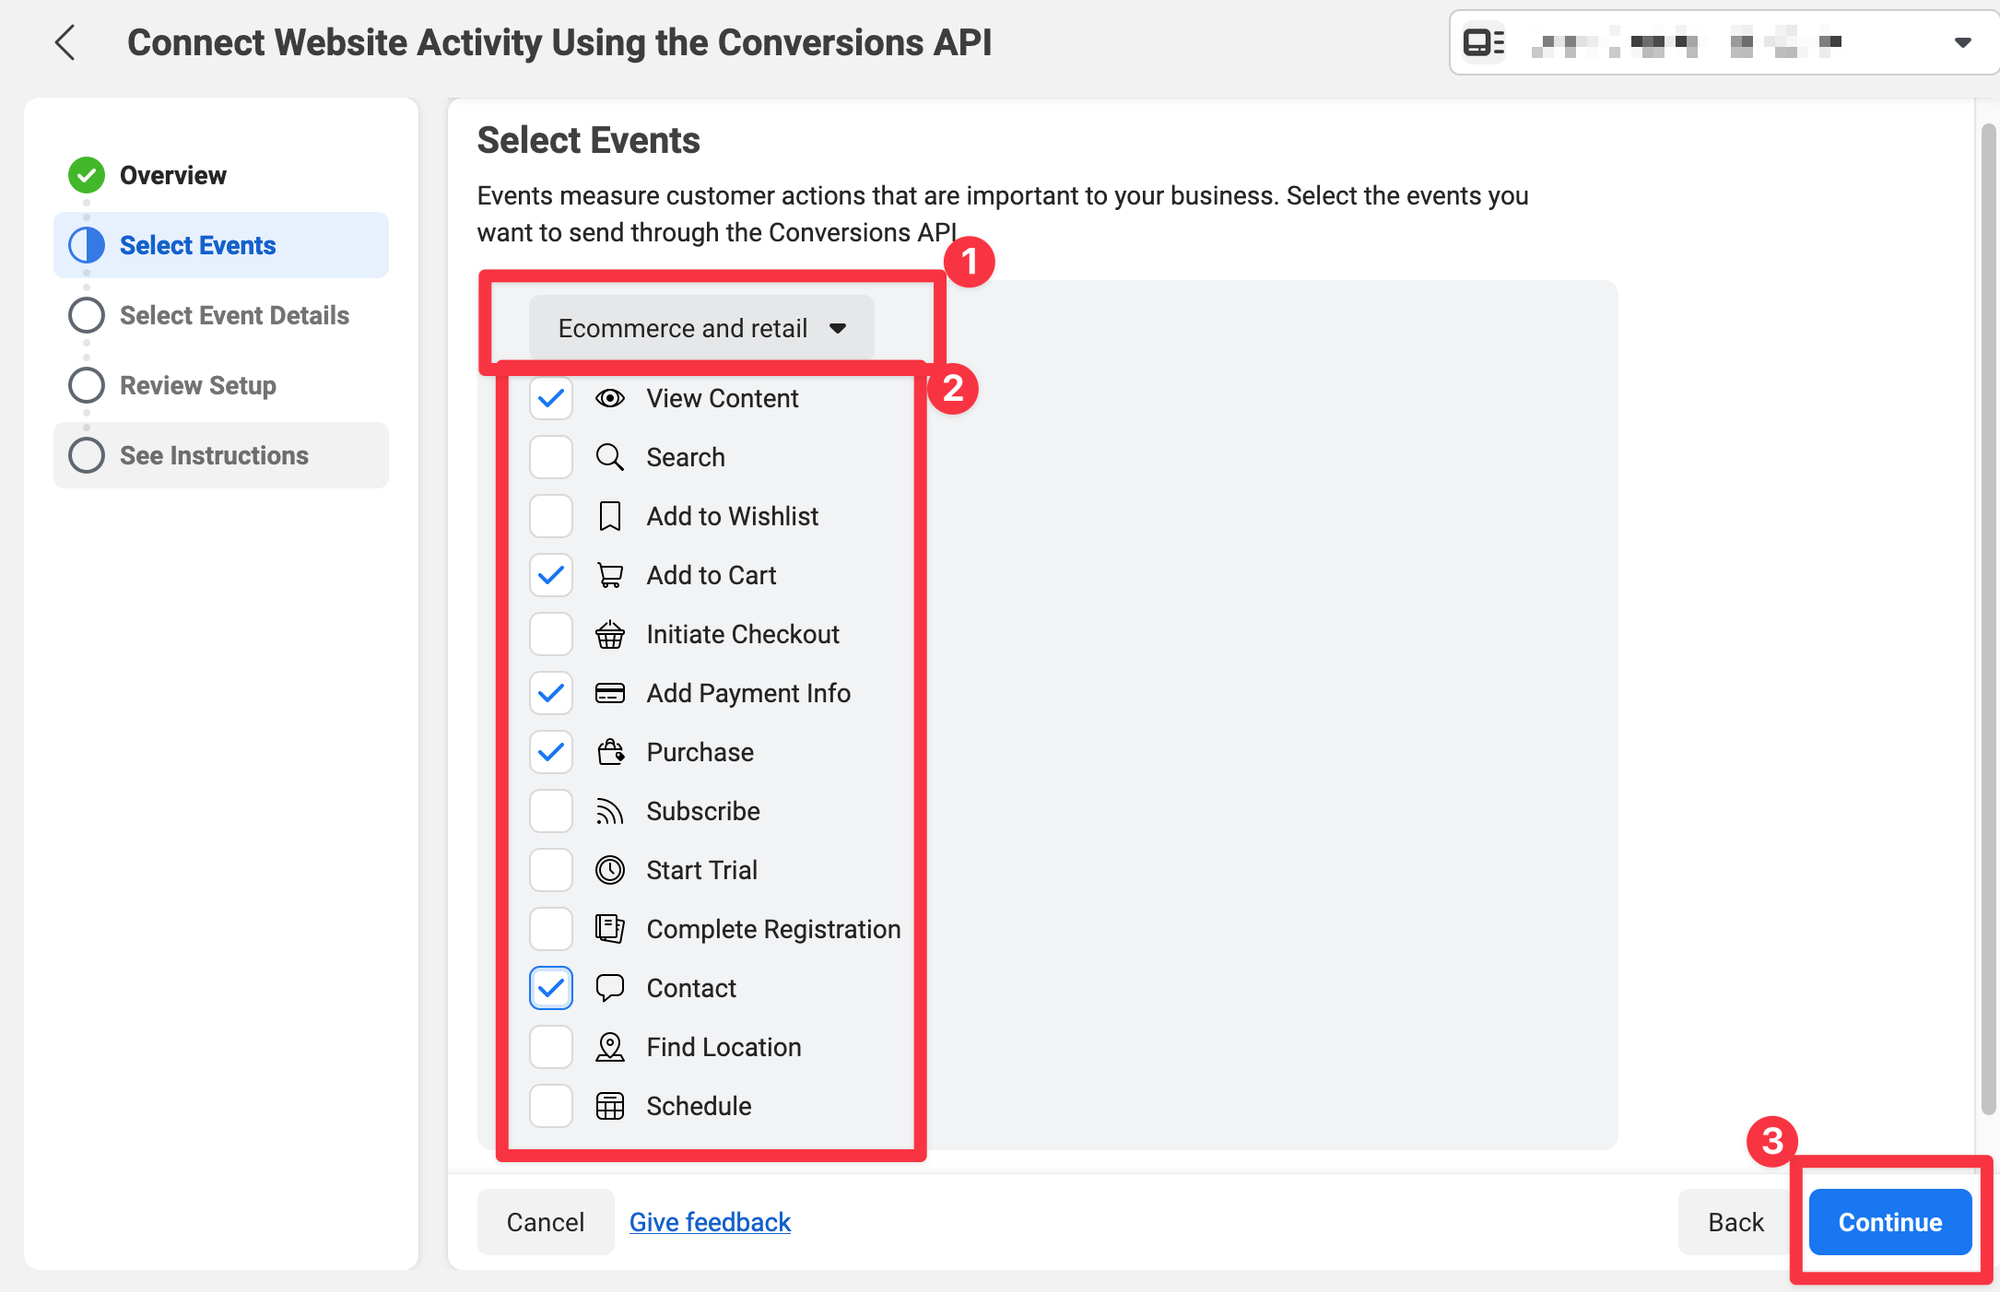
Select Your Events
On this step we have to select the Events that are important to your business. These events match the flow of your Funnel. If you’re selling products or services online your events will probably look like this;
View Content → Add to Cart - > Initiate Checkout → Contact→ Add Payment Info → Purchase
⚠️ Changing these values later may cause your pixel to have to restart learning
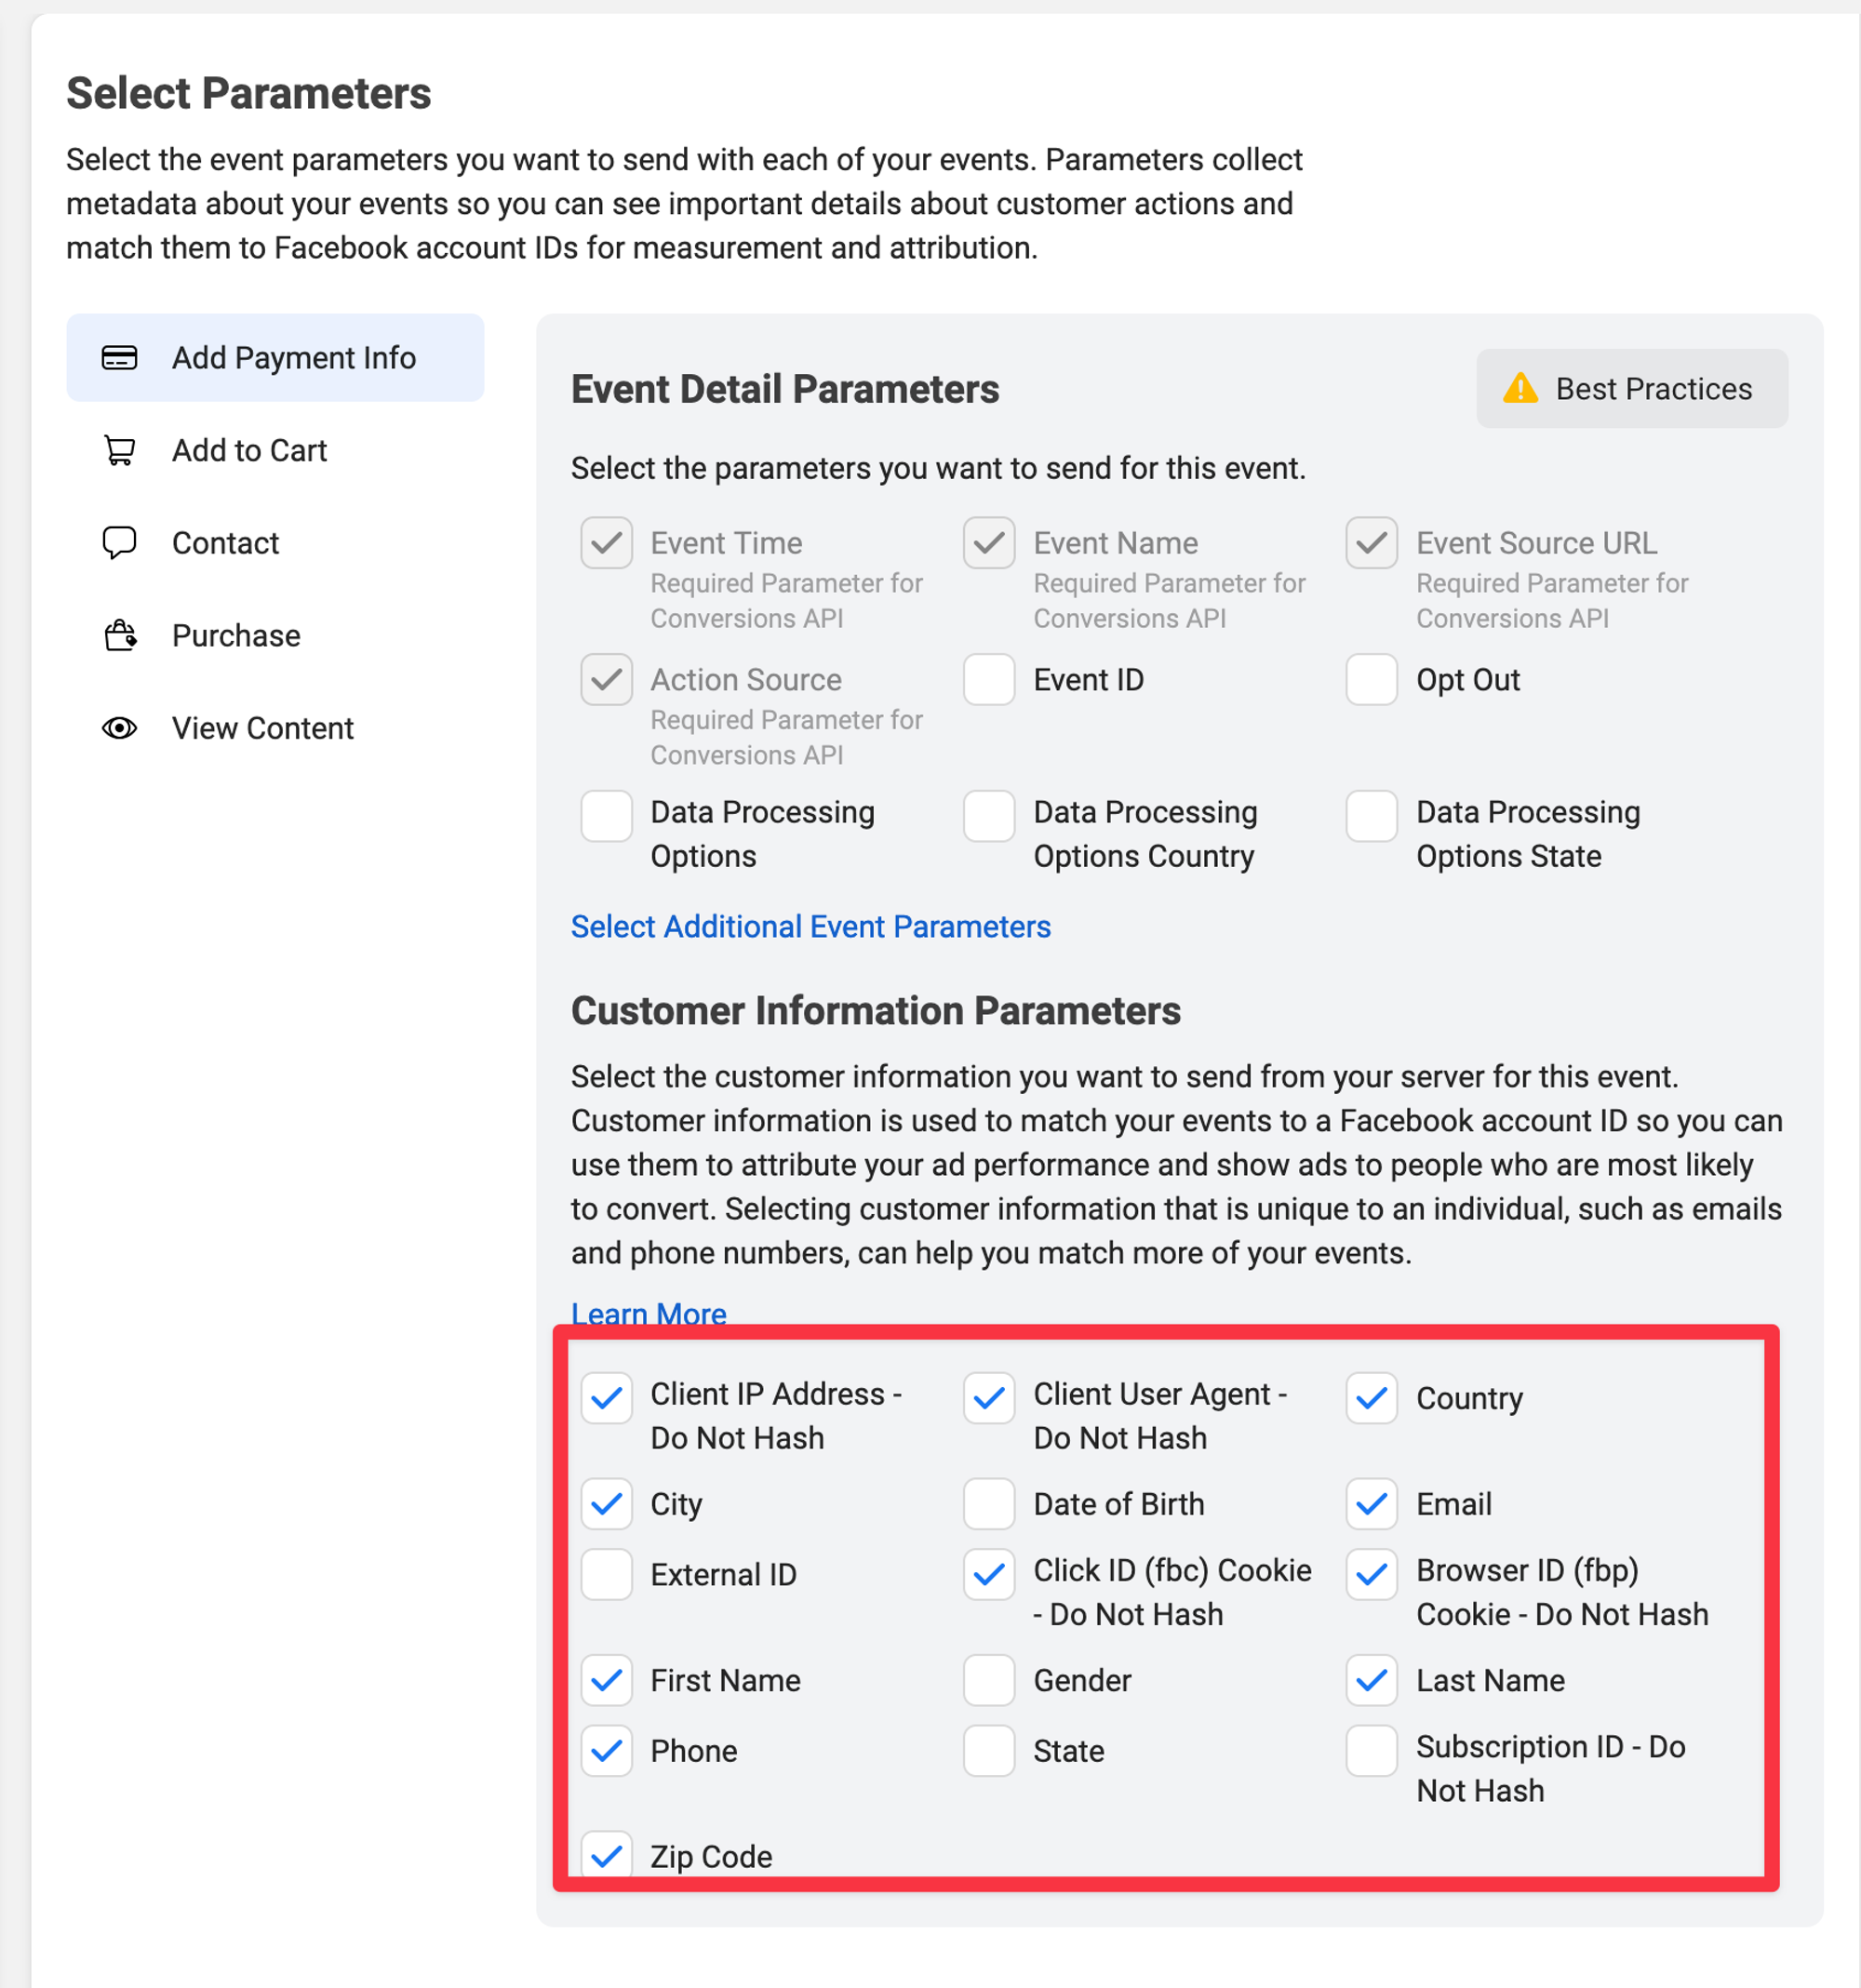
Select the Data to pass to Meta
Meta can use some identifiers you pass then to improve how Meta can match up Conversions. The more datapoints Meta has available to match a Facebook user who saw your ad.
On this page check the boxes of the data you want to share with Meta.
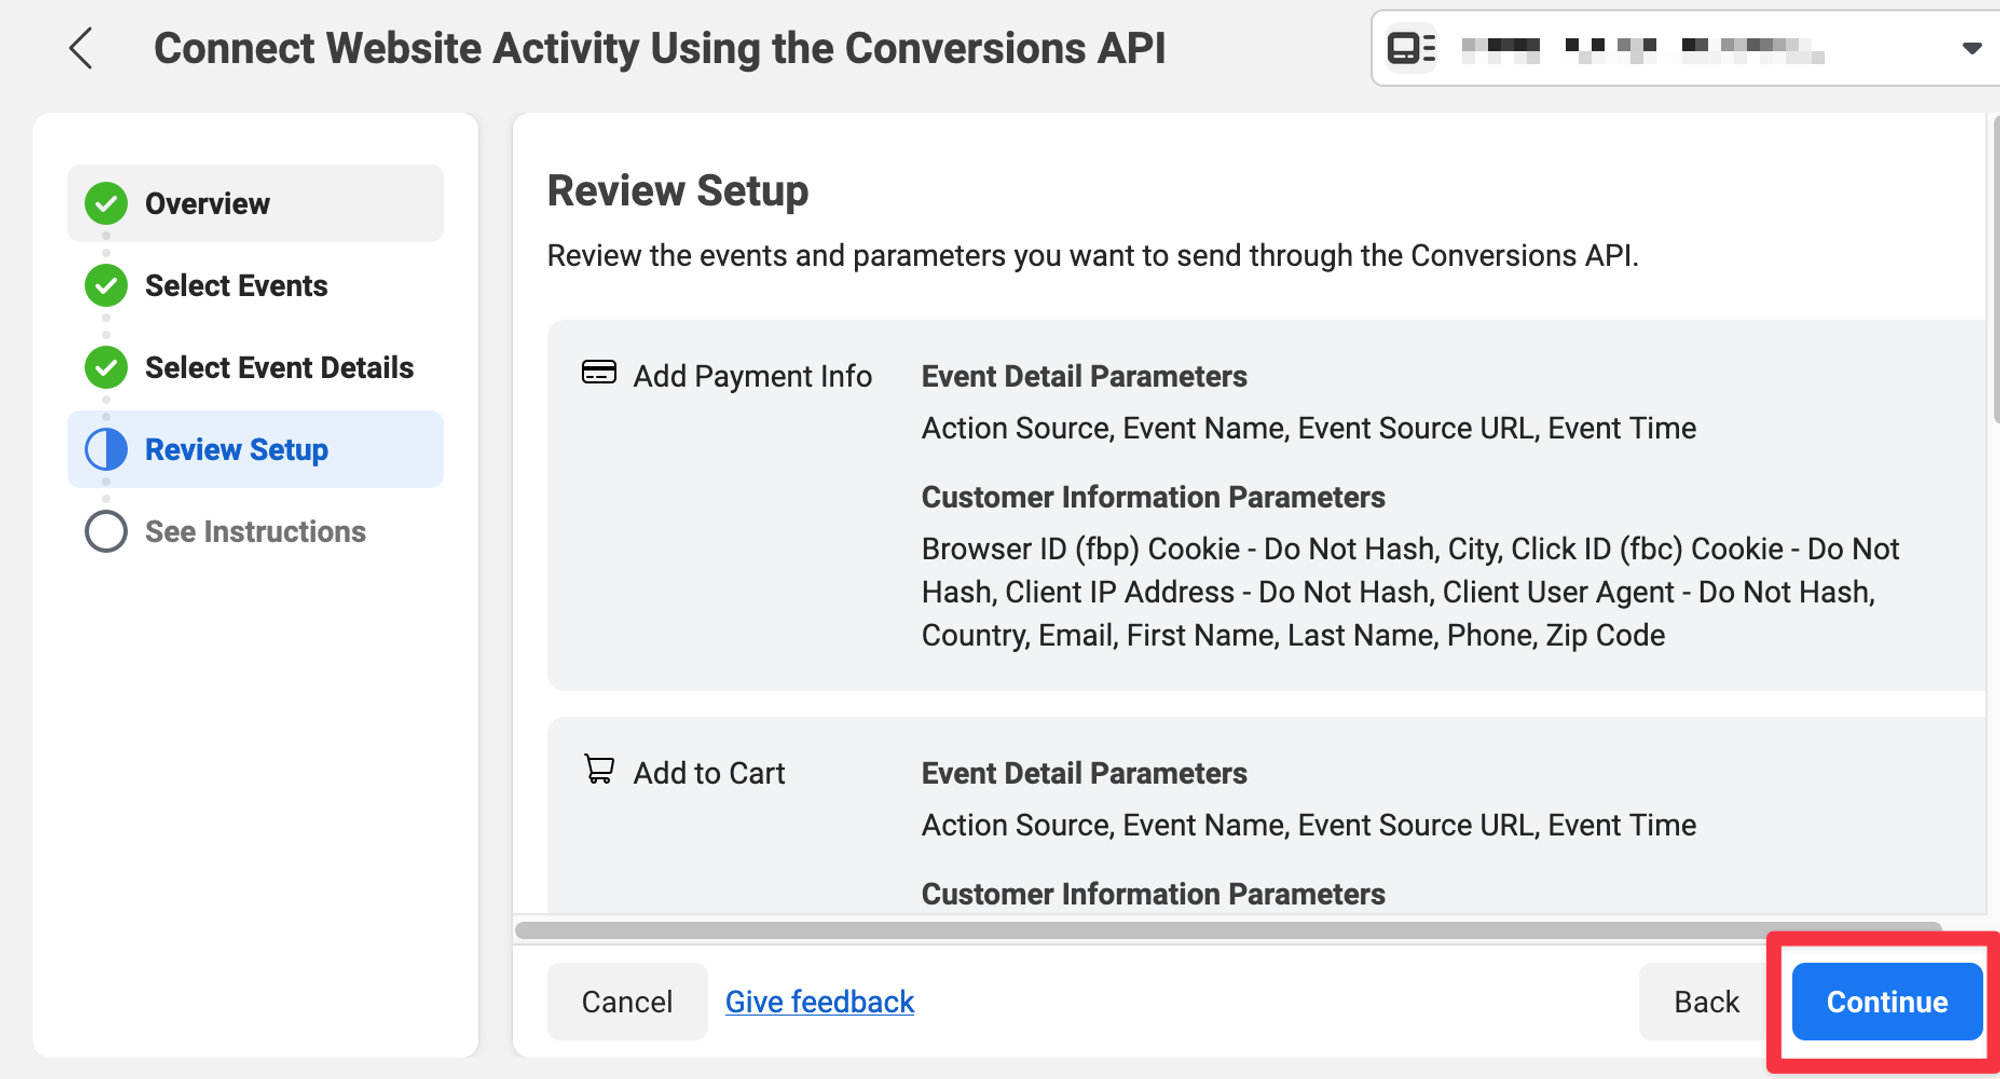
Review Setup
On this page we are confirming all the events we setup are correct. If the details are correct please click “Continue”
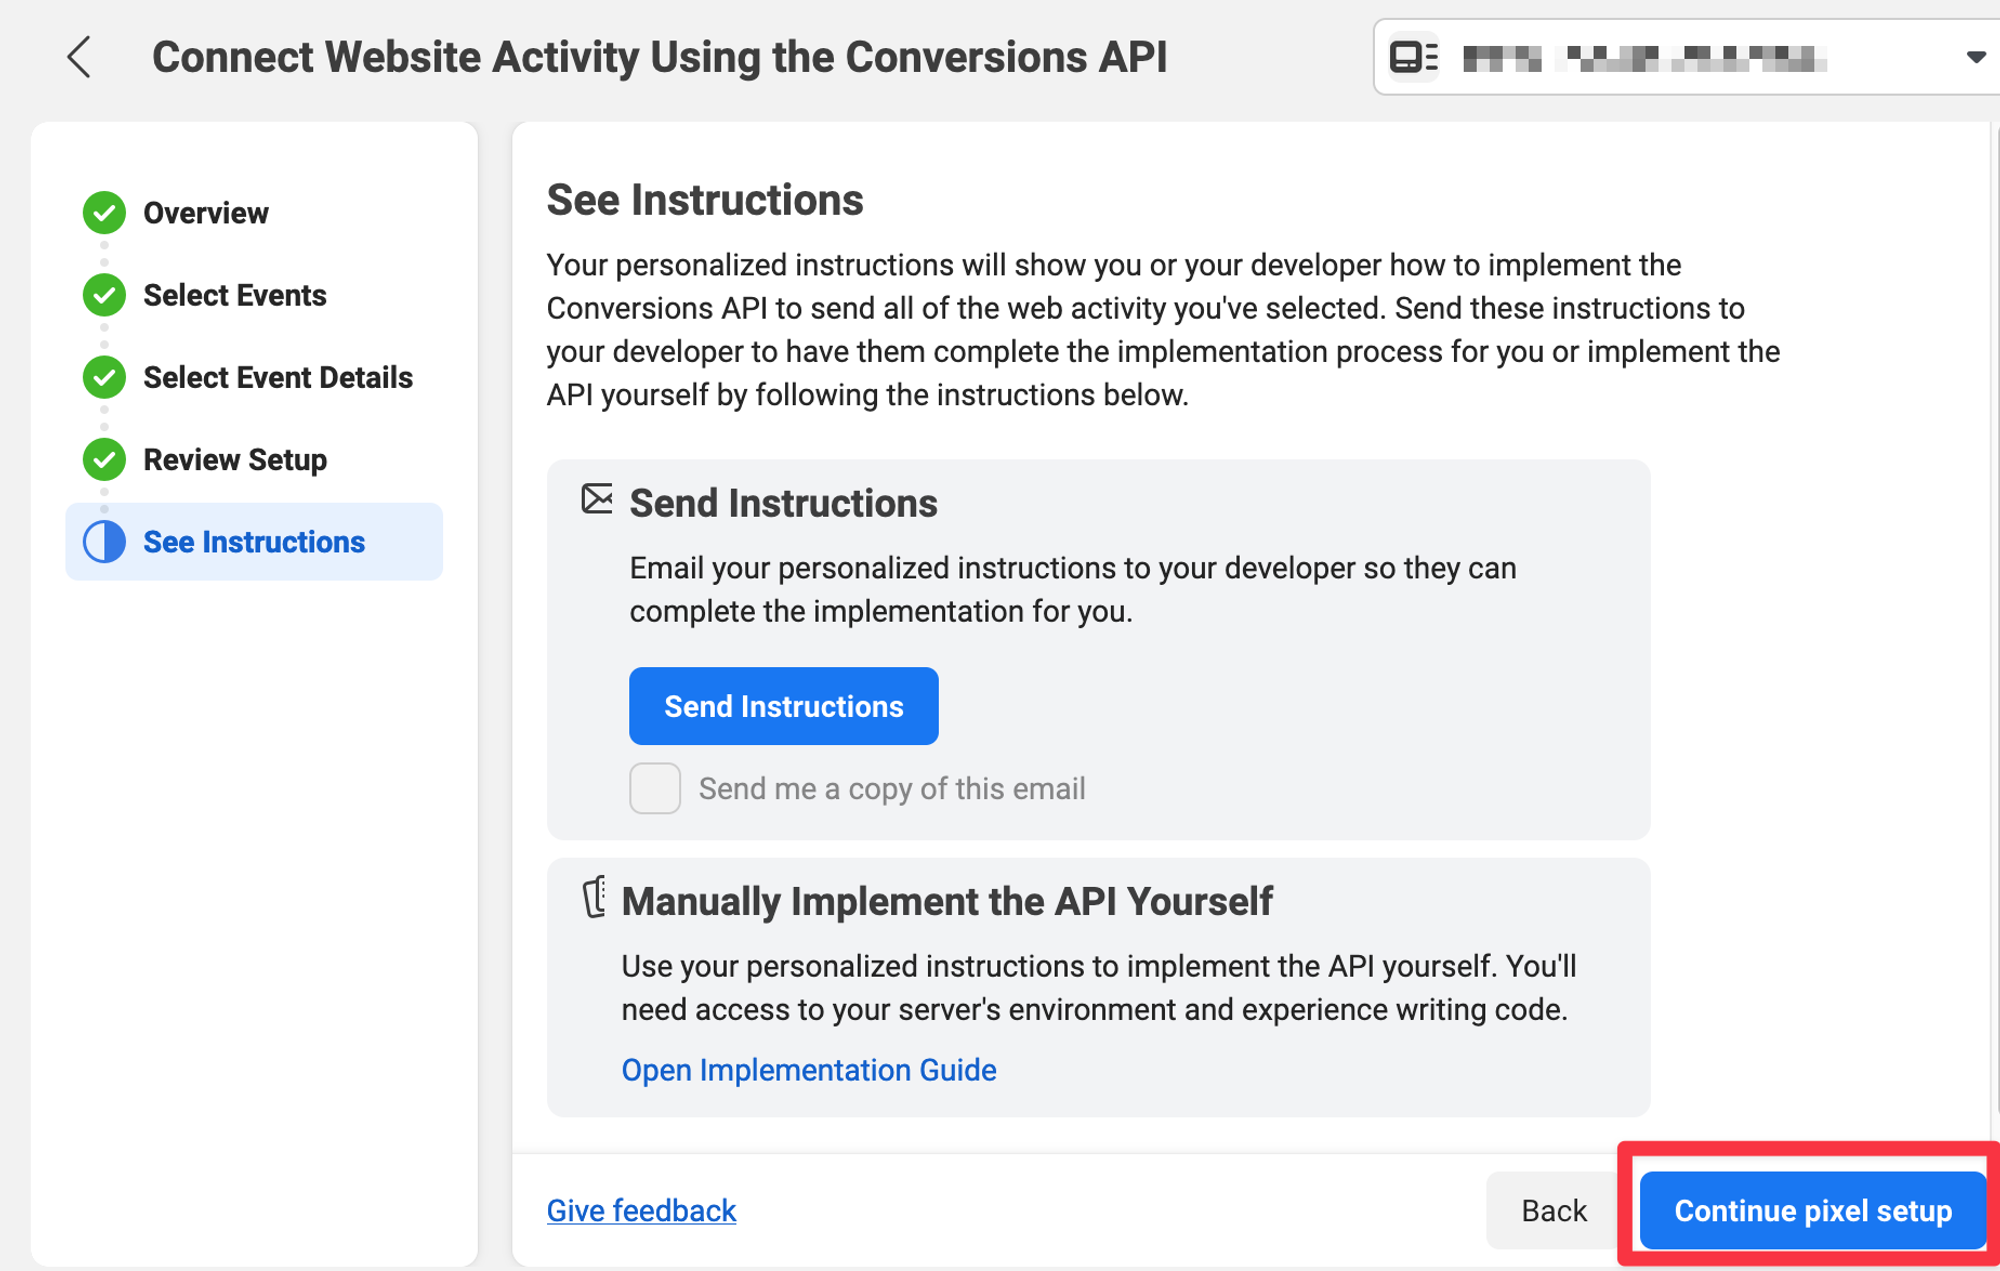
Close the Setup Wizard
Now you can click “Continue Pixel Setup” where you will see a popup with pixel instructions.
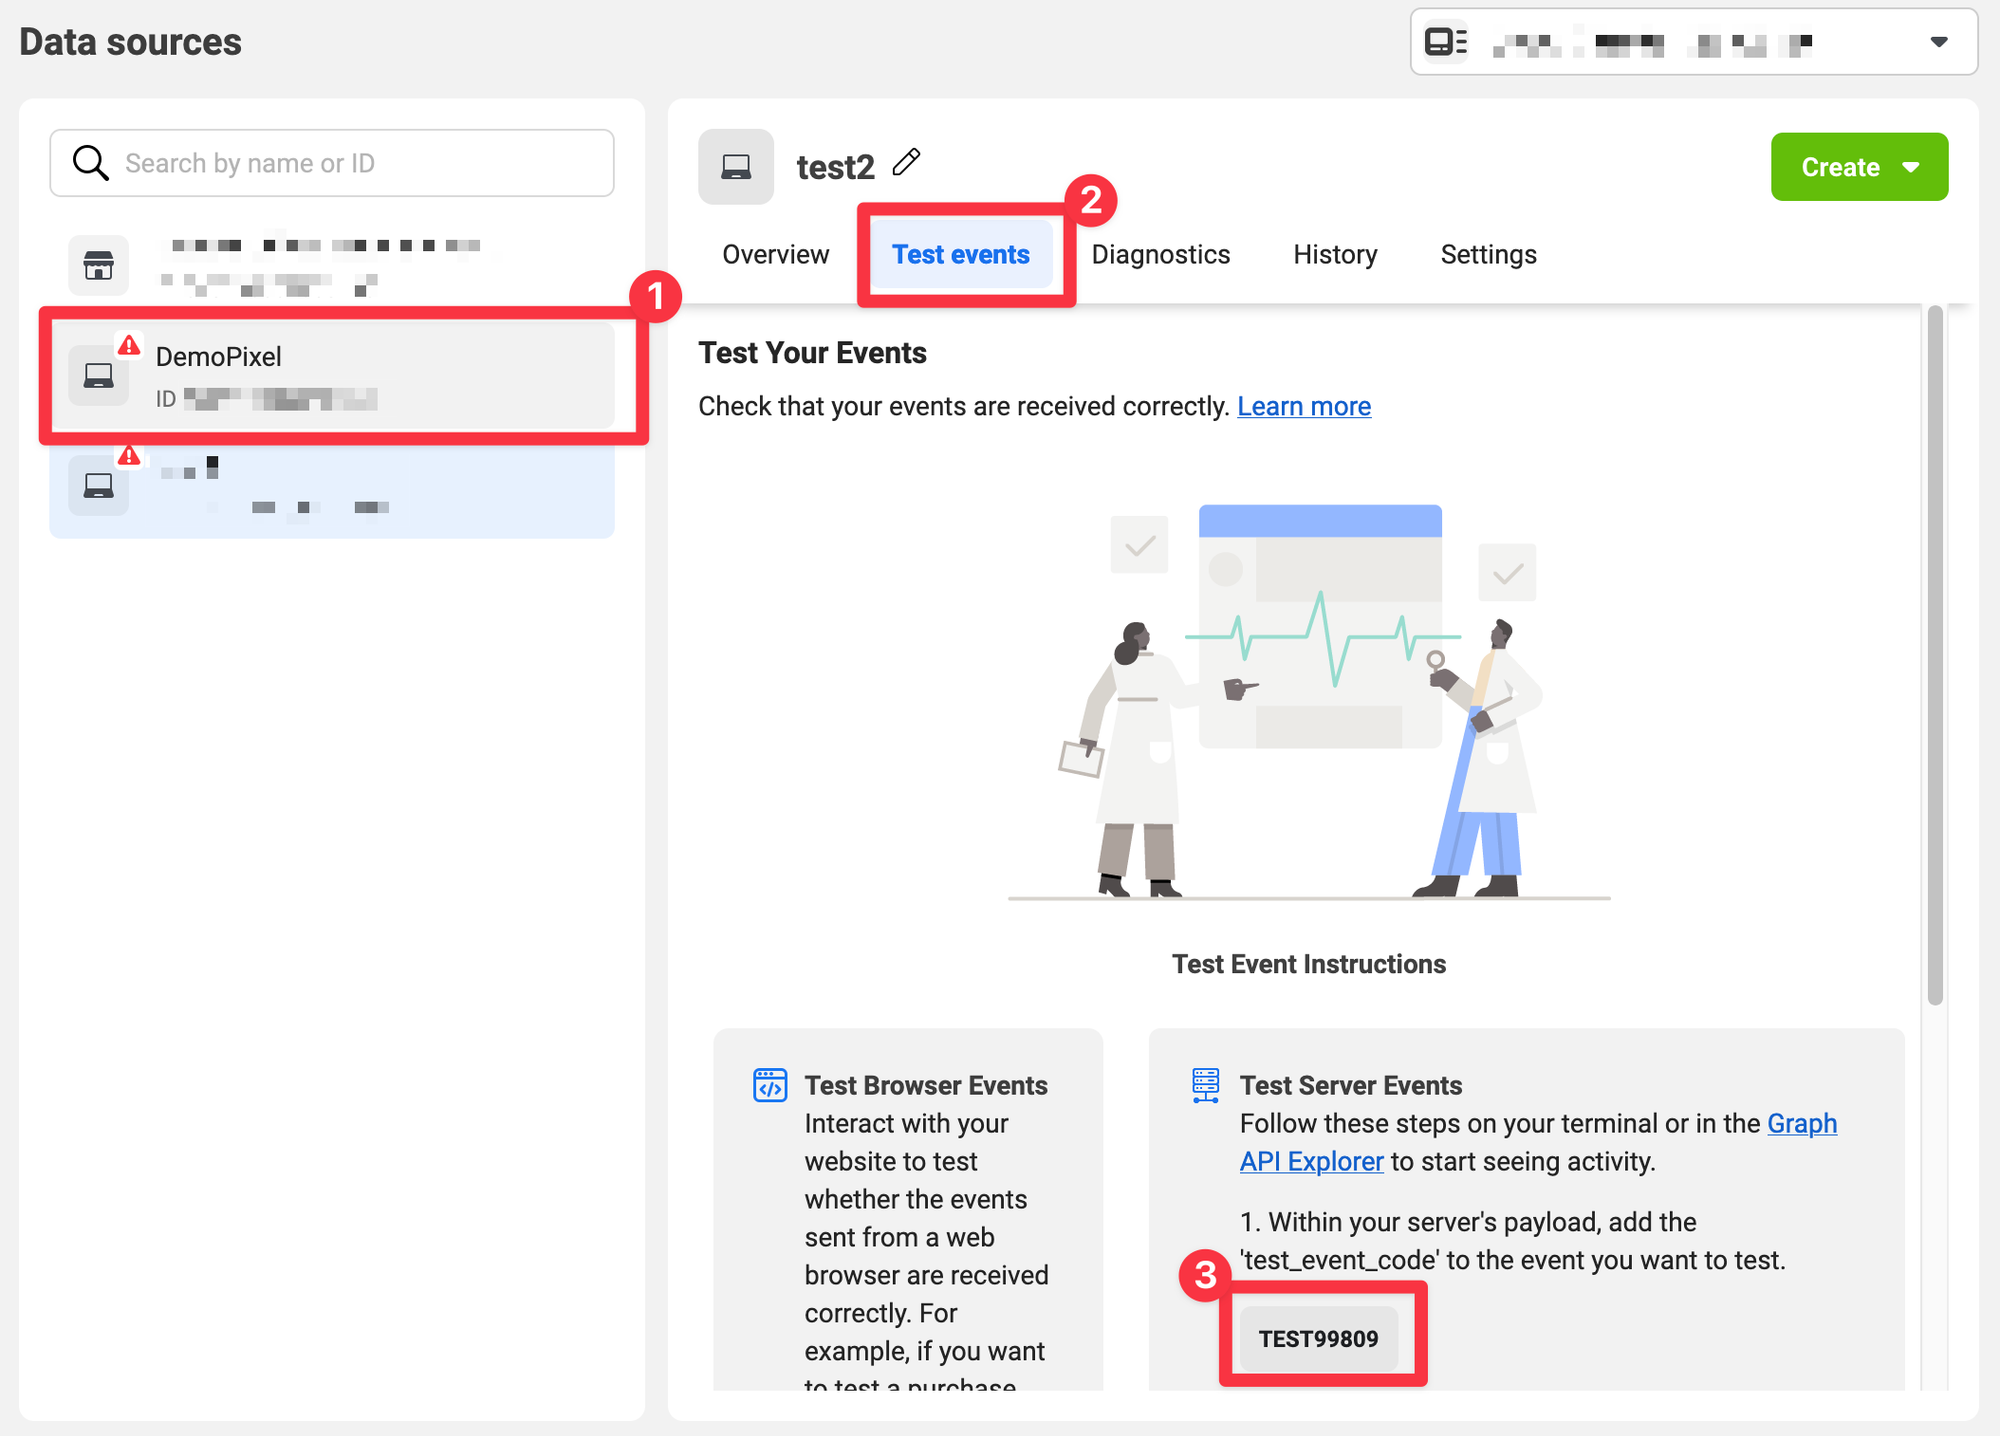
Copy the “TEST Event Code”
Now under “Test Events” you will see a test event code like in the image below. Please copy and paste this code for the next step
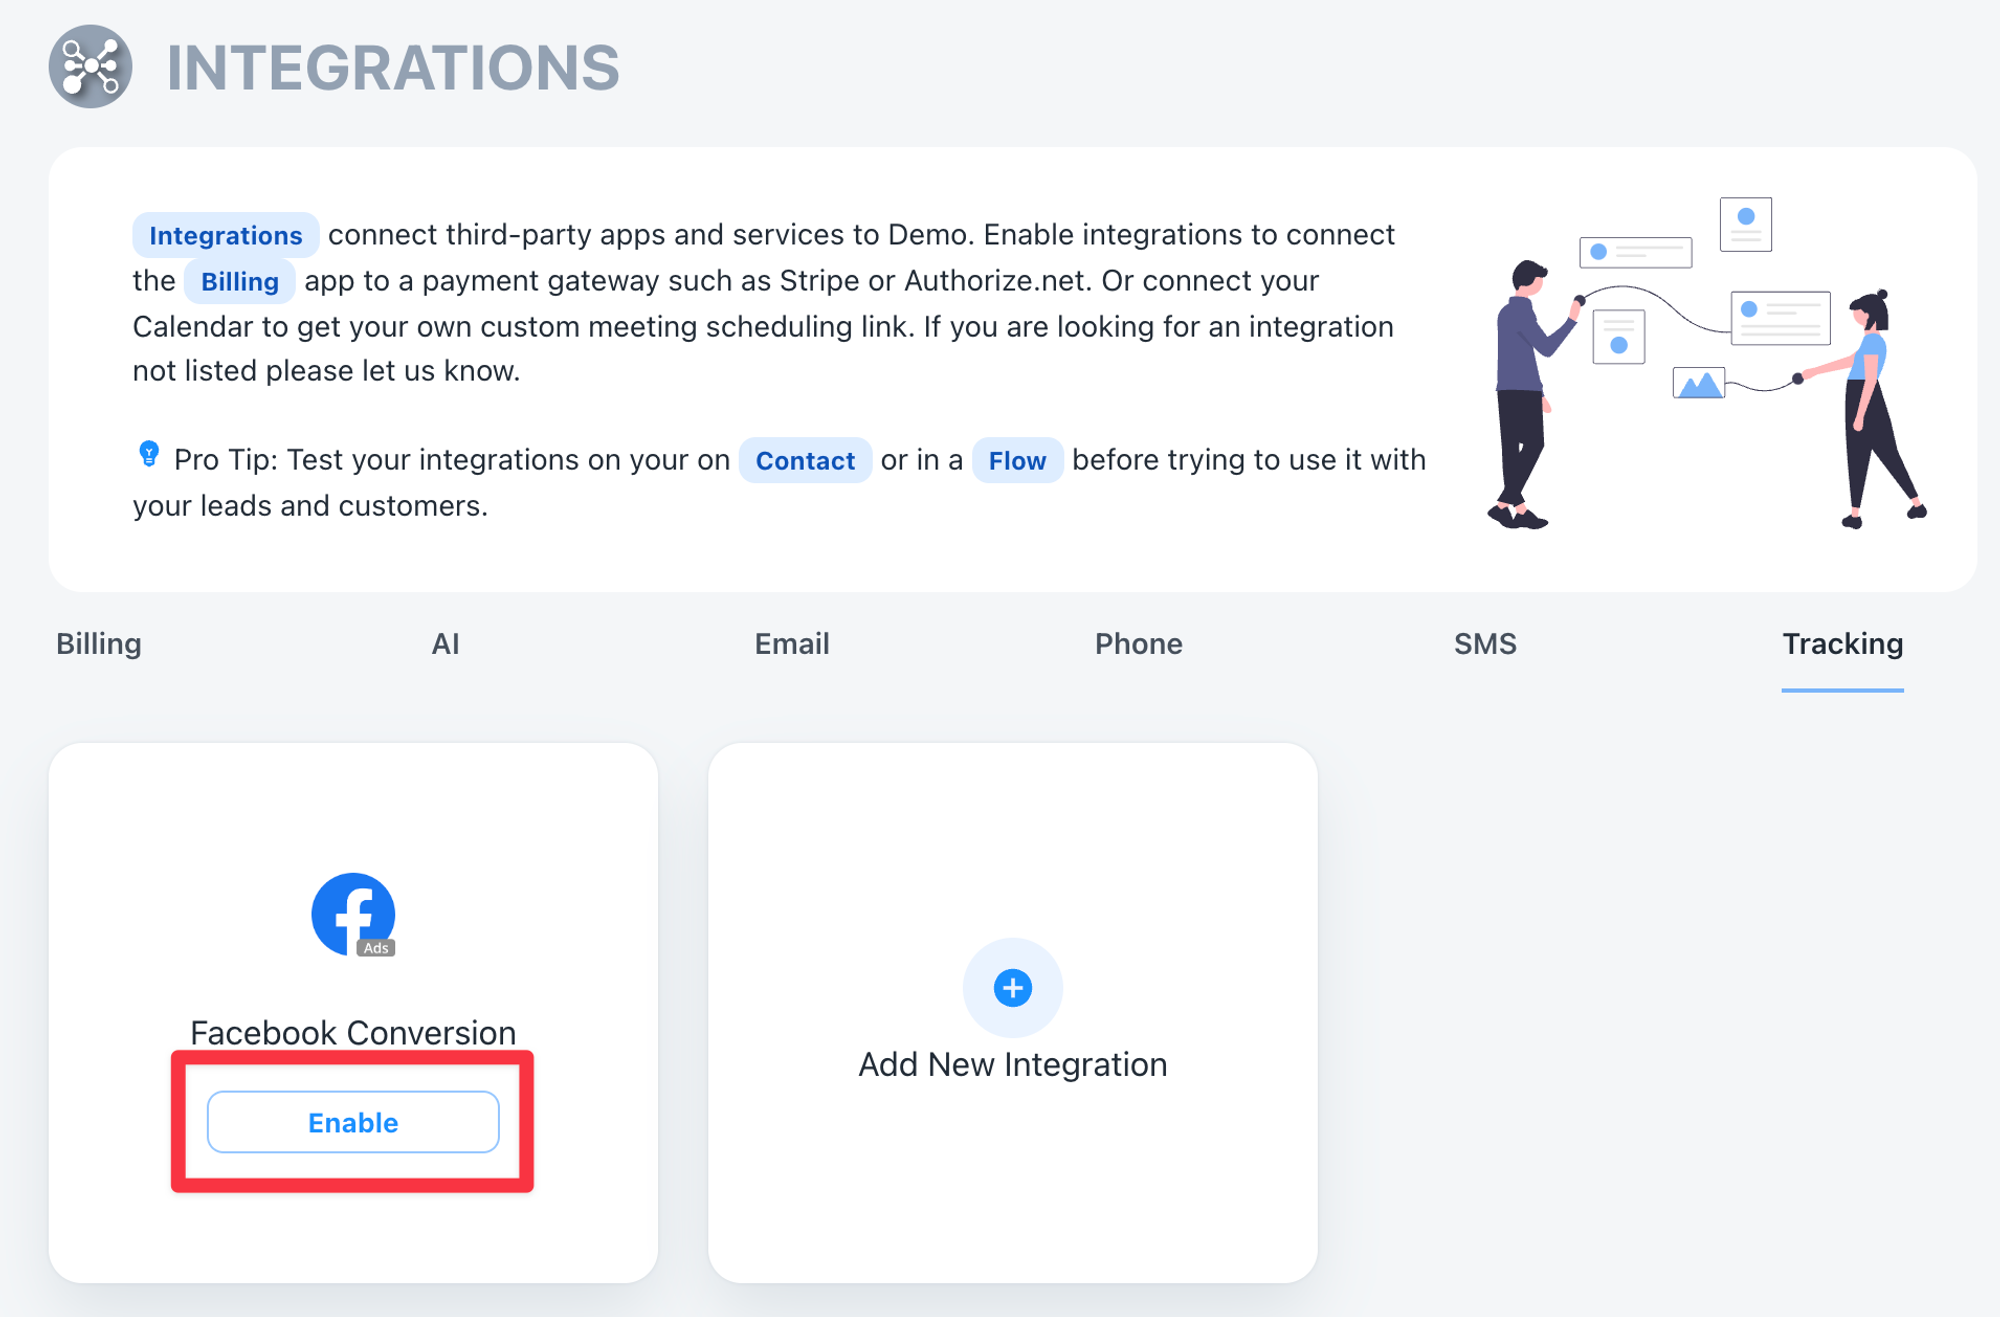
Enable the Facebook Integration in your System to Connect to your new Pixel
Now that Facebook/Meta is all setup we can connect your System to it using the Facebook Integration.
Simply navigate to; Settings → Integrations → Tracking → Facebook Conversions
Then click “Enable”
Watch the setup video for the final step
⚠️ Make sure your test events show correctly in the test tool. Also make sure the data you entered on your integration matches the info you provided when setting up your new pixel with Meta